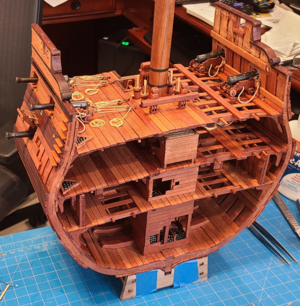
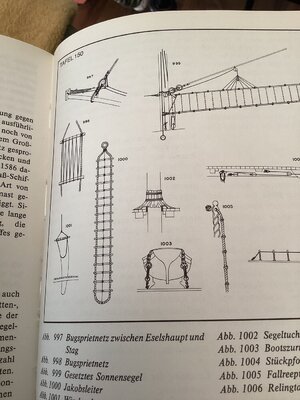
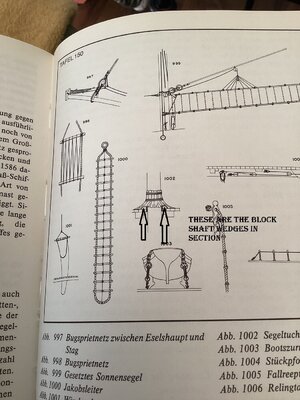
Continuing on with adding guns to the middle gun deck:
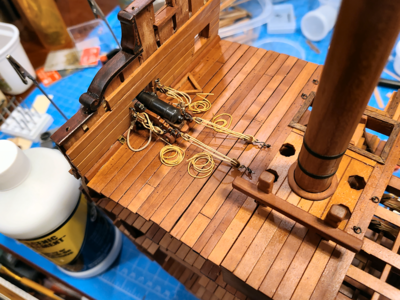
I've probably said before that I don't care for the perfectly coiled ropes on a deck. I cannot imagine a seaman taking time to do this, and I actually don't understand how it could be done very well. Even with our model roping, laying rope in a flat coil makes the rope kink and not lay flat. To me, the seaman would coil it up like we would a garden hose or extension cord, just wrapping it around shoulder and hand, or just over the hand, creating a loose coil which would then be placed on the deck, or maybe more often, hung an eye or convenient area on or near the gun. I tried to imitate this in the above, using a single rope from the blocks to the end of the coil. Not great, but maybe not too horrible.
I said at the beginning of this thread that my build would probably be more about how to work with mistakes, find easier/simpler ways of doing things, etc., rather than how to build a perfect model. That's been done by Uwe and Janos and others. Anyhow, I found it difficult to make the coiled ropes in place, even when done separately on a template, so thought I'd try cutting the ropes short, and adding coils over top, as many do on belaying pins. My first thought was to wrap the rope around a round object, so I tried a dowel with wax paper covering and plastic tubing:
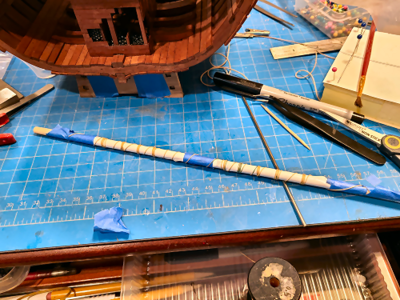
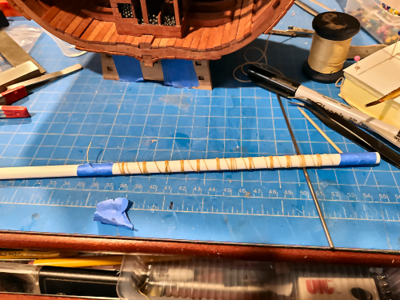
I coated each concentrated area of rope with thinned white glue, and separated them to make it easy to cut them apart with a blade.
They weren't hard to make this way, but unfortunately, this I ended up with coils made more like springs than hand coiled ropes:
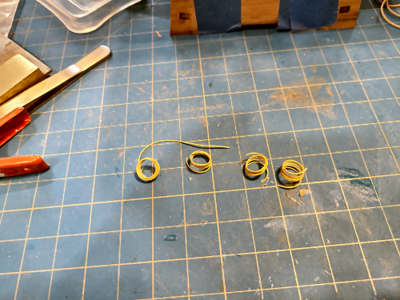
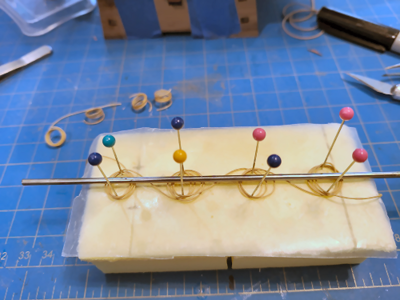
I then tried wrapping rope around pins, using a piece of rod (and other pins not photographed) to keep them flat, and again coated them with thinned glue. So I went to this method, which better imitates the hand coiling method I discussed above.
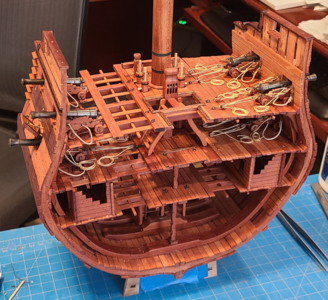
I placed the other guns on this deck, cutting the ropes from the blocks short, and adding the coils on top. I did this for the other gun on the side with the finished decking. On the other side, where I am using only the main structural members so as to see the construction better, I mounted the guns with the back trucks on a temporary plank and with breeching cables only. That seems more appropriate when the decking is not in place:
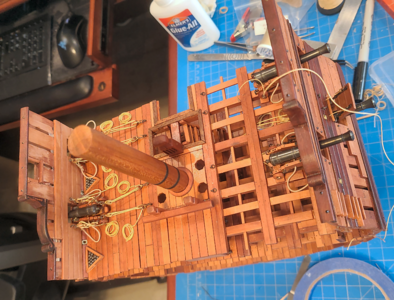
The above view also show the cannon ball triangles and balls in place. There was supposed to be two on each side, but it didn't seem appropriate over the framing without any decking.
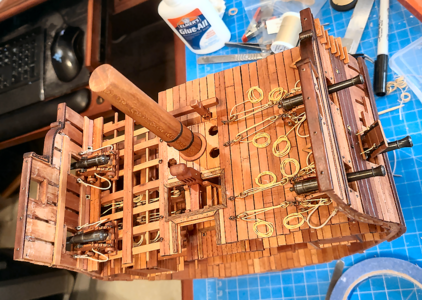
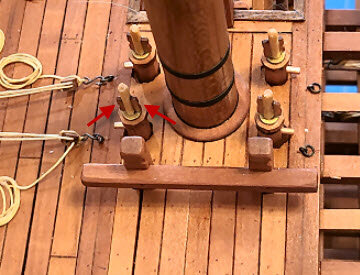
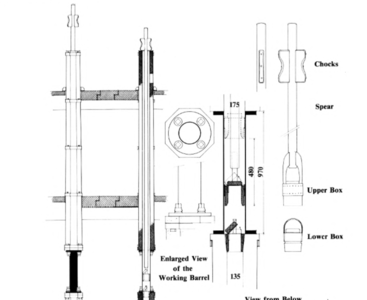
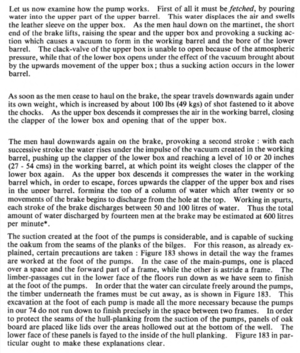
Finally, the pumps get inserted and glued into the model, instead of getting lost and damaged on my work area as they've been for the past month or so. The discharge pipes are of very thin wall copper tubing, which I was able to get thinner and smaller than brass tubing:
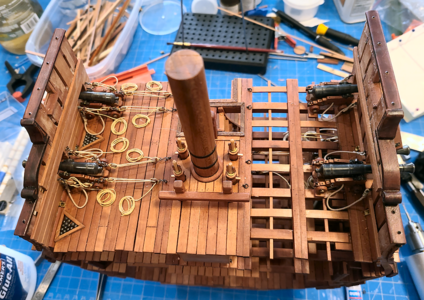
Guess I'll start planning the next deck. Thanks for watching.

I've probably said before that I don't care for the perfectly coiled ropes on a deck. I cannot imagine a seaman taking time to do this, and I actually don't understand how it could be done very well. Even with our model roping, laying rope in a flat coil makes the rope kink and not lay flat. To me, the seaman would coil it up like we would a garden hose or extension cord, just wrapping it around shoulder and hand, or just over the hand, creating a loose coil which would then be placed on the deck, or maybe more often, hung an eye or convenient area on or near the gun. I tried to imitate this in the above, using a single rope from the blocks to the end of the coil. Not great, but maybe not too horrible.
I said at the beginning of this thread that my build would probably be more about how to work with mistakes, find easier/simpler ways of doing things, etc., rather than how to build a perfect model. That's been done by Uwe and Janos and others. Anyhow, I found it difficult to make the coiled ropes in place, even when done separately on a template, so thought I'd try cutting the ropes short, and adding coils over top, as many do on belaying pins. My first thought was to wrap the rope around a round object, so I tried a dowel with wax paper covering and plastic tubing:


I coated each concentrated area of rope with thinned white glue, and separated them to make it easy to cut them apart with a blade.
They weren't hard to make this way, but unfortunately, this I ended up with coils made more like springs than hand coiled ropes:


I then tried wrapping rope around pins, using a piece of rod (and other pins not photographed) to keep them flat, and again coated them with thinned glue. So I went to this method, which better imitates the hand coiling method I discussed above.
I placed the other guns on this deck, cutting the ropes from the blocks short, and adding the coils on top. I did this for the other gun on the side with the finished decking. On the other side, where I am using only the main structural members so as to see the construction better, I mounted the guns with the back trucks on a temporary plank and with breeching cables only. That seems more appropriate when the decking is not in place:

The above view also show the cannon ball triangles and balls in place. There was supposed to be two on each side, but it didn't seem appropriate over the framing without any decking.

Finally, the pumps get inserted and glued into the model, instead of getting lost and damaged on my work area as they've been for the past month or so. The discharge pipes are of very thin wall copper tubing, which I was able to get thinner and smaller than brass tubing:

Guess I'll start planning the next deck. Thanks for watching.
Last edited:


