SPEEL-JACHT 1640 - Kolderstok 1:50 Scale

Joined
Jul 8, 2018
Messages
885
Points
403

This won’t be a short build log as I’m just getting back into model shipbuilding after a three-year absence with other projects. Also, since the Admiral is currently having medical issues which require me to be a full-time caregiver, I’m sure my time in the shipyard will be limited until we hopefully, get things resolved.

I chose Kolderstock’s Speel-jacht for my build for a couple of reasons (1) I haven’t seen a build log of this vessel and (2) it doesn’t appear to be a massive undertaking to get me started again. I must say that I was impressed with the delivery as it was only nine days from the time I placed the order until it arrived here in the U.S.

They say good things come in small packages and after a cursory inspection of the goodies I do believe it’s a quality product being the materials and the instruction booklet.

I did order the paint kit for this model as well as optional blocks. Now it’s time to get to work and read the instructions (several times). I was interested in their line of wood dyes and Danish oils however they apparently can be shipped only within Europe. Hans was gracious enough to send me a small sample of one of the dyes.
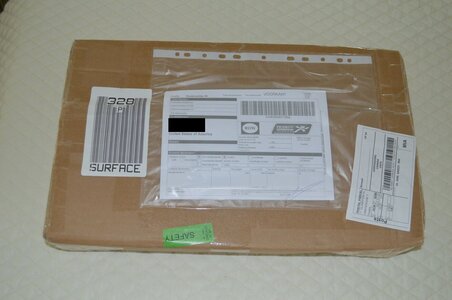
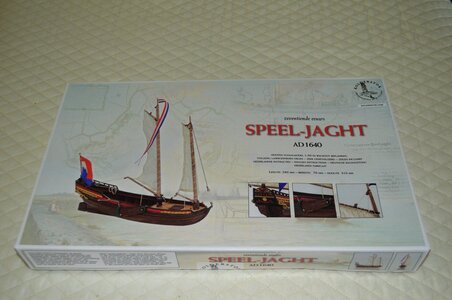
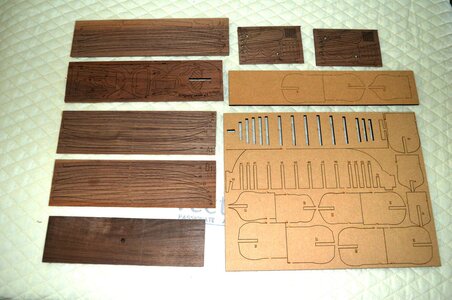
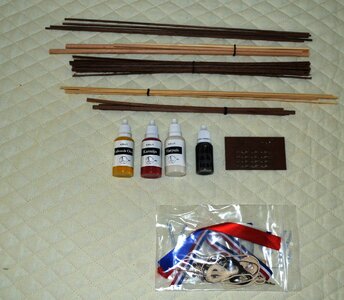
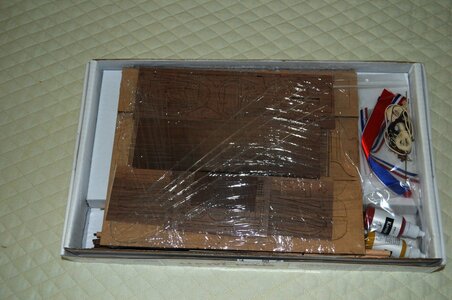
01_Shipping box.jpg02_Box Art.jpg03_Box contents.jpg04_Walnut & MDF.jpg05_Strip wood Paint set etc etc.jpgOk, enough of this, I’ll start with the requisite box open pictures. (Maybe all you get for a while)
 
Okiedokie! This is excellent news. I have a very comprehensive build log for you on the Speeljaght on Modelbouwforum. It was built by Hans Groenenberg - one of the most experienced builders. https://www.modelbouwforum.nl/threads/speel-jaght-ad-1640.271658/

It is obviously in Dutch, but the pictures will also help a lot and for help with the translation - just shout.

You are correct - the quality of Kolderstok Models is superb and Hans's aftersales service is of the very best; if not the best.
Many thanks for the build log link. I can use all the help i can get ;)

Ron
 
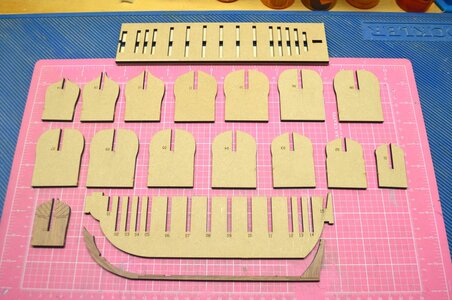
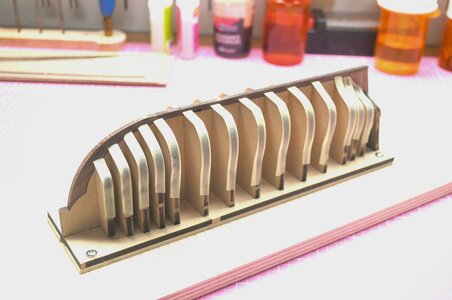
Couldn't wait to start doing something so I cut out all the MDF parts for the framework and keel as well as the walnut keel pieces.06_Framework & keel parts.jpg

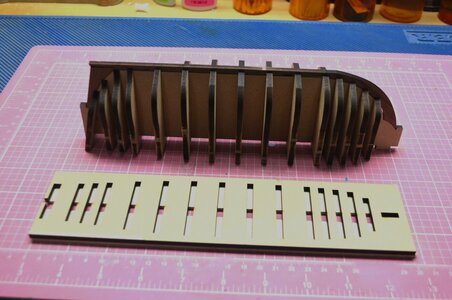
07_Assembled framework.jpg
Nothing is glued as yet just dry fitting. Actually at this point very little glue is used as this assembly is removed after the planking is completed. I can see where glue placement and amount are going to be critical if I want to remove it after planking. As a Toolmaker in a past life I can really appreciate the fit of all these frame parts. Excellent work Hans!!
 
Excellent Ron. I am glad to hear that you like the fit of parts so far. An option might be to leave the fitment of the keel at the bow until after the planking is completed. That way you can secure the planks at the bow better for a perfect fit - some builders do it like this, others do it with the keel on, It is your choice.
 
Excellent Ron. I am glad to hear that you like the fit of parts so far. An option might be to leave the fitment of the keel at the bow until after the planking is completed. That way you can secure the planks at the bow better for a perfect fit - some builders do it like this, others do it with the keel on, It is your choice.
Thanks Heinrich. Also thanks for the build log link. What a great job he did. I keep it open to refer too.
 
Quick question. I’ve noticed there is paper adhered to some of the laser cut sheets. What’s the purpose/reason for this
 
Hi Ron. It is a protective layer that needs to be removed. On the bigger models you will even find it on the wheels of the gun carriages!
 
Hans was gracious enough to send me a small sample of one of the dyes.
Hans is a verry nice guy. I know him from the "modelbouwforum.nl" The kits are from good quality.
It's a nice little ship. I saw servel other builders build this model.

Have fun with the build.
 
Excellent Ron. I am glad to hear that you like the fit of parts so far. An option might be to leave the fitment of the keel at the bow until after the planking is completed. That way you can secure the planks at the bow better for a perfect fit - some builders do it like this, others do it with the keel on, It is your choice.
Heinrich I am curious about your comment about placing the keel at the bow after the planking is complete.Would you leave the planks longer then needed and cutting and sanding then after the bow keel is in place, one at a time or a few together ?
 
Heinrich I am curious about your comment about placing the keel at the bow after the planking is complete.Would you leave the planks longer then needed and cutting and sanding then after the bow keel is in place, one at a time or a few together ?
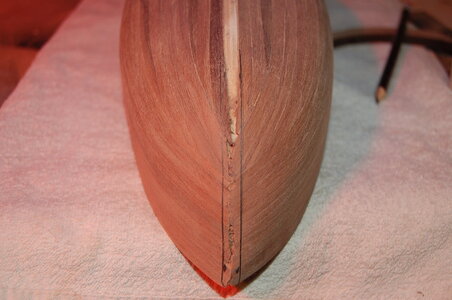
This sequence of photographs of Hans Groenenberg's build of the Kolderstok Duyfken, will show what I mean.

kiel 005.JPG

Planks left longer at the bow - how much longer is entirely up to the builder. Then the section where the keel will go is clearly marked out.

kiel 009.JPG

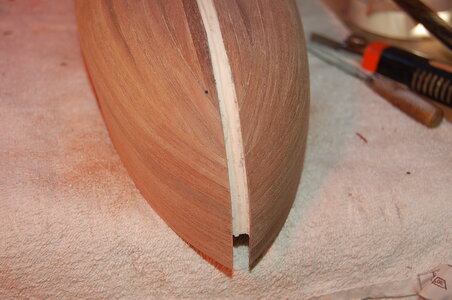
With a flexible steel ruler and SHARP X-Acto the groove is cut and then filed and sanded to the correct fit.

kiel 010.JPG
And Bob's your uncle! For a more perfect fit, no one can ask.
 
Hello Ron. Came out fantastic. I really like what I see of the Kolderstock kits. Heinrich is also building one- please let me know what you think as you go as I am seriously think of this being my next choice of kit.
 
This sequence of photographs of Hans Groenenberg's build of the Kolderstok Duyfken, will show what I mean.

View attachment 269388

Planks left longer at the bow - how much longer is entirely up to the builder. Then the section where the keel will go is clearly marked out.

View attachment 269389

With a flexible steel ruler and SHARP X-Acto the groove is cut and then filed and sanded to the correct fit.

View attachment 269390
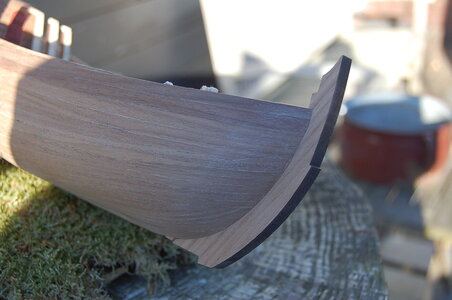
And Bob's your uncle! For a more perfect fit, no one can ask.
Heinrich thanks. Very interesting process. Will defiantly keep this in mind for next build
 
Hello Ron. Came out fantastic. I really like what I see of the Kolderstock kits. Heinrich is also building one- please let me know what you think as you go as I am seriously think of this being my next choice of kit.
Grant
I would like to say that is my planking job however, that’s from a posting Heinrich made from Han’s G build. If mine turns out half as good as that one I’ll be ecstatic. I’ll be starting the planking soon and to this point I really like the quality of the kit

Ron
 
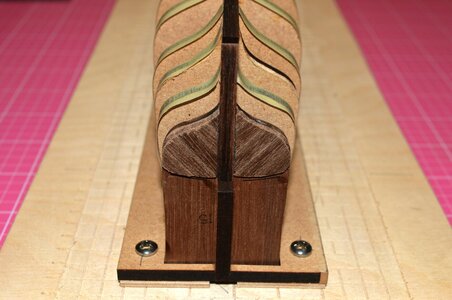
Had some time today to move forward on the build so I have all the "frames" assembled and mounted everything on a board to facilitate the fair. Needed three hands otherwise to hold and fair. :rolleyes: Also planked the stern prior to the sides. The tape is 3M Fineline tape in case I get glue where it shouldn't be. Glue doesn't adhere to the tape so hopefully I can get this off the forms when planking is finished.08_Stern planking.jpg09_faired and taped.jpg
 
Back
Top