You are using an out of date browser. It may not display this or other websites correctly.
You should upgrade or use an alternative browser.
You should upgrade or use an alternative browser.
Statenjacht PEGASUS circa 1700 [COMPLETED BUILD]
- Thread starter Dematosdg
- Start date
- Watchers 25
-
- Tags
- completed build
We are all keeping tuned ...
Lovely work, Daniel. How did you make that half-round moulding?
Gennaro and Heinrich.... here we go. Remember i am not an expert at all so I did what it came to my head, with what I had in materials and tools.
Molding :
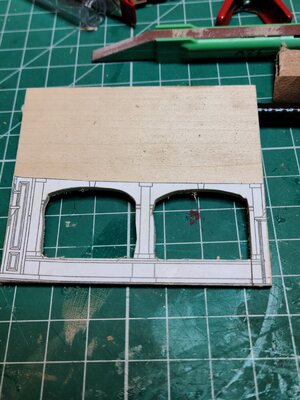
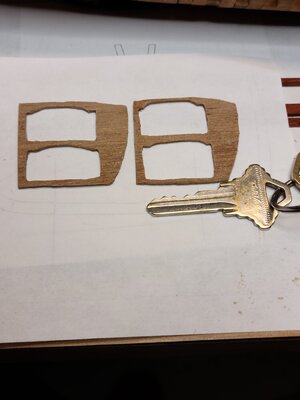
Glued a copy of the plan drawings. For this first intent I used my Wen scroll saw with a 28 TPI Plain blade.
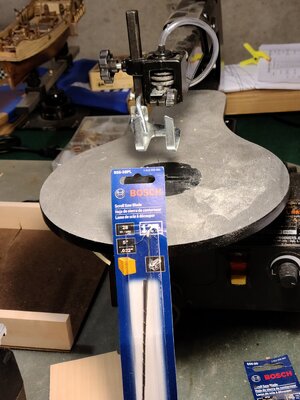
If you zoom the first picture you will see that the cut has a LOT of defects. It was difficult for me to follow the drawing of the plan. I told this to a friend and the answer was... wrong blade. Use SPIRAL blades that you can cut on any direction without rotating the wood.
Then I used 41 TPI spiral blades
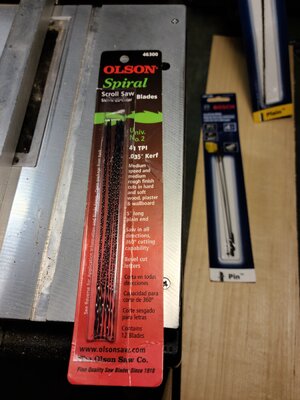
I draw the shape using the failed first attempt. And with the spiral blade I got what you can see at the right (after a little sanding too).
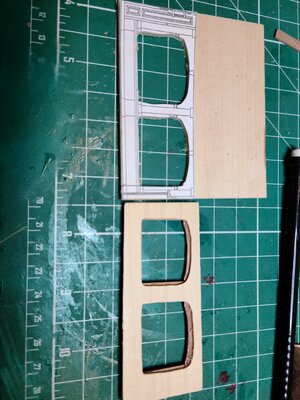
Then I applied my imagination. That is fine because this isn't the Statenjacht Utrecht
I did the upper bean from a 1.5 x 5 mm pear wood plank. Glued it to the top and shaped with the dremel.
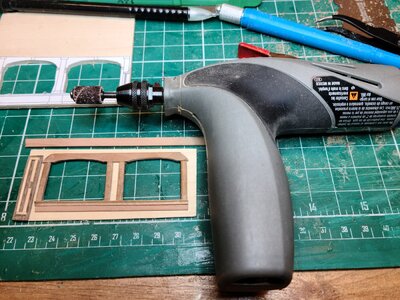
For the columns on the side I used the 2.5 x5 mm pear wood planks that came with the kit.
I cut it to 3 mm using my Micro Mark circular saw
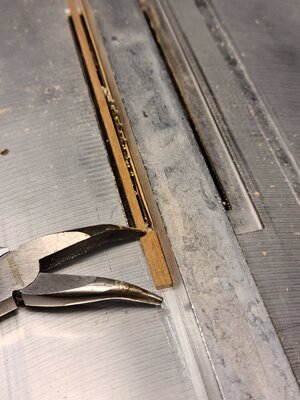
The plier is to keep the wood in place for the picture. But I used it to push the wood and keep my fingers far away.
The I shaped the columns to a half moon using this tool from AL
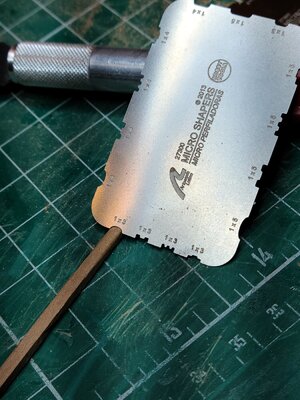
Then I used a 2x2 mm white wood strip left over from other kits. And shaped in this way.
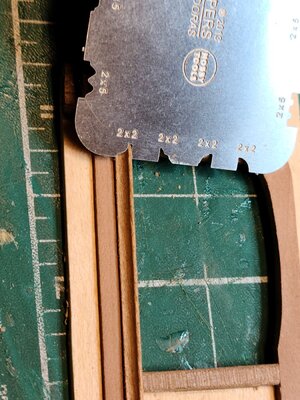
And glued over another 1.5x5 mm pear wood plank.
The door us just a rectangle of 1.6 mm thick Mahogany and the full frame was 1.6 mm Maple
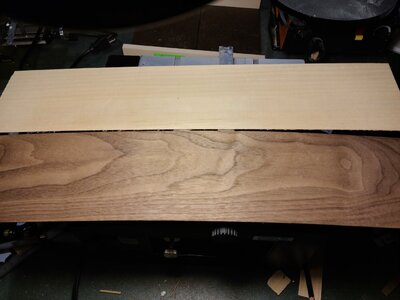
Plus a few small square woods cut to size and rounded for the internal door frame.
That was all....
Cheers
Daniel
Last edited:
Your work is looking very good - I am looking forward to see your further progress
Thanks so much! So it's Artesania Latina's micro shapers.Gennaro and Heinrich.... here we go. Remember i am not an expert at all so I did what it came to my head, with what I had in materials and tools.
Molding :
View attachment 194999
Glued a copy of the plan drawings. For this first intent I used my Wen scroll saw with a 28 TPI Plain blade.
View attachment 195000
If you zoom the first picture you will see that the cut has a LOT of defects. It was difficult for me to follow the drawing of the plan. I told this to a friend and the answer was... wrong blade. Use SPIRAL blades that you can cut on any direction without rotating the wood.
Then I used 41 TPI spiral blades
View attachment 195001
I draw the shape using the failed first attempt. And with the spiral blade I got what you can see at the right (after a little sanding too).
View attachment 195002
Then I applied my imagination. That is fine because this isn't the Statenjacht Utrecht.
I did the upper bean from a 1.5 x 5 mm pear wood plank. Glued it to the top and shaped with the dremel.
View attachment 195053
For the columns on the side I used the 2.5 x5 mm pear wood planks that came with the kit.
I cut it to 3 mm using my Micro Mark circular saw
View attachment 195054
The plier is to keep the wood in place for the picture. But I used it to push the wood and keep my fingers far away.
The I shaped the columns to a half moon using this tool from AL
View attachment 195055
Then I used a 2x2 mm white wood strip left over from other kits. And shaped in this way.
View attachment 195056
And glued over another 1.5x5 mm pear wood plank.
The door us just a rectangle of 1.6 mm thick Mahogany and the full frame was 1.6 mm Maple
View attachment 195057
Plus a few small square woods cut to size and rounded for the internal door frame.
That was all....
Cheers
Daniel
Thanks so much! So it's Artesania Latina's micro shapers.
I got them here

Artesania Latina #27300 Micro Shapers, Set A, 3 Plates
DetailsArtesania Latina #27300 Micro Shapers, Set A, 3 PlateMicro Shapers A are designed to create miniature wood moldings for model boats, buildings, and dollhousesSet includes 3 plates with 15 or 16 different shape profiles per plateSuitable for use on various sizes of wood strips: 1x3, 1x4...
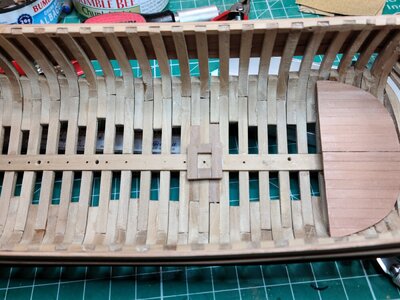
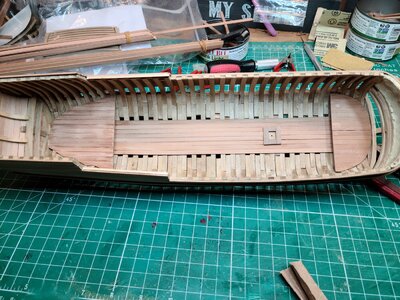
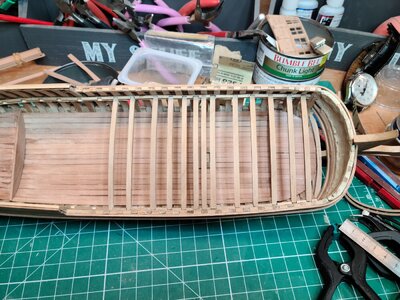
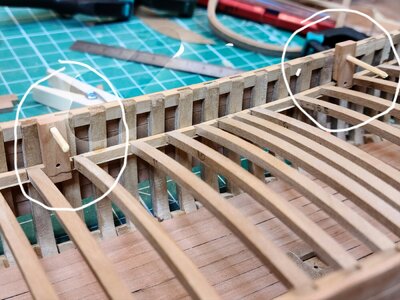
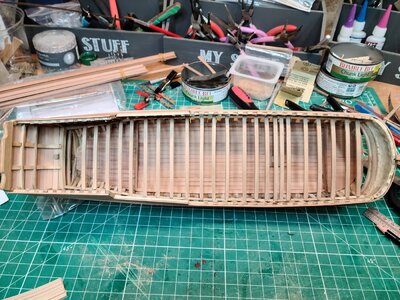
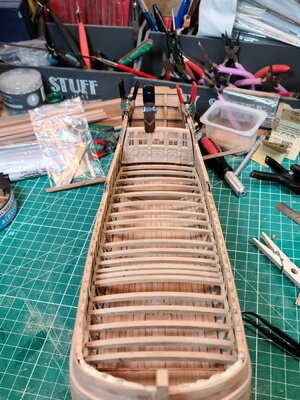
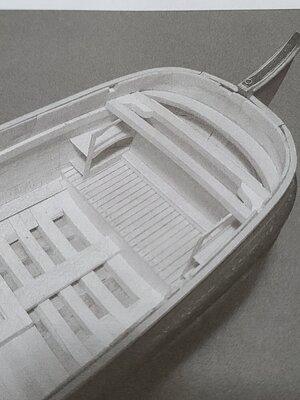
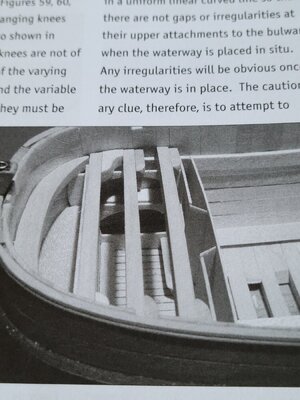
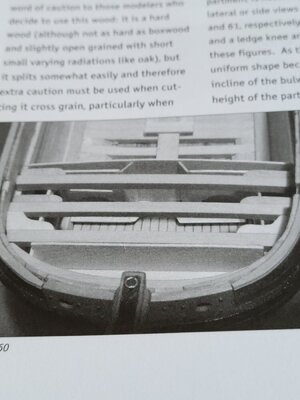
Looking really good! Were deck clamps included in the kit? Thanks.Deck beans assembling.... not glued as I need to do the interior. Each bean needs to be adjusted to make them fit.
View attachment 195825
Cheers
Daniel
Looking really good! Were deck clamps included in the kit? Thanks.
Hi Gennaro, thank you for the compliments!!
What do you meant by "deck clamps" ?
If it is what I pointed with the arrow, The answer is YES .
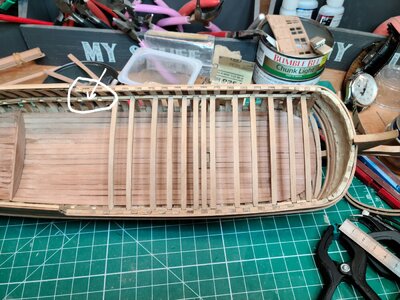
Only those. It is missing (not provided) the ones to support the main cabin roof (below picture). I will do those using your system. The beans for that roof were provided.
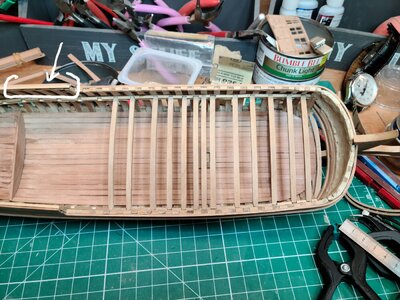
By this time, when I finish assembling all the deck beans, as you see them now, AND "beside the decorations and a few upper deck details", I have used ALL what is provided by the kit.
From now on, any addition, is scratch building.
What was useful to position the beans support were the spacers provided by the kit. I will post later a picture of those.
Daniel
Last edited:
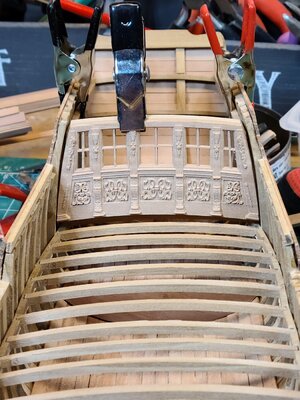
WOW, Dan! You made huge progress. By looking at your images, the assembly goes well. Is the engineering kit design make it easy or a combination of both your skills and kit design? That cabin carving looks amazing, almost hard to believe it is a CNC. 
WOW, Dan! You made huge progress. By looking at your images, the assembly goes well. Is the engineering kit design make it easy or a combination of both your skills and kit design? That cabin carving looks amazing, almost hard to believe it is a CNC.
Thank you for the compliments !!!
My skills are very limited and small. Each day they grow a little but still far away of the level I would like to achieve.
The kit is well engineered. It is a CNC kit but any vintage Artesania Latina kit was easier to assemble. What I am trying to say is, that so far, it wasn't an easy kit to work with. Many (~95 %) of the parts you have to do some adjustments. Could be it is just me and my lack of expertise on this type of POF CNC kit.
So, I will not blame the kit at all. What is provided it is well done. I will recommend it to others with precautions. This is not a perfectly laser cut kit.
The negative part is the instructions manual. Not because it is in Chinese. That isn't the problem as there isn't almost any text. Neither pictures. There is the problem !!!!
The pictures are just a few. Yes, a few. Those help, but without a building thread, like Jerónimo's and the Chinese or Russian modeler..... for a guy with my small level of experience.... the kit will be already in the trash can.
The pictures from those building logs are the real ones, that so far, guided my construction of this kit.
A modeler like Jerónimo's will not have any problem following the UTRECHT plans. It isn't my case.
Thinking now in the MARMARA, that I thought it was a POF difficult when I started it. It is a kindergarten kit compared with this one..... at least for me.
Nevertheless, so far, I have enjoyed every part of this built. And I do not have anything to regret.
Cheers
Daniel
Last edited:
- Joined
- Jan 9, 2020
- Messages
- 10,377
- Points
- 938

And that is what it is all about. I tell my students every day that they are not learning anything unless they are slightly uncomfortable. That is the same thing with these builds. We have to step away from what we are comfortable with and try new things - that is the only way we learn and grow as modelers.
Starting building the crew cabin. Still missing MANY details and 4 more beds .... Nevertheless I wanted to show where I am.
In the kit and in the Chinese modeler built this step was skipped.
Well, to be clear, in the kit instructions NOTHING of the lower deck is suggested to be built. The instructions call to put now the deck planks, decorations and..... END !!
So all these extras are "modeler decision". I decided to try to fit as much as I can following the UTRECH interior design.
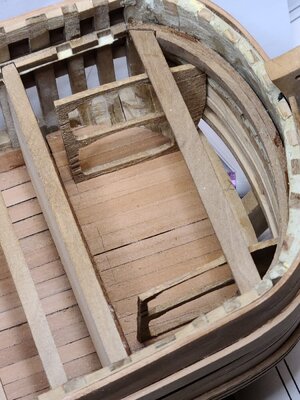
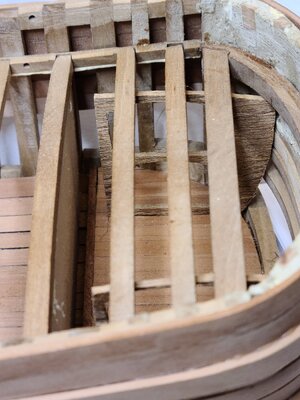
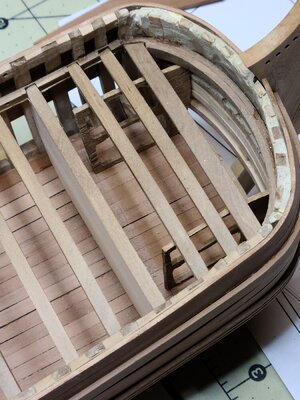
The wall Dividing the cabin is also in place. I will paint it (is boxwood). In front of it I have to built a chimney.
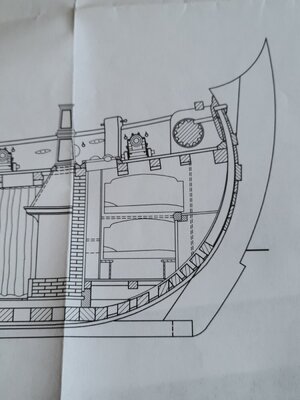
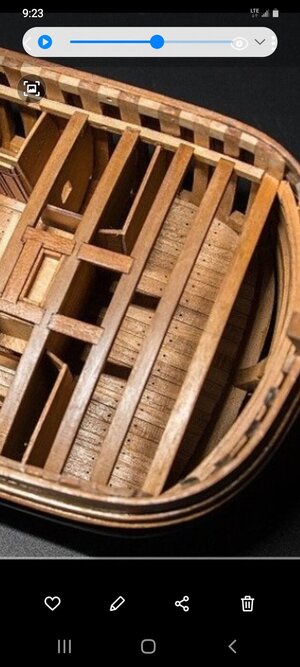
Below Chinese modeler Pegasus crew cabin section.
Cheers
Daniel
In the kit and in the Chinese modeler built this step was skipped.
Well, to be clear, in the kit instructions NOTHING of the lower deck is suggested to be built. The instructions call to put now the deck planks, decorations and..... END !!
So all these extras are "modeler decision". I decided to try to fit as much as I can following the UTRECH interior design.


The wall Dividing the cabin is also in place. I will paint it (is boxwood). In front of it I have to built a chimney.
Below Chinese modeler Pegasus crew cabin section.

Cheers
Daniel
Last edited:
Great progress, Daniel and I fully support your decision to make from scratch internal structures! If I may suggest you considering imitating the treenails, at least just drilling the holes? In the last photo, it looks really nice, though.


