the Colonial Schooner Hannah in 1/48 [COMPLETED BUILD]

Hello dear friends
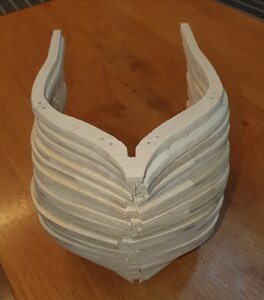
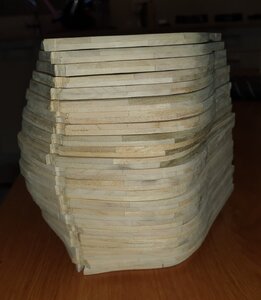
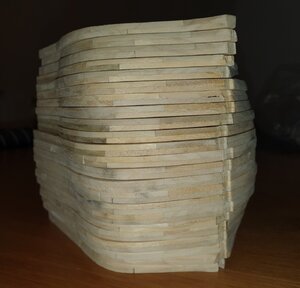
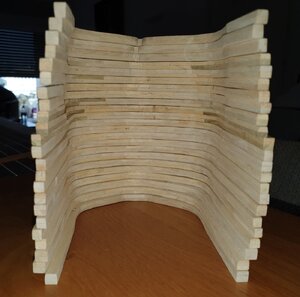
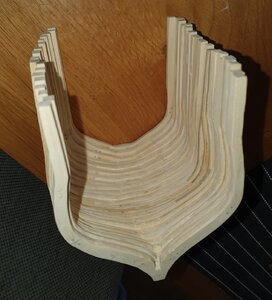
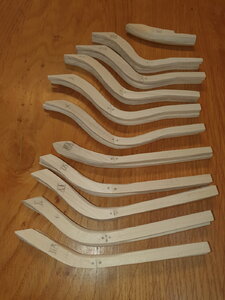
Today I finally finished making the Frames, including sanding and smoothing. This is a work process that lasted about two and a half months. The truth is that for the first time of building from plans / scratch, I am quite satisfied with the result.
For now I will leave this ship for a few weeks before I complete the construction of the keel, the parts of the bow and stern and mount them on the jig.
I'm going back to Priceland which has been neglected for the last two months.
20200927_154607.jpg20200927_154627.jpg20200927_154645.jpg20200927_154701.jpg20200927_154749.jpg20200927_164855.jpg
 
Hello dear friends
Today I finally finished making the Frames, including sanding and smoothing. This is a work process that lasted about two and a half months. The truth is that for the first time of building from plans / scratch, I am quite satisfied with the result.
For now I will leave this ship for a few weeks before I complete the construction of the keel, the parts of the bow and stern and mount them on the jig.
I'm going back to Priceland which has been neglected for the last two months.
View attachment 181651View attachment 181652View attachment 181653View attachment 181654View attachment 181655View attachment 181656
Following only your later posts regarding bolting material options and your neatly finished frames: How were they cut out? By hand or a CNC process? I have never tried this stage of building but think that others may have been going a CNC route. IF hand cut they would be a real challenge for true lines and joinery. Thanks for your insight to one who has not gone a scratch build route. PT-2
 
Following only your later posts regarding bolting material options and your neatly finished frames: How were they cut out? By hand or a CNC process? I have never tried this stage of building but think that others may have been going a CNC route. IF hand cut they would be a real challenge for true lines and joinery. Thanks for your insight to one who has not gone a scratch build route. PT-2
OK, after the above went back into your early logs and found the process of your making the futtocks into the separate frames. The futtock pieces were precisely cut for assembly into rough blanks that you cut out from the pattern and sanded down. Well done hand work! PT-2
 
Dear FT-2
I'm following & based on The Practicum by Robert E.Hunt in the process of building the Frames .
the preparation of the Frames was done without any cnc equipment but on a small table saw and a filament saw. Recommend that you look at the documentation walked in posts 23-104
 
G'day Shota, I have just had an enjoyable read through your build log and you are doing a magnificent job on building your Hannah, she looks really great , I look forward to the rest of your build,

best regards John,
 
G'day Shota, I have just had an enjoyable read through your build log and you are doing a magnificent job on building your Hannah, she looks really great , I look forward to the rest of your build,

best regards John,
Dear john
Thank you so much for the warm and supportive words And for all the likes
:) Thumbsup
 
Hello my dear friends
This weekend I back to the Hannah model after working on the Priceland for the past month.
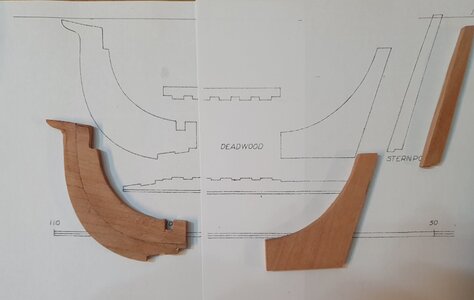
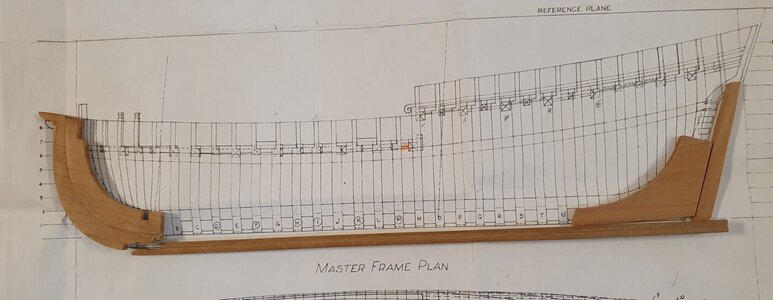
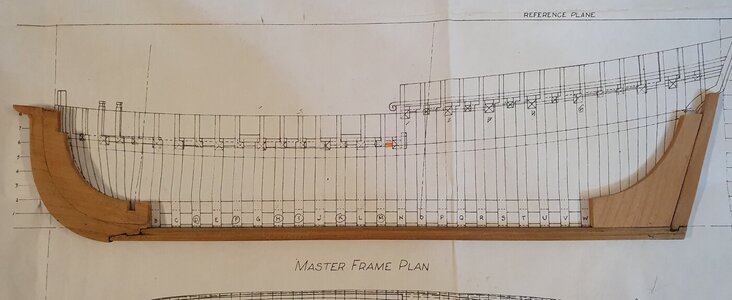
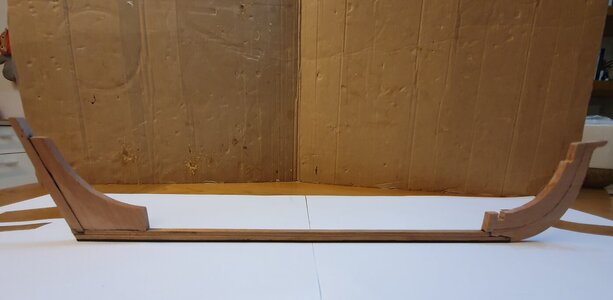
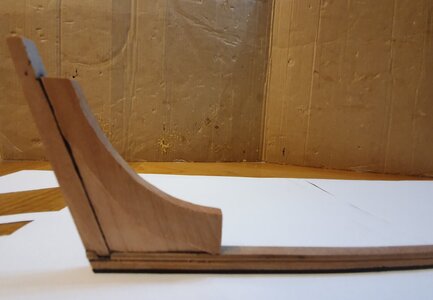
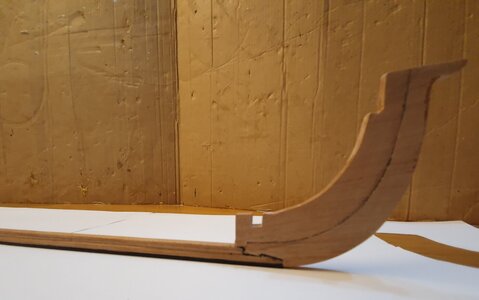
I built the stem parts and glued them to the keel. 20201024_234458.jpg

20201024_234401.jpg
When I wrote it this way, it sounded easy and simple, but it's not a simple process.
It requires to
Measure the wood to the thickness and dimensions of the parts, saw, sand and paste the drawings in rubber cement on the various parts in the hope that you are accurate. Of course I left enough wood for the repairs of the parts as well. Tonight I glued all the parts and to my delight it came out accurate and beautiful for the first model from Scratch / Drawing. 20201024_234140.jpg
20201024_234205.jpg
This time I also used white glue that I mixed it with black powder (which Stoglo gave me), it created in the gluing areas the appropriate shade of tar.
Wishing us all to continue to enjoy building our models
 
Good progress my friend. Time certainly flies - I cant believe you have been busy with the Friesland for another month.
 
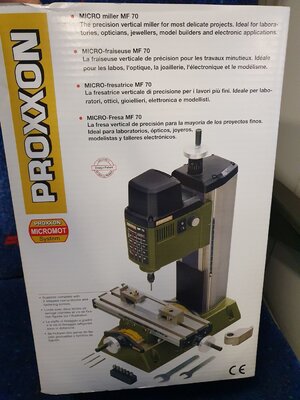
Hello friends Today I purchased the prooxon mill20201025_170534.jpg
Hope to learn how to get another upgrade from it for the modeling process.
I would be happy if you would refer me to videos that teach and demonstrate the products that can be produced from the machine.
 
Hello dear friends
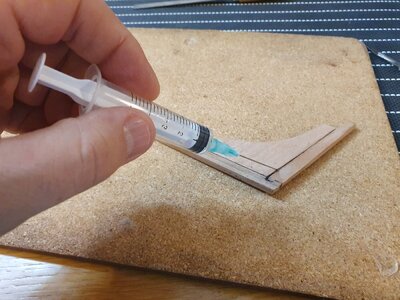
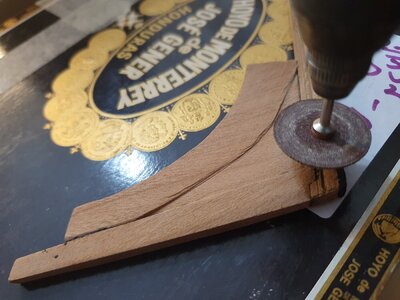
Tonight I did a repair on the back of the stem, I removed the part using alcohol. Then I sanded it so that it formed a dent in the shape of a banana / moon.
20201026_211919.jpg
20201026_232610.jpg
then I glued it back to his place.
Next I glued the bottom panel of the keel, which in reality in shallow water was meant to absorb contact / damage from rocks and sandstone.
20201027_000258.jpg20201027_000235.jpg20201027_000143.jpg20201027_000207.jpg
Good night
 
Back to you my dear friends
Over the weekend I progressed little bit further in the construction process of the model.
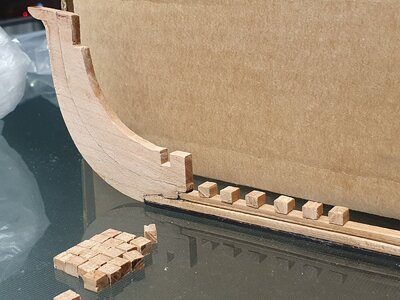
I made the boxing piece, which will be glued to the keel between the frames.20201030_213504.jpg

20201030_213348.jpg
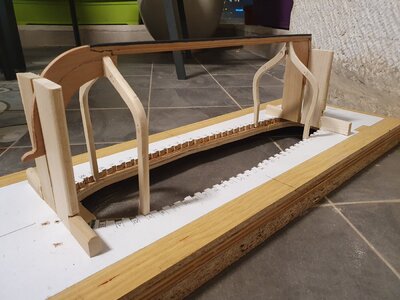
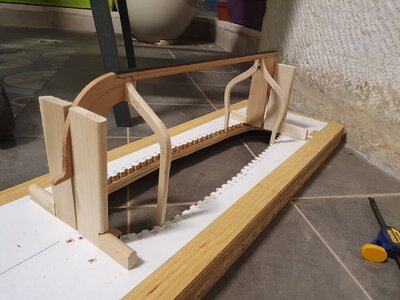
then I started making the Building Jig with the great help of stuglo.
Next I made the braces and glued them to building jig .

These preparations allowed me to start to glue the frames to the keel, when the first ones were frames A and W at the edges of the KEEL according to the Practicum by Robert E. Hunt.
Of course I made sure to check the center of all the parts and the angle of the frames is 90 degrees to keel.

20201031_213418.jpg
20201031_213404.jpg
I will continue to update :)
 
Back
Top