The Galilee Boat Circa 40-50 BC Scale 1:24 [COMPLETED BUILD]

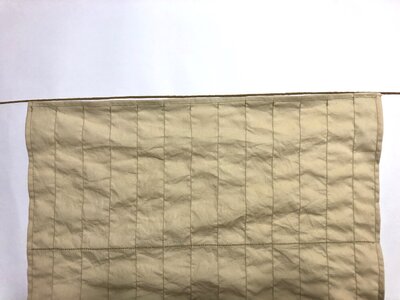
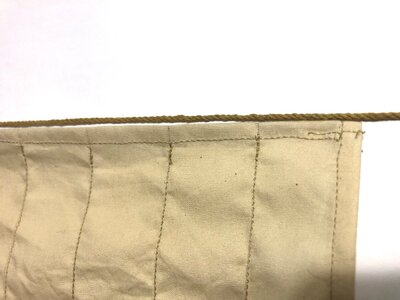
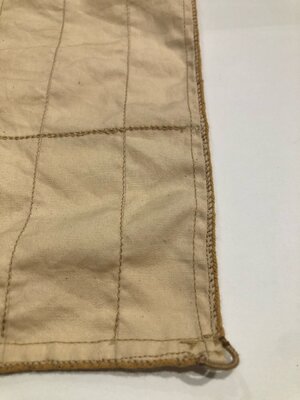
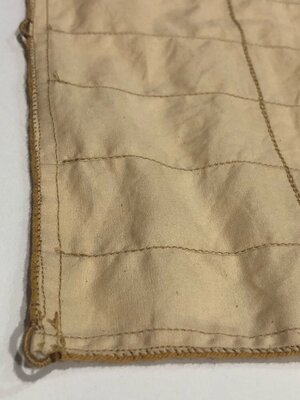
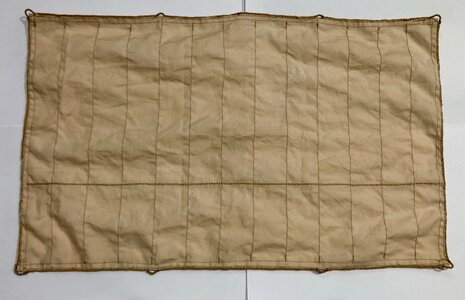
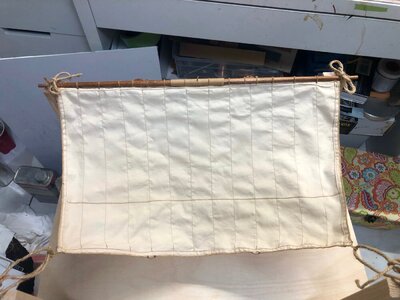
Here is my own seem, not too shabby.
View attachment 261908
Front
View attachment 261907
Back
This sail works much better with you boat than before. Good job. Where did you find your $100 Singer? Those that I see here are more $$$$. My wife's machine has frozen up and as it is mounted in a stand with legs would be a problem in taking to be repaired. When I sewed the bolt ropes on my BN sails I sewed through the bolt rope which would tend to unwind the line so I had to go back for "repairs" sewing closely around the unraveled portions. For your sail the next step may be to sew fairleads or at least small loops on the outer vertical edges to provide the guides for brailing lines coming down those sides as well as a fairlead at the yard end for the braces lines . . . all a part of the shaping of the sail together with the brailing lines on the sail face (windward0 itself. Do you have small chain loops for those brail loops on the sail face? I found some at the local Hobby Lobby which were in scale for my 1: 6 4 BN. My current Kyrenia is 1:43 so I may have to find some others. I don't recall the scale of your Galilee which will be your factor to work with. You are proceeding very well.
Rich
 
Rich,
I got my sewing machine at my local fabric store.
While I was walking around searching for fabric to sew a sail, I noticed that this particular store had a small section where a lady was giving sewing classes but she was also a sales person for Singer and she had like 10 different kinds of sewing machines, all in sale. My machine was the cheapest one; (Singer Fashionmate 3342) it cost me only $102.00, two years ago.
 
Last edited:
To create the hem, I had to iron ¼” on all edges, roll it over and iron it again, just to make it easier to sew.
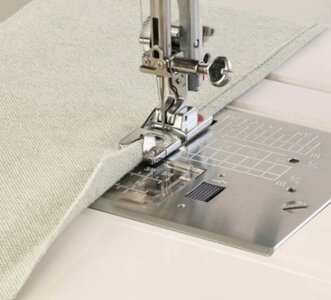
One thing I found out today and maybe many of our fellow modelers know this already is the fact that you could attach a “Roller Hem Foot” for a super smooth hem.
My next acquisition will be a 3mm roller Hem Foot.
This is a lifesaver for rookie seamstress like me.
Watch out sails, here I come.
Screen Shot 2021-10-12 at 10.12.39 PM.jpg
 
Coloring the Bolt Rope.
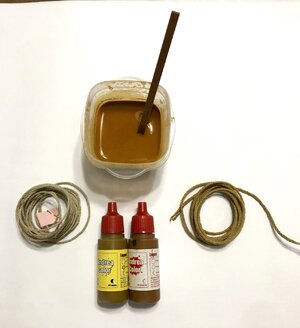
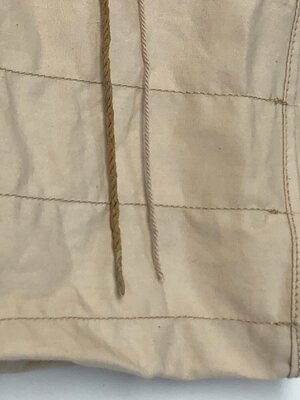
Looking through all my stash of mini rope, I found this one but I didn’t like the light color, so I mixed a wash with two different browns just to give a darker color.
I let the rope soaking overnight, dried it with paper towels and set it out to dry.
This is what I came up with. The original color is the left of course.

IMG_1004.jpg
 
That foot is a
To create the hem, I had to iron ¼” on all edges, roll it over and iron it again, just to make it easier to sew.
One thing I found out today and maybe many of our fellow modelers know this already is the fact that you could attach a “Roller Hem Foot” for a super smooth hem.
My next acquisition will be a 3mm roller Hem Foot.
This is a lifesaver for rookie seamstress like me.
Watch out sails, here I come.
View attachment 261944
cool addition. I'll have to ask about it when shopping. RIch
 
That foot is a

cool addition. I'll have to ask about it when shopping. RIch
Just a question about scale . . . . is thar rope in scale with what you would expect to see on the boat? i don't know the scale but it looks too heavy without a benchmark for comparison. RIch
 
I think it looks close enough.
What do you think?
You know how much I appreciate your comments and criticism.
View attachment 261964
View attachment 261965
I am not sure how you feel about the size but I think it is too large for the size of the sail and the function that it serves would overload the sail edges IMHO. Perhaps 3/4 or 2/3 would be more in scale as I look at it. But as always the model is yours to build and present at You see it best. Just some thoughts. Rich
 
I am not sure how you feel about the size but I think it is too large for the size of the sail and the function that it serves would overload the sail edges IMHO. Perhaps 3/4 or 2/3 would be more in scale as I look at it. But as always the model is yours to build and present at You see it best. Just some thoughts. Rich
Going back to look at the full luff at what will engage the yard it may be OK but I still have hesitancy thinking about the other three sides. Look at the sail rigging figure that I sent to see how you see the difference in sizes of the edge and center brail lines and their load function in shaping the sail. RIch
 
Rich,
You said:
I still have hesitancy thinking about the other three sides. Look at the sail rigging figure that I sent to see how you see the difference in sizes of the edge and center brail lines and their load function in shaping the sail.
This is totally brand new to me. I didn’t know that boltrope had two different thicknesses, one for the part that will engage the yard and a thinner size for sides and bottom.
With all of your ships detailing messages proves to me that I love building model ships but I don’t know nothing about the specifics details that involves creating a descent replica.
Thank you once more for all of your help. Keep it coming.

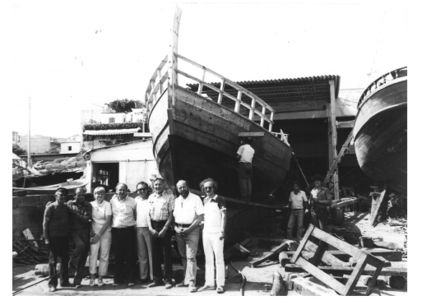
I strongly beleive you are one of the guys in this picture.
Screen Shot 2021-10-13 at 8.26.32 AM.png
 
I think that this rope will do good to take care of the othere three sides of the sail.
What do you think?

IMG_1012.jpg
 
I think that this rope will do good to take care of the othere three sides of the sail.
What do you think?

View attachment 262104
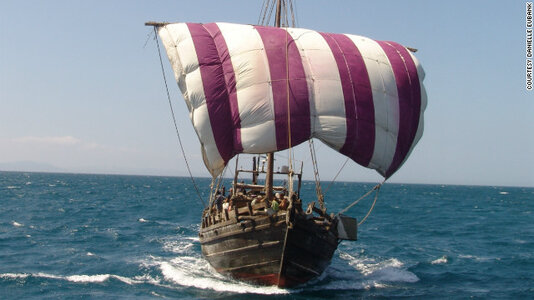
Yes, that is a good size. I think that the photo is of a Kyrenia II rebuild from just the bow view but it may be another such as the Galilee. Bow view phoneician-expedition-horizontal-gallery.jpg
This photo of Kyrenia II may give you some idea how the brailing, braces, and other lines work together to shape the sail geometry for an angle of downwind sailing. Rich
 
enn el dibujo superior de Benjamin, se ve bien como esta cosido el cabo (cuerda) por el borde de las velas en todo su contorno, es un cosido que realmente no cose la cuerda a la vela, sino que lo fija a ella por sus costados, en las esquinas de las velas, esta cuerda perimetral puede hacer un 8 y seguir por todo el perímetro, luego allí ajustas las cuerdas tirantes de las velas (espero explicarme bien)

In Benjamin's upper drawing, you can see how the rope is sewn along the edge of the sails all around, it is a seam that does not actually sew the rope to the sail, but fixes it to it by its sides, in the corners of the sails, this perimeter rope can make an 8 and follow the entire perimeter, then there you adjust the tightrope of the sails (I hope to explain myself well)
 
Last edited by a moderator:
Thank You for the input Grengraf, I think that is exactly what I did.
As you can see here I passed the stitches through the boltrope and very close to each other.
There is about 560 hand stitches all around the sail.
I also made the Head earning cringles and the Crew cringles.
It is not the best ever but it looks good to me.
IMG_1088 (1).jpg
IMG_1090.jpgIMG_1087.jpg
 
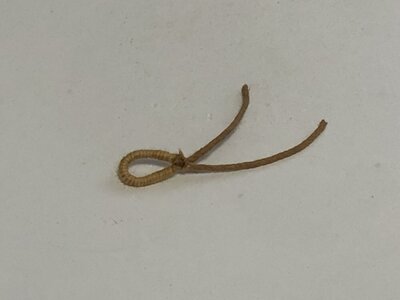
Crew Cringles adjustments.
According to Grengraf, my original crew crinkles were made incorrect because they were open.
This is not correct due to the fact that when the sail gets full, the force of the air will rip the crew crinkle off the sail edge.
So to repair this mistake I sew four new closed cringles, preceded to cut off the original ones and replace them with the closed version.


C2CE6FDC-0DF0-415B-8DFE-EA06D48A8F78.jpeg
 
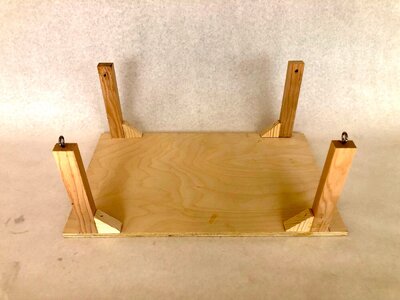
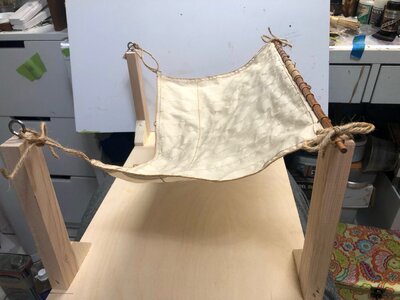
I know that there many ways to make the sails look filled, but I did this weird looking contraction to help me achieve that.
Base.jpg
 
Back
Top