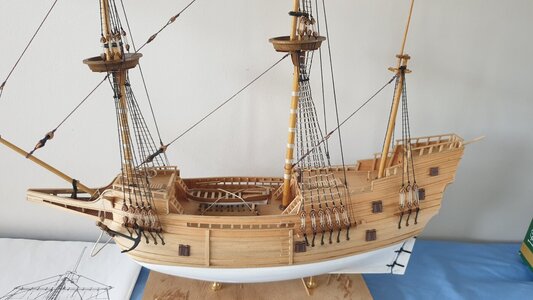
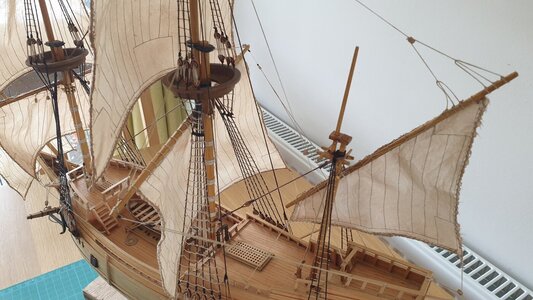
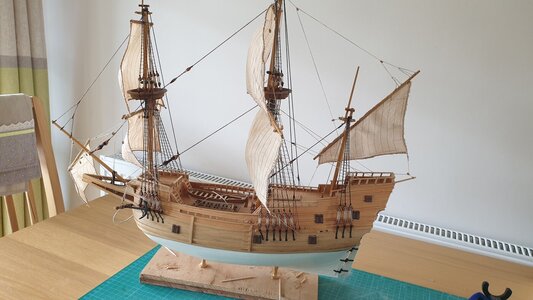
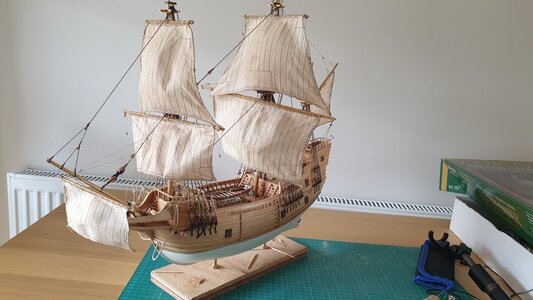
The Mayflower by Amati [COMPLETED BUILD]

Joined
Jul 31, 2022
Messages
100
Points
103

Location
Scarborough U.K.
I just joined SOS so as far as the Mayflower goes I have her almost complete, you can see the full build so far here:- https://www.youtube.com/c/TheModelShipwrightPaulLester
A couple of points to note if anyone is thinking of building this one, there are some errors on the plans, like some part numbers missing but for anyone with a medium amount of knowledge, you can work things out. I am working on the rigging at the moment and will post further updates as I work through it. I try to add a video to my channel every 2 weeks (every week usually but the rigging takes so long and is very repetitive). My next build will be the fully ribbed Bluenose.

Screenshot 2021-12-29 at 13.59.26.jpg
 
I just joined SOS so as far as the Mayflower goes I have her almost complete, you can see the full build so far here:- https://www.youtube.com/c/TheModelShipwrightPaulLester
A couple of points to note if anyone is thinking of building this one, there are some errors on the plans, like some part numbers missing but for anyone with a medium amount of knowledge, you can work things out. I am working on the rigging at the moment and will post further updates as I work through it. I try to add a video to my channel every 2 weeks (every week usually but the rigging takes so long and is very repetitive). My next build will be the fully ribbed Bluenose.

View attachment 321218
vary nice work, well done Thumbsup:)
 
A bit more done today and this weeks video posted
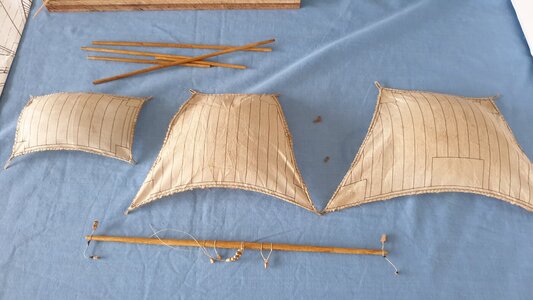
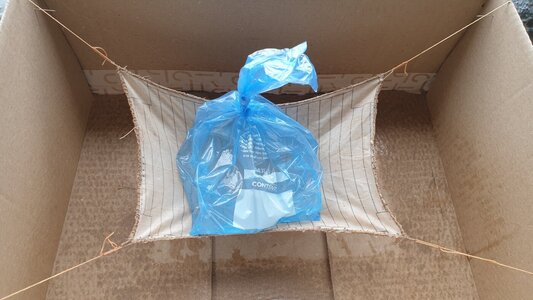
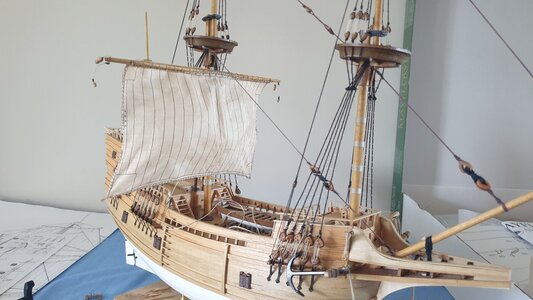
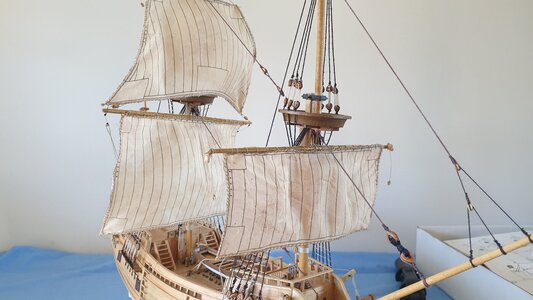
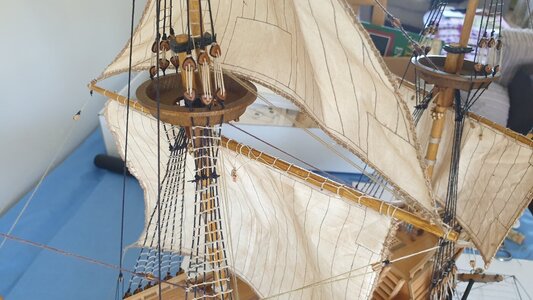
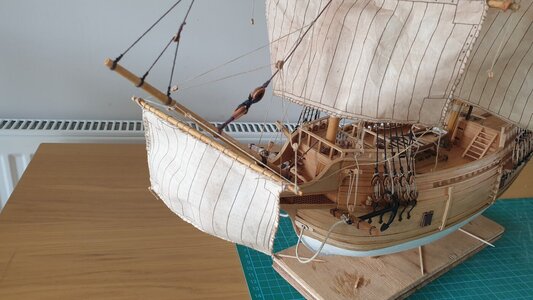
I got the first sail on to the model today after finally finishing the shrouds and ratlines.
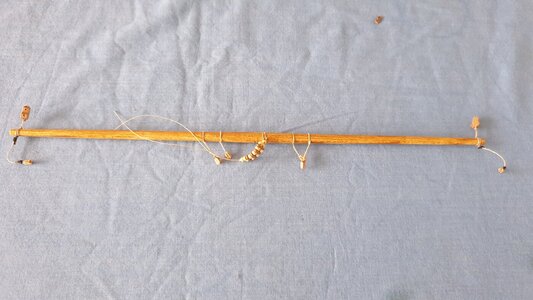
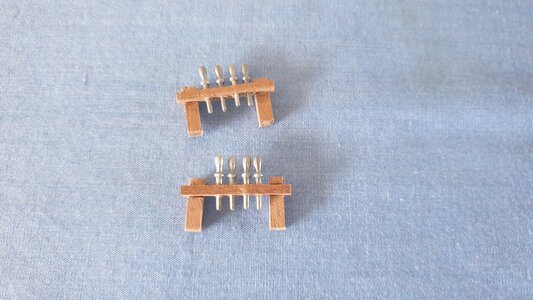
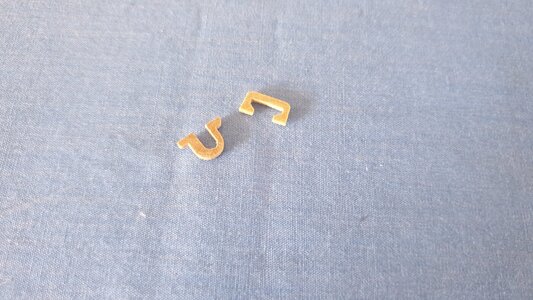
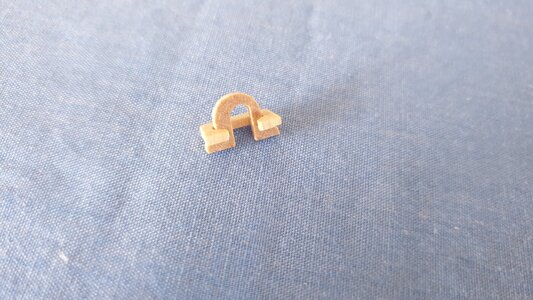
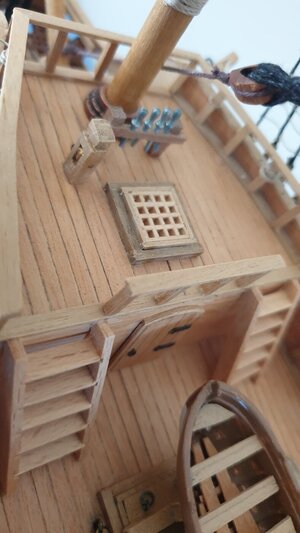
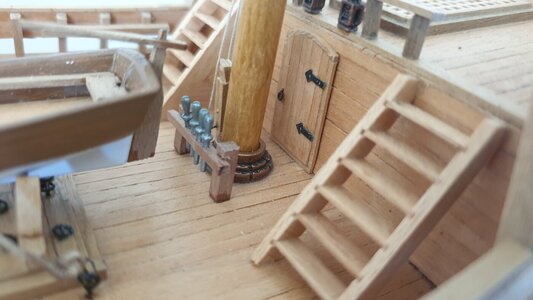
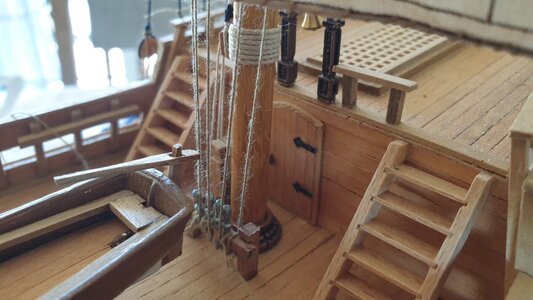
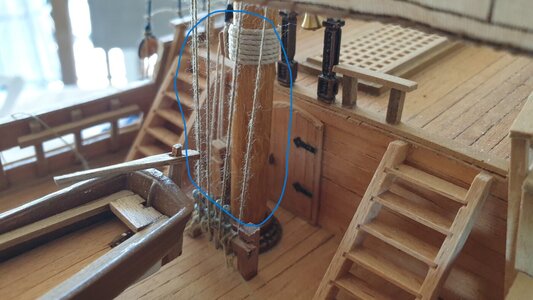
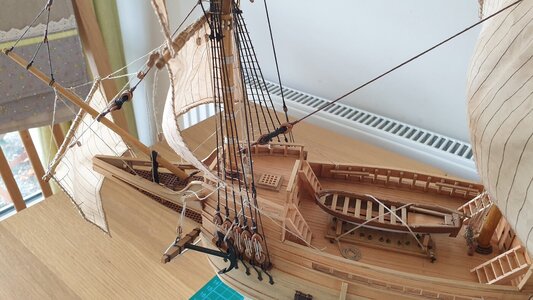
Just one change, on the drawings and with the model are some sort of rigging cleats that fit inside the crows nest, well I couldn't work out how they went, and after studying photos of the full size replica and rigging drawings, I have come to the conclusion that the top yards were not controlled and made off in the crows nest, so I made up some pin rails and used some leftover belaying pins, I will fit one just forward of the main mast and one just aft of the foremast, then I can bring all halyards down to deck level.20220803_143258.jpg20220803_143315.jpg20220803_143356.jpg20220803_143421.jpg
 
Looks very good.

Total nightmare if your going for accuracy.

Good ideas with sail.

Clean and crisp planking - looks good.

If you want to take a chance ?
Try a semi scratch build - use templates but build / shape the wood.
If really getting the bit between the teeth - try scale.
You will see a different out come + I think more satisfying + expanding your craft skills.

Still - I like it!
10/10 :)
 
Awesome! I can understand being a dining room table modeler. The early days of my hobby I was in the military and moved a lot so everything I did needed to be compact and portable. It was tough moving my in progress model! So the dining room table is awesome!
 
I like your rigging. However, if you allow me to make a small suggestion (for the next build), you can use beeswax and move a rigging line against it, it will remove the line fuzz visible on the model. Another suggestion is to use the polyester lines, it doesn't have fuzz.

Another suggestion is the ship's boat. When ships boat is stowed aboard the ship, the rudder and tiller are removed and stored inside the boat.

20220812_143636.jpg
 
Good day,
Your work is very accurate and looks nice!
A few remarks, maybe they could be usefull for the next projects...
Standing rigging ( woth lanniards) and running rigging lines , they are all of different diameters depends on place of use... main stay should be the biggest one... when main stay is the same size as fore topmast stay and others, for example, it looks not correct.
There is special tables for rope sizes calculations depend on size of main mast... it could be found here , on this site in special section...
Knights for main sails tie halliards should have 3-4 sheaves at least, and sheaves line should be in perpendicular to the vessel's middle line , not parralel...
There is very nice book of R.C.Anderson devoted to all aspects of 16-17 rigging questions...
Wish You all the best!
Kirill
 
I like your rigging. However, if you allow me to make a small suggestion (for the next build), you can use beeswax and move a rigging line against it, it will remove the line fuzz visible on the model. Another suggestion is to use the polyester lines, it doesn't have fuzz.

Another suggestion is the ship's boat. When ships boat is stowed aboard the ship, the rudder and tiller are removed and stored inside the boat.

View attachment 323228
Very strange this, but I just looked at the model again and you can't see any of this, it just appears on camera, I know it is there and it will collect dust, so I am going to try brushing it with a very watery PVA and see what happens.
 
Very strange this, but I just looked at the model again and you can't see any of this, it just appears on camera, I know it is there and it will collect dust, so I am going to try brushing it with a very watery PVA and see what happens.
It is The Macro Killer... ;)
 
Hi Paul, to add onto Jim's suggestion, before you try the PVA method, you may be able to rub some beeswax onto your thumb and forefinger and lightly grip and rub gently up and down to pull in those "frizzies".
Good luck!
 
Beautiful work, Paul. I really like the look of your Mayflower - especially the color of the wood.
 
Beautiful work, Paul. I really like the look of your Mayflower - especially the color of the wood.
Thanks Heinrich, I have to say the quality of the wood supplied in the Amati kit far out weighs the quality of the instructions, so many errors and omissions, the wood is just sanded well and had two coats of clear varnish. I was going to use this on my Bluenose but then saw and heard that Tung oil was better, then just read today that nothing will stick to any wood treated with Tung oil, your thoughts please.
 
Back
Top