The Schooner Bluenose 1921, POF Yuanqing Models 1:72 [COMPLETED BUILD]

Joined
Jun 8, 2020
Messages
2,523
Points
588

Location
Houston,Texas
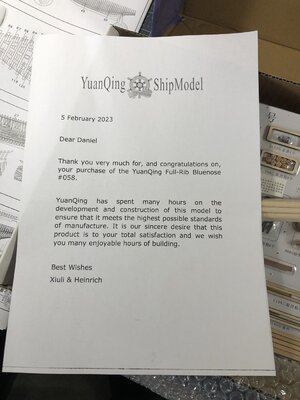
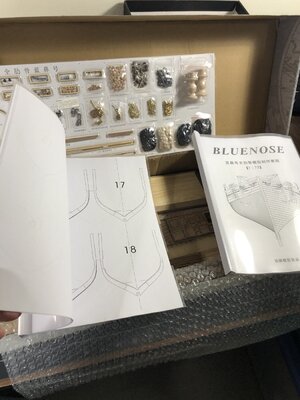
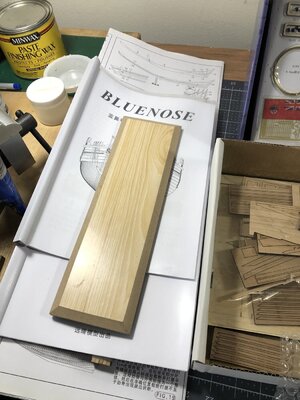
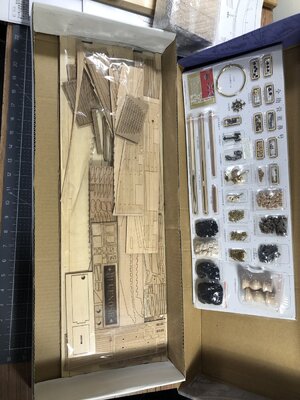
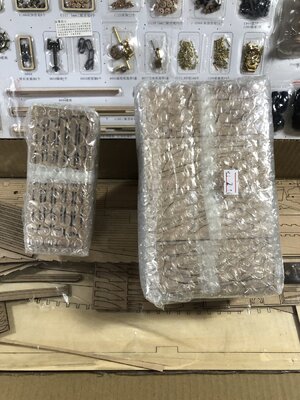
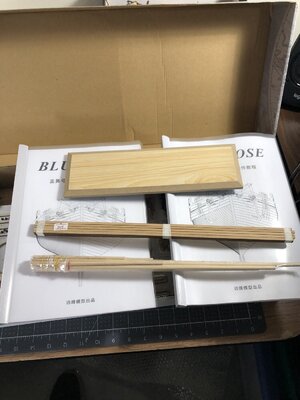
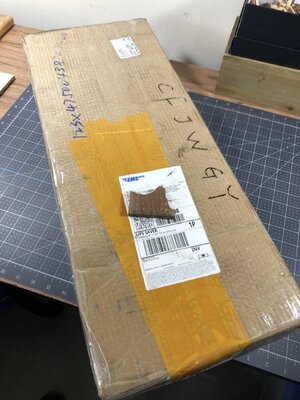
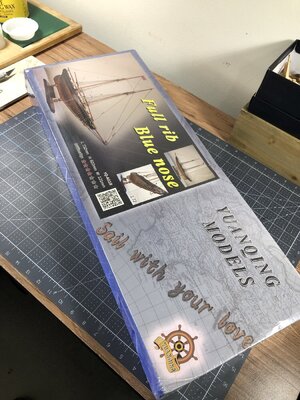
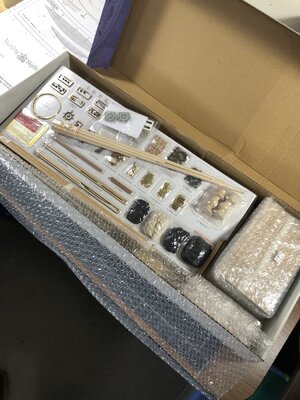
Good afternoon, I just received my YQ Bluenose and am excited to share my first look at its contents. Of course, it came very well packaged and upon opening there is no apparent damage to any of the contents. I like the way most all the fiddley pieces have been shrink wrapped to a cardboard base. While there are what looks to be ample instructions, I downloaded a set in English since I don't read or speak Chinese. So, let's have a look.
IMG_2369.jpgIMG_2370.jpgIMG_2371.jpgIMG_2373.jpg

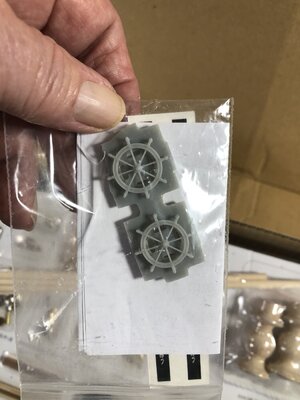
Here is one item the 'ships wheel' that I am really glad to see. This was not the original version, quite a few 3d printed versions were made and put in this kit and I'm just glad they still had some for mine.

IMG_2372.jpg

Next are just a few more shots.

IMG_2374.jpgIMG_2375.jpgIMG_2376.jpgIMG_2377.jpgIMG_2378.jpg

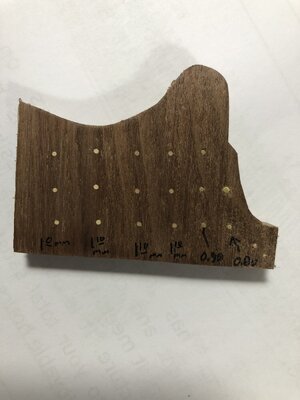
In this last photo I am experimenting with tree nails since I'll be using them in this build. I drilled 3 different hole sizes then used a light wood filler dark wood filler and brass nails and brass wire to see the effects. I used walnut as a test source however I will try some pear wood out as well. After a light sanding and wax seal coat I am pleased with it so far. More than likely, I'll go with darker wood filler. 

IMG_2381.jpg

It will be several days before I get started as I'm still in a research phase. I did buy a fine reference book on the Bluenose II by LB Jenson but not to worry I won't get the two confused in my "Bluenose" build. There will be many similarities that will transfer from BN II to the original Bluenose.

I hope you enjoy. Happy modeling.
 
This is great to see that the kit has arrived so soon and that all is seemingly well. Your tree-nailing experiment looks amazing and bodes well for the upcoming build. The great thing about this model is that it allows for plenty of individual interpretation and all models are distinctly different to one another - each with its own bent and character. I am looking forward to follow along on your journey. It is a ship of tremendous historical significance and i am sure you will do her proud!
 
This is great to see that the kit has arrived so soon and that all is seemingly well. Your tree-nailing experiment looks amazing and bodes well for the upcoming build. The great thing about this model is that it allows for plenty of individual interpretation and all models are distinctly different to one another - each with its own bent and character. I am looking forward to follow along on your journey. It is a ship of tremendous historical significance and i am sure you will do her proud!
Thank you for the encouraging words, Heinrich.
 
This is good news Daniel! Enjoy the build!
There is a history behind the printed wheel...lol...but you only need one of them. ;)
Also I modeled an anchor, the steering mechanism and the motor for the windlass. The instructions were converted to English and can be found here...
 
Thanks Dean, indeed, there is an abundance of reference material, and I am really glad yours is part of that reference material. I remember the ships wheel story as I was following your build at the time. If this kit did not have it, you were my next PM to get one. Thanks for posting the link to the translated instructions too.
 
No problem, you have to read through it to get all of them. Should probably be put together into one file, and may have been. Perhaps someone from the group build can chime in?
Dean I actually have a Word doc file with all the translations I found somewhere here in the SOS family. I don't recall where I found it but will find it when I have more time. I thought your link was that file but it's not.
 
Dean I actually have a Word doc file with all the translations I found somewhere here in the SOS family. I don't recall where I found it but will find it when I have more time. I thought your link was that file but it's not.
No, that is where we started it. And to be honest I don't know what ever became of it, as I abandoned the YQ instructions as soon as the masts and rigging began. Why, will become apparent once you get into the build. ;)
 
Good afternoon, I just received my YQ Bluenose and am excited to share my first look at its contents. Of course, it came very well packaged and upon opening there is no apparent damage to any of the contents. I like the way most all the fiddley pieces have been shrink wrapped to a cardboard base. While there are what looks to be ample instructions, I downloaded a set in English since I don't read or speak Chinese. So, let's have a look.
View attachment 357678View attachment 357679View attachment 357680View attachment 357681

Here is one item the 'ships wheel' that I am really glad to see. This was not the original version, quite a few 3d printed versions were made and put in this kit and I'm just glad they still had some for mine.
View attachment 357682

Next are just a few more shots.

View attachment 357683View attachment 357684View attachment 357685View attachment 357686View attachment 357687

In this last photo I am experimenting with tree nails since I'll be using them in this build. I drilled 3 different hole sizes then used a light wood filler dark wood filler and brass nails and brass wire to see the effects. I used walnut as a test source however I will try some pear wood out as well. After a light sanding and wax seal coat I am pleased with it so far. More than likely, I'll go with darker wood filler. 
View attachment 357688

It will be several days before I get started as I'm still in a research phase. I did buy a fine reference book on the Bluenose II by LB Jenson but not to worry I won't get the two confused in my "Bluenose" build. There will be many similarities that will transfer from BN II to the original Bluenose.

I hope you enjoy. Happy modeling.
Good morning Daniel. “Gentlemen start your engines” !! Cheers Grant
 
Back
Top