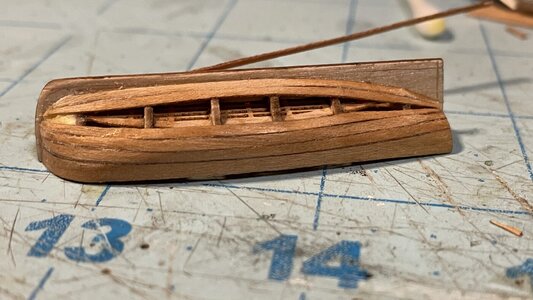
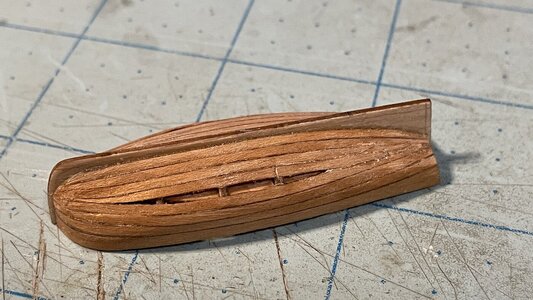
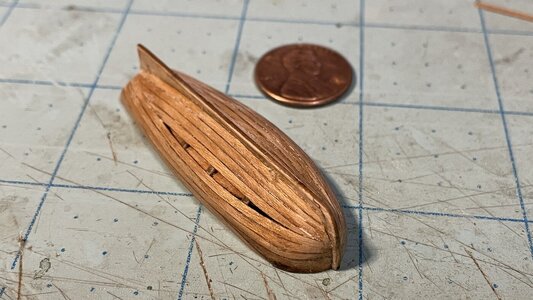
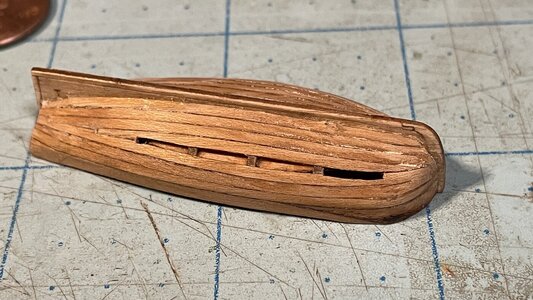
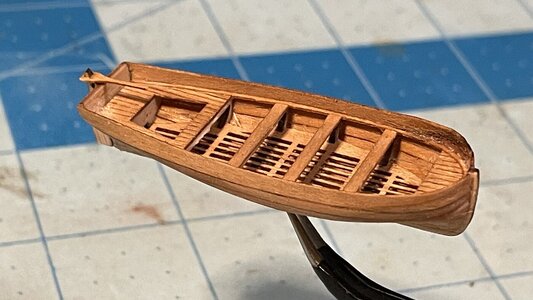
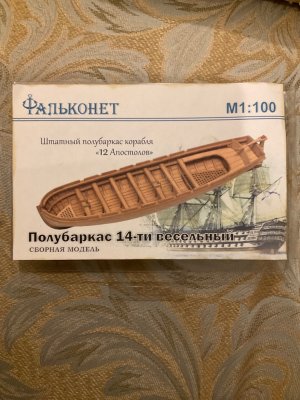
Tiny Ship's Boat from Cheap Chinese Kit Super FAST Build Log

Joined
Jan 1, 2018
Messages
4,841
Points
688

Location
Ramsey, Minnesota, USA
So you thought building the cheap Chinese Halcon kit was small? Well, I needed a few small boats for future builds on smaller scales, so I picked up four of these cheap laser cut ship's boat kits for about $4.00 each. Here is a 6 hour build log of the first of these little boats. I prefer Master Korabel kits, but he doesn't make kits for smaller scales.

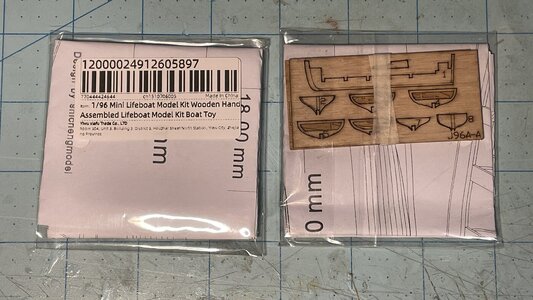
Here are what two of the kits looks like. Quality water resistance bags.
IMG_4889.jpg

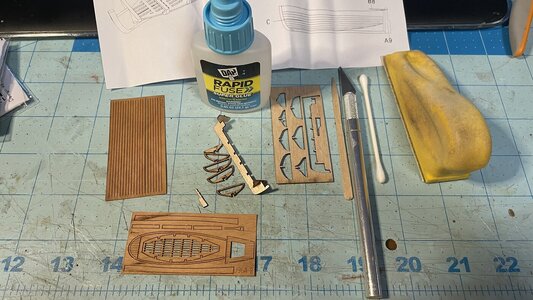
Using a sharp razor knife, the keel and frames are cut out.
IMG_4891.jpg

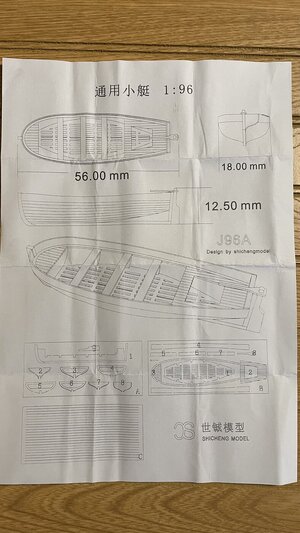
The instructions are quite good. Lots of easy to follow pictures.
IMG_4892.jpg

IMG_4893.jpg

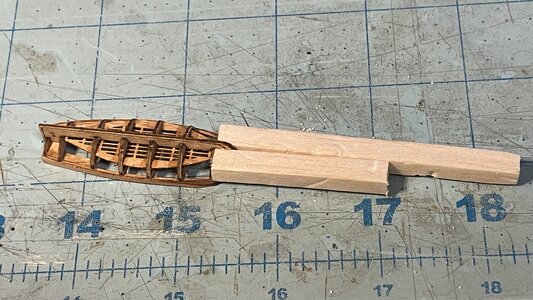
A few frames are CA glued to the keel piece, and the other frames are glued to the floor grating. The parts are cut precisely and fit perfectly with no alterations needed, except for the hull planks which need tapering and custom fitting. You need some experience hull planking to make this kit work well. The parts are VERY VERY delicate, but if you are slow and careful, you won't snap anything in half.
IMG_4894.jpg
 
The assembly is very straight forward. Make sure the frames are aligned. After gluing the grating and frame assembly to the keel, attach the breast hook and side girder piece. Check alignment of parts with EVERY step. The model is very tiny, and you probably only get one chance to get things aligned before the CA glue gets tacky, and you risk crunching the model. CA glue is applied with a toothpick or the tip of a razor knife to contact surfaces throughout construction of the boat in small amounts to promote fast adhesion.
IMG_4895.jpg

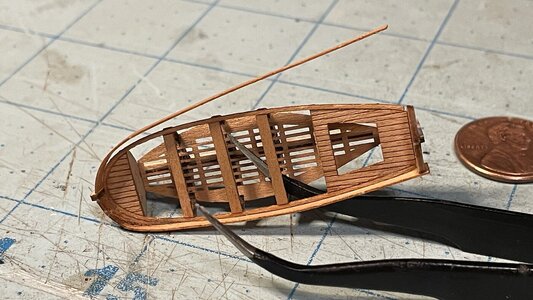
The top strake (gunwale) is glued to the sides of the frames. When appling planking, pre-bend the strake at the bow end by pressing it around your razor knife handle after making it wet. The wood is pretty forgiving and shallow bends and even slight scarf bends can be made with the wood dry, but use caution. There are only two planking strips extra to use to cover for breakage in this kit.
IMG_4896.jpg

I carefully pre-bent the top plank with tweezers to it will conform to the curvature of the transom edge. The CA glue held it well after 30 seconds. The excess plank length is shaved off with a razor knife.
IMG_4898.jpg

Always start the plank at the end of the hull with the most curvature, that is, the bow. Pre-bending the part of the plank hat has the sharpest curve is important, because the more force you have to use to bend the plank to meet the frames, the more likely you will pop a glued point apart, especially at the bow. Once anchored by glue, the plank can be drawn down across the frames and glued down in spots in a direction from bow to stern. Make sure the glue is dry before trying to bend the planking into position.
IMG_4899.jpg

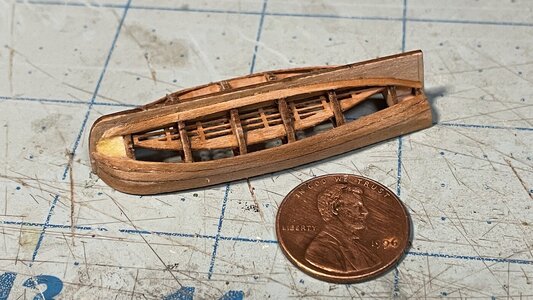
After the top planks are gluedand trimmed, and any excess glue is scraped away using a knife, this is what you should get. The detail is quire remarkable for this scale.
IMG_4901.jpg

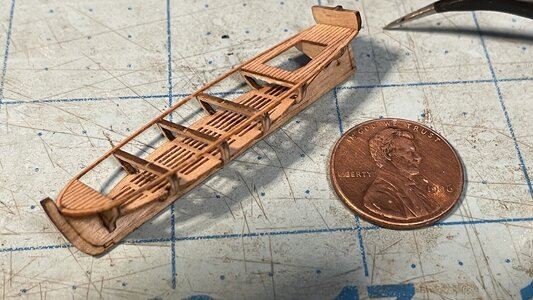
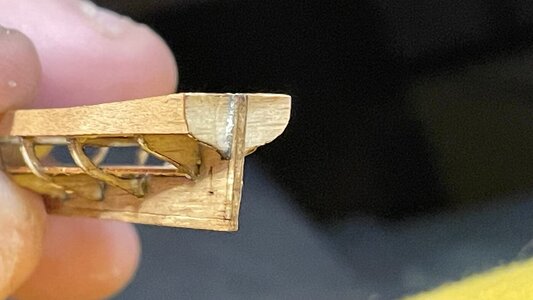
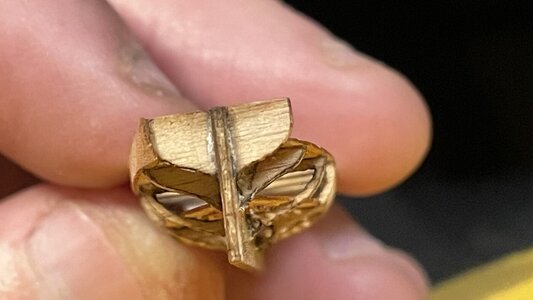
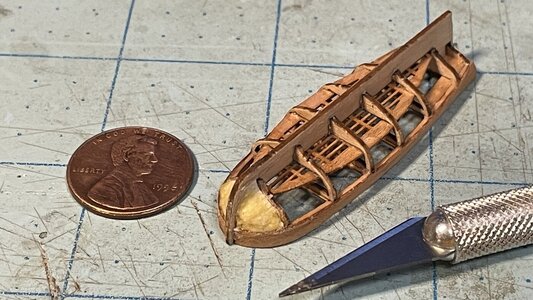
Because of the sharp curvature at the bow, you absolutely need to have bow filler blocks to act as anchor points for all the planks. Some scrap sticks of balsa were glued to the framework.
IMG_4902.jpg

The balsa was then cut, shaved, and formed to make filler blocks. Note that the filler block surface is even with the edge of the first frame, but below the surface at the gunwale by one plank thickness.
IMG_4903.jpg

The first hull plank is anchored at the bow.
IMG_4904.jpg
 
Last edited:
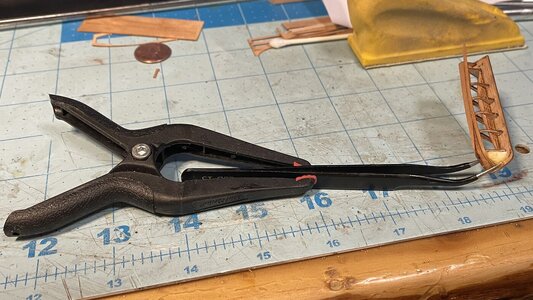
One handy trick is to hold the end of the plank to the filler block until the glue dries. Instead of holding the tweezers with my hands for 5 minutes, I let the spring clamp do the work for me.
IMG_4905.jpg

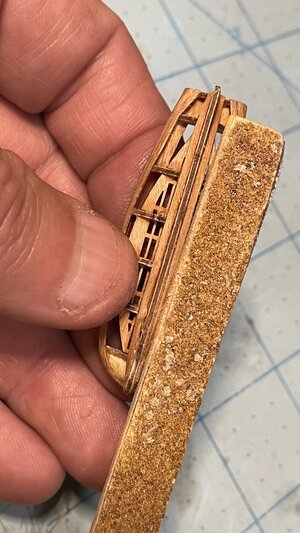
Even though an attempt to bevel the long edges was made so that planks fit closely together without gaps, this is very difficult to do by hand with such tiny parts, so some gaps are inevitable. What you can to to fill gaps and even thin holes in the seams is apply some CA or PVA to the gap, wipe off the excess glue off the plank surfaces, and then lightly sand the area with a small sanding block. The sawdust mixes with the glue in the gap and forms its own filler. A sanding stick is shown here sanding the gap where the garboard strake meets the keel.
IMG_4906.jpg

The results is that the gaps appear to vanish. The garboards strakes are attached, trimmed, and lightly sanded along the keel joint.
IMG_4908.jpg

More planks are added.
IMG_4910.jpg

Even more planks. As the hull gets filled in, you do some light sanding in completed areas to remove excess glue, take off plank edges and and round over the seams. Do not sand too much or you will go right through the planking, and the model will be ruined.
IMG_4911.jpg
 
Keep adding planks, planning the taper and shape of each one, matching them port and starboard.
IMG_4912.jpg

Whiskey plank time!
IMG_4913.jpg

If the hole to be filled has points on the ends, take a sharp razor knife and cut out some of the material from the plank on either side of the hole to make the ends of the gap rectangular, and you would when inserting drop planks. This looks more historically accurate than gluing in planks with pointy ends. At this scale you could stylish the drop planks in Dutch or English style if you are a stickler for detail, but since the boat will likely be painted, this joint design will do just fine.
IMG_4914.jpg

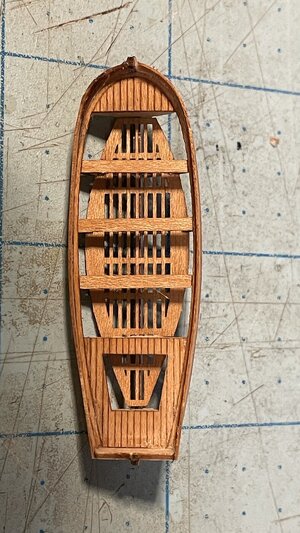
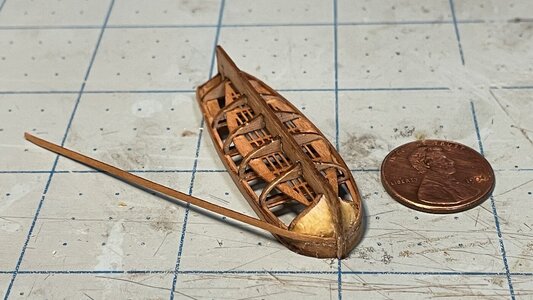
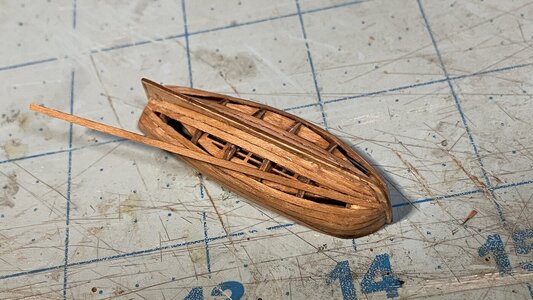
Glue on the rudder and tiller and there you have it! One tiny boat ready for painting. Staining will not work very well because of all the glue which filled the pores of the wood. The finish would probably come out uneven. The port side top plank's grain had a natural dark stained area, but that will be well hidden with paint.
IMG_4915.jpg
 
Last edited:
So you thought building the cheap Chinese Halcon kit was small? Well, I needed a few small boats for future builds on smaller scales, so I picked up four of these cheap laser cut ship's boat kits for about $4.00 each. Here is a 6 hour build log of the first of these little boats. I prefer Master Korabel kits, but he doesn't make kits for smaller scales.

Here are what two of the kits looks like. Quality water resistance bags.
View attachment 452961

Using a sharp razor knife, the keel and frames are cut out.
View attachment 452963

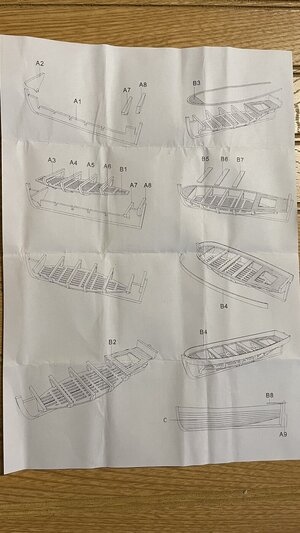
The instructions are quite good. Lots of easy to follow pictures.
View attachment 452964

View attachment 452965

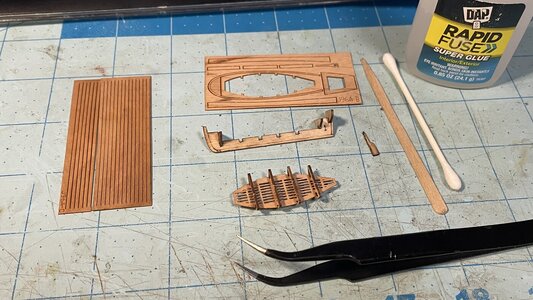
A few frames are CA glued to the keel piece, and the other frames are glued to the floor grating. The parts are cut precisely and fit perfectly with no alterations needed, except for the hull planks which need tapering and custom fitting. You need some experience hull planking to make this kit work well. The parts are VERY VERY delicate, but if you are slow and careful, you won't snap anything in half.
View attachment 452966
I could use a few of these. Do you have detailed ordering information?
 
Nice detail and instruction, but wow those are tiny models, don't think my hands can go down that small.
 
Back
Top