
Hello everyone!
Let me introduce myself. I’m Tom based in Manchester, UK. I’ve been modelling since I was teenager. I have started with plastic models of aircrafts as it was quite easy one. Then I moved to paper models – this gave me a chance to really work on the details and creativity. I’ve been building WW2 ships and planes for some time.
Then it was a break wen I went to the university, started the family, etc. About 10 years ago I came across the DeAgostini HMS victory partwork and that was me hooked. I bought 1st issue, started reading the forum and that was it. I was loving it very much. I had completely no experience with wooden models, I was learning everything on the go. I started following other’s kit bashing and I started doing some mods myself. The build went for quite some time, and I had to put it on hold. I kept all the magazines and parts knowing that I will get back to it sooner rather than later. She went into the loft, survived two house moves and the time had come to get things restarted
After about 7 years I finally got myself to finish it.
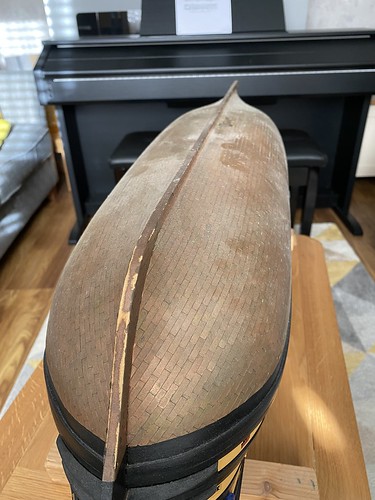
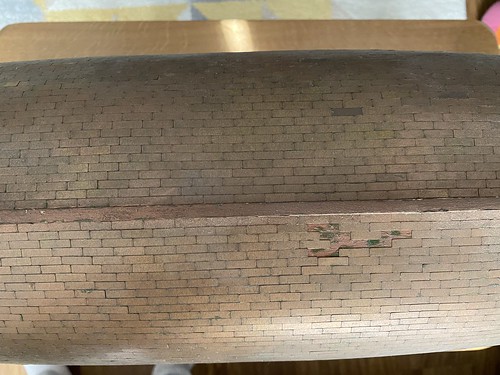
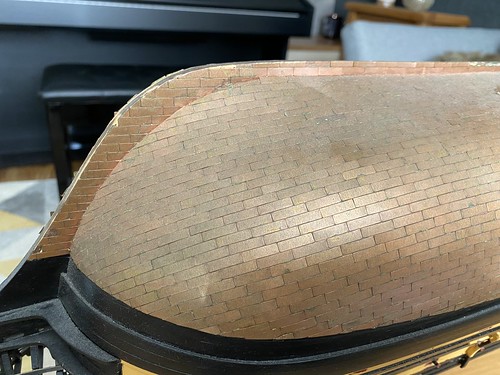
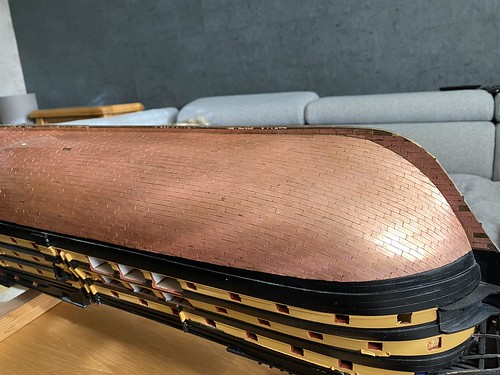
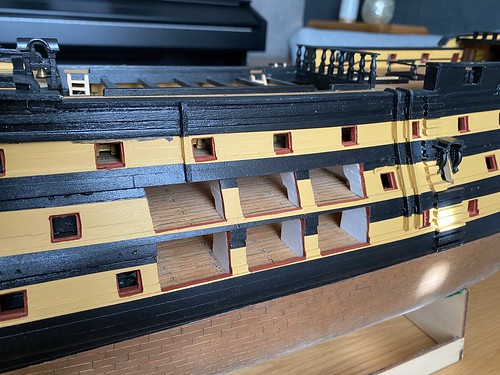
During original build I added custom copper plating kit, instead of using a copper tape we were supplied with around 4000 copper tiles which were more to scale. It took absolutely forever to get the hull covered. I had to finish few things regarding copper tiling right now so it is slight difference in tiles tarnishing on the model.
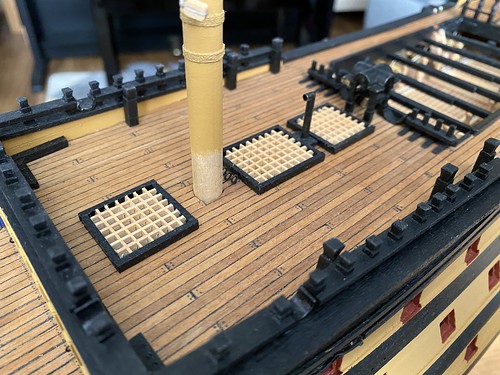
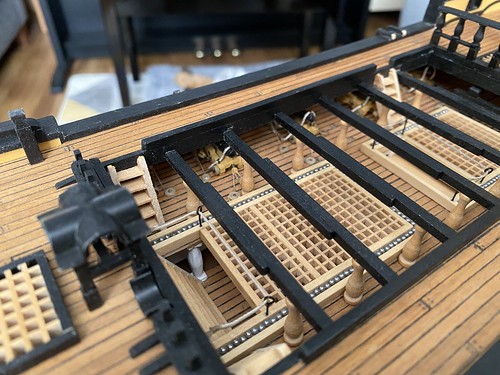
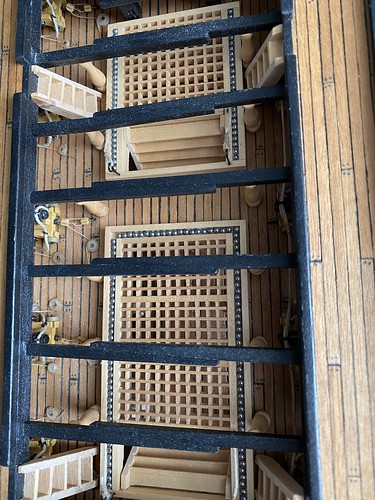
Please have a look at some pics from when I started cleaning the hull and coppering the rudder. There are also pics from the overall state when I left off. The deck planks are made off individual pieces instead as per instructions. More realistic look for sure.


 [/url
[/url
]
Sit tight for another update")
Regards
Tom
Let me introduce myself. I’m Tom based in Manchester, UK. I’ve been modelling since I was teenager. I have started with plastic models of aircrafts as it was quite easy one. Then I moved to paper models – this gave me a chance to really work on the details and creativity. I’ve been building WW2 ships and planes for some time.
Then it was a break wen I went to the university, started the family, etc. About 10 years ago I came across the DeAgostini HMS victory partwork and that was me hooked. I bought 1st issue, started reading the forum and that was it. I was loving it very much. I had completely no experience with wooden models, I was learning everything on the go. I started following other’s kit bashing and I started doing some mods myself. The build went for quite some time, and I had to put it on hold. I kept all the magazines and parts knowing that I will get back to it sooner rather than later. She went into the loft, survived two house moves and the time had come to get things restarted
After about 7 years I finally got myself to finish it.
During original build I added custom copper plating kit, instead of using a copper tape we were supplied with around 4000 copper tiles which were more to scale. It took absolutely forever to get the hull covered. I had to finish few things regarding copper tiling right now so it is slight difference in tiles tarnishing on the model.
Please have a look at some pics from when I started cleaning the hull and coppering the rudder. There are also pics from the overall state when I left off. The deck planks are made off individual pieces instead as per instructions. More realistic look for sure.
[/url]
Sit tight for another update
Regards
Tom


