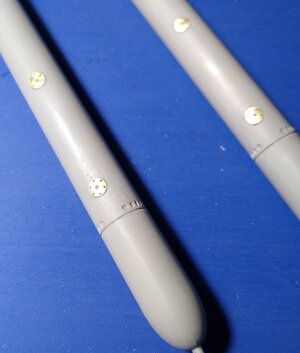
Trumpeter 1/48 DKM U-Boat Type VIIC U-552 Full Build and Diorama

Joined
Aug 20, 2022
Messages
34
Points
68

Hi folks, I'm new to the site however my modelling experience stretches back over fifty years covering pretty much every genre and scale. As well as being a hobbyist, I've also built professionally for clients and also built prototypes and test shots for several manufacturers.

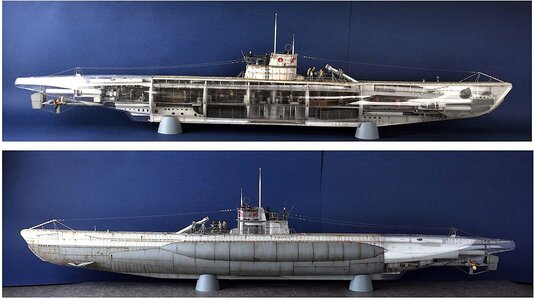
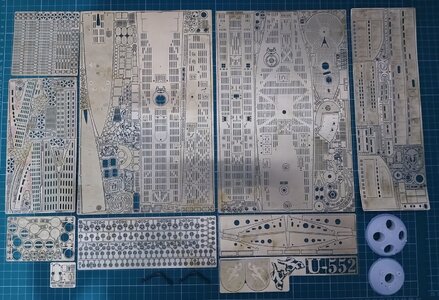
As the title says, the build involves the superb Trumpeter 1/48 U-552 which builds into a fine replica straight from the box, however I will also be adding the extensive RC Subs etched sets, the Eduard replacement main gun, and the Small Scale Lights lighting kit.

The clear hull of the sub will be turned into a true cutaway to maximise the view of the interior, and the whole thing will be mounted in a diorama depicting U-552 at a dockside being replenished with supplies for it's next mission.

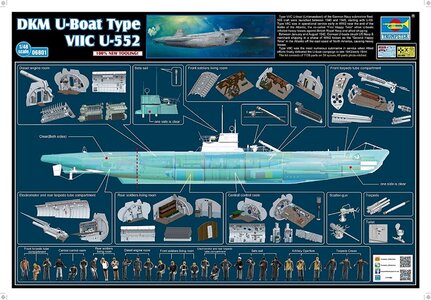
I'm sure a lot of you are already familiar with the Trumpeter kit, but for those who are not here are some images from the flyer....819FpIYylbL._AC_SL1500_.jpg81zxToHm6-L._AC_SL1500_.jpg81+EKkvZWxL._AC_SL1500_.jpg
 
Last edited:
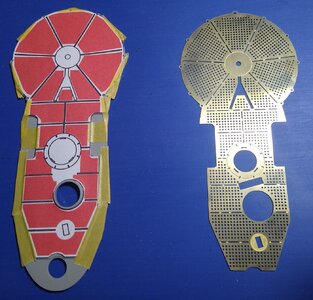
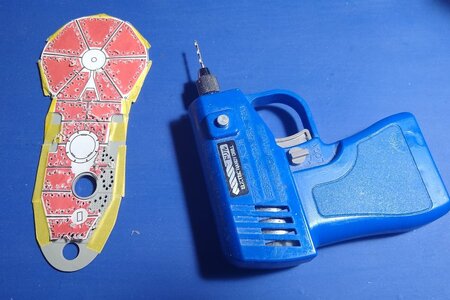
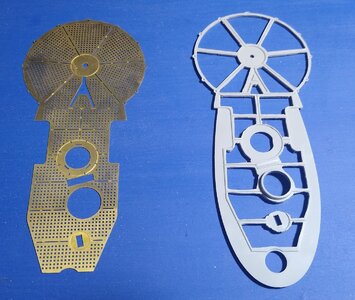
I've got a lot of experience working with etched brass and I like to try out a piece early on to check for accuracy of fit and workability of the brass. For this I chose the gun deck of the conning tower....the instructions include paper templates with red areas indicating where plastic needs to be removed. The template was cut out and taped over the kit part...the brass deck was removed from the fret and the attachment points carefully removed using scissors and a diamond file....
292549230_10224438056116177_1468406076025692436_n.jpg

The red areas were carefully chain-drilled using my trusty Tamiya Handy Drill....this drill is much more useful than a regular Dremel as the gears are designed to rotate at the perfect speed for drilling styrene without melting it....

292562304_10224438056396184_850323163622083786_n.jpg


The drilled areas were then cut out with side cutters and cleaned up with a hobby knife and needle files....

292600204_10224438056836195_4002482893046205230_n.jpg

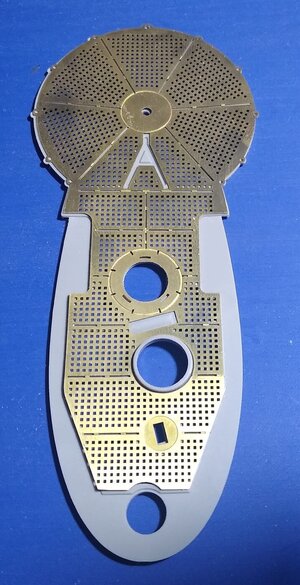
Finally the brass deck was fixed to the plastic one using CA glue...once tacked on I applied more glue around the underside cutouts using a cocktail stick....

292771636_10224438057196204_7454218427499529225_n.jpg
 
Last edited:
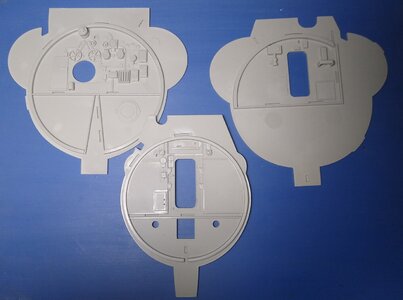
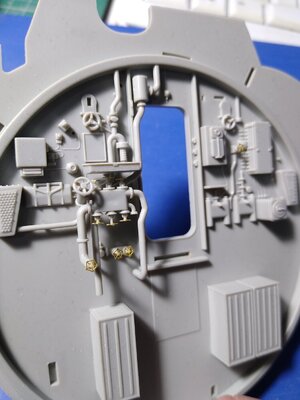
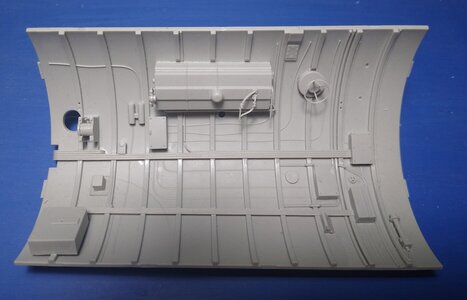
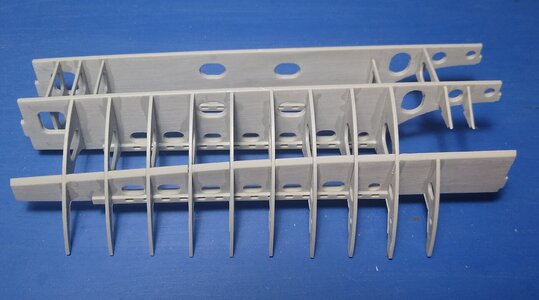
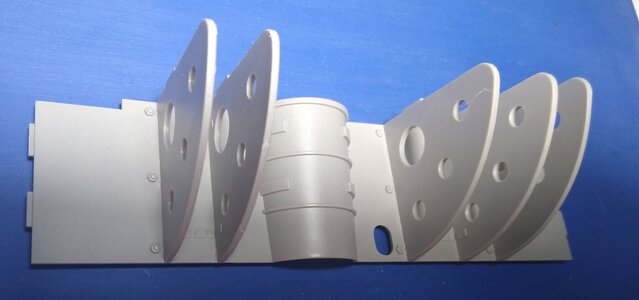
I began the build by tackling the interior. Each compartment is a kit in itself and I followed my usual method of completing many sub-assemblies which will then be painted en-masse....this allows for consistency in colours and weathering throughout. Each bulkhead, floor and wall section was assembled ready for paint. This first pass is purely the kit parts...once these are complete I then revisit each section and superdetail using styrene sheet. brass wire and solder for the various cables....

IMG_20220809_013633116.jpgIMG_20220725_201024970.jpgIMG_20220809_013952914.jpg

The bilge areas are very nicely detailed....
IMG_20220809_013752342.jpgIMG_20220809_013845457.jpg

Battery section as supplied....

IMG_20220809_013904138.jpg

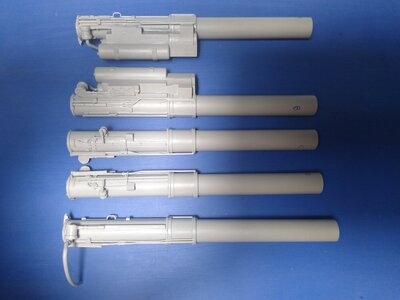
Four forward and single aft torpedo tubes assembled....

IMG_20220809_013439498.jpg
 
Gonna follow this with much interest, I have visited U995 at Laboe and U2540 at Bremerhaven, I also have the Revell U2540 in my waiting pile.
 
This is a really interesting project Iain.The fact that you mention one side cutaway, one side and berth means that you are possibly going to pour resin "water" that will end along the hulls centreline?

Kind Regards

Nigel
 
Last edited:
This is a really interesting proctologist's Iain.The fact that you mention one side cutaway, one side and berth means that you are possibly going to pour resin "water" that will end along the hulls centreline?

Kind Regards

Nigel
I guess autocorrect changed 'project' to 'proctologist' lol .....I'm thinking a thin layer around the waterline so from one side it looks like a solid model in a regular diorama featuring vehicles on the dockside unloading supplies then you move around and can see the supplies being loaded inside through the torpedo loading hatch then distributed through the compartments....
 
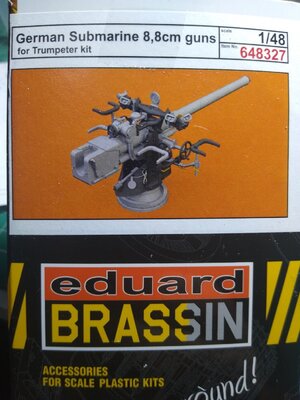
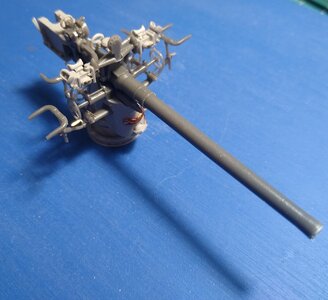
For a kit featuring such superb detail inside, the main deck gun is rather poorly detailed. The RC Subs set provides some additions for the kit parts however I opted for a complete resin and brass replacement from Eduard...
IMG_20220730_210517050.jpg

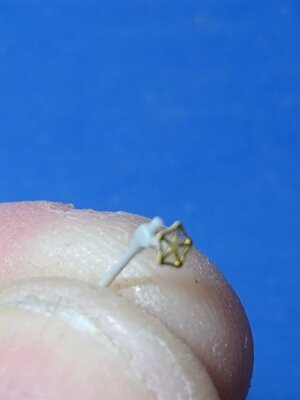
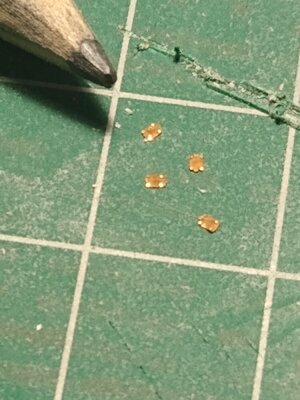
Some of the brass parts are eye-wateringly small....
IMG_20220730_205802324.jpg

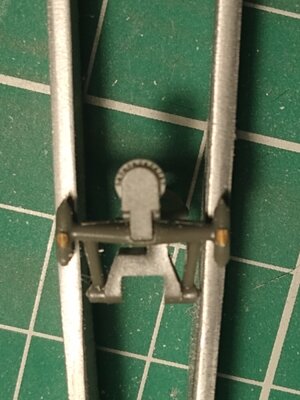
Microscopic brass parts in place...
IMG_20220730_213349505.jpg

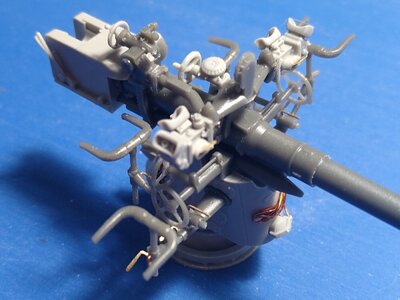
The finished main gun....I'm intending to have this being cleaned by the crew...
IMG_20220731_153915366.jpg

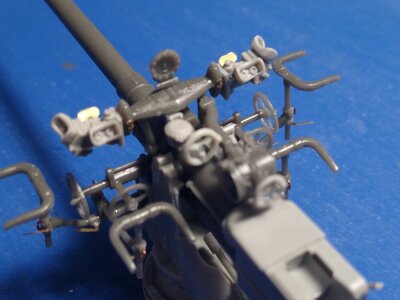
Check out the eye pieces for the rangefinders....remember this is 1/48....

IMG_20220731_153936712.jpg

IMG_20220731_154008997.jpg
 
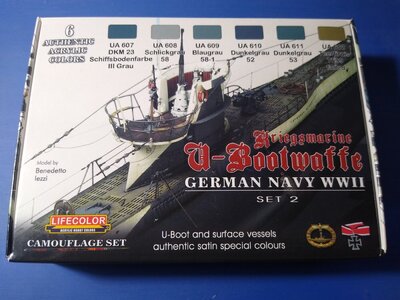
This set of Lifecolor acrylics has the basic colours for the external surfaces....

IMG_20220811_195008114.jpg

These will provide the base colours which will then be extensively reworked with washes, filters and pigments...

IMG_20220811_195030350.jpg

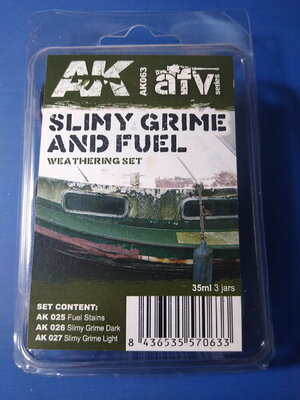
This set will be useful for adding the green scum that sits around the waterline when the U-boat operates on the surface...

IMG_20220811_195130583.jpg

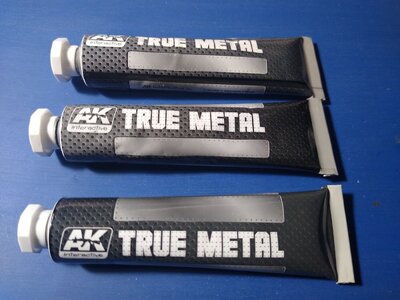
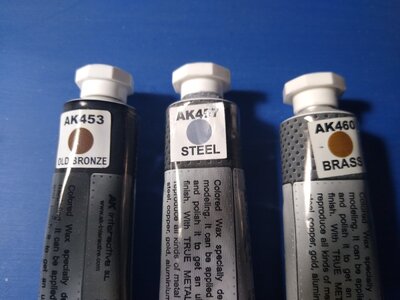
AK True Metal colours for the torpedoes...

IMG_20220811_195233410.jpg

Body of the torpedoes is steel with a bronze warhead and brass propellers...these colours are wax-based and are brushed on over a matt black primer....after about half an hour they are buffed with a soft cloth and give an excellent metal sheen that is fairly robust...

IMG_20220811_195251282.jpg
 
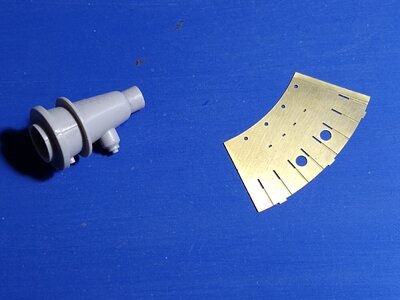
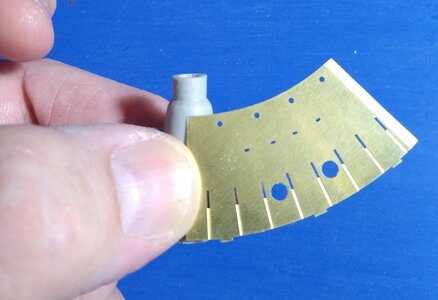
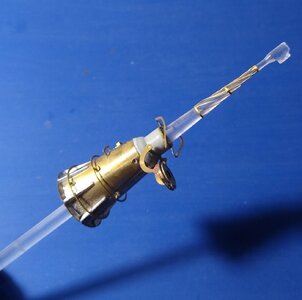
Another trial piece was this brass replacement for the periscope base which must be rolled out of a flat piece...

IMG_20220709_123923022.jpg

It replaces the entire part aside from a small section at the top...the point where the cut was to be made was established from the height of the brass piece...

IMG_20220709_124001145.jpg

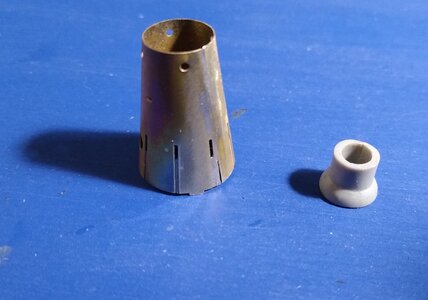
The brass part was annealed by heating till red on the gas ring then quenching in water...this made it soft enough to roll to shape after which it was soldered at the seam....

IMG_20220709_130835915.jpg

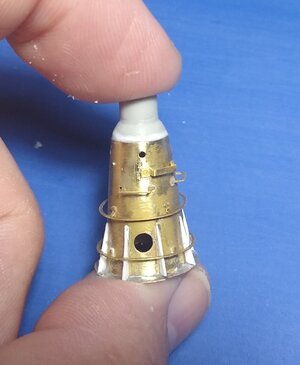
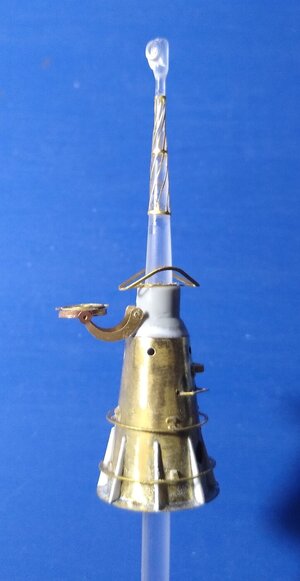
Lots of other brass parts are then attached...I found that the eight fins around the base were undersize so these were replaced with thin styrene....

IMG_20220809_000513337.jpg

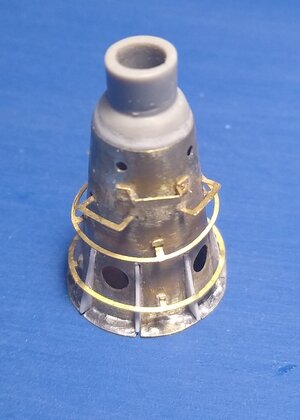
The finished periscope base...

IMG_20220809_000524706.jpg

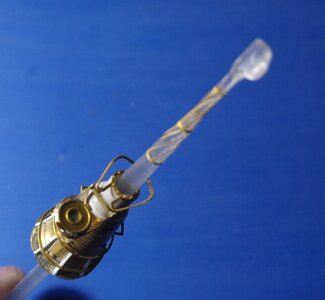
Compass added to the periscope housing along with the periscope itself.....not sure why Trumpeter decoded to mould this in clear as it is plexiglass rather than styrene and quite brittle....

IMG_20220814_215116661.jpg

View of the compass bezel...

IMG_20220814_215127193.jpg

Super-fiddly to assemble but looks a million dollars....

IMG_20220814_215137996.jpg
 
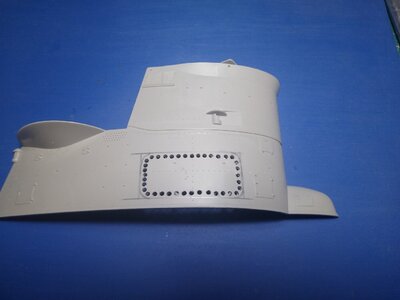
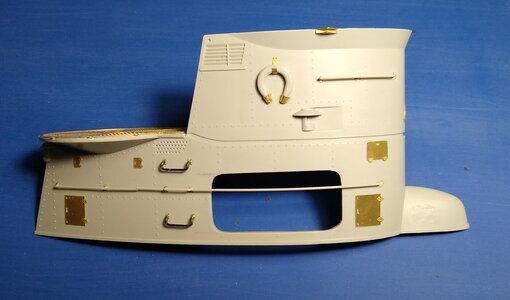
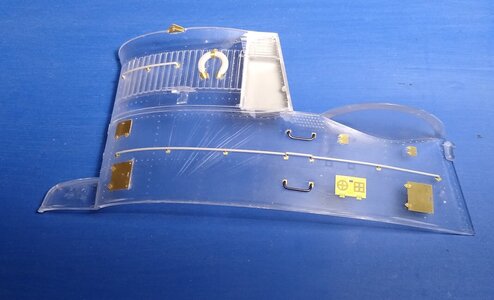
One odd aspect of this kit is that Trumpeter made the starboard side of the hull transparent but then bizarrely made the port side of the conning tower clear?....To correct this I cut a section of the solid side to enable viewing of the interior of the chamber below the observation deck....

IMG_20220731_223934551.jpg

Solid side of the conning tower with added brass and the cutaway section....

IMG_20220806_221050855.jpg

Clear side....once painted it will match the solid side....the plexiglass is very difficult to work....IMG_20220806_221106558.jpg

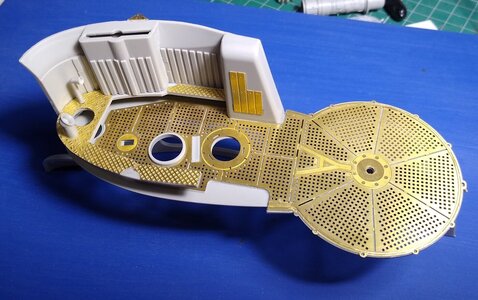
Deck and various details installed....

IMG_20220806_221038265.jpg

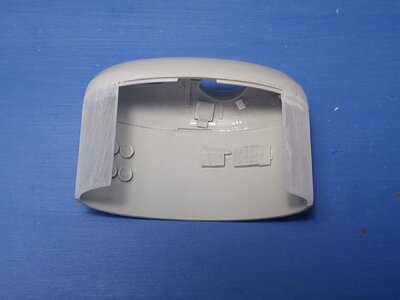
Interior of the pressure chamber inside the conning tower....the wall parts have to be reversed due to changing the side that will be cut away....I cut a section out of the clear side and I'll be adding wiring and pipework to busy it up....

IMG_20220809_013530240.jpg
 
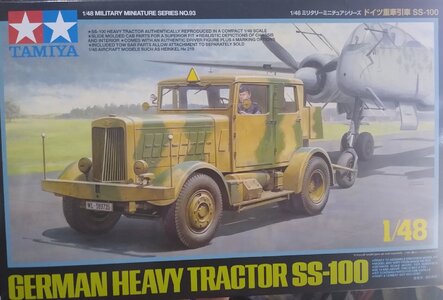
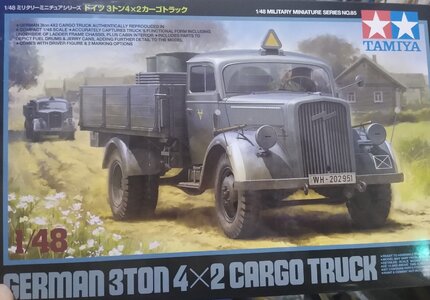
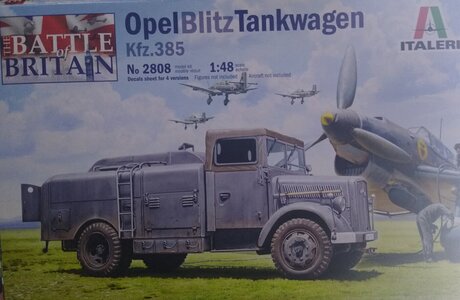
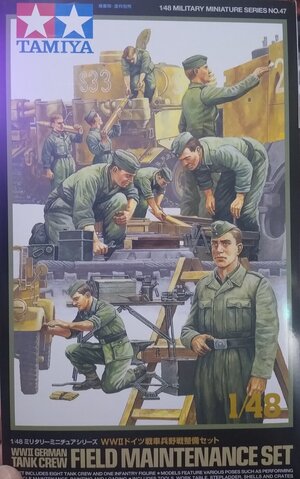
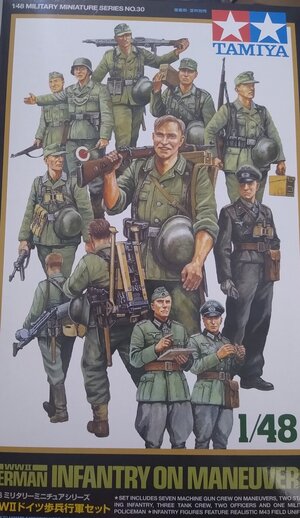
Alongside the sub, I'm also building the elements which will form the diorama of the boat being loaded with provisions at a dockside. I'll be using the following kits....

This SS-100 heavy tractor was used by all arms of the German military including the Kriegsmarine....I plan on having this towing a trailer carrying three torpedoes along the dock....

IMG_20220823_204659426.jpg

The ubiquitous Opel Blitz was a common sight throughout the war and this will be unloading crates and provisions...

IMG_20220823_204802828.jpg

This Tankwagen will be refuelling the diesel ....

IMG_20220823_204725035.jpg

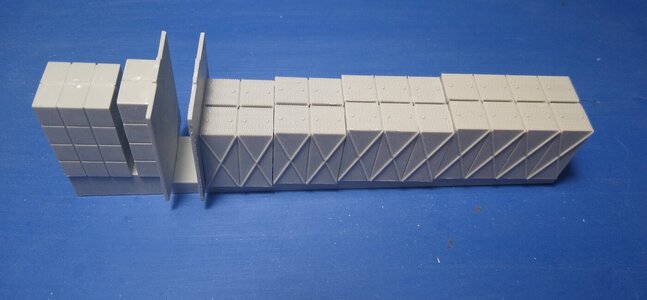
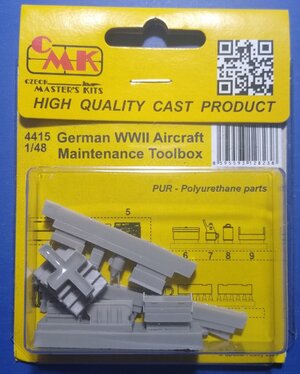
These mechanics will be manning the dockside, mixed in with the Trumpeter figures...there are also lots of tools and crates included...

IMG_20220823_204845326.jpg

Most of this set will be adapted to add more life to the dock....

IMG_20220823_204829177.jpg

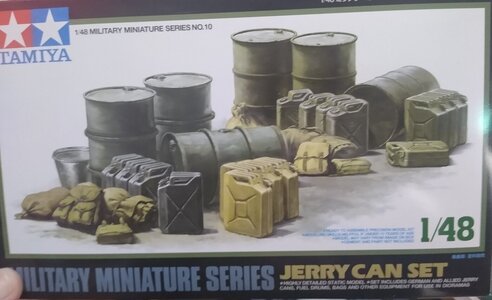
Oildrums and jerrycans....

IMG_20220823_204859177.jpg

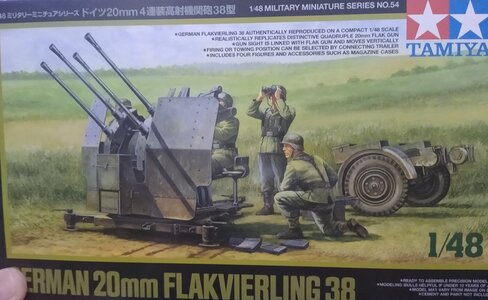
A flak gun will be positioned at the end of the pier....

IMG_20220823_204912520.jpg

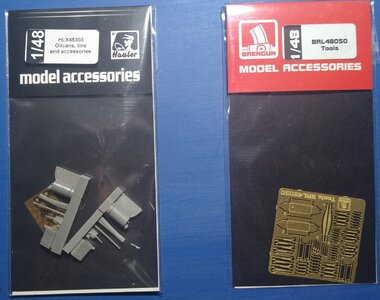
Oilcans and tools for onboard....

IMG_20220823_205057966.jpgIMG_20220823_205120339.jpg

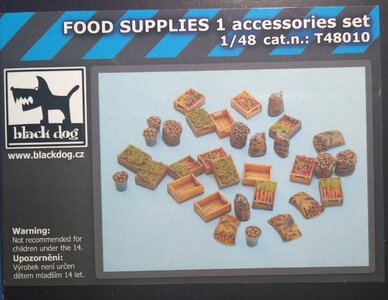
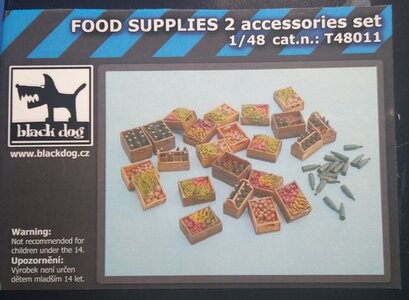
Food supplies....

IMG_20220823_205139243.jpgIMG_20220823_205152968.jpg
 
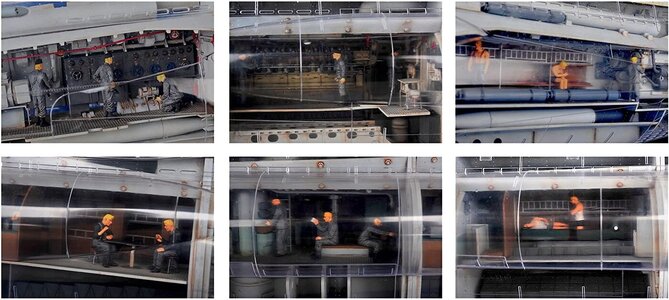
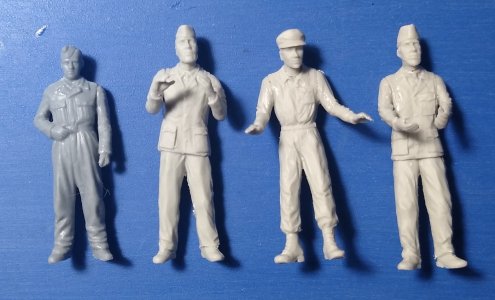
One minor issue is that the Trumpeter figures (light grey) are much taller than the Tamiya ones (dark grey)....not sure which are correct to 1/48...the Tamiya figures are better detailed and better anatomically but the Trumpeter ones are acceptable. The best solution is to not use the different brands right next to each other. The U-boat crew will be predominantly inside the sub while the Tamiya figures will be on the dockside...


IMG_20220827_195556935.jpg
 
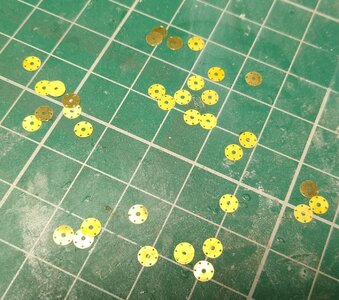
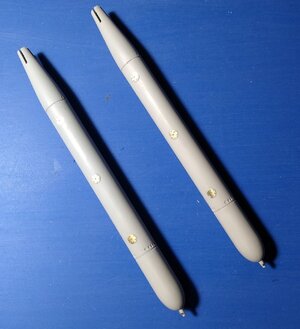
As the torpedoes need to be added in various compartments during the build they form the first step of the instruction sequence. The RC Subs set provides three etched panels for each torpedo along with fore and aft propellers. Each torpedo was cemented together then seamed using a blade and finished with 0000 grade steel wool. The etched panels were removed from the fret and the attachment points carefully cleaned off. I then used an x-acto knife handle to roll them into a curved shape. They were then carefully attached using CA glue....

IMG_20220828_211008605.jpgIMG_20220828_235617907.jpgIMG_20220828_235628700.jpg
 
Back
Top