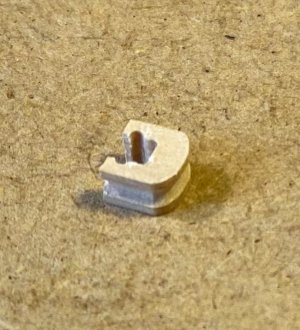
• Ships of Scale has incorportated an extra level of security when you log In. Please follow on-screen prompts to acknowledge that you are not a robot via a "Check Box" or a "Pictorial Check Box Puzzle". This is needed due to higher level of AI Activity Security.
  • SUBSCRIBE TO SHIPS IN SCALE TODAY!

    The beloved Ships in Scale Magazine is back and charting a new course for 2026!
    Discover new skills, new techniques, and new inspirations in every issue.

    NOTE THAT OUR NEXT ISSUE WILL BE July/August 2026
  • Win a Free Custom Engraved Brass Coin!!!
    As a way to introduce our brass coins to the community, we will raffle off a free coin during the month of August. Follow link ABOVE for instructions for entering.

Tutorial Making my own rigging blocks.

  • Thread starter Thread starter Y.T.
  • Start date Start date
  • Watchers Watchers 11
Joined
Sep 3, 2018
Messages
2,220
Points
538

Location
Toronto, Canada
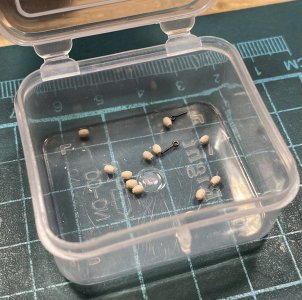
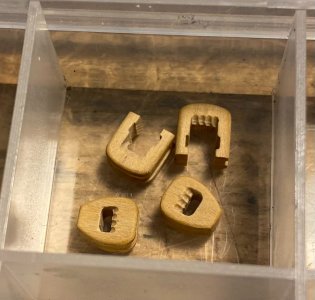
I have fun making my own blocks. Beside the fun I can make any size and type of blocks I need for my model and can do this any time when required. If purchasing the blocks one is always limited in selection of size and type and must wait weeks till they arrive. And when a few blocks are missing this is a disaster. Besides making own blocks is cheaper then to buy.

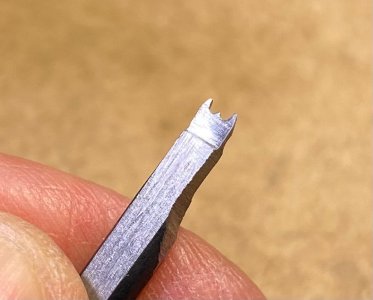
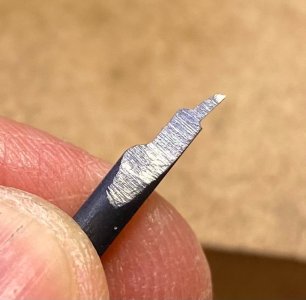
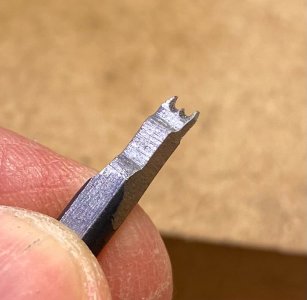
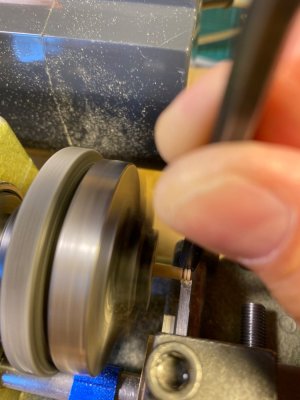
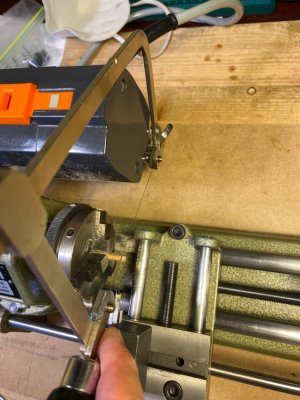
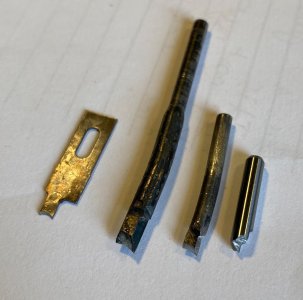
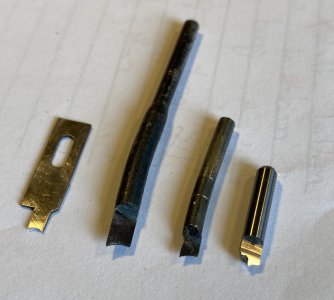
To make the blocks one must have some tooling and electrical equipment. I made a few size "profile cutters". They were made from some hard steel I annealed, shaped and thermally hardened them back. The process of making such tooling was described by @Jimsky in some old post. This is where I learned how to do it. Here are some cutter profile tools I made. The one on the left is for making the parral beads. Three on the right are for shaping the blocks.
02.jpg

01.jpg
 
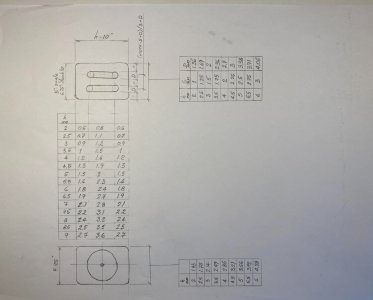
Then I prepare a wood strip of precise section dimensions for making about 10 to 15 blocks at a time. The strip sizes are on attached chart. This chart was verified and revised multiple times for perfection. I use boxwood for my blocks. I tried hard maple. It also works but wood is not as dense as I want. Chart covers single sheave and double sheave blocks. It provided hole drilling distances.

block size chart.jpg
 
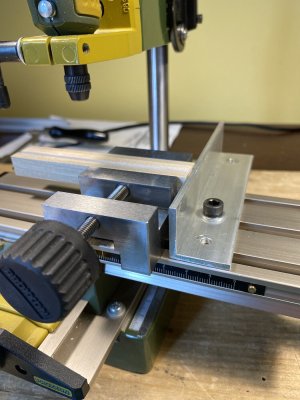
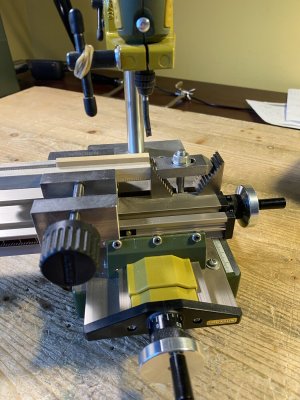
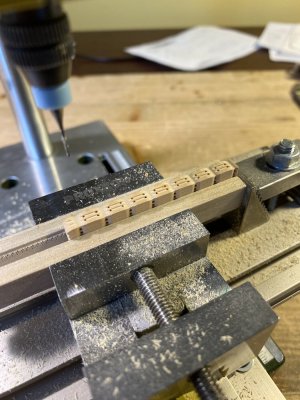
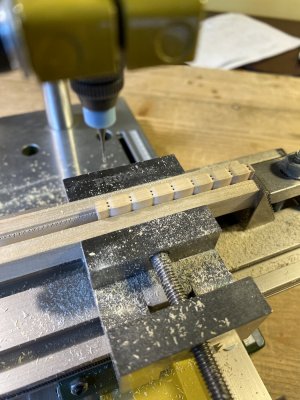
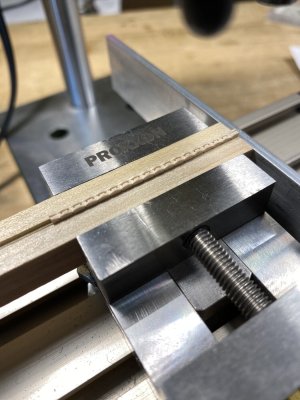
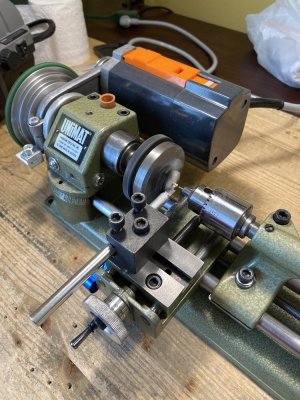
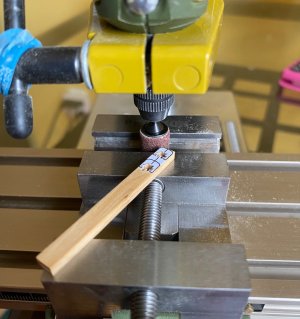
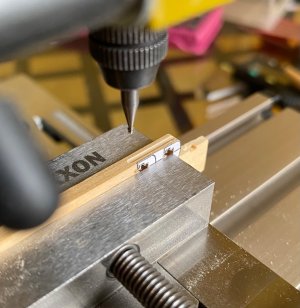
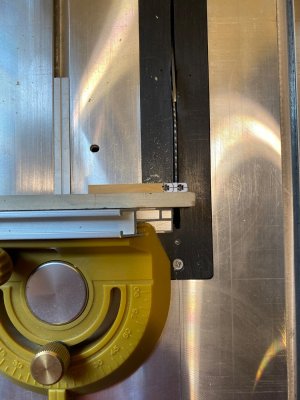
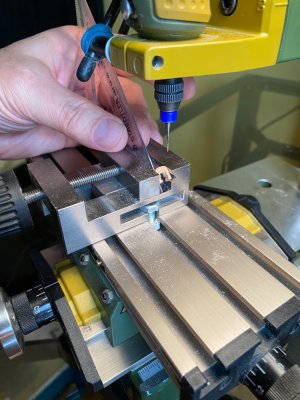
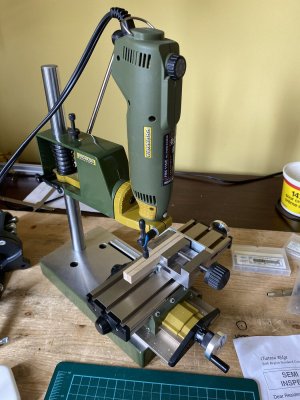
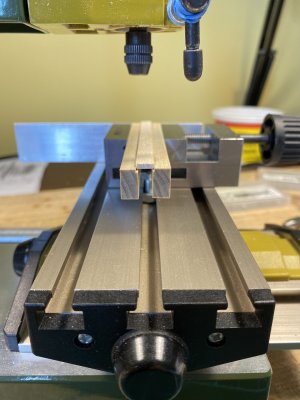
The blocs are milled on the Proxxon tools composite mill shown on the picture. For holding the strip I made a holder from some poplar plank. Small groove was milled on poplar wood pieces to hold the strip. Later I made more different sizes of grooves on them to hold different sizes of strips. To ensure I do not loose a position of strip in the holder when removing block strip off the holders I made a stop angle. This one "zeroes" down the strip position.

strip holder 2.jpg

strip holder.jpg

stop angle.jpg
 
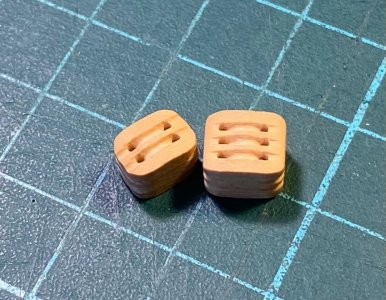
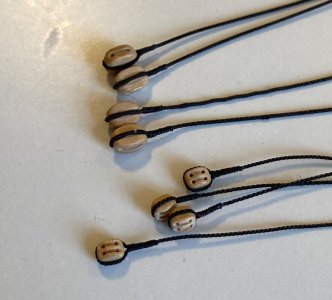
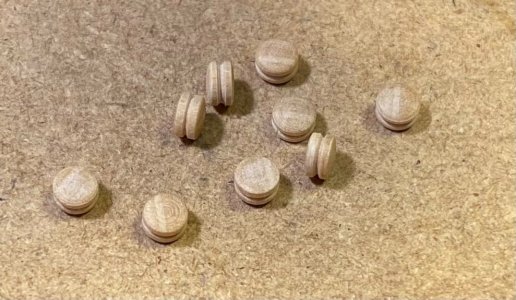
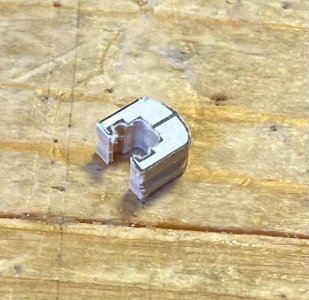
Real life block is made of two "cheeks" held apart with some spacers at top and bottom. The slot formed between inner sides of cheeks is calls the "swallow". This is where the sheave is incerted.

Block making process sequence:

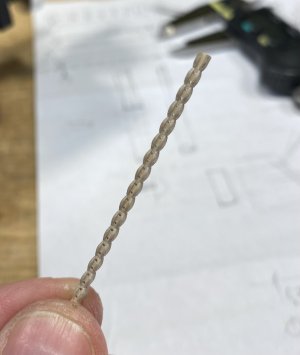
1) On both swallow sides cut deep shape with profile cutter.
2) On both cheek sides cut shallow shape with profile cutter.
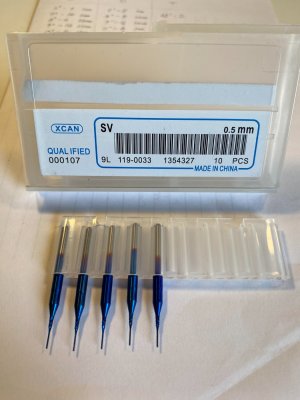
3) Change tool to end mill cutter bit.
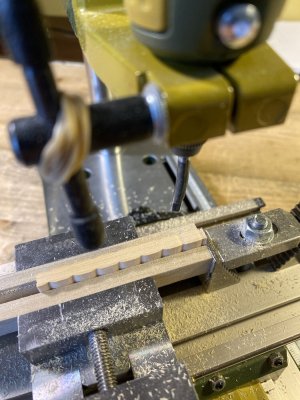
4) On one of cheek sides drill strop groove holes between blocks. Drill approximately overa half way down the strip. This is done due to the strip is not always perfectly rectangular. I to drill all way through the strip the hole on other side may appear off center of the strip.
5) Do same on the other cheek side.
6) On one of swallow sides groove the swallows. This is a continuous groove cut thru all length of the strip.
7) Drill sheave immitation holes a bit over half way down through the strip. Distance between two sheave holes is per the chart.
8) Do same on the other swallow side.
9) Separate blocks with modeller knife as X-Acto. Mark the cut groove on all four sides. Continue slightly pressing knife on all four sides till wood snaps off.
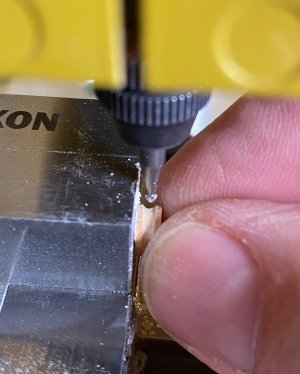
10) File round grooves for strops on block cheeks. Use slightly coned tooth boring tool on bore machine.
11) Polish with felt polishing disk installed on bore machine.
 
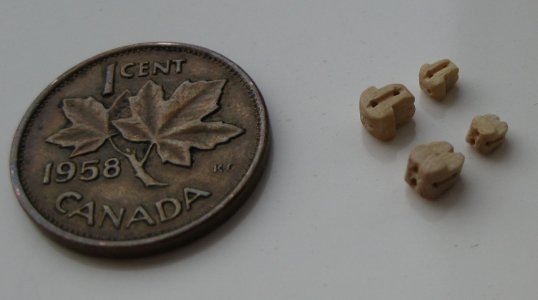
Those look great John. I like your collector penny lol.
I have a little milling machine set up with an X Y axis and a dremel mounted.
I just may try this out.
I’m on my first OcCre model HMB Endeavour. Not into the rigging yet but I see a lot of upgrades needed.
Thank you for sharing your work.
 
Fantastic tutorial, thank you. I have all the power tools needed; I just need to be creative and make the profile cutters. Just need to find the tutorial showing how to make profile cutters. Thank you
 
Hi Y.T,

Beautiful workmanship, those blocks are wonderful.
Thank you for taking the time to do this how to.

I haven't worked with Box wood much. The Box wood that I have is incredibly hard and difficult to work with, it knocks my saw blades around.
How do you find working with Box wood?

Cheers,
Stephen.
 
I have fun making my own blocks. Beside the fun I can make any size and type of blocks I need for my model and can do this any time when required. If purchasing the blocks one is always limited in selection of size and type and must wait weeks till they arrive. And when a few blocks are missing this is a disaster. Besides making own blocks is cheaper then to buy.

To make the blocks one must have some tooling and electrical equipment. I made a few size "profile cutters". They were made from some hard steel I annealed, shaped and thermally hardened them back. The process of making such tooling was described by @Jimsky in some old post. This is where I learned how to do it. Here are some cutter profile tools I made. The one on the left is for making the parral beads. Three on the right are for shaping the blocks.
View attachment 623582

View attachment 623583
Great useful tool, need few for my current build..

Do you maybe have a link to Jimsky' post about profile cutters? Tried to search for but no luck?
 
I have fun making my own blocks. Beside the fun I can make any size and type of blocks I need for my model and can do this any time when required. If purchasing the blocks one is always limited in selection of size and type and must wait weeks till they arrive. And when a few blocks are missing this is a disaster. Besides making own blocks is cheaper then to buy.

To make the blocks one must have some tooling and electrical equipment. I made a few size "profile cutters". They were made from some hard steel I annealed, shaped and thermally hardened them back. The process of making such tooling was described by @Jimsky in some old post. This is where I learned how to do it. Here are some cutter profile tools I made. The one on the left is for making the parral beads. Three on the right are for shaping the blocks.
View attachment 623582

View attachment 623583
Hi Y.T, is there a specific purpose for making those two curved blades? I was intrigued by the fact that neither of them is straight. Thanks in advance for your reply and for sharing your experience in creating those rigging components.
I don't know if you've seen the YouTube videos by KUDIN, he's a Ukrainian builder who constructs his ships from scratch. He also makes all those parts with great imagination, inventing his own augers, blades, and tools. I really encourage you to check out his videos; you can learn a lot from his methods.
Cheers
 
Back
Top