USCG Harriet Lane for the United States Navy 1859 - Build Log NCC (Navy-Curtis Craft) Scale 1:96 [COMPLETED Build]

BMT

Joined
Sep 27, 2022
Messages
224
Points
113

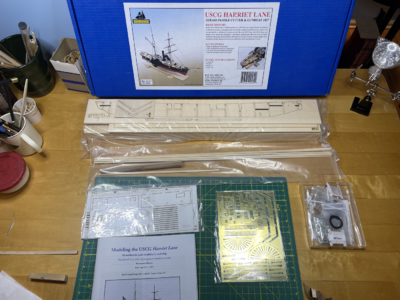
After too much coffee while working on the Civil War Wagon and then a short rest, it was time to look at another build.

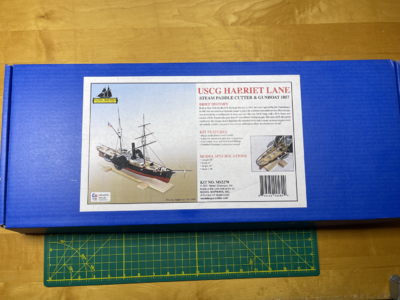
I purchased the Harriet Lane in March and didn't know if I would get to it until perhaps this November. However, I now have more free time with many things changing, so I figured I would get building.

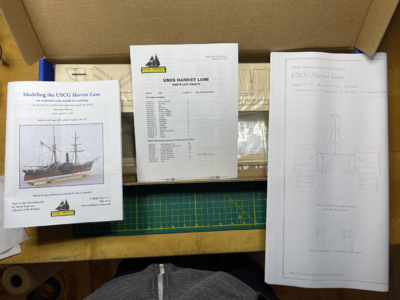
The first thing that struck me was that this build is noted as an "advanced skills kit." I feel I am a beginner, but when I said that to a few of my friends, they told me I am a novice. That is someone new at performing or doing something and somewhat educated. While a beginner is basically someone who is clueless with no clue at all, and has not yet achieved any experience for the activity being deliberated. That sounds like something they read on the www. It's semantics, and I know I don't have advanced skills. As I read in the instruction book, it notes, "strongly recommend that you build the Model Shipways pram or Muscongus Bay lobster smack kit first. That way, you will learn techniques and acquire the tools needed to successfully complete this model." If this is 'the fourth in a series of progressive model tutorials," as noted, and I have done all 3 of those in the Shipways series, I feel a little more comfortable diving into the build.

We shall see...

BMT


tempImageS9UmFl.pngtempImageTRpOQu.pngtempImageS7VxmE.pngtempImageByG90I.pngtempImagehatoJI.pngtempImageuE2sj2.png
 
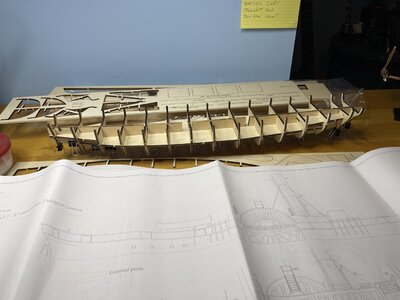
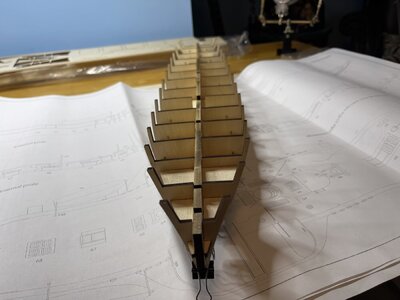
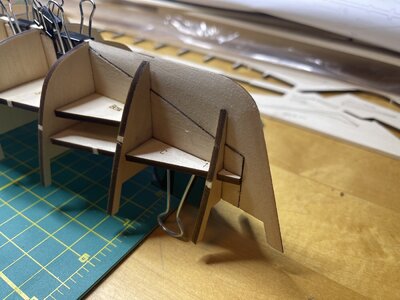
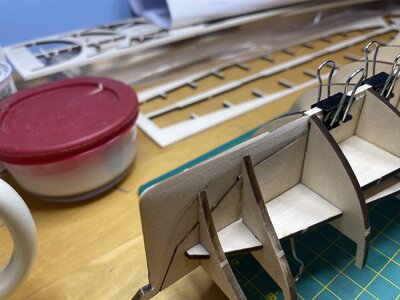
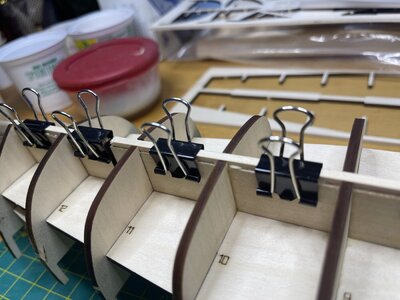
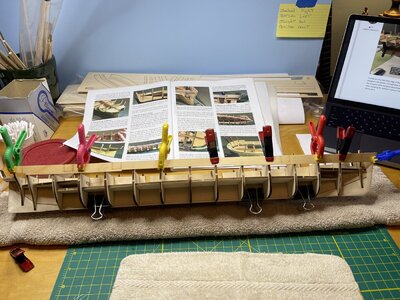
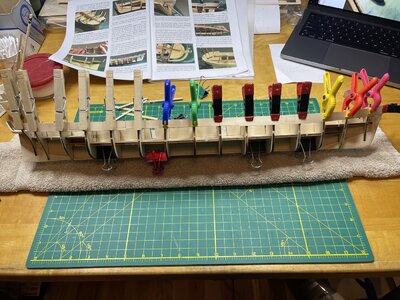
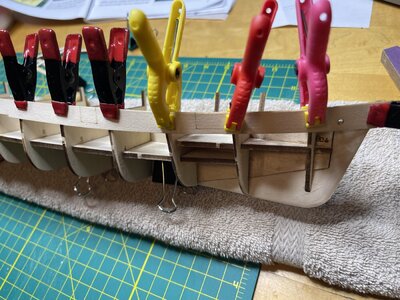
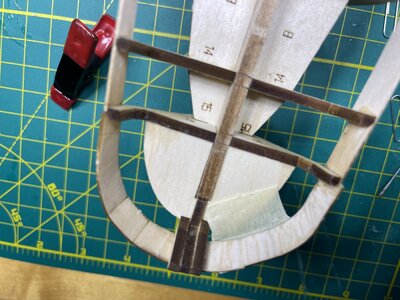
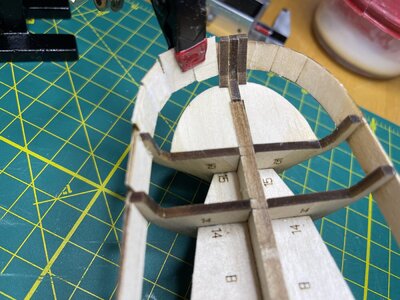
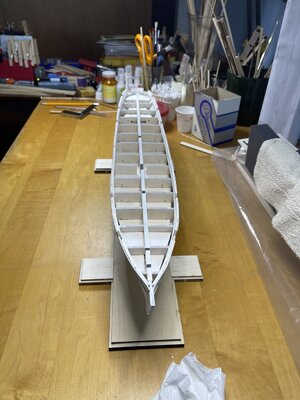
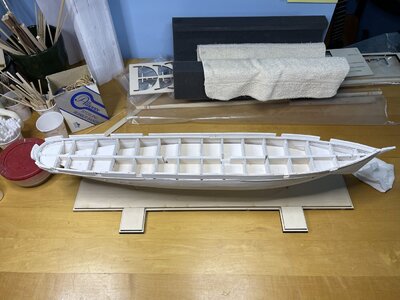
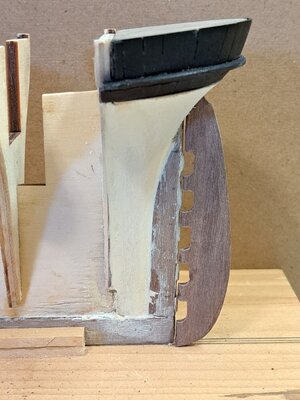
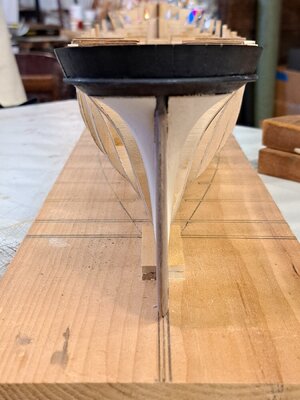
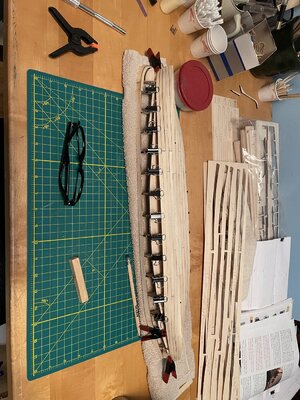
I started the build with the central spine, bulkhead spacers, and bulkheads, and it went rather smoothly up to the inner stem and stern post.

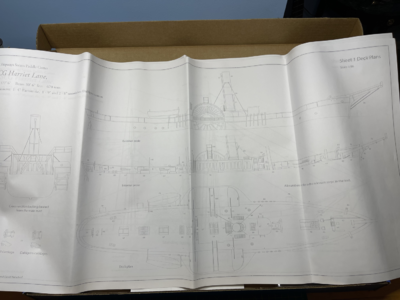
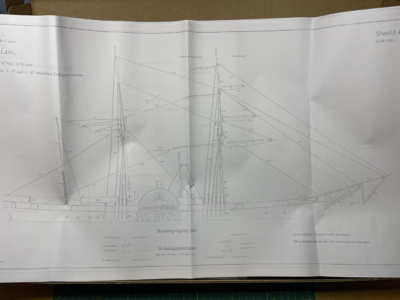
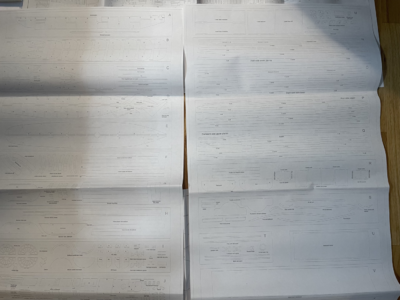
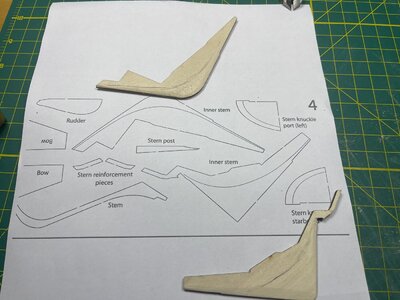
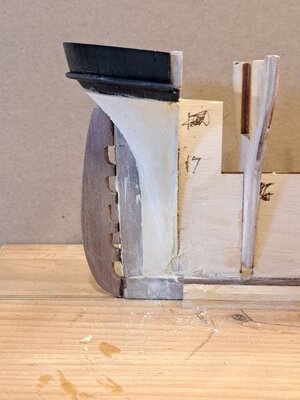
The inner stem and stern post require shaping before assembly. So build institutions note to “trace and transfer the curved lines down on the second sides of the pieces using tracing paper.” Then, “Carve and sand the changing bevels on each side until the edges are no more than 1∕16" thick.” I struggled with the curve lines because none were on either side of the inner stem or stern posts. So, after sourcing several different build sites, I came across a build on Model Ship World. He had gotten the updated parts drawing from another build and was sent them to me. After some resizing and printing issues, I got the correct line curves, did some carving and sanding, and could glue them to the frame.

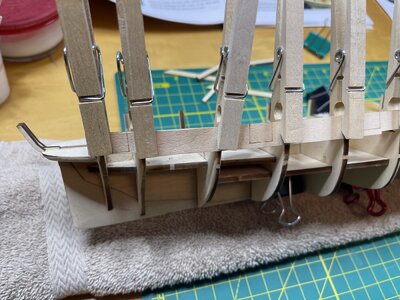
I started fairing up the bulkheads and attaching the forward and aft bulwark.

After this are the upper counter bulwark, inner filling strips, garboard strake to the bulkheads, and then planking the hull.

We will see how this moves forward in the next few weeks.

BMT


IMG_4261.jpegIMG_4262.jpegIMG_4265.jpegIMG_4266.jpegIMG_4267.jpegIMG_4268.jpegIMG_4271.jpegIMG_4272.jpegIMG_4273.jpegIMG_4274.jpeg
 
Nice start, BMT. I will follow with great interest. I have a new office chair with lumbar support. That's me there in the front row. I have a particular fondness for this little warrior and her dramatic history. Very Cinematic! I have an extensive collection of print copies of her details and history. If you like, send me your address by private mail. I will make copies and send them along to you. Have fun with this build!Thumbsup:D

Pete
 
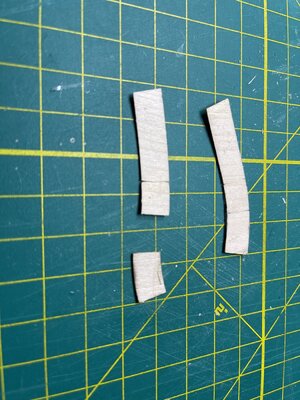
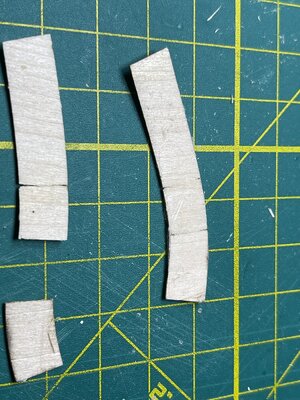
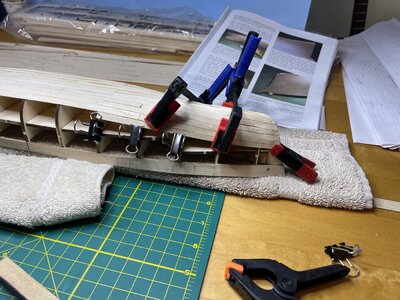
The upper counter was a nightmare (at least for me). The gun ports were at the spot where the piece bands bend, so it broke…. I used a little masking tape, held it together, bent it around, and glued it. I peeled off the inside tape when it dried and glued the inside with dilute glue. Once that dried, I peeled off the outside tape….with the filling strips, a little putty, and sanding, I am sure they will keep their shape.


IMG_4276.jpegIMG_4278.jpegIMG_4284.jpegIMG_4285.jpegIMG_4287.jpegIMG_4288.jpeg
 
I have a similar problem with the counter(s) on my "Flying Cloud" model. Fortunately for me the tablet like panels get glued to a solid core. A problem in both our cases is the necessary keystone shape of each panel required to get them to fit together edge to edge in order to achieve the geometry necessary for them to create a continuous slanted surface around a curve. And in your case, how to support them! :mad:
I wish I had something of greater value by way of a practical solution, beyond analysis.Cautious Your solution sounds pretty good. Hope it works out well. Thumbsup
I am sure there is someone on this thread that can offer more useful advice. (Is there an instructional build video of this relatively new model out there somewhere?)
The floor, as they say, is open.:rolleyes:

Pete

By the way, a question I posed to Jimsky, earlier today, as to the part of a ship called the "counter" seems to have been answered.
 
Last edited:
I did the keystones individually, as shown in the build. So far things seem to be OK (a slight gap at the top, I was concerned that they wouldn't hold). I'm running on the other side now. We'll see when the sanding time comes.

A video on this build will be beneficial (for me:cool:)...

BMT
 
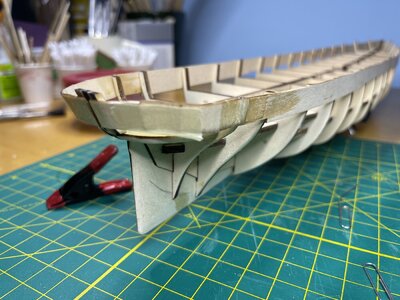
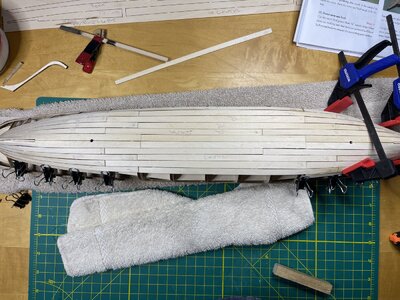
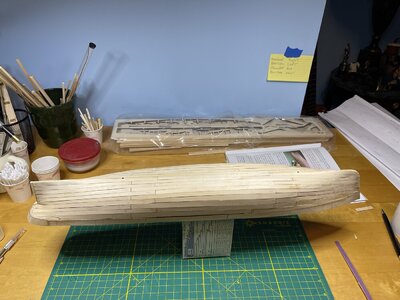
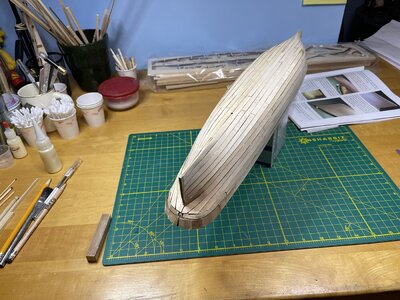
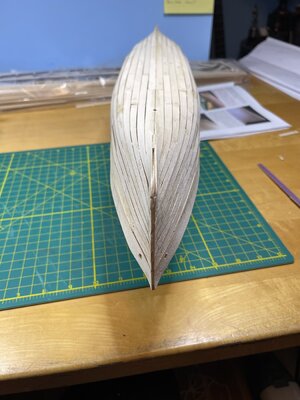
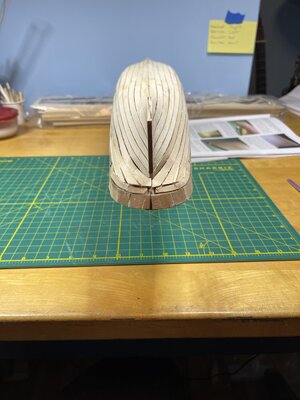
The planking is finished.

It was interesting as this is my first build, with each plank broken into three sections. Fore, center, and aft sections.

After gluing, the garboard strake needed some adjustments as they shifted and were not centered on the inner keel. A little alcohol loosened the glue, and I could center it up.

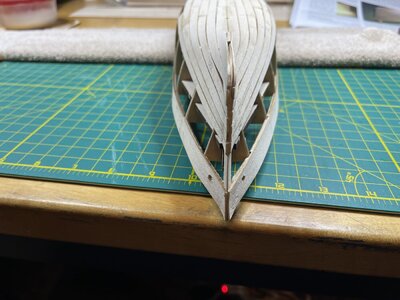
Planking itself was rather smooth until I realized the port plank was larger than the starboard one. I noticed this with the boat's bow, nothing on the stern, which is interesting. I added a wedge to make up for my error.

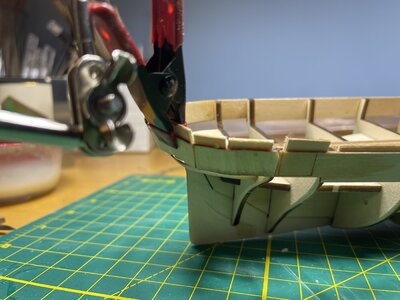
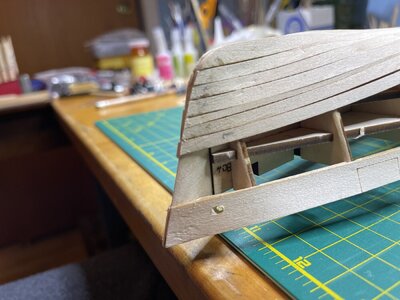
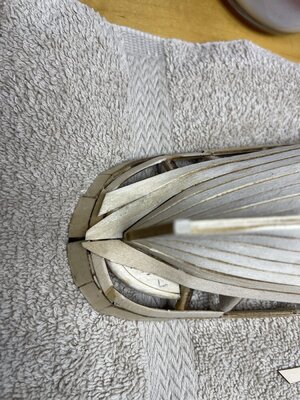
The upper counter again was an animal I to itself. As I had noted, the gun ports were at the spot where the piece bands bend, so it broke..again… Masking tape again.

The first plank aft under the lower counter needs creative clamping, which is an understatement.

Next is to putty up the hull and sand..

BMT


IMG_4309.jpegIMG_4312.jpegIMG_4313.jpegIMG_4315.jpegIMG_4316.jpegIMG_4318.jpegIMG_4319.jpegIMG_4320.jpegIMG_4322.jpegIMG_4323.jpeg
 
This sure is a different beast than the old solid hull M.S. " Harriet Lane" version. Larger scale, plank and bulkhead. I must have gotten one of the last solid hull versions, which presented its own distinct set of problems, e.g. carving and thinning out the counter, with its' compound curves and carving across the short grain without blowing it out altogether. I opted to leave the stern gunports closed, omitting the need to cut them. A whole different set of equally challenging problems: building up or carving down; name your poison!:rolleyes:
Yours is coming together nicely. Nice work compensating for the inevitable glitches built (it seems) into any and every kit available.
After all these years I find carving less frustrating, only because I know what problems to expect. And I'm not much good at it above a modest scale.

Pete
 
Last edited:
It was difficult enough for me to get my woodwork merit badge or whittle an arrow for my Order of the Arrow tap out, so I knew I could never do a solid hall. :cool:

There are several gaps that I’ll have to fill in that are wider than I was hoping for, but besides clamp planking, which is a whole other skill, I see some improvement in my build from ship to ship, so I think I’m OK.

I will putty tonight, let it sit overnight, and start sanding.

BMT
 
I tell everyone that i have male pattern baldness in my DNA. Actually, it's years of tearing my hair out over model building frustrations!Cautious
 
I have a similar problem with the counter(s) on my "Flying Cloud" model. Fortunately for me the tablet like panels get glued to a solid core. A problem in both our cases is the necessary keystone shape of each panel required to get them to fit together edge to edge in order to achieve the geometry necessary for them to create a continuous slanted surface around a curve. And in your case, how to support them! :mad:
I wish I had something of greater value by way of a practical solution, beyond analysis.Cautious Your solution sounds pretty good. Hope it works out well. Thumbsup
I am sure there is someone on this thread that can offer more useful advice. (Is there an instructional build video of this relatively new model out there somewhere?)
The floor, as they say, is open.:rolleyes:

Pete

By the way, a question I posed to Jimsky, earlier today, as to the part of a ship called the "counter" seems to have been answered.
My "Flying Cloud" counter, with ebony "keystone" planking panels, sanded down to 000000 grit, waxed and filled with black "Crayola" crayon.20231026_125812.jpg20231026_130316.jpg20231026_130456.jpg
 
IMG_4457.jpegIMG_4458.jpegIMG_4461.jpegIMG_4462.jpegIMG_4417.jpegIMG_4419.jpegIt’s been some time again!

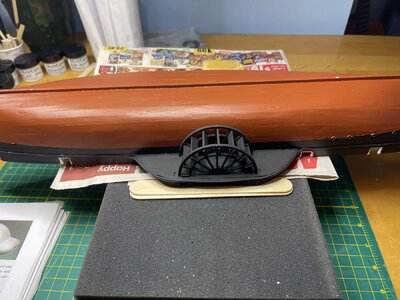
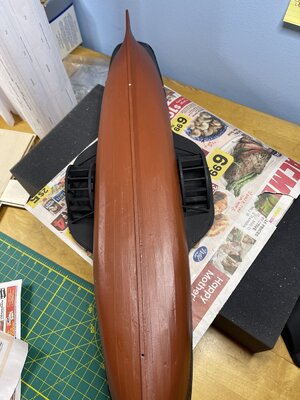
Hull and waterline finished. I'm not happy with ModeExpro Hull Spar Black or Hull Copper Red, as suggested. I should have used Lamp Ebony by DecoArt (flat) and perhaps their Copper.

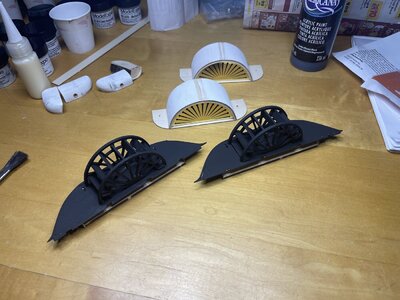
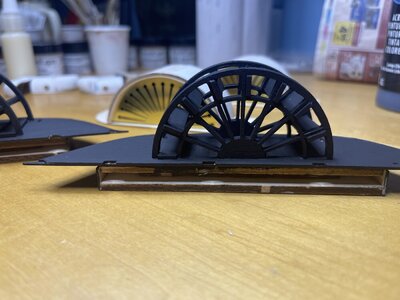
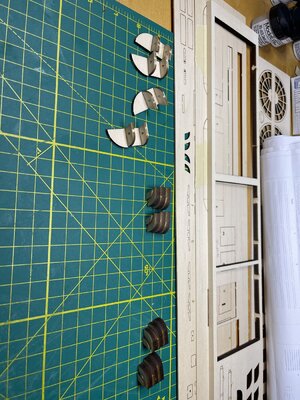
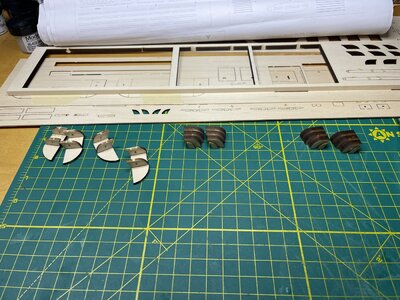
Showing progress with the sponson sections, water closets , and paddle box sections as they are painted (Lamp Ebony), and sponsons with paddles/hubs are attached.

Water closets need major sanding and shaping. This was my first significant sanding and shaping project, and I think they came out OK. There was some fill in the cracks with some plaster, and then panted.

The next step will be the base, which I will spray flat black so it doesn’t take away from the boat.

Happy Thanksgiving, to those in the States!

BMT
 
Wow ! great progress and looking very good. She is such a different project than the old, smaller, solid hull Model Shipways version.
I expect your model will be beautiful. Thumbsup
Thanks for sharing.

Pete
 
Back
Top