Next, I turned my attention to the forward rail system.
Let's begin with the goal:
View attachment 249527 View attachment 249525
Here is the kit version from the official build:
View attachment 249524
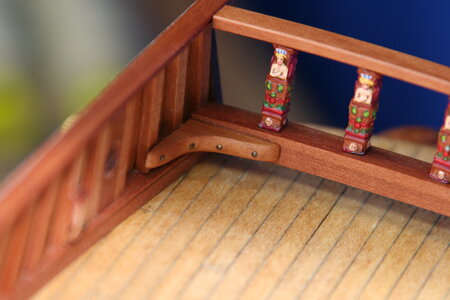
I decided it was best to replace the kit supplied parts. I was particularly challenged in fabricating the lower rail element. I started with a 6x6 mm pearwood stick and tried to bend it into the arc seen on the resurrected ship. Soaking alone didn't work - and soaking it, clamping it over shims, and heating it with an air gun created a V-shape rather than a nice smooth curve. But after some careful work on a spindle sander I ended up with something I could use.
View attachment 249514
View attachment 249515
View attachment 249517
View attachment 249518
Notice this little 'bumper'. I have rarely seen it reproduced on a model but it seemed like a cool detail. We'll see if my main stay sits on it correctly or if it will need to be removed...
View attachment 249516
Next, I made a pair of catheads. Once again I had to replace the plywood kit parts for 5x5 mm pearwood stock from my coveted supply. I cut in the slots for the pullies (sheaves?) with a thin sawblade and files, and made myself some little wooden pullies.
Finally, I added an anchor lift assist bar (which is oddly left completely out of the DeAg kit). There was apparently only one on the actual ship and it was configured to be usable on each side of the ship.
In the following images these new parts are just sitting loose...
View attachment 249520
View attachment 249521
View attachment 249522
View attachment 249523
I do apologize for not knowing the names of these things. I hope no one is offended (indeed, no offence is intended). I know many of you take this stuff very seriously and my clumsy use of ship terms likely drives you crazy. Anyway, I'm just a guy trying out a new hobby - one that I am enjoying very much. Thanks for letting me join the club!