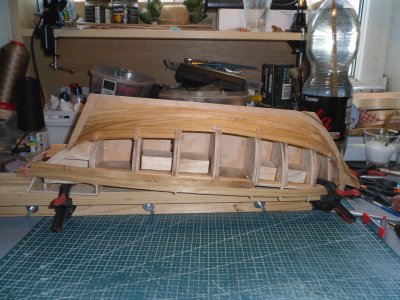
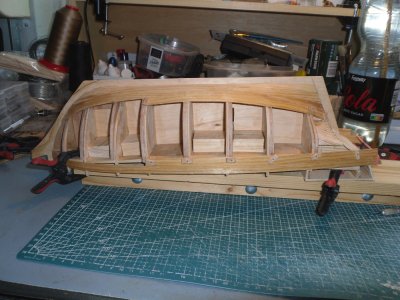
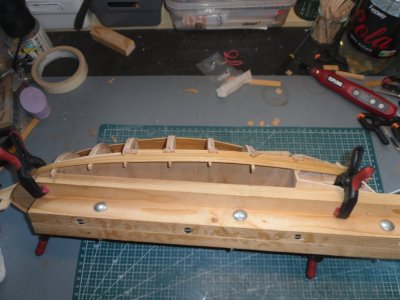
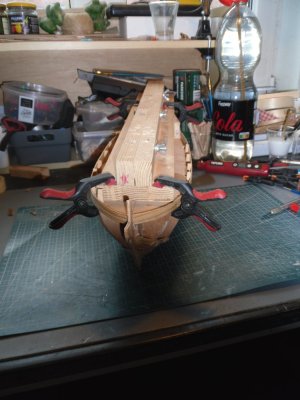
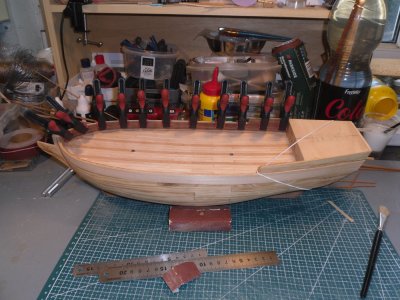
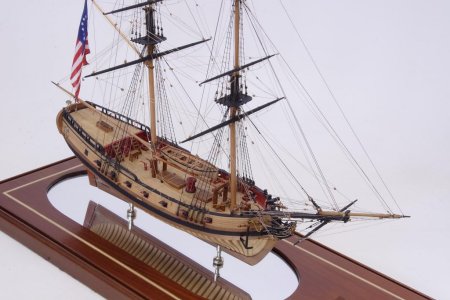
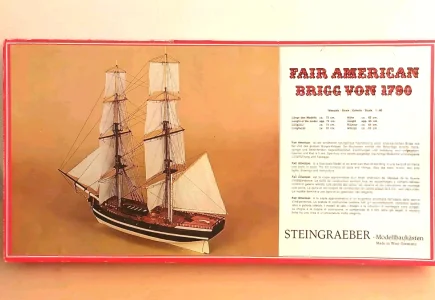
Hi, after having finished the Mamoli Beagle, I got started with the Fair American, a very old Steingraeber kit grabbed on eBay some years ago. From all the kits in my stack, that's the one I thought I would never build. I even 'pirated' half the hull planking for another project (no harm done, there is still enough left or I'll just take something else for it). But I sometimes need some sense of mild madness, just to feel alive. Most modern kits feel far too 'boring' to build, with just following instructions and most everything that fits almost perfectly right out of the box ...
But first things first: this 'Fair American' has nothing to do with that beautiful model from Model Expo. She's a product of pure fictious whishful thinking, just like the Flying Dutchman, Black Pearl, the Albatros and so many others. A not altogether unlikely caricature of a ship.
The kit is wonderfully awful, plans and instructions a joke and, apart from the beech, most of the wood is, let's say only second choice. The guy before me had most frames sawed out, started on the keel when, after having pulled out what little he had left from his former mass of silky, flowing locks, he probably threw his hands up in despair and shelved the mess for the other half of eternity, for his heirs to sort out. They did just that, in a way .
.
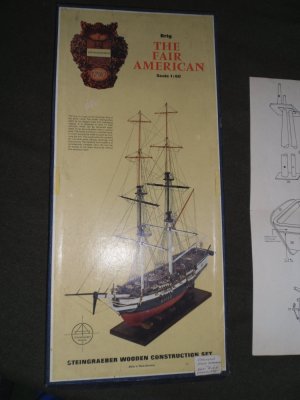
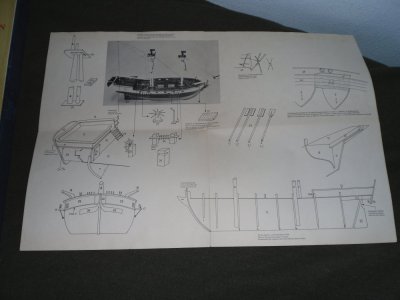
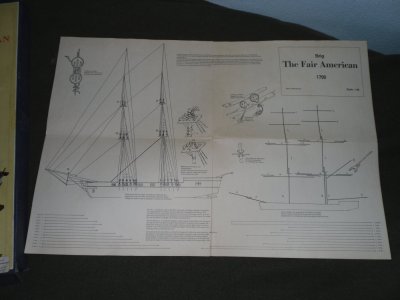
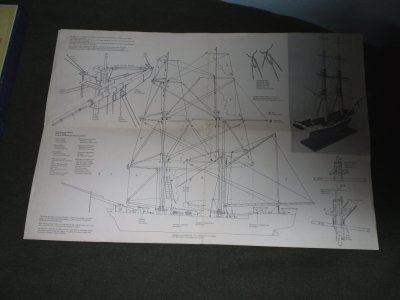
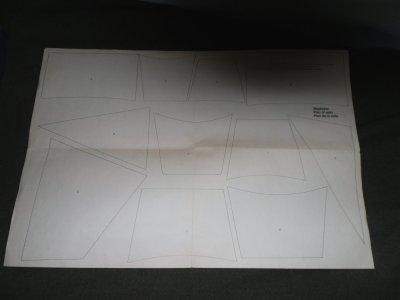
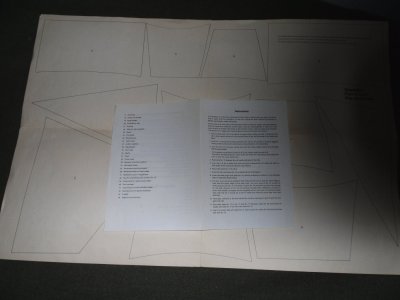
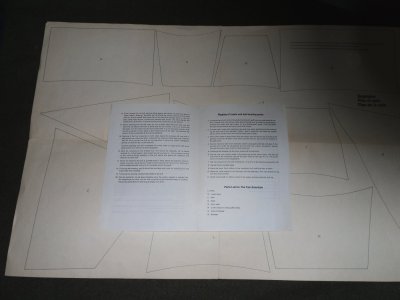 That's it for 'plans and instructions'.
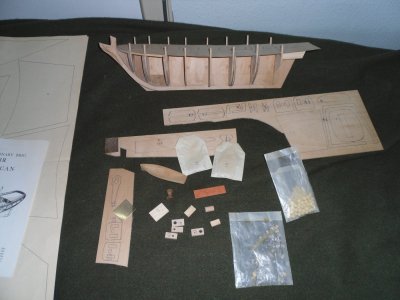
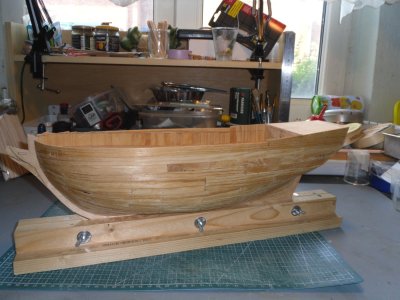
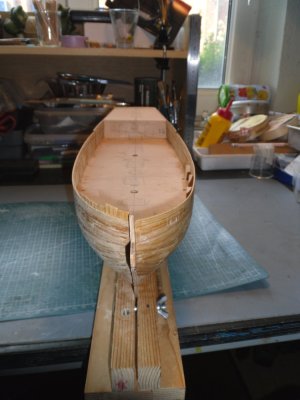
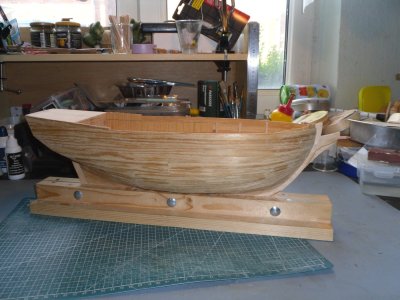
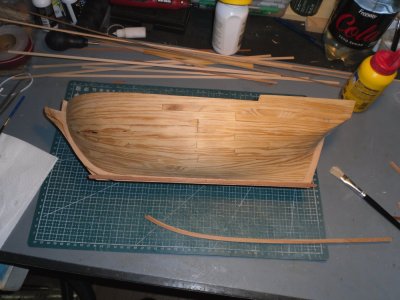
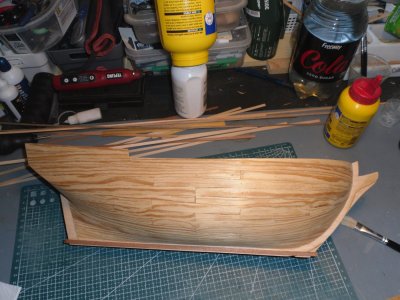
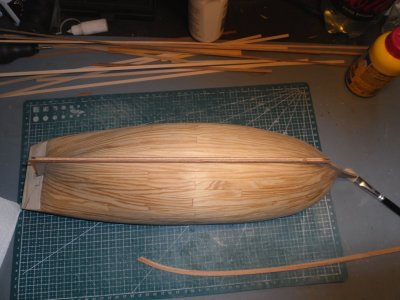
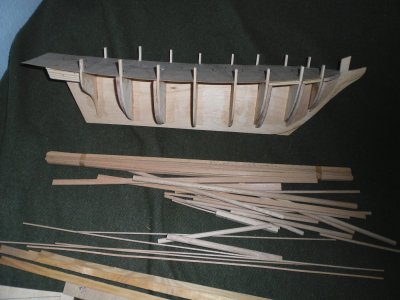 That's where I'm now.
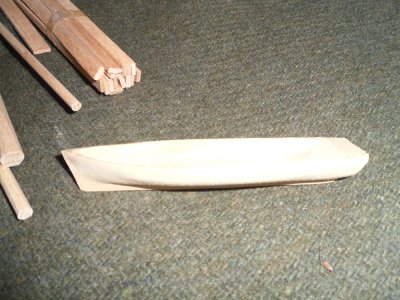 The boat!
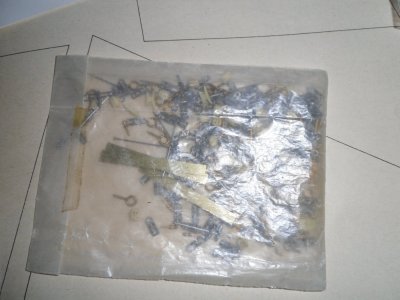 Blocks, eyebolts, rudder fittings, ...
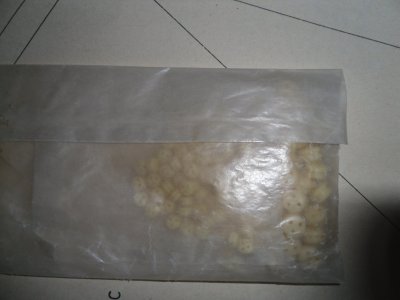 Useable plastic deadeyes (if they were'nt too big!
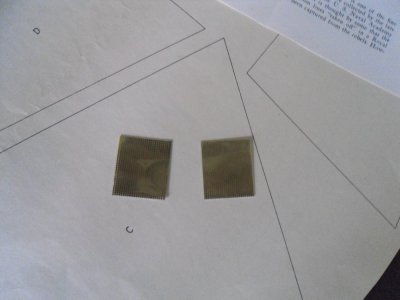 Useless gratings
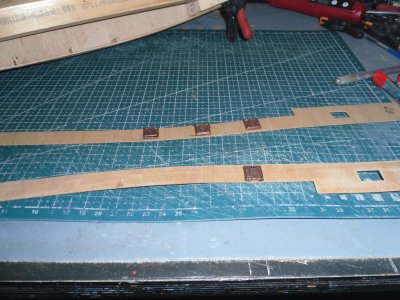
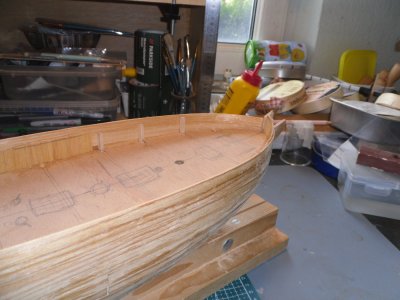
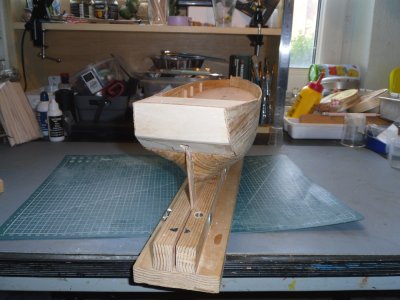
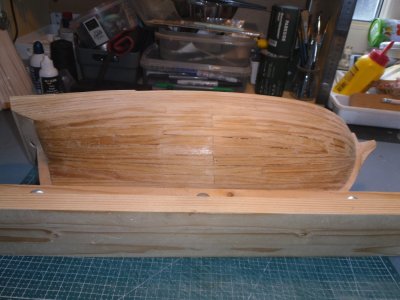
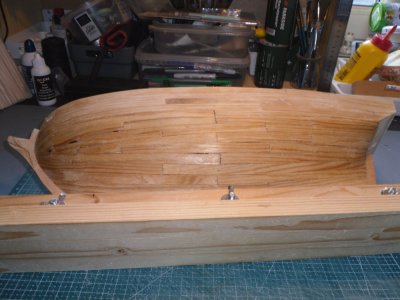
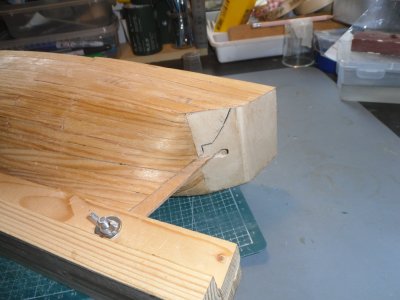
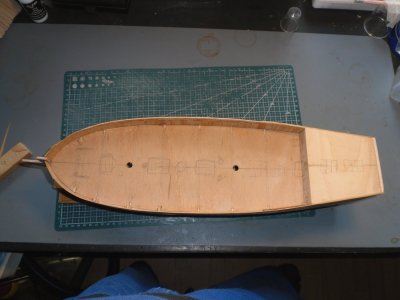
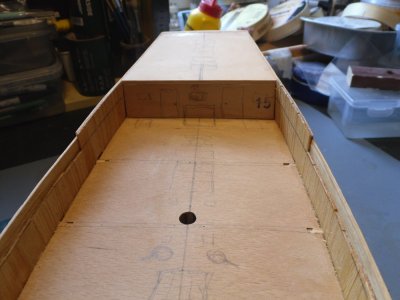
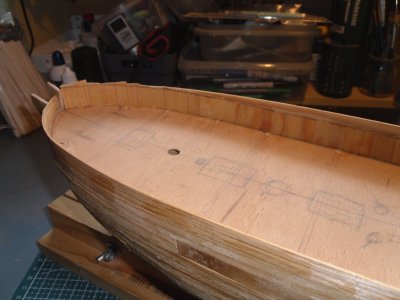
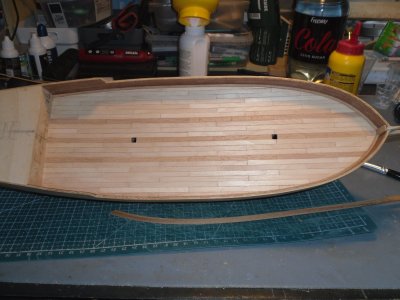
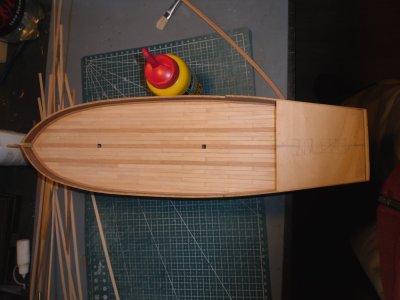
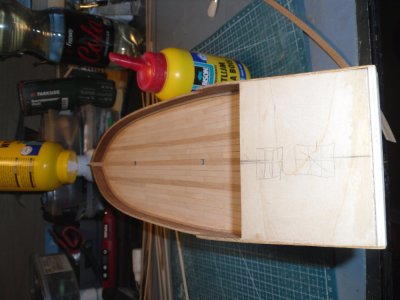
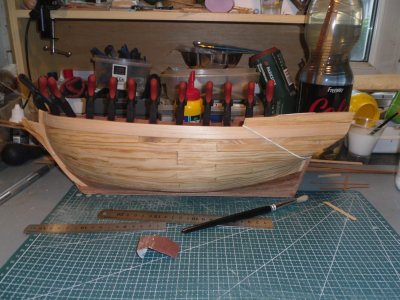
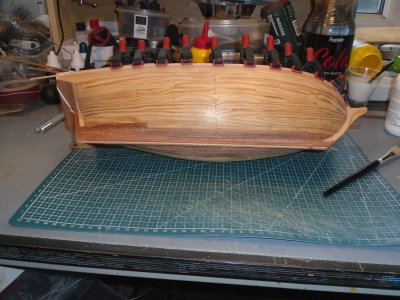
More to come as progress is made. Right now reinforcing/adjusting bulkheads and decks, then see how I can make something half decent out of that stern part.
The building of this kit is all about armchair dreaming of adventure and romance. There is no fixed solution for anything. Scratch building from a kit without a plan .
.
I'll try to make an update every month or so. Or not. So, please, don't hold your breath while waiting for it.
But first things first: this 'Fair American' has nothing to do with that beautiful model from Model Expo. She's a product of pure fictious whishful thinking, just like the Flying Dutchman, Black Pearl, the Albatros and so many others. A not altogether unlikely caricature of a ship.
The kit is wonderfully awful, plans and instructions a joke and, apart from the beech, most of the wood is, let's say only second choice. The guy before me had most frames sawed out, started on the keel when, after having pulled out what little he had left from his former mass of silky, flowing locks, he probably threw his hands up in despair and shelved the mess for the other half of eternity, for his heirs to sort out. They did just that, in a way
. That's it for 'plans and instructions'. That's where I'm now. The boat! Blocks, eyebolts, rudder fittings, ... Useable plastic deadeyes (if they were'nt too big! Useless gratingsMore to come as progress is made. Right now reinforcing/adjusting bulkheads and decks, then see how I can make something half decent out of that stern part.
The building of this kit is all about armchair dreaming of adventure and romance. There is no fixed solution for anything. Scratch building from a kit without a plan
.I'll try to make an update every month or so. Or not. So, please, don't hold your breath while waiting for it.
Last edited: