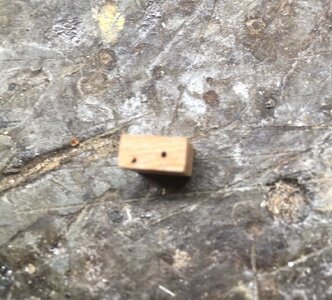
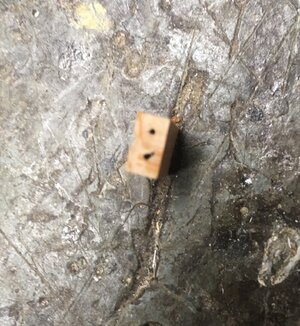
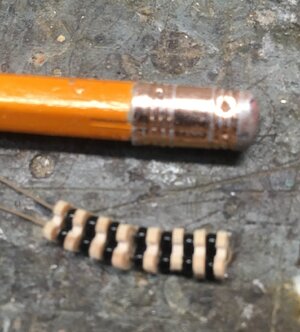
I had the same trouble while making parrel ribs. Small drill bits are greatly affect by the coarse, hard grain of walnut wood, and drilling slowly did not fully solve the problem. The drill would wander off the deeper you went. Here is how I dealt with that. Go slow, and drill for only 2-3 ribs at a time.
I took some scrap walnut and fashioned a stick having the cross section of a parrel rib. Three holes were started with a prick punch and drilled into the end of the stick with a drill press, but only 1 cm deep. Any deeper, and the tiny 0.7mm drill bit would not drill straight farther down into the wood and the holes would be out of position. Then, the stick was sliced into thin sections with a band saw, like slicing a sausage. The tiny parts were then sanded by hand and lacquered, and the results are shown in the photo below.

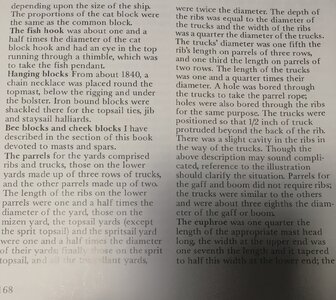
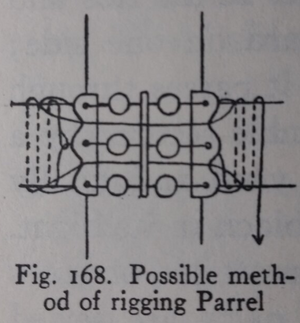
Parrel rigging was done per the drawing below.
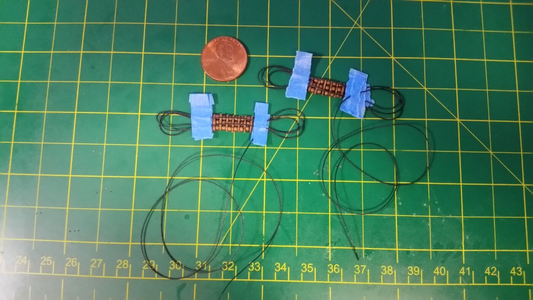
Fore and main course yardarm parrels ready to install. The yard passes through the loops of line outboard of each parrel assembly. This simplifies installation greatly. The line is tightened once the yard is lashed to the mast by the assembly.
More parrel ribs, both triple truck and double truck, were cut from walnut today. Walnut stock was shaped on the mill, filed and sanded, and slices were taken off to make each rib after holes for the parrel line were punch-marked and drilled in the end. The holes were only made 12mm deep and you only get four ribs cut before you have to drill the holes deeper into the wood. This is done because the tiny 0.80mm drill bit will make the holes wander out of position if you go any deeper. Each parrel rib is sanded and inspected. Those that had holes too far out of position to be used were discarded. The double truck parrel parts will be used on the mizzen, topmast, and topgallant yards. The triple truck parrel was assembled for the mainmast lower yard. The procedure was the same as it was for the foremast lower yard parrel, but this time things seemed easier to do. Familiarity with how to use pliers to position and tighten the parrel line made things easier. The line passes that wrap around the outside of the ribs are glued in a couple spots after being positioned with a dental pick to prevent them from popping out of position. Shaping the ribs correctly helps keep these outside passes of line in position. After the parrel line is tightened, a tackle and lanyard are made on the starboard side of the foot of the main mast. The lower double block is hooked to an eyebolt on the deck, and the parrel lanyard is tied off to a cleat on the mast, with the extra line coiled around a paintbrush handle while the PVA glue hardens. Then the coil is hung on the cleat with some PVA to hold it in position. The halyard for the tie line is then tensioned and tied to the knighthead behind the mast on the starboard side.
It's difficult properly tying a triple truck parrel on a 1:100 scale model. Most of the time a simplification of one sort or another is made. I guess I'm just stubborn...
Cut the end of each stick until no more holes appear, then repeat the process by re-punching new hole marks, drilling, and cutting off 2-3 more ribs.
The dental pick holds the yardarm ties taut and in place until the yard is slid through the loops, when you are installing the yard and parrel assembly.
Yardarm is slid through the loops of the ties and the parrel rigging. Time to remove the blue tape holding the parrel rig together.
Parrel rig tightened, and now the parrel rope goes down to the deck tackle.
The parrel rope tackle is the one on the starboard side of the mast. You can tell because the rope is dark in color.
In this case, the end of the rope is belayed to a cleat on the mast. The parrel rope is belayed in different ways for different vessels.

