I'm daft, I know, but I'm making a whipstaff steering system for my 16th century ship 'San Francisco'. My goal is to be able to lift the companion, reveal the whipstaff and be able to use it to turn the rudder. It has to be as authentic as possible, too.
If anyone wants to do this, I'd say this is step 1. This is not a guide, though. I'm fairly convinced it'll work, but I may need to revise each step to perfect it. The first step has to be done, regardless, so here we go! This is for 1/90. For 1/70 or the luxurious 1/48, your life will be a bit easier, that's all. You still need to make trhe bits.
I've done the calculations and roughed out my designs. Now I need to make the darned stuff.
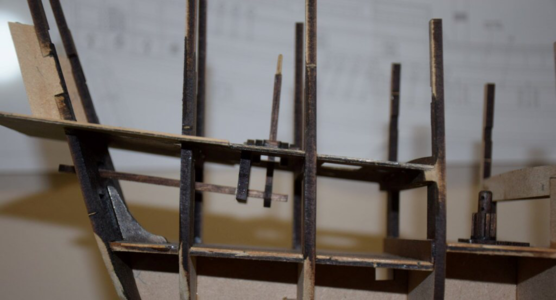
I'm daft, I know, but I want to install authentic, working steering on my 16th century galleon. So here goes... It needs a proper tiller, a tiller sweep (the curved beam that supports most of the weight of the extended tiller), a whipstaff bearing, a whipstaff and a method of delivering force from whipstaff to tiller (of which there are many designs). Lastly, it should have relieving tackle to assist the helmsman in heavy weather.
The tackle is a pain but no worry. The tiller I can bend or carve to shape. I can add the helmsman's platform. I can work on the coupling of whipstaff to tiller, but...
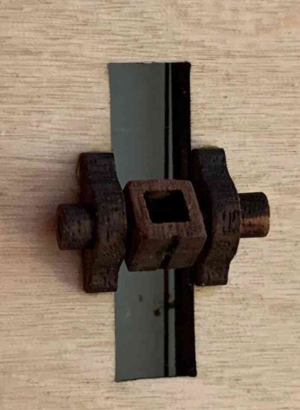
...My first thought was to make a functional whipstaff bearing... yes, they had bearings. If I couldn't make that, the working steering idea is busted, however nicely I make the rest of it.
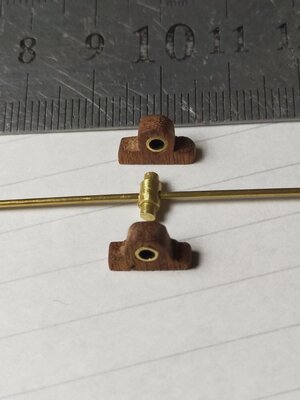
Here's my whipstaff bearing... The whipstaff will be brass, but will be blackened (it's the 1mm brass rod in the image). The bearing housings are mahogany, the rest is brass. It works as it needs to, so that's good. That ruler is in millimetres. Assembled, the shoulders on the pivot will butt up against the housing. The whole thing fits in less than 10mm square. that would be 90cm square in real life. A bit big maybe, but not far off from what I've seen. Anything less and it may break.. at least that's my concern. Next step... the rest! Will it work? I'm hopeful, that's all I can say.

Last edited:


