You are using an out of date browser. It may not display this or other websites correctly.
You should upgrade or use an alternative browser.
You should upgrade or use an alternative browser.
Xebec. An Amati model by Mike Dowling [COMPLETED BUILD]
- Thread starter Mike Dowling
- Start date
- Watchers 18
-
- Tags
- amati completed build xebec
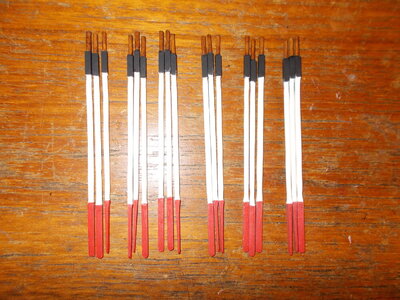
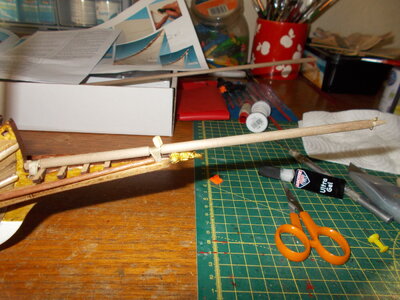
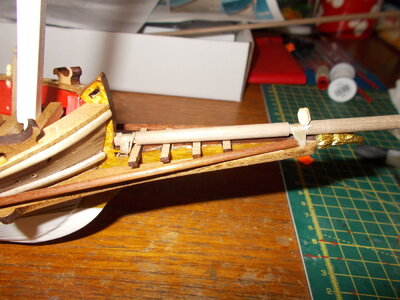
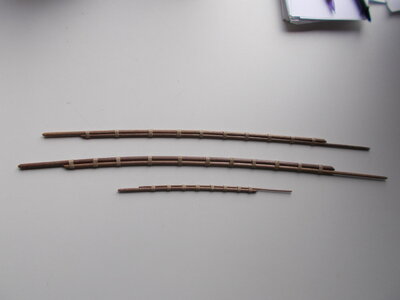
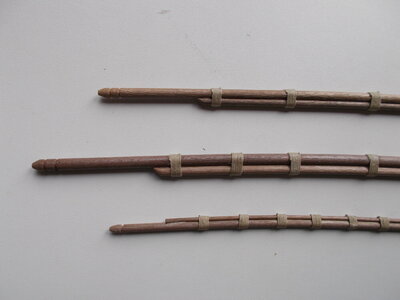
I have started work on the yards. This is difficult! The yards are made up of two dowels which have to be tapered and then one side of each has to be flattened off along its length so that the two can sit side by side. Then onto a jig to bend them. I copied the sheets off the plans and put them on a piece of fairly soft wood to allow me to insert pins. Then soak the wood and lay them onto the plan with the flattened sides together and let them dry overnight. I did put a spot of CA glue on each of the binding points any marking from which should I hope be covered with the subsequent binding. I want to try and get the binding on before totally removing the wood from the jig in the hope that it will remain bent once removed.
Anyway a couple of pictures to show you where I am.
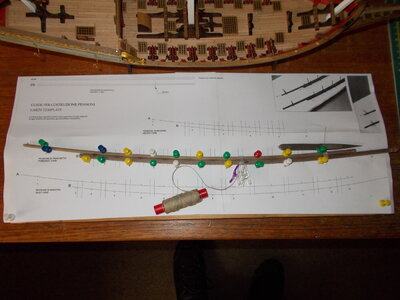
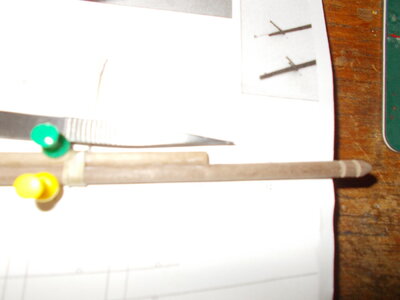
Anyway a couple of pictures to show you where I am.


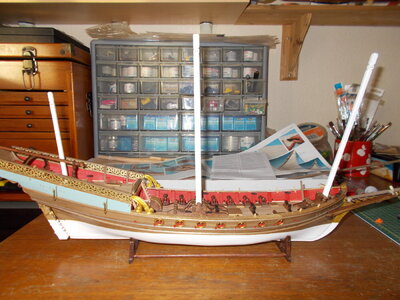
Hello Mike. Each boat is the builders castle so to speak, however I would leave them as they are - looking greatThe three yards, although on a Xebac I am told they are called antenna, are made up. I can't decide whether to paint them black between the binding to add a bit more contrast to the boat.
View attachment 281950View attachment 281951
As you can see Grant, I agreed with you!
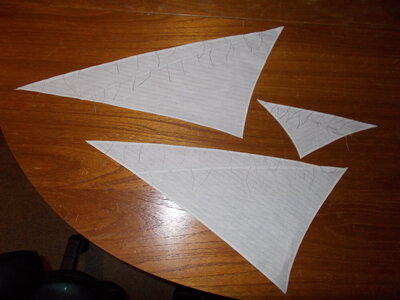
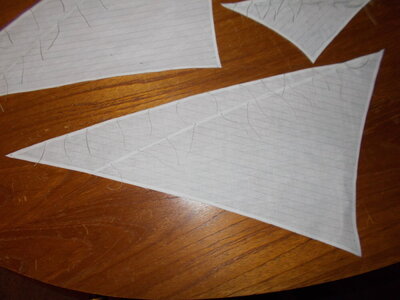
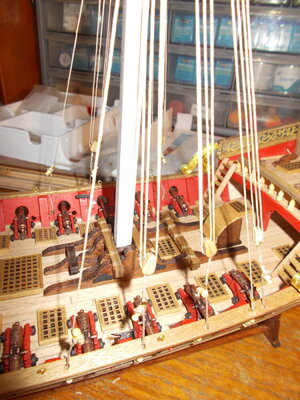
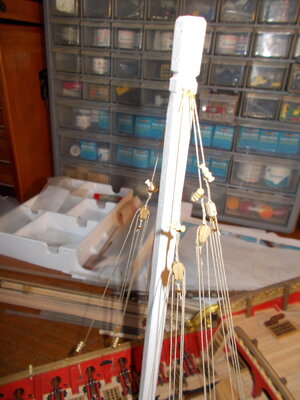
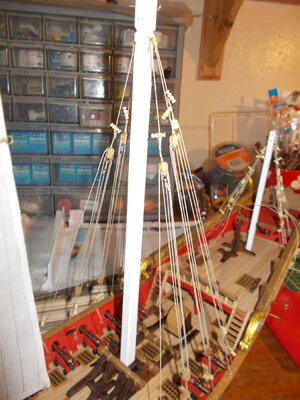
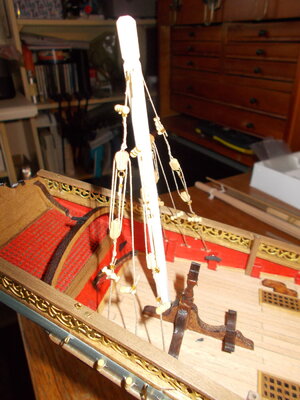
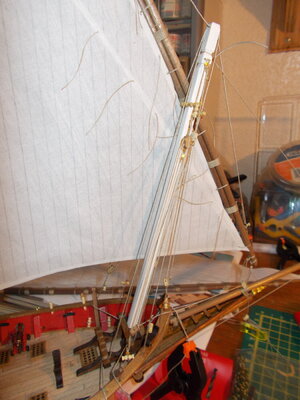
All sails on and rigged.  s and lifeboat done and a few coils of rope and the pennants mean the Xebex is finished.
I did manage to break the mizzen antenna not once but twice!! Some folk just don't learn. Anyway, managed to fix it OK.
So, an interesting build, not quite like anything I have done before. The supplied violin blocks were complete rubbish so I had to spend out a bit on some decent ones from caldercraft but well worth it. The rest of the supplied timber etc was of decent quality although not generous and the instructions were no worse than many. I have to say I had a lot of help from Ekis who has also built this. He sent me loads of pictures of his work which helped me enormously. With that and studying the plans over and over I managed to work out the strange rigging on this vessel.
I see that Occre also do a Xebec kit of the same scale which looks a lot simpler but with a bit more bling. I might try it sometime.
Anyway, a few pictures to show the finished article.
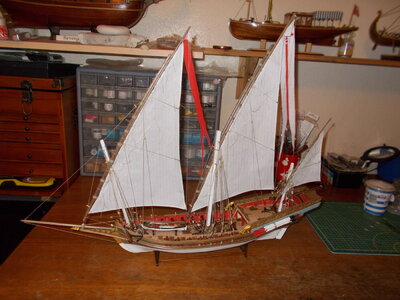
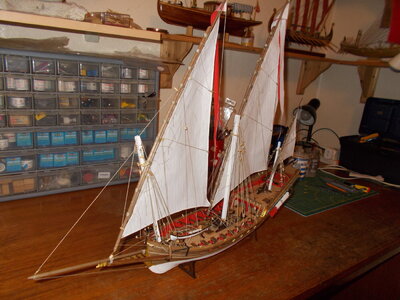
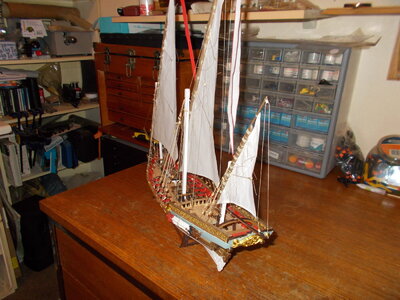
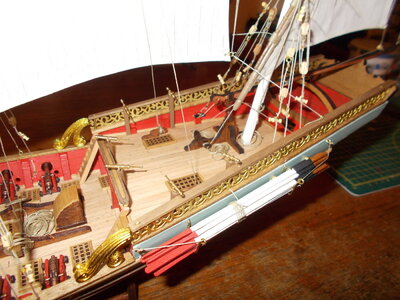
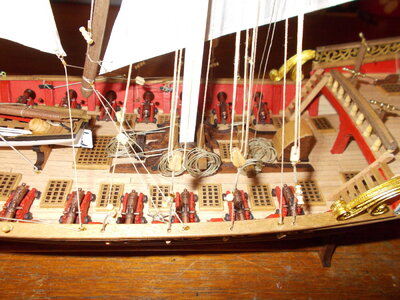
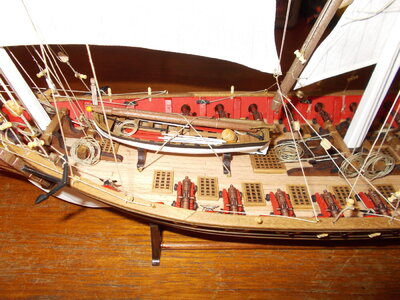
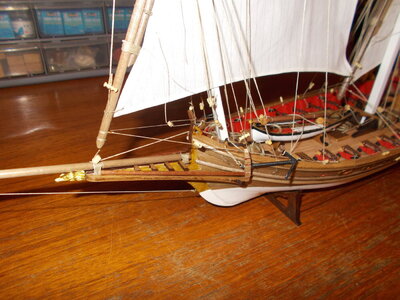
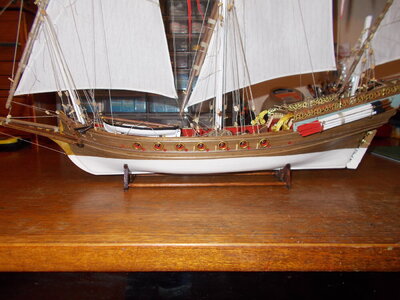
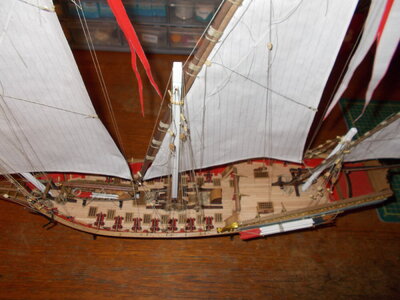
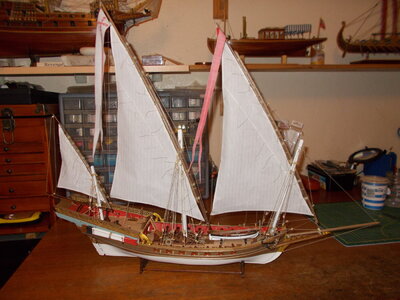
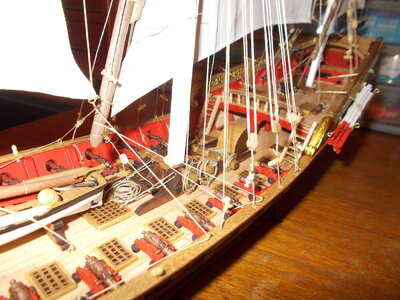
 s and lifeboat done and a few coils of rope and the pennants mean the Xebex is finished.
 I did manage to break the mizzen antenna not once but twice!! Some folk just don't learn. Anyway, managed to fix it OK.
So, an interesting build, not quite like anything I have done before. The supplied violin blocks were complete rubbish so I had to spend out a bit on some decent ones from caldercraft but well worth it. The rest of the supplied timber etc was of decent quality although not generous and the instructions were no worse than many. I have to say I had a lot of help from Ekis who has also built this. He sent me loads of pictures of his work which helped me enormously. With that and studying the plans over and over I managed to work out the strange rigging on this vessel.
I see that Occre also do a Xebec kit of the same scale which looks a lot simpler but with a bit more bling. I might try it sometime.
Anyway, a few pictures to show the finished article.


Super build congratulations
my congratulations for finishing this model and many thanks for sharing with us 
And now? What comes next?
And now? What comes next?
All sails on and rigged.  s and lifeboat done and a few coils of rope and the pennants mean the Xebex is finished.
Cheers
Grant
 s and lifeboat done and a few coils of rope and the pennants mean the Xebex is finished.
Lovely build Mike- she will look good next to the others in your collection on your wall unit. Awesome.I did manage to break the mizzen antenna not once but twice!! Some folk just don't learn. Anyway, managed to fix it OK.
So, an interesting build, not quite like anything I have done before. The supplied violin blocks were complete rubbish so I had to spend out a bit on some decent ones from caldercraft but well worth it. The rest of the supplied timber etc was of decent quality although not generous and the instructions were no worse than many. I have to say I had a lot of help from Ekis who has also built this. He sent me loads of pictures of his work which helped me enormously. With that and studying the plans over and over I managed to work out the strange rigging on this vessel.
I see that Occre also do a Xebec kit of the same scale which looks a lot simpler but with a bit more bling. I might try it sometime.
Anyway, a few pictures to show the finished article.
View attachment 286364View attachment 286365View attachment 286366View attachment 286367View attachment 286368View attachment 286369View attachment 286370View attachment 286371View attachment 286372View attachment 286373View attachment 286374
Cheers
Grant
Thank you all for your kind comments. Grant, you have no idea!! My work room is full including seven 1/16 planes from the ceiling. Our garden room has eight models , seven boats and a windmill and our lounge has eight, three plastic cars, one traction engine, two boats and two stage coaches!!!. My problem is that I have sold a lot already but still have no more room left.
My next build, not that I have anywhere to put it will be the Mamoli Mayflower.
My next build, not that I have anywhere to put it will be the Mamoli Mayflower.
Really nice work, good timing for me as I have just started the same model. Now I can see how it should be done.
Hallo @Mike DowlingGreetings fellow masochists!!
This is my first build log on this forum. I had been using another site but it was all getting a bit prissy and perfectionist for me so I thought I would give this one a try.
I have made a lot of models now so I won't list them all on a completed page. Suffice to say lots of boats, carriages, planes etc etc.
This particular boat I thought was a bit different so I will give it a try.
Pictures of the box and contents to start with. Picture instructions useful, Italian script not useful. However there is a small extra supplementary leaflet with English instructions. Four sheets of plans although one is just of the laser cut pieces. Wood seems to be of good quality as are the various metal pieces, sailcloth, pendants and thread all included.
So, here goes with the first set of pictures.
we wish you all the BEST and a HAPPY BIRTHDAY

are you working actual on a new project? Maybe you would like to show us......
Hope you enjoyed your birthday yesterday Mike.Hallo @Mike Dowling
we wish you all the BEST and a HAPPY BIRTHDAY
are you working actual on a new project? Maybe you would like to show us......
Hi Mike! I’ve just joined your blog and l love what you are doing to this beauty!! Thank you for sharingThe second planking is complete. I really struggled with this as the walnut for it was 1mm thick and I have never used quite such thickness before. Anyway she is planked and sanded. Not as smooth as a babies bottom but I am sure there are not any real boats out there that have no slight irregularities! There are now three half round strips to go on the sides and gun ports cut between them. I have been puzzling as to how is the best way to do this. If I draw marker lines on the hull it will be very difficult to remove them afterwards and the position of the gun ports is quite critical. How shall I do it ? Watch this space!!View attachment 274166View attachment 274167View attachment 274168
Sorry you have arrived so late in the day Polo but thank you very much for your comment.


