Endeavour by Occre build

Joined
Feb 10, 2024
Messages
39
Points
48

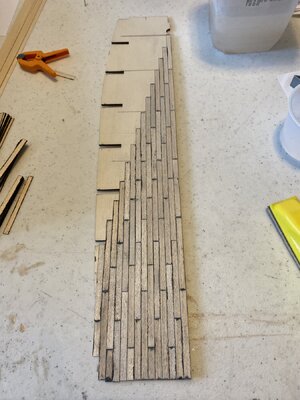
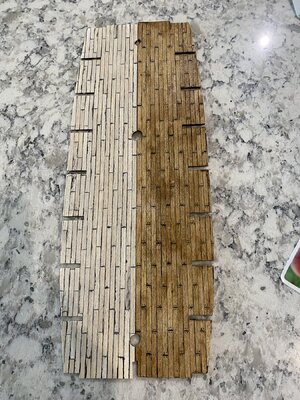
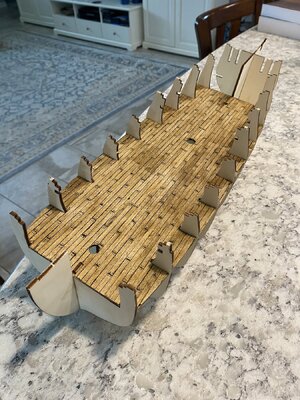
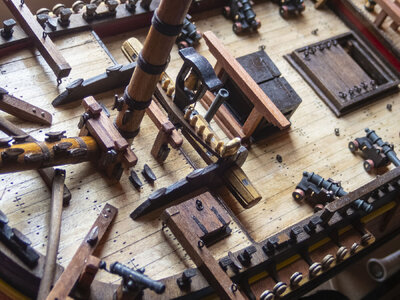
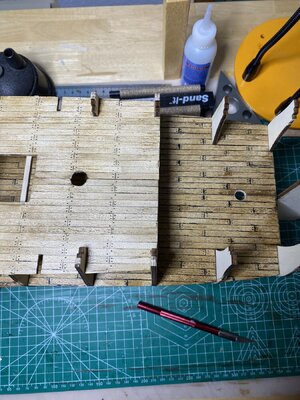
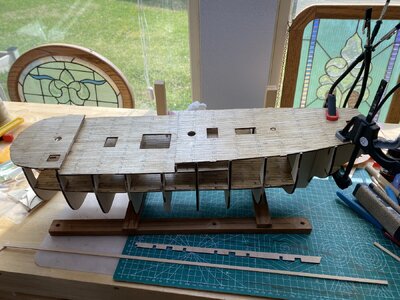
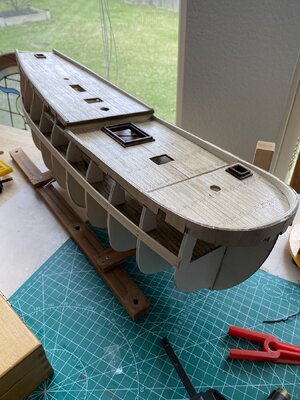
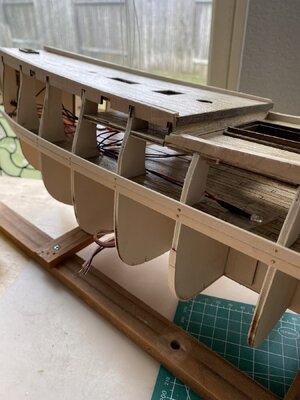
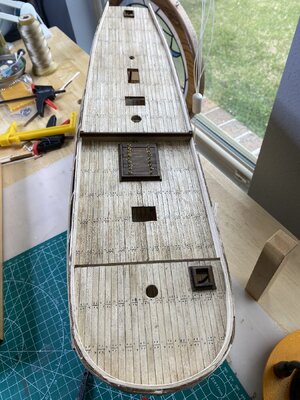
After waiting 7 weeks it kit finally arrived. I had a few hours to get started. The pics shows where i am to date. I went way “overboard” planking the lower deck which is only seen by looking down the main hatchway. I tried the way i will weather the remaining decks. Let me know what you think and anything i should do or not!

IMG_8714.jpeg

IMG_8715.jpeg

IMG_8717.jpeg

IMG_8718.jpeg
 
The wathered one looks really fine. I think I will have to weather my already added decks even if they are already glued (buccaneer).
What kind of wash have you used there? Was the wash added before varnishing the deck?
best regards,
mapoo
 
The first thing i did was varnish the linden wood deck. Then i used Occre brown #19141brushed on and wiped off. Then let dry and apply another coat of varnish.
Still debating if i want all decks to look this brown… i too like the natural look.
I paint the edges black first. The black bleeds through to the top of the planks. That may not look good if i kept it natural. Maybe if i sanded it more, it would clean it up?
This deck will not show when completed. That’s why i didn’t fear the results! Lots of Laughs
 
Has anyone put lights in the Endeavour. I’ll have to modify the way the lantern and stern is made, if i do try lights.
 
The first thing i did was varnish the linden wood deck. Then i used Occre brown #19141brushed on and wiped off. Then let dry and apply another coat of varnish.
Still debating if i want all decks to look this brown… i too like the natural look.
I paint the edges black first. The black bleeds through to the top of the planks. That may not look good if i kept it natural. Maybe if i sanded it more, it would clean it up?
This deck will not show when completed. That’s why i didn’t fear the results! Lots of Laughs
I only use a pencil and no black color...so no bleeding at all. Wirhout weathering it looks fine that way. Have to try how it looks with weathering
 
After waiting 7 weeks it kit finally arrived. I had a few hours to get started. The pics shows where i am to date. I went way “overboard” planking the lower deck which is only seen by looking down the main hatchway. I tried the way i will weather the remaining decks. Let me know what you think and anything i should do or not!

It's always nice to see someone else working on the same ship. As far as the intensity of the staining is concerned, I would go for something in between both your try-outs. I don't think in reality the colour would be very strong. This is what I did. To begin with I varnished the deck, and only after that I applied Occre Judea Bitumen and wiped it of again after 10-15 seconds. This brings out the grain of the wood. If I would have to do it again I think I would stain with light oak before varnishing. I did not sand in between varnishing and applying the bitumen for this can easily result in uneven staining. After letting the bitumen dry I varnished once more. The sides of the planks were blackened with a pencil. Good luck.

Endstain_02.jpg
 
Last edited:
It's always nice to see someone else working on the same ship. As far as the intensity of the staining is concerned, I would go for something in between both your try-outs. I don't think in reality the colour would be very strong. This is what I did. To begin with I varnished the deck, and only after that I applied Occre Judea Bitumen and wiped it of again after 10-15 seconds. This brings out the grain of the wood. If I would have to do it again I think I would stain with light oak before varnishing. I did not sand in between varnishing and applying the bitumen for this can easily result in uneven staining. After letting the bitumen dry I varnished once more. The sides of the planks were blackened with a pencil. Good luck.

View attachment 434057
Thanks…. I will try the judea, i used the brown. Plus using a pencil makes it easy.
 
Thanks…. I will try the judea, i used the brown. Plus using a pencil makes it easy.
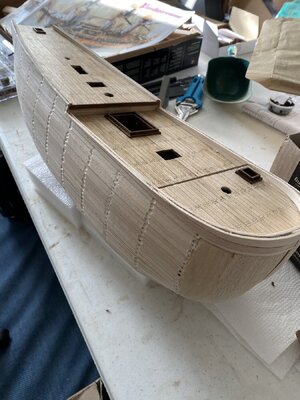
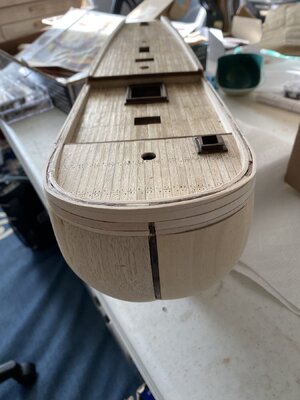
I actually used the judea in the pic, but didn’t wipe it off enough. If i would have used a wet towel, i would have obtained the look of yours. I send pic of the upper deck planking and weathering.

IMG_8727.jpeg
 
I actually used the judea in the pic, but didn’t wipe it off enough. If i would have used a wet towel, i would have obtained the look of yours. I send pic of the upper deck planking and weathering.
I think it looks very good. Once you have installed the deck fittings it will appear lighter, because of the contrast.
 
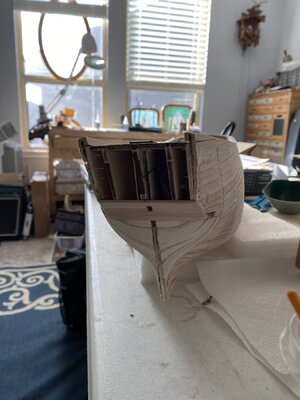
Endeavour day 6 ….. seems like the ribs will need allot of sanding. I don’t know if there was a misalignment from the “get go” or not. Not much of a problem. So far loving it!View attachment 434994
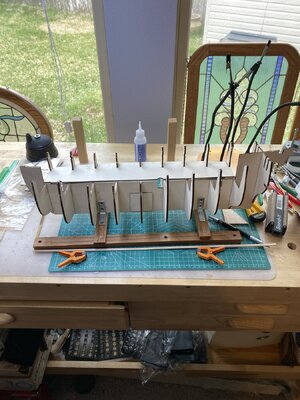
Day 11 just started first planking. Wired for lights…..Occre kit is not set up for lights. I will have to figure out how to make the stern windows opaque. The plans are just painted ply.

IMG_8746.jpeg

IMG_8747.jpeg

IMG_8749.jpeg
 
Day 21 of Endeavour build
Speak up if anyone sees a problem.

View attachment 438205

View attachment 438206

View attachment 438207
I see you dug pretty deep into the wood to get the planking pins out, but perhaps too deep. Wood filler will fill in those scars so the second planking lays on the hull smoothly. You really don't need to remove all the pins. If the pins are pushed in deep such that the heads are below the surface of the wood, they can be left in the hull without any problem. If you want to re-use the pins, the ones that have heads above the surface can either be pried out a bit with the edge of a razor knife and pulled out with needle nosed pliers, or the heads can be sanded away during the hull sanding process and the shanks of the pins remaining in the wood. Digging deep to get those bureied pins isn't worth the effort of filling and sanding to restore the surface. On my first model, I pulled as many pins as I could because I was afraid to leave them in there, but it really doesn't matter.

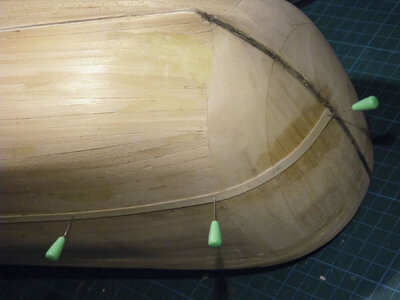
Below, you can see the first coat of filler (green) after the first pass of filling and sanding. The brass pin heads appear larger and shiny because they have all been sanded flat. After inspecting in sunlight for low spot and high areas, one or two more passes of filler and sanding were done before I was satisfied the hull had a perfect surface without flat spots or ridgelines from sharp bends over frames.
067 First Sanding of Filler.jpg


Take note in your photo below:
1711722170092.png

The profile of your hull dips inward as you approach the keel. There should be a smooth curve of the hull through the keel in this area. You will have to use filler to raise this profile, sand and inspect it, and perhaps add a second coat of filler until the curvature appears continuous. Before you are done with filling and sanding, you will spend a long time looking along the hull to look for imperfections before the second layer of planks is begun. At this stage, this is where you get rid of all the imperfections, because you can't do that after second planking is done. Patience is required, and the results will speak for themselves.
 
Last edited:
Day 21 of Endeavour build
Speak up if anyone sees a problem.

View attachment 438205

View attachment 438206

View attachment 438207
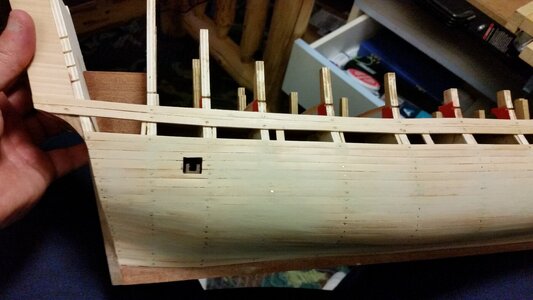
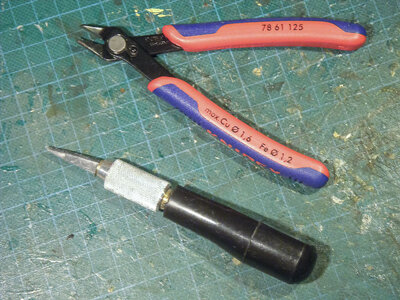
I use cutters to remove the nails. Not primarily to be able to reuse the nails, but mainly because sanding down the nails is an annoying business. In case it doesn't work because the nails are buried to deep (which I try to avoid) I use a hobby knife with a thick, strong blade (pictured below) to pry them out, keeping the knife as flat and horizontal (parallel with the surface of the hull) as possible while twisting it round its axis. After sanding there is no need to fill what is left of the holes with woodfiller. Below is a picture of the hull of HM Bark Endeavour after sanding.

Endeavour_nails01.jpg

End_sand_02.jpg
 
Back
Top