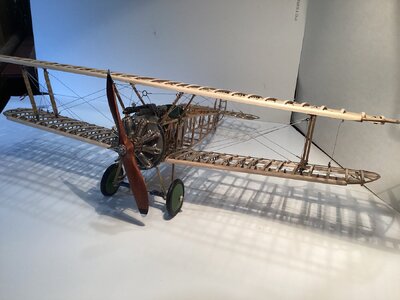
Sopwith Camel. Artesania Latina [COMPLETED BUILD]

Ken

Joined
Dec 16, 2016
Messages
1,021
Points
493

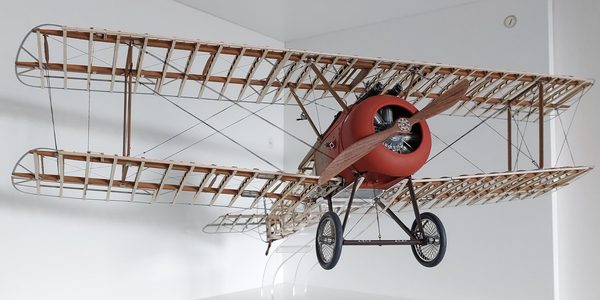
Good morning, SOS. And welcome to my new build log. Having just successfully completed HMS Blandford I am attempting something completely different, a 1:16 scale Sopwith Camel from a kit by Artesania Latina.

I was bought this by my wife as a Xmas present, I’d given her a shortlist of suitable kits, the proviso being that this time it had to be one that wouldn’t create any dust, so for the next couple of months I’ll be building and documenting the Sopwith.

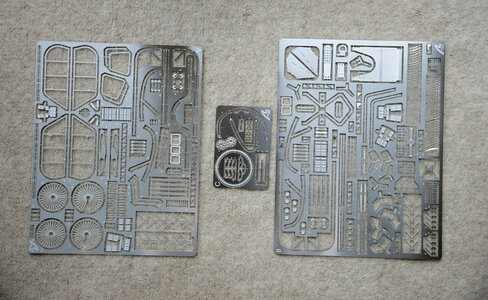
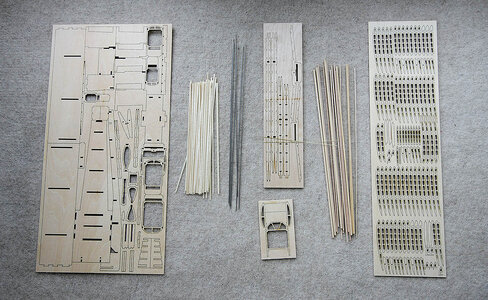
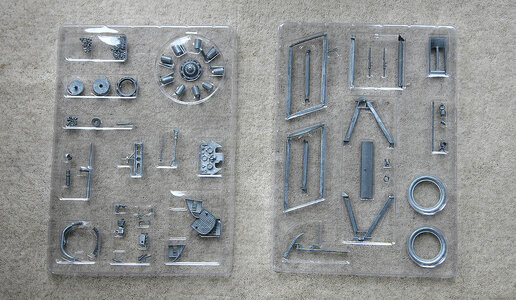
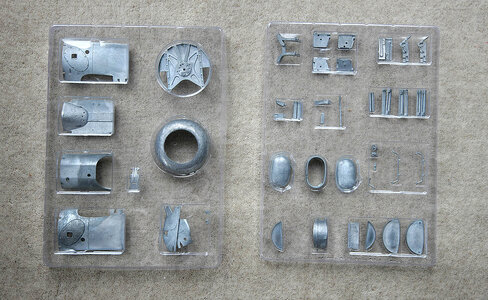
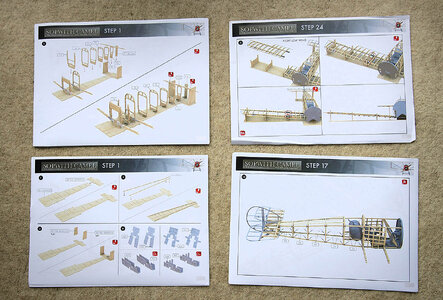
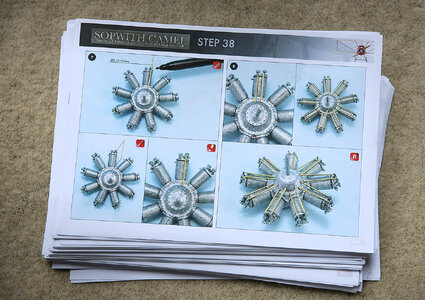
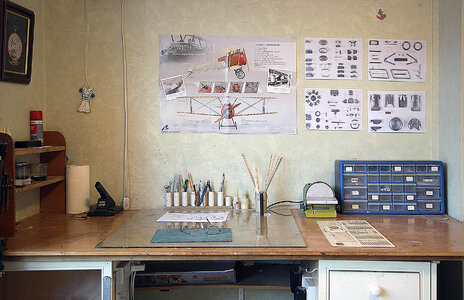
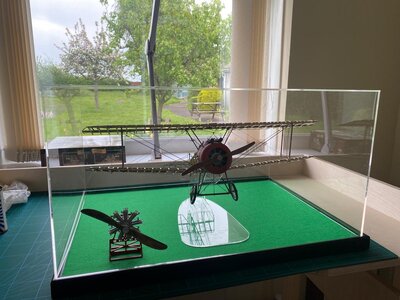
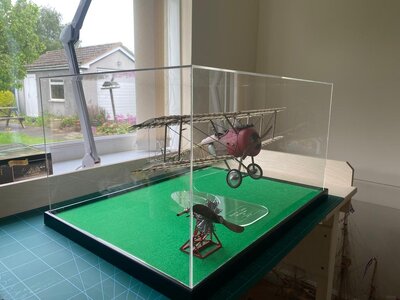
The kit was well presented in its box, well packed, nothing loose to rattle around and break. There was some pretty nice artwork which I’ve pinned up above my bench to give me inspiration, the instructions were on a supplied CD, and they are the most comprehensive I have ever seen on any model. They take you through the build step by step in the most detailed way as if you were a complete modelling novice, I printed the instructions out for ease of use, I don’t know how many pages, too many to count but as you will see it is thicker than many of my wife’s romantic sagas that she reads. There are also several sheets of a parts list picturing and identifying every part. There are four trays of cast parts which seem cleanly cast and quite well detailed. There are two large and one small photo etch sheets which looks well detaled and includes a vast amount of turnbuckles for the rigging. There are some wooden sheets with the parts cleanly laser cut with no burn visible which is good as some parts like the ribs look to be very delicate and would easily break if you had to clean them up. I like the fact that there are good jigs within the build to assist with position and alignment. There is a bundle of strip wood, some of which looks very delicate, I don’t know how I’ll be able to handle without breaking some of these as I haven’t the most sensitive fingers. There are metal rods, some fine copper wire, decals, cord and fishing line. A very nice Perspex display stand is included which is a nice touch.

Some pictures then on with the build.
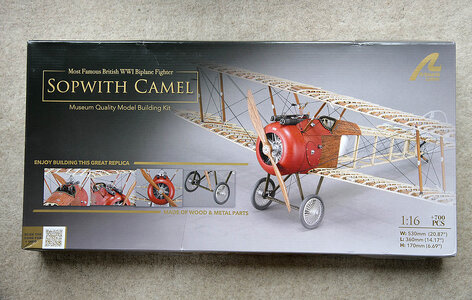

001.jpg


002.jpg


003.jpg


004.jpg


005.jpg


006.jpg


007.jpg


008.jpg


009.jpg
 
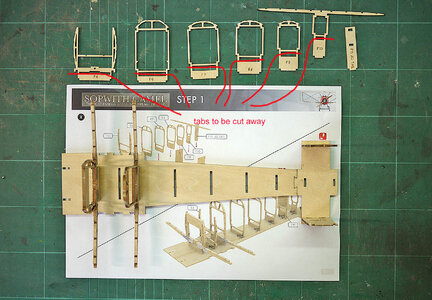
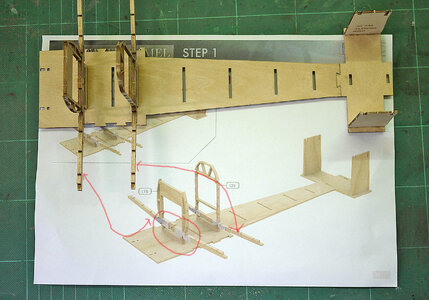
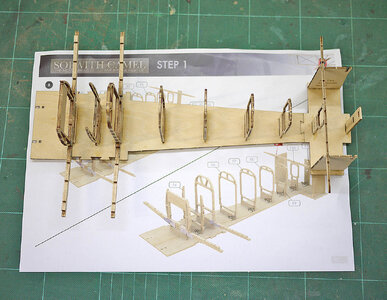
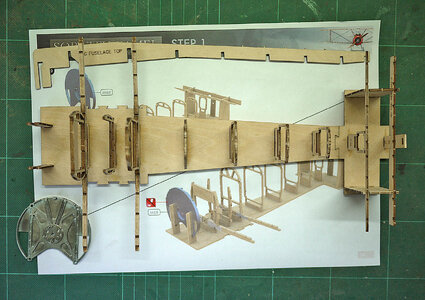
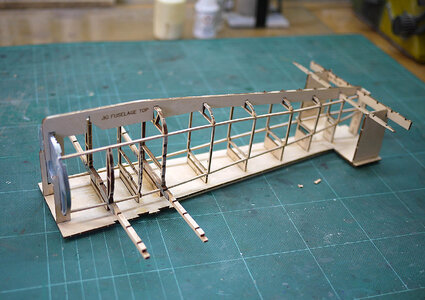
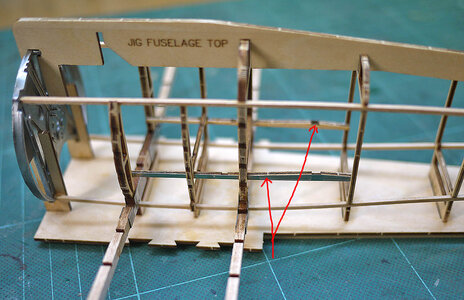
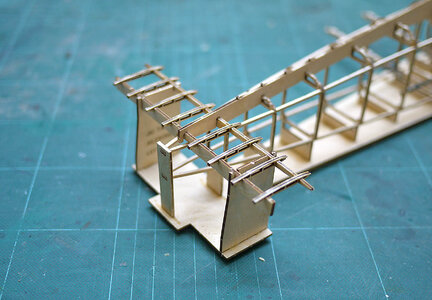
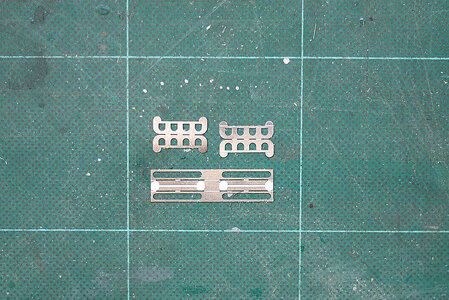
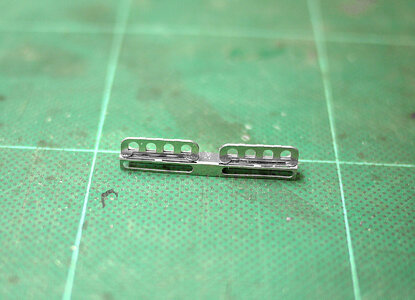
Hello. I've given the introduction now it's on to the build. The start is very much about building a pretty well thought out jig arrangement which sets the position and angle of the fuselage, lower and tail wings. The fuselage frames have parts of the jig attached by tabs, when complete the tabs will be cut through which will release the fuselage from the jig. I mentioned in my introduction that the step by step instructions were excellent and at the moment I’m finding that to be the case. Most of the parts are made up from 2mm ply which seems quite soft and very delicate, some areas especially near the grooves are only 1mm thick, and will need great care in handling, the tails on a chocolate mouse feel stronger. I found that because of the delicate nature of parts it was difficult cleaning up their edges without breaking them, I quickly learned that. The wing spars have brackets made from folded PE for strength and realism so hopefully stressed parts will be strong enough.

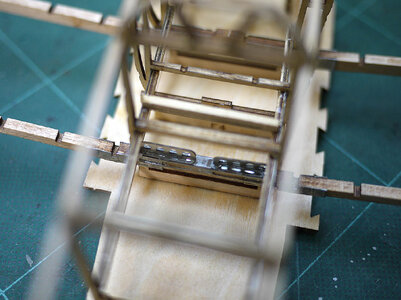
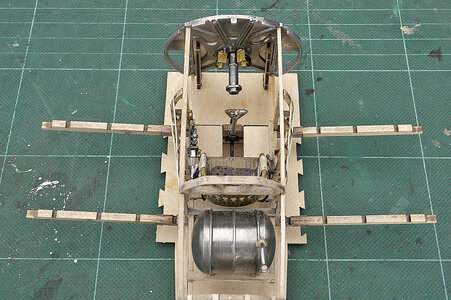
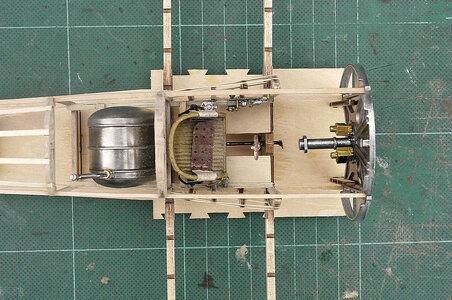
As you can see I’ve made up the jigs, fitted the initial four corner stringers, the front and tail wing spars, some tail ribs, the engine firewall and the cockpit floor beam which is also plated with PE. So far, so good, but I must remember to be very gentle.

010.jpg


011.jpg


012.jpg


013.jpg


014.jpg


015.jpg


018.jpg


016.jpg


017.jpg
 
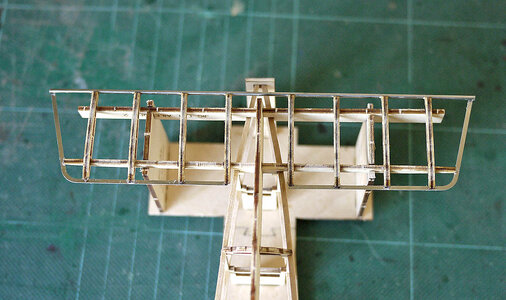
Hello and welcome to my log. I’m beginning to understand this kit a little more now that I’ve started, I’ve discovered that it’s not as accurate or detailed as the MA. version that Dean built so beautifully and Donnie has on the go, but I believe it will be simpler to build. It won’t suit the purists who thrive on accurate detail, things like PE for the edges on most of the tail section and lots of ply edges showing elsewhere, but I think that it will make a nice display item, one without masts for a change. I am having some difficulty handling it, I have a poor sense of feel and with it being so fragile I’m wary of holding it in case I break some parts, I’m not at ease with the build so far and am not as enthusiastic at the moment as I’ve been with my ship models, perhaps being unfamiliar with this type of build it’s just in the mind and hopefully I’ll find my mojo with it as I progress.

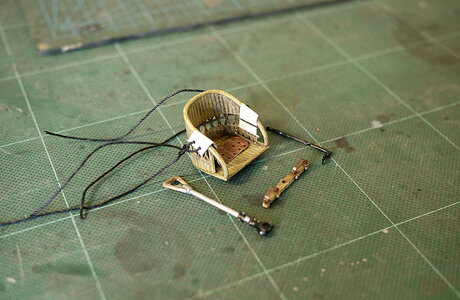
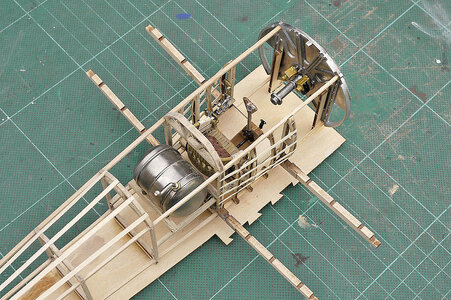
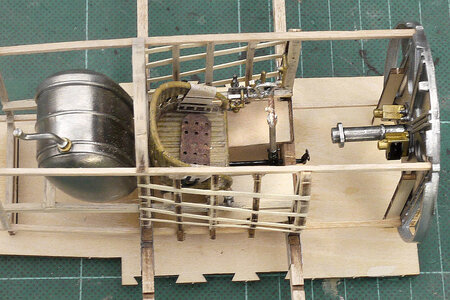
I’ve made up and fitted a PE cockpit base support, fitted the PE edge around the rear wing and made up the seat and controls from castings, I had fun painting the seat to look like wicker as well as the PE seat belt. Next will be a bundle of cast parts, at least I can’t break them


020.jpg

021.jpg

022.jpg

023.jpg

025.jpg
 
Looks great. I am impressed with the jig. Looks like the company went out of their way to ensure a good alignment.
Hi Rob. Yes the jig is particularly good and well thought through, you simply can’t get the alignment wrong. I’ve done some work on it today and I’m getting along with it better.
 
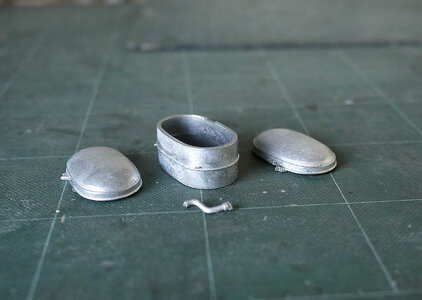
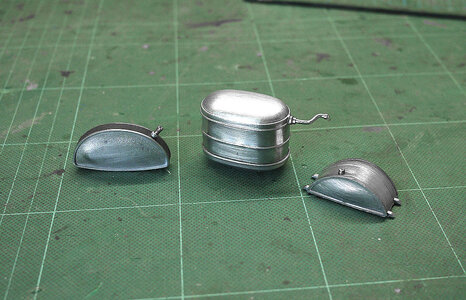
Hello and welcome. You will have guessed from my last post that initially I wasn’t overly impressed with the Sopwith kit at first but now that I’m more into it I have upgraded my opinion to pretty good/very good. Yesterday I worked on it quite a bit and didn’t break anything so I’m now more confident in handling it, I think that it was the transition from sturdy boats to delicate structures that threw me, but now I’m actually enjoying it. An issue that I wasn’t happy with was the many ply edges that were visible, I addressed these with a good sanding and using thinned down matt acrylic, having matched the colour I painted these edges, this worked very well and now the frame is a uniform colour. The tail section as I said had a silhouette made up of PE, at first I didn’t like it but now it is growing on me and I think that it’s acceptable. Another initial thought was that it lacked detail but again I was wrong, the cast parts are complimented by PE which there is quite a bit of, together they create very good convincing parts. It was suggested in the instructions that many of the cast parts should be painted silver but I found that some time spent buffing them up gave a much better natural metal appearance which really brought them to life.

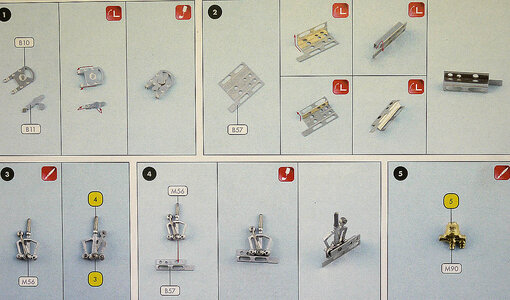
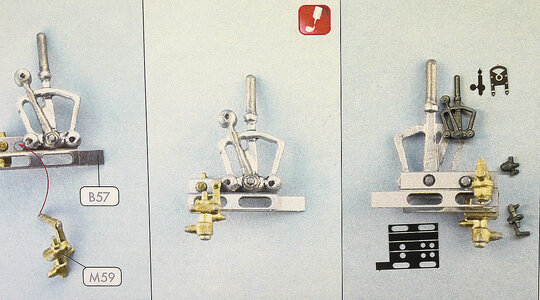
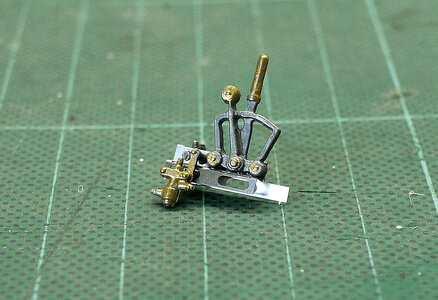
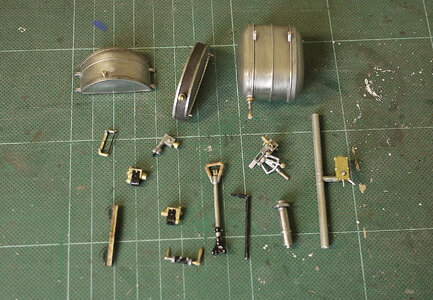
I’ve now made up several of the smaller components, fuel and oil tanks, joystick, rudder bar, reservoirs, magnetos the throttle and begun some engine parts, all have impressed me with their detail. I’ve shown part of the instructions showing just how complete and detailed they are, other manufactures should take note. I’m now looking forward the the rest of the build.


026.jpg


027.jpg


028.jpg


029.jpg


030.jpg


031.jpg


032.jpg


033.jpg
 
Last edited:
Wow - Ken - this will be another fantastic build from you (as usual). Looks like your Britannia metal is in much better shape than the M.E. Version. It is taking me hours to get the Brit metal fashioned like it should be.
 
Fantastic! Brings back many fond memories. I started my first wood based models with aircraft kits. A lot less sophisticated in those days! We built the frames from balsa strip wood…doped them up and laid down silkspan. I remember pinning down the wing frames on a long plank. Built several that way until I was given a plastic kit of the Bluenose. I fell in love with ship models. But after the plastic Bluenose kit I got the POF “Revenue Cutter” by Model Expo and the rest is history. That was over 50 years ago! Good grief! Thanks for posting…
 
Last edited:
Good morning, SOS. And welcome to my new build log. Having just successfully completed HMS Blandford I am attempting something completely different, a 1:16 scale Sopwith Camel from a kit by Artesania Latina.

I was bought this by my wife as a Xmas present, I’d given her a shortlist of suitable kits, the proviso being that this time it had to be one that wouldn’t create any dust, so for the next couple of months I’ll be building and documenting the Sopwith.

The kit was well presented in its box, well packed, nothing loose to rattle around and break. There was some pretty nice artwork which I’ve pinned up above my bench to give me inspiration, the instructions were on a supplied CD, and they are the most comprehensive I have ever seen on any model. They take you through the build step by step in the most detailed way as if you were a complete modelling novice, I printed the instructions out for ease of use, I don’t know how many pages, too many to count but as you will see it is thicker than many of my wife’s romantic sagas that she reads. There are also several sheets of a parts list picturing and identifying every part. There are four trays of cast parts which seem cleanly cast and quite well detailed. There are two large and one small photo etch sheets which looks well detaled and includes a vast amount of turnbuckles for the rigging. There are some wooden sheets with the parts cleanly laser cut with no burn visible which is good as some parts like the ribs look to be very delicate and would easily break if you had to clean them up. I like the fact that there are good jigs within the build to assist with position and alignment. There is a bundle of strip wood, some of which looks very delicate, I don’t know how I’ll be able to handle without breaking some of these as I haven’t the most sensitive fingers. There are metal rods, some fine copper wire, decals, cord and fishing line. A very nice Perspex display stand is included which is a nice touch.

Some pictures then on with the build.
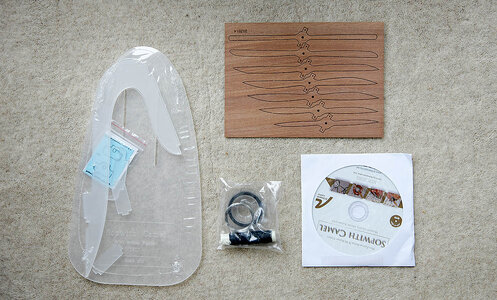

View attachment 423224


View attachment 423225


View attachment 423226


View attachment 423227


View attachment 423228


View attachment 423229


View attachment 423230


View attachment 423231


View attachment 423232
Nice workspace!!
 
Fantastic! Brings back many fond memories. I started my first wood based models with aircraft kits. A lot less sophisticated in those days! We built the frames from balsa strip wood…doped them up and laid down silkspan. I remember pinning down the wing frames on a long plank. Built several that way until I was given a plastic kit of the Bluenose. I fell in love with ship models. But after the plastic Bluenose kit I got the “Revenue Cutter” by Model Expo and the rest is history. That was over 50 years ago! Good grief! Thanks for posting…
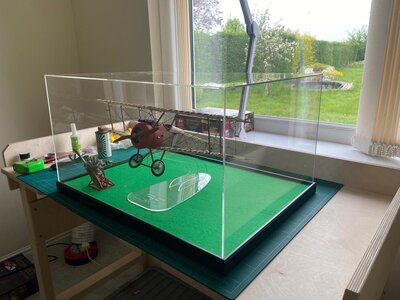
Hi Jim, Like you when I was a boy I did the same, I made them on the kitchen table using my dads old razor blades to cut out the balsa parts, and used doped tissue to cover them. To me they looked terrific but I don’t recall a successful flight, though I kidded myself that they flew beautifully. Thanks for bringing back memories.
 
Wow - Ken - this will be another fantastic build from you (as usual). Looks like your Britannia metal is in much better shape than the M.E. Version. It is taking me hours to get the Brit metal fashioned like it should be.
Thanks Donnie. Yes I’m happy with the quality of the castings, they needed very little work doing on them, I don’t know what type of metal they’ve used but it’s much harder than Britannia casting which always seems to have a lot of flash. It’s not going to be the equivalent of Deans but it’ll be interesting to compare the two versions. Ken
 
Nice workspace!!
Hi, Yes it’s a nice corner to work in, but a bit small for some of my larger builds. The problem that I’ve got is that it’s part of a study, if you were to look around you would see a computer work station, my wife spends time there and she insists that I keep the room clean and tidy and no dust. Wife’s can be so demanding.
 
Hello. Thanks for visiting my log, I'm surprised at just how much interest there is in a model aircraft on a model boat forum.

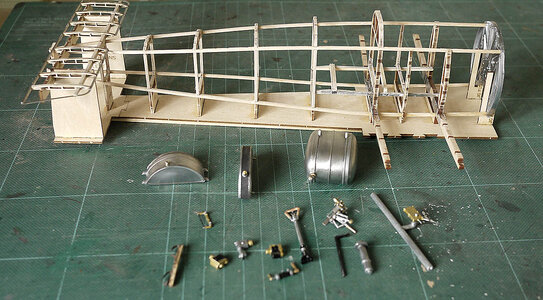
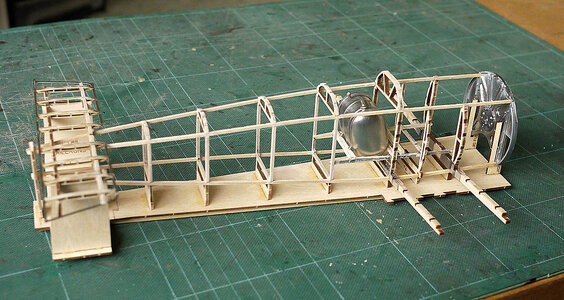
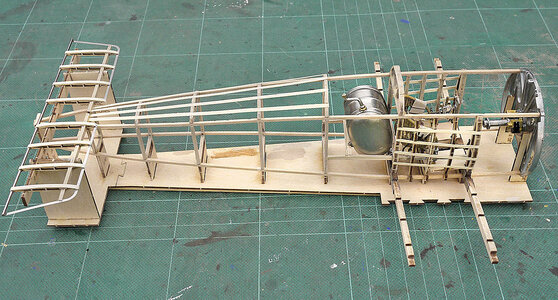
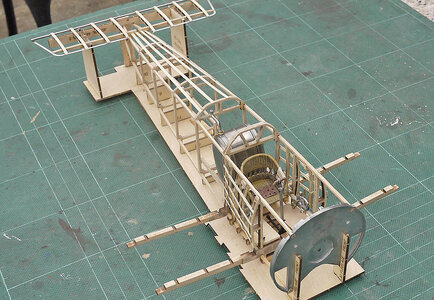
The build is coming along nicely and yet another day passed without me breaking anything, long may that continue. I've put on the rear wing rib capping, the forward side stringers as well as the upper fuselage ones, these were 2mm x .3 mm, very thin, almost like paper, they don't feel like scaled parts but from a pace away look ok. As you can see I've fixed into place most of the cockpit parts that I'd prepared so it's now looking more like a plane, and is now ready to be released from its jig.

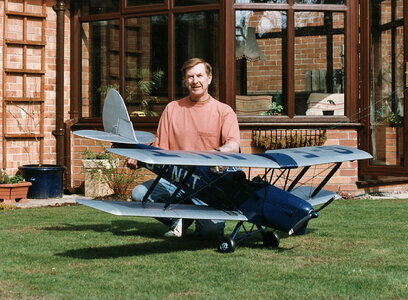
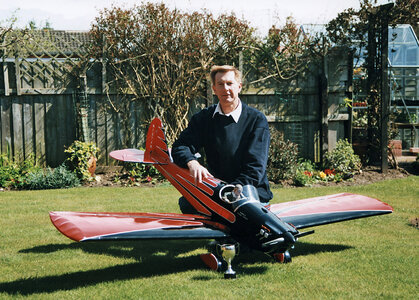
Some years ago I built and flew RC model aircraft, I enjoyed making them over plans which gave good accuracy and a certain satisfaction so I know a little about their construction. The MA. Sopwith appears to be a bit like that and attempts to get pretty close to an accurate model replica but I don't think that the AL version tries to do that, it's closer to a construction kit but made of wood, there are no plans just a very good guide and pre cut parts, a simplified build, aimed at the less experienced modellers who will be able to then build a nice looking but more basic model.


034.jpg


035.jpg


036.jpg


037.jpg


038.jpg


039.jpg


j3.jpg


i8.jpg
 
Back
Top