Steam Box for Bending Planks

Joined
Dec 28, 2020
Messages
1,685
Points
488

Location
Meridian, Idaho USA
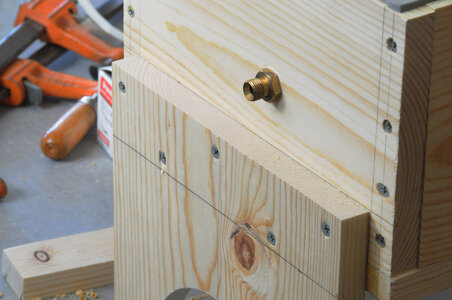
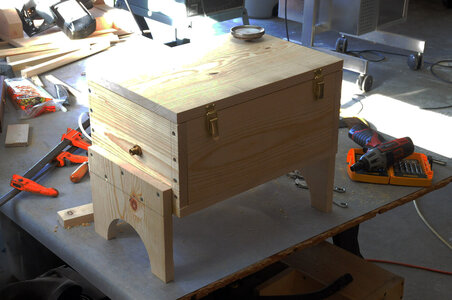
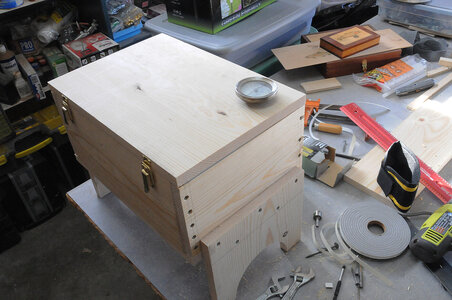
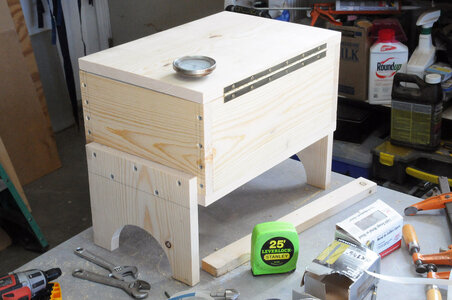
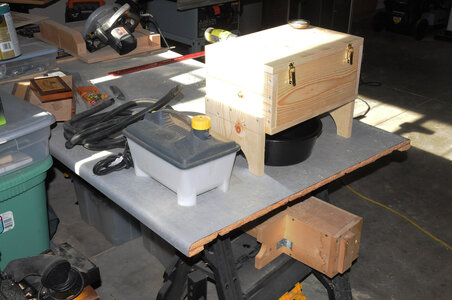
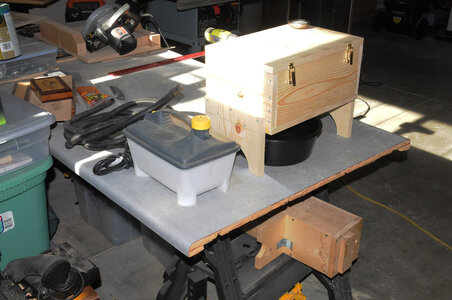
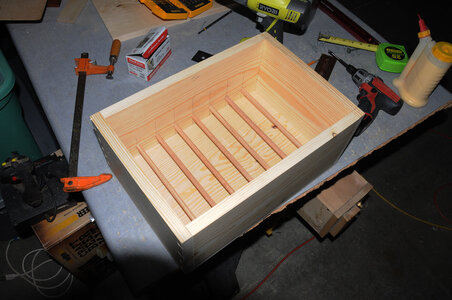
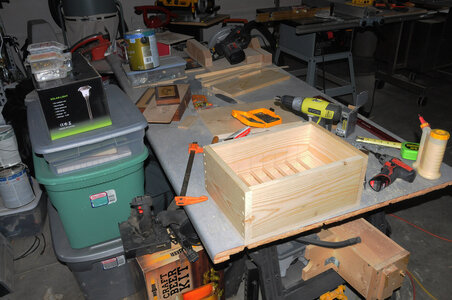
I've decided to build a steam box to help in bending planks for the model I am building. I already had the steam generator because I build fishing nets for fly fishing and have to bend the hoops. So, I got some pine and constructed a box to hold planks and any thing else that might need serious bending. I'll next build a form or set of forms to which the steamed pieces will be clamped to hold their bent shape while they dry. I'll post pictures of the forms and how well they work once I have completed them. The box is done. Pictures to show. If you have any questions or even ideas, please let me know! I'll be more than happy to help!
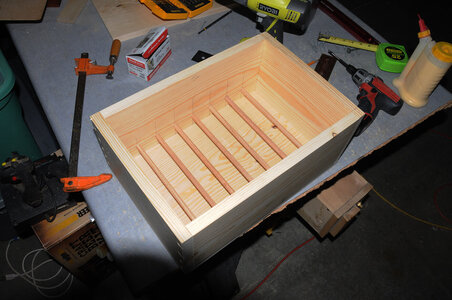
Box2.jpgBox5.jpgBox6.jpgBox7.jpgBox10.jpgBox12.jpgBox13.pg.jpgBox14.pg.jpgBox16.jpg
 
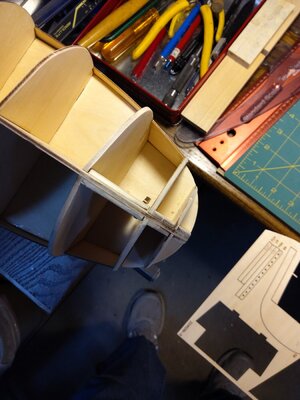
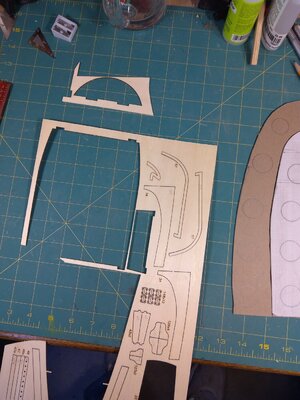
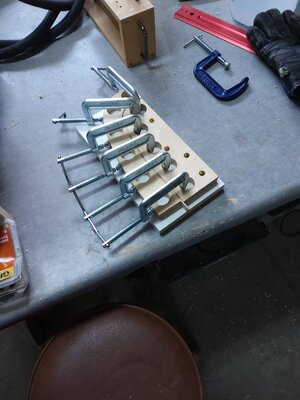
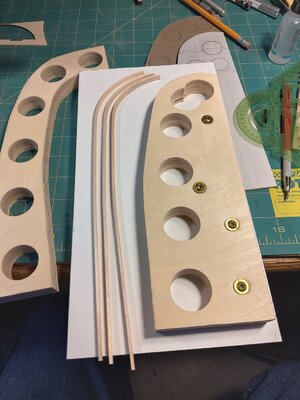
Onward and upward! Today I got the steam generator hooked up, put 3 planks in the box and steamed them for 1/2 hour. I then placed them in a clamping form to allow them to dry. This time I'll wait a few hours before removing them from the clamps to see what the results are. I made the form to match the bow of the ship, using laser cut outlines to help. I'm attaching a few pictures to illustrate this procedure. The planks are 2mm x 5mm and bent around the form like butter!

20210126_141731.jpg20210126_141720.jpg20210126_141505.jpg20210126_141458.jpg
 
I've decided to build a steam box to help in bending planks for the model I am building. I already had the steam generator because I build fishing nets for fly fishing and have to bend the hoops. So, I got some pine and constructed a box to hold planks and any thing else that might need serious bending. I'll next build a form or set of forms to which the steamed pieces will be clamped to hold their bent shape while they dry. I'll post pictures of the forms and how well they work once I have completed them. The box is done. Pictures to show. If you have any questions or even ideas, please let me know! I'll be more than happy to help!
This is something that we all need. Since I was planing to build one, I’ll just wait to see your final results.
Thank You for sharing it with us.
 
This is something that we all need. Since I was planing to build one, I’ll just wait to see your final results.
Thank You for sharing it with us.
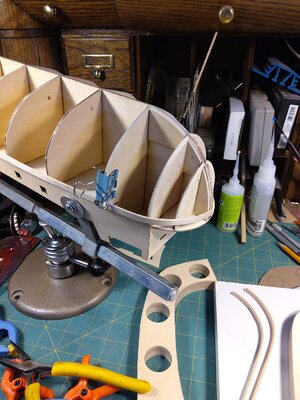
OK - allowed to dry in the form for 2 hours. And this is what they look like. They came beautifully curved. They hold their shape and are really stiff. No nicks or cuts or kerfs needed! I mounted one to my hull with a clip just to see how it looked.

20210126_160313.jpg20210126_161225.jpg
 
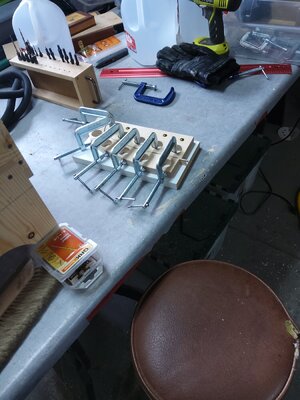
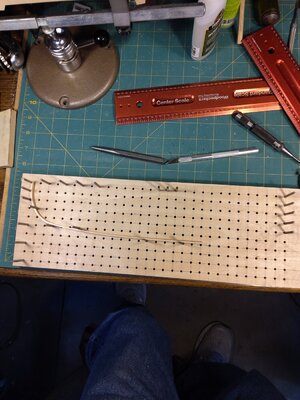
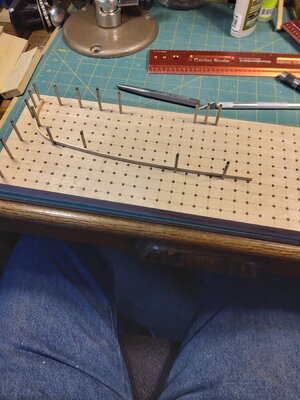
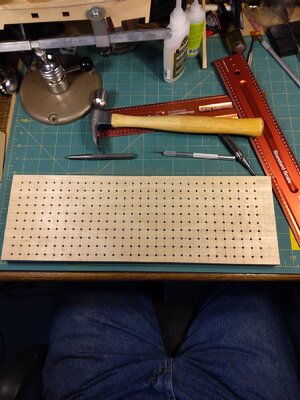
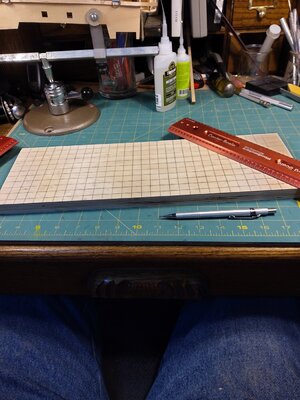
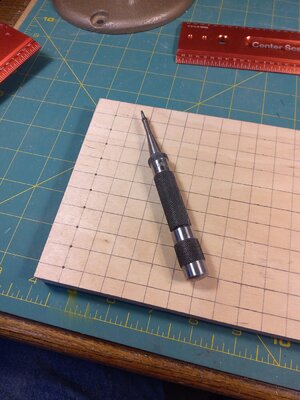
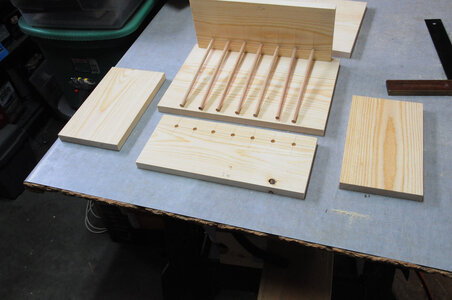
Borrowing from others, I decided to make my own bending and form board. Made from Baltic Birch. I have a ton of 1/8" dowel pins, so I marked and drilled out 300 1/8" holes. At 1/2" spacing, it'll let me make 1some pretty tight bends with wood planks right out of the steam box. And it will allow me to bend parts flat instead of on edge.

20210128_135714.jpg20210128_135659.jpg20210128_134707.jpg20210128_120418.jpg20210128_120613.jpg20210128_113736.jpg
 
Borrowing from others, I decided to make my own bending and form board. Made from Baltic Birch. I have a ton of 1/8" dowel pins, so I marked and drilled out 300 1/8" holes. At 1/2" spacing, it'll let me make 1some pretty tight bends with wood planks right out of the steam box. And it will allow me to bend parts flat instead of on edge.
Very good idea :cool:
 
Fantastic looking project. I have never used steam before and you now have me really interested in trying it out. One question...do you drill any holes in the bottom of the box for condensation drainage. How much water accumulates in the bottom after a half hour steam bath? Thanks for posting this project
 
Fantastic looking project. I have never used steam before and you now have me really interested in trying it out. One question...do you drill any holes in the bottom of the box for condensation drainage. How much water accumulates in the bottom after a half hour steam bath? Thanks for posting this project
Just one (1/4") and one side's feet are a bit talled to angle the bottom towards the end with the drain hole. It allows steam to escape a bit too. I put a basin under the box to catch any drainage.

Box16.jpgBox5.jpg
 
Remember...the object is to subject your wood strips to heat and moisture...the more complicated part of this is a steam source. The previous posts provide good ideas for a stem source as well as the “box.”

Another simple idea for a “steam box” is to use two inch pvc pipe. Cut a piece about 30 inches long. Get two end caps...use one to plug one end. Use the other to plug the other end and to connect your steam source...probably a hole to receive a hose from the steam source. Drill a small 1/4 inch hole on the bottom of the pipe opposite the cap for the steam source. Do not glue the caps in place. When ready, load your wood stock into the pipe...cap the ends...apply the steam...

One more idea...I have actually used a long metal pan on the stove top. I found one 18 inches long, 3 inches wide, two inches deep. I think it was a dry wall mud pan. Filled it with water...laid in the wood strips...then boiled the water for 30 minutes. Actually worked well...

Just more ideas...
 
I've decided to build a steam box to help in bending planks for the model I am building. I already had the steam generator because I build fishing nets for fly fishing and have to bend the hoops. So, I got some pine and constructed a box to hold planks and any thing else that might need serious bending. I'll next build a form or set of forms to which the steamed pieces will be clamped to hold their bent shape while they dry. I'll post pictures of the forms and how well they work once I have completed them. The box is done. Pictures to show. If you have any questions or even ideas, please let me know! I'll be more than happy to help!
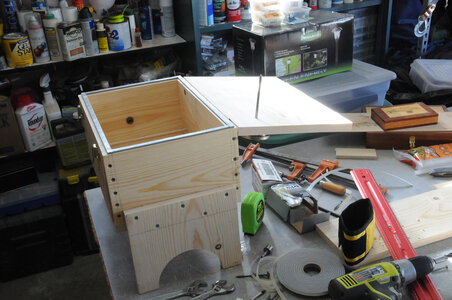
View attachment 207872View attachment 207873View attachment 207874View attachment 207875View attachment 207876View attachment 207877View attachment 207878View attachment 207879View attachment 207880
Hallo @Philski
we wish you all the BEST and a HAPPY BIRTHDAY
Birthday-Cake
 
Back
Top