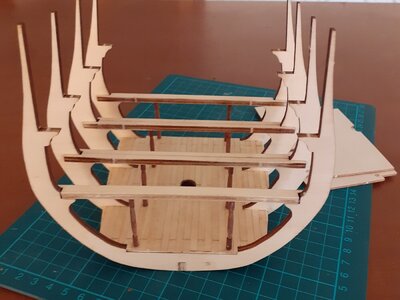
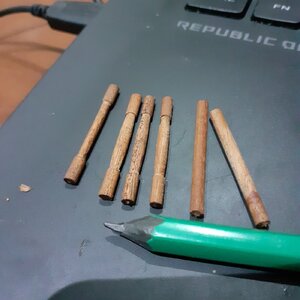
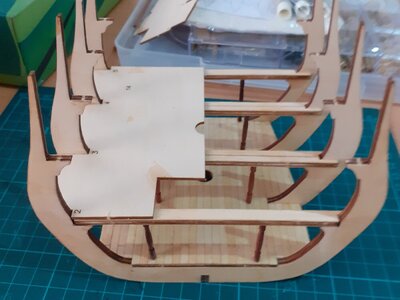
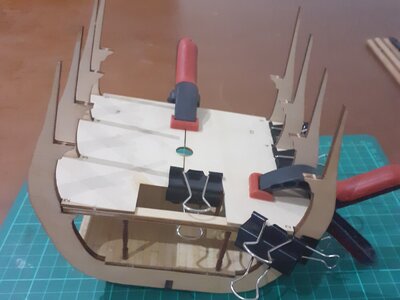
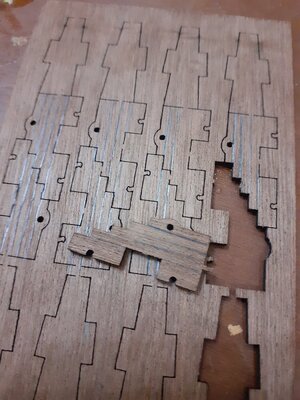
San Francisco cross section Artesania latina

Joined
Dec 8, 2020
Messages
21
Points
58

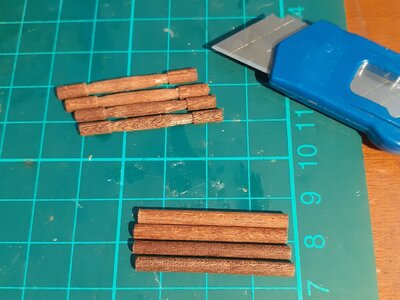
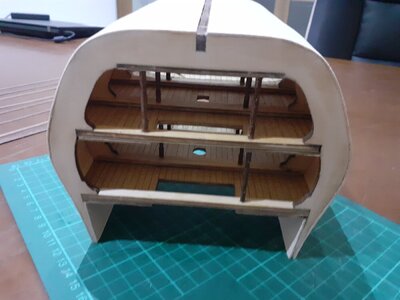
hello all here is my first build started in Bamako since November. i am slow and I have limited tools with me. In particular it is quite difficult to find appropriate varnish and stain...
Never the less I am slowly progressing. it will be a simple build but might be the first one in Bamak. it is planned to be for the office decoration :) So i better do not mess up !

20201031_111220.jpg
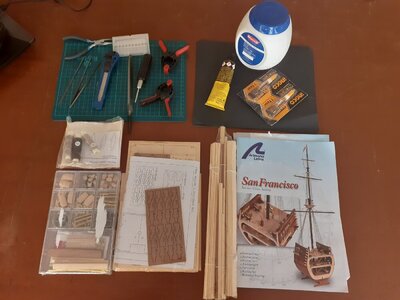
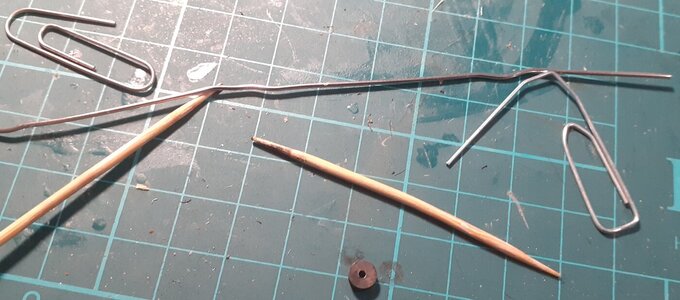
So here we stard all tools I could find and the kit (I had to drop the box so it can enter in the luggages.

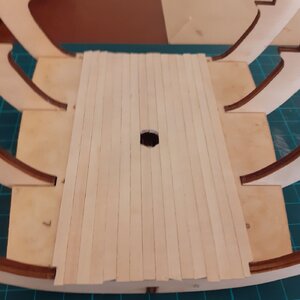
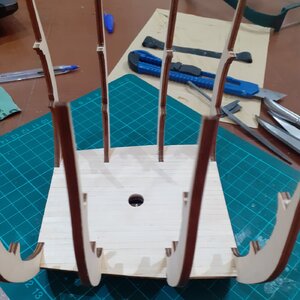
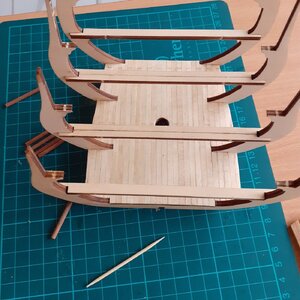
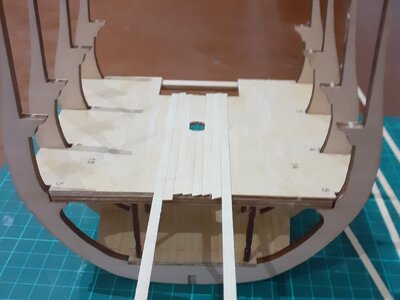
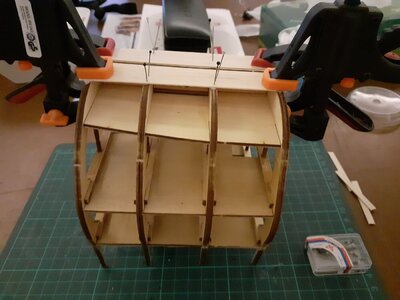
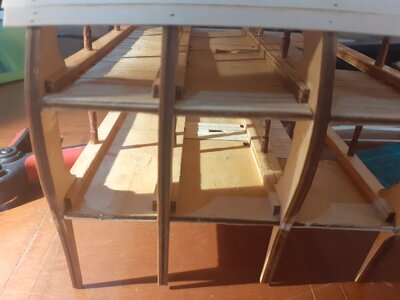
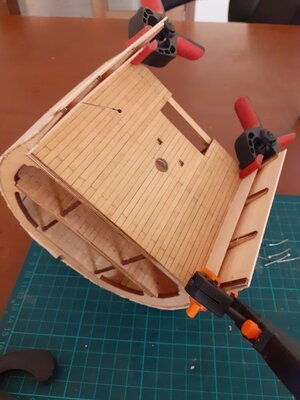
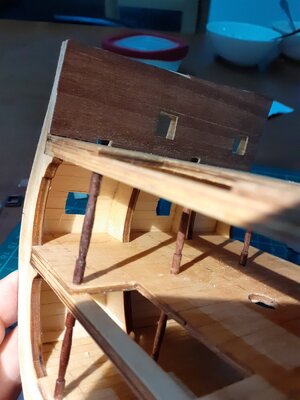
This was the work on 1st November, trying to get organised and smoothly building the first deck following instructions.
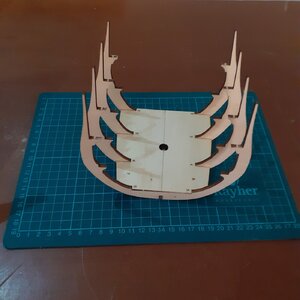
20201101_075434.jpg20201101_101757.jpg20201101_134643.jpg20201101_173658.jpg
 
So the Mali cross section is under construction - by the best ship modeler in the country :cool:
We are all here for help, if necessary and requested - looking forward
 
Hi everyone,

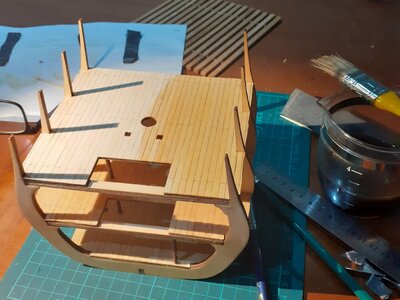
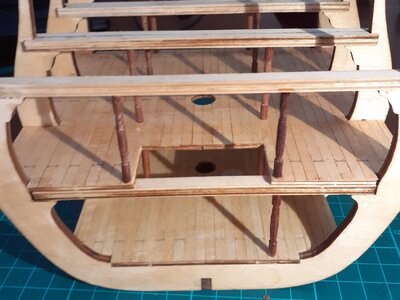
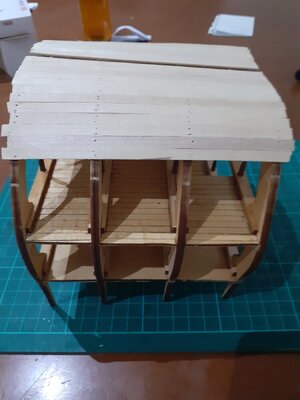
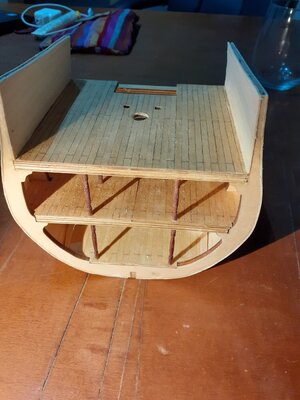
I continue to share the earlier progress buiding of the second bridge, no major issue and a lot of enjoyment actually, local tools are fit to the job !
Thank you all for your interest and support.
It is not a major technical difficulty, the challange is rather developping skills on how to work on a dining table, being able to quickly deploy tools and model, work on it, let dry and pack everything back in a box in few hour :)
@ Jeff I am definitivelly going to spy at your built looking for inspriration :)
Have a great week all
20201103_161858.jpg20201104_085015.jpg20201103_181610.jpg20201111_065106.jpg20201122_190448.jpg20201122_224951.jpg20201122_235718.jpg
 
Hi everyone,

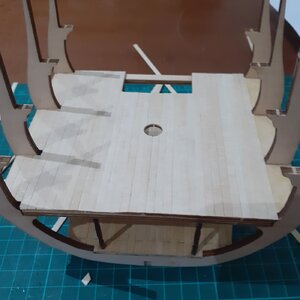
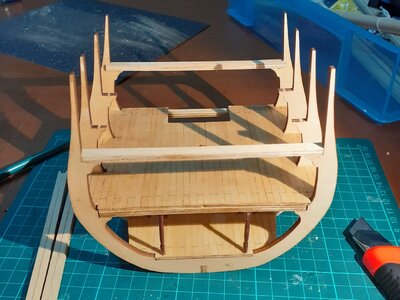
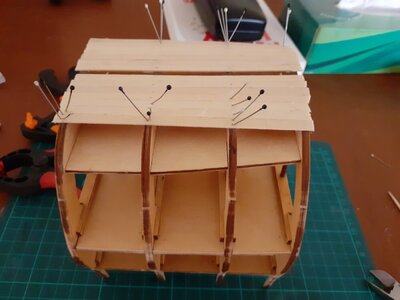
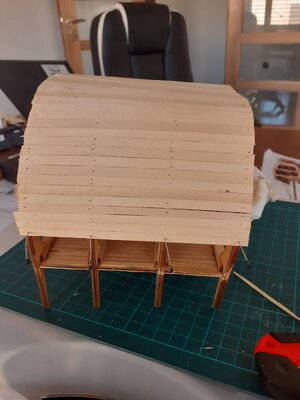
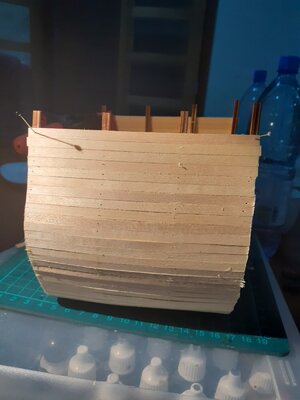
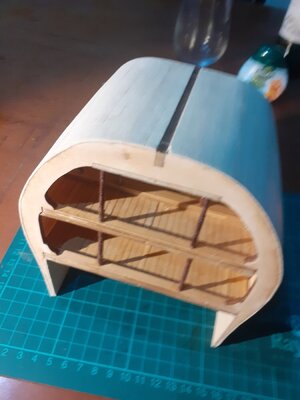
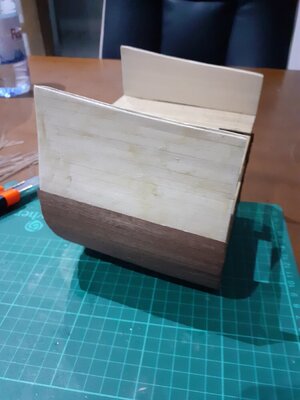
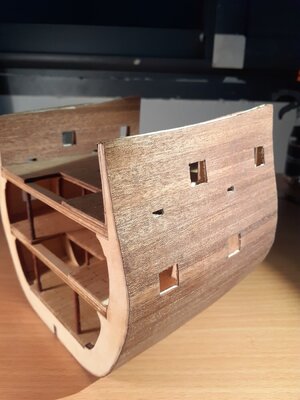
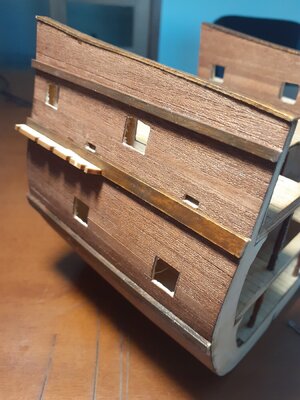
here somme more pics 3rd deck covered. I followed instruction but I have the felling it is not really teh best way.
Anyway I found only transparent varnish so I collored the decks with coffee (italian/french strong one :) ) it seems it works.

20201129_205824.jpg
20201129_051833.jpg20201129_121715.jpg20201129_130007.jpg
 
Hello !
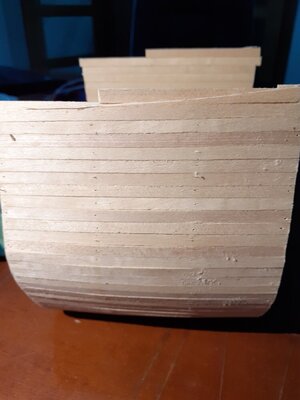
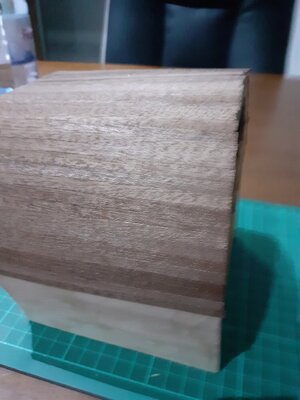
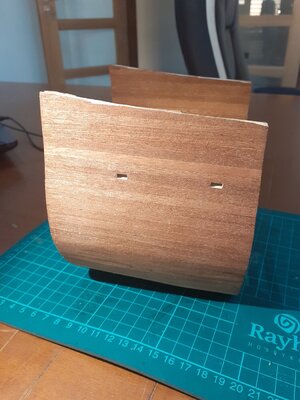
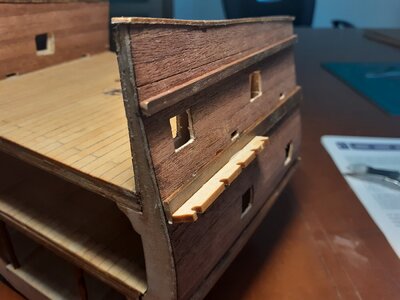
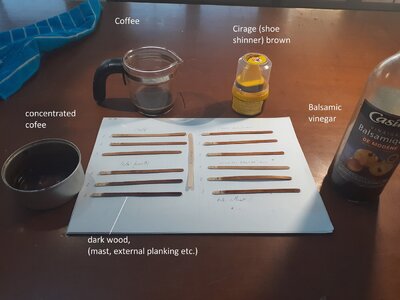
I failed to find taint for wood in Bamako. So far I used 2 layers of coffee (french concentration ;)) for the bridge planking

Now i need to find out for dark tone.
I tried to paint with acrylic I have but it look artificial and not matching witht the rest of the model.
Therfore I decided to test what I have at hand with me. i.e.

1 Coffee
2 boiled concentrated coffee
3 commercial Shoe brown shiner
4 Balsamic Vinegar.

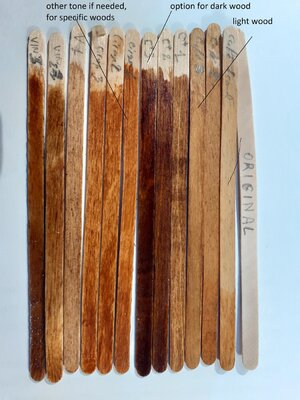
here are the pics of the tests with 1 to 3 layers of each 4 options
I think
coffe for weathering the clear part and boiled concertrated coffee for the darkest part.
What do you think ?

Tests teintures.jpgtest teintures 2.jpgwill keep
 
hello all here is my first build started in Bamako since November. i am slow and I have limited tools with me. In particular it is quite difficult to find appropriate varnish and stain...
Never the less I am slowly progressing. it will be a simple build but might be the first one in Bamak. it is planned to be for the office decoration :) So i better do not mess up !

View attachment 203847
So here we stard all tools I could find and the kit (I had to drop the box so it can enter in the luggages.

This was the work on 1st November, trying to get organised and smoothly building the first deck following instructions.
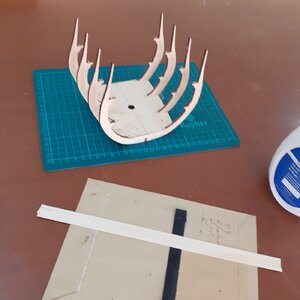
View attachment 203848View attachment 203849View attachment 203850View attachment 203851
Hallo to Mali, Hallo @Naram
we wish you all the BEST and a HAPPY BIRTHDAY
Birthday-Cake
 
.... After almost 2 weeks of silence due to field mission, here are progress

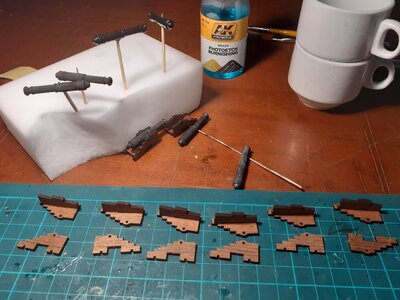
Cannons !

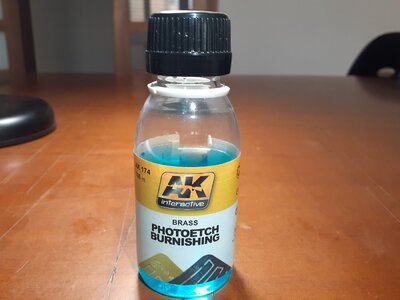
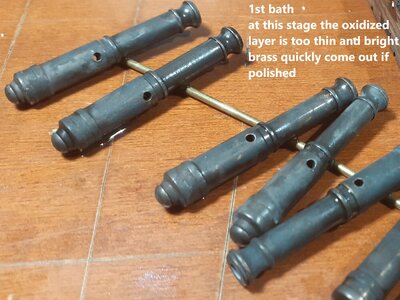
My roomate back from Europe brought me back AK photoetch burnishing (aka oxidant for brass). As I do not like the shinny look of brass,
20210220_112841.jpg
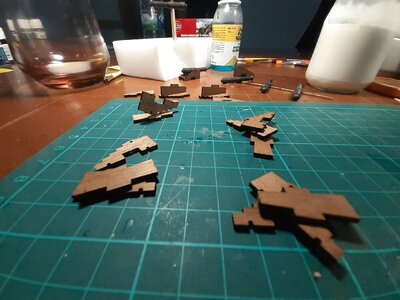
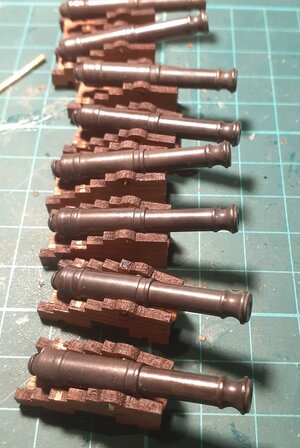
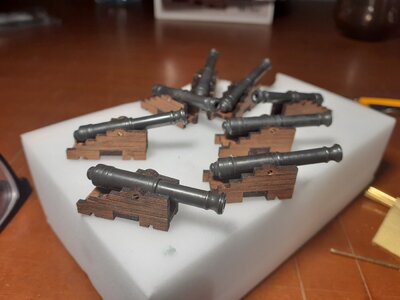
Therefore I started to builds the 8 guns to give me a bit of motivation...
Note : I am news builder, my first priority is get it finished, in order not to quit the hobby. Nevertheless, I will try to give few easy to do improvement to personnalise it a bit.
 
Cannons
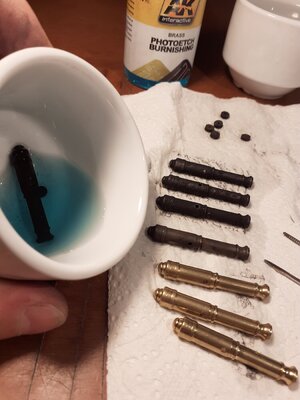
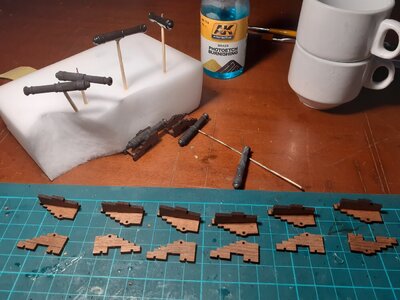
Step 1 oxydise 2 time
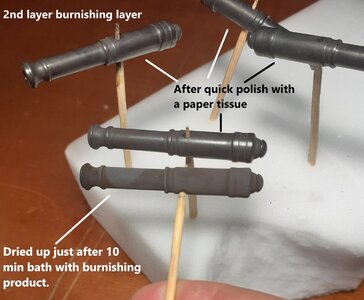
: I stole cofee cups in ceramics from the kitchen, and bathed one by one the cannons for 10 min 2 time (in order to save product as I will not get anther one), cut oxidation with a water bath and let them dry an hour. Result : very dark and old flat black with withe oxidation stain a bit like over oxidized metal left for years in dry place. looks cool to me. the oxidation is pretty much uniform after the second baths.

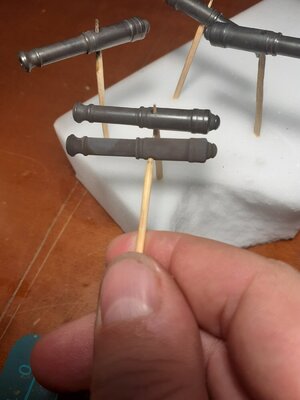
Step 2 Polish with tissue : I used... toilet paper as i did not have anything else at hand. Worked fine in few strokes, flat balck turn into unifiorm satin gun metal. The result appears +/- uniform to all cannons. my first "improvement" is done and i am happy with it.
(most probably these cast iron cannons were coated with black paint, ut i have no clue on paints making in the XVI century. Please let me know what are your thoughts)

20210213_103529.jpg 1st layer burdninshin.jpg
Sans titre.jpg
 

Attachments

  • 20210214_001031.jpg
    20210214_001031.jpg
    126.2 KB · Views: 0
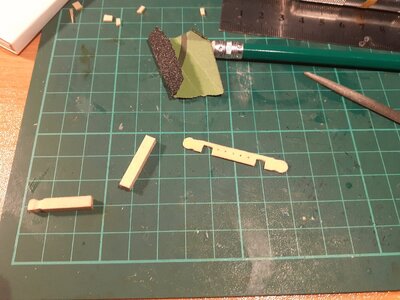
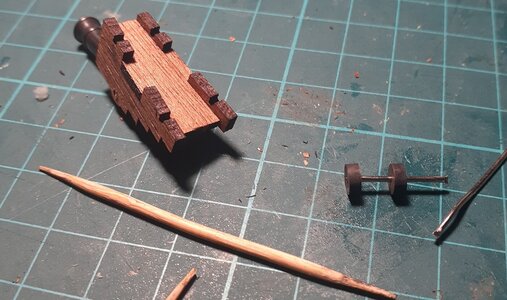
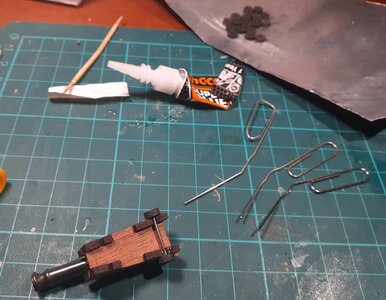
Step 3 carriage. Straight froward steps just immiated planks demarcation with a pencil.

20210207_185824.jpg20210213_232848.jpg20210213_233803.jpg
 

Attachments

  • 20210213_233803.jpg
    20210213_233803.jpg
    236.4 KB · Views: 0
(most probably these cast iron cannons were coated with black paint, ut i have no clue on paints making in the XVI century. Please let me know what are your thoughts)
Love the results, Naram!! The cannon barrels look realistic, without compromise Thumbsup As for saving the blackening solution, you may reconsider saving it. When the blackening process occurred, the chemical reaction between the brass and solution happened, so the second time it may not going to work. You may try to dilute this solution with water (experiment) before use. I use a different solution called 'Brass black' and always dilute it with water 1:1 proportion
 
Back
Top