Wellcome,
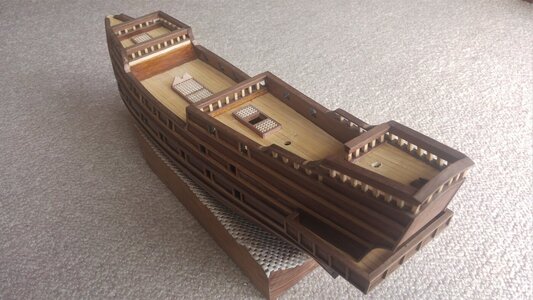
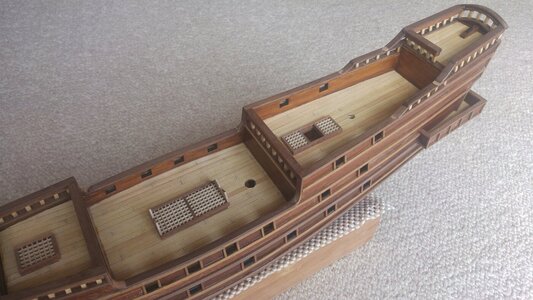
there are more ... I' ve collcted some info about galleon when was active busy with my model
SOS picture, high resol.

 cloud.mail.ru
and Various Galleons info...collected during working on my model

 cloud.mail.ru
cloud.mail.ru
cloud.mail.ru
cloud.mail.ru
cloud.mail.ru
cloud.mail.ru
cloud.mail.ru
there are more ... I' ve collcted some info about galleon when was active busy with my model
SOS picture, high resol.
Файл из Облака Mail.ru
Вам открыли доступ к файлу. Отправлено с помощью Облако Mail.ru.
cloud.mail.ru
and Various Galleons info...collected during working on my model
Архив из Облака Mail.ru
Вам открыли доступ к файлу. Отправлено с помощью Облако Mail.ru.
cloud.mail.ru
Архив из Облака Mail.ru
Вам открыли доступ к файлу. Отправлено с помощью Облако Mail.ru.
cloud.mail.ru
Архив из Облака Mail.ru
Вам открыли доступ к файлу. Отправлено с помощью Облако Mail.ru.
cloud.mail.ru
Архив из Облака Mail.ru
Вам открыли доступ к файлу. Отправлено с помощью Облако Mail.ru.
cloud.mail.ru

")


.jpg")
.jpg")
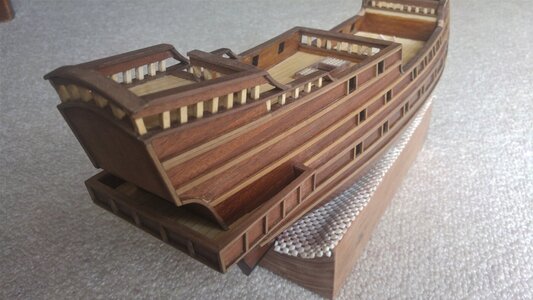
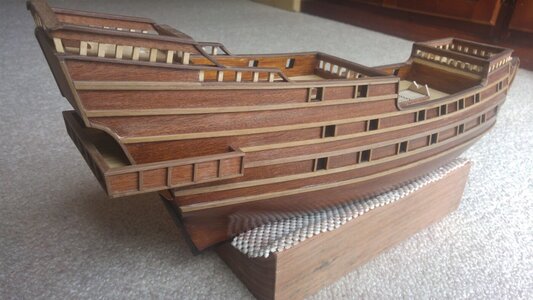
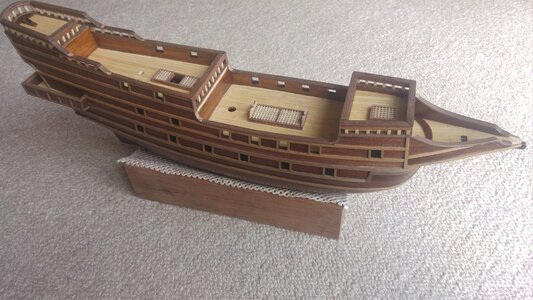
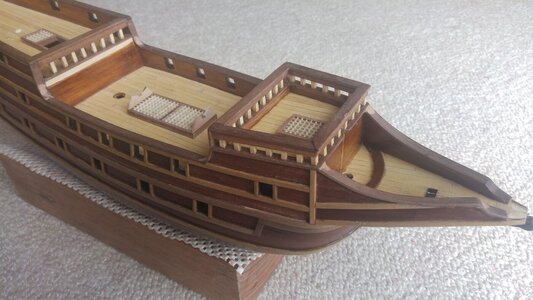
 , I didn't correctly identify the difference between 2x2mm African Walnut and Sapelli and the location to place them hence some are in the wrong place, some of the African Walnut is to be left as natural wood and all the Sapelli is to be painted.
.jpg")


.jpg")