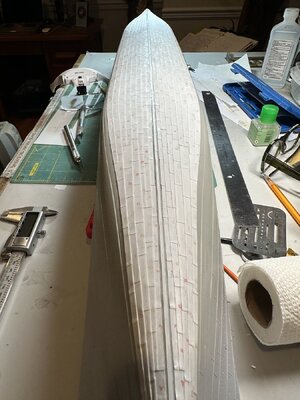
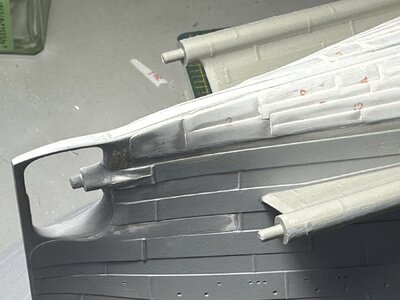
Adding Plating Detail to Stern:
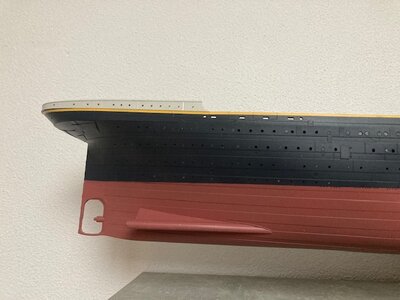
The original kit offers a pretty plain stern, which seemed to stick out to me with such a large model.
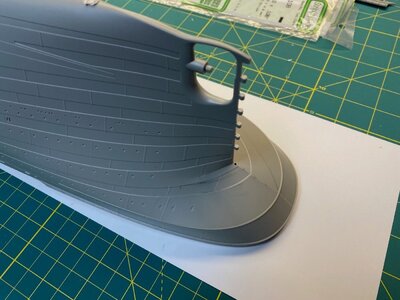
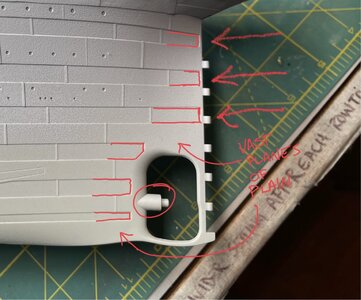
Here’s a picture I found online of the stern as it looks out of the box. As you can see, it’s missing a lot of details. I’ve read that his is due to the molding process that makes it impossible to include details on what would be a horizontal plane of the mold.
There are several options to add your own plate details: 1. Scribe in plates, 2. Purchase and install an after-market kit or 3. Make your own plates. I’ve seen at least two plating kits available, the MiniBrass brass plated stern kit and there are styrene plate kits (I learned about this after I made mine. Here is a link to a kit that The Midwest Model Shop sells for $45:
https://www.themidwestmodelshop.com/store-1/p/titanic-styrene-stern-plate-set) The MidWest Model Shop YouTube channel also has a video on making your own plates using a Cricket craft cutter here:
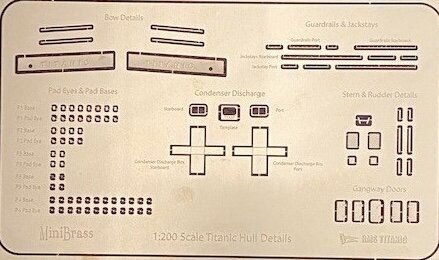
I initially went with the MiniBrass plate kit and abandoned it later (I’ll explain.). There is an excellent tutorial on this from John Builds Iconic Military Models:
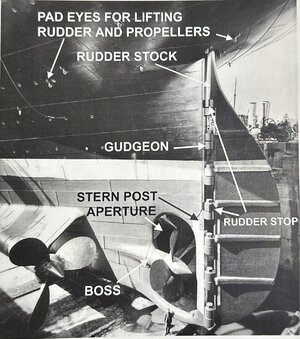
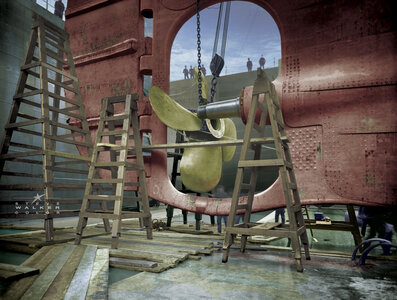
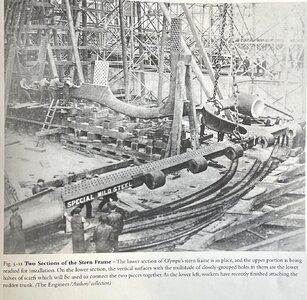
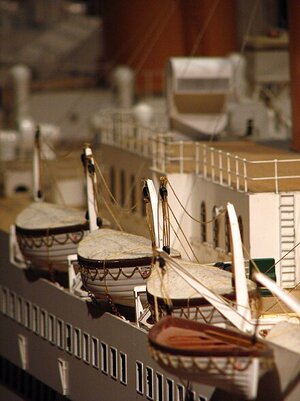
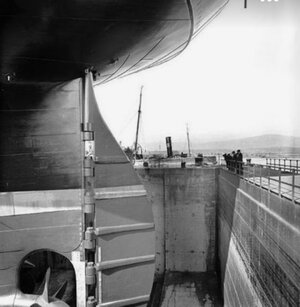
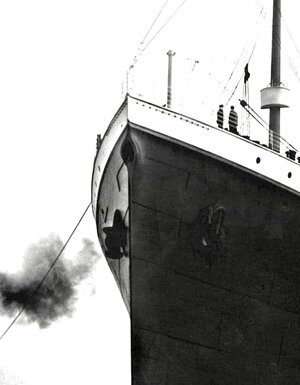
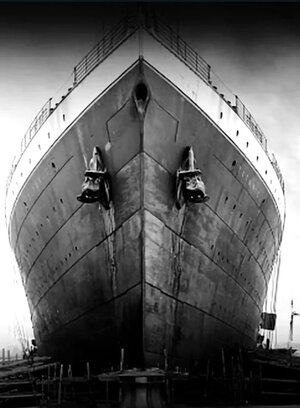
Why I abandoned the brass plating: My goal was to add the plating detail to the stern and to make it look as close as possible to this photograph:
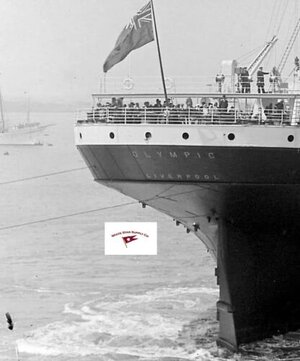
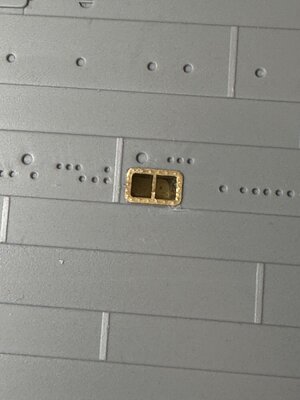
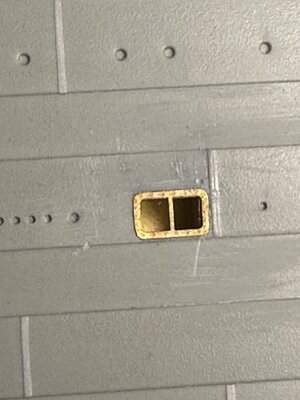
Note that you can see the hull plating on the Olympic above, but that it’s pretty flush and smooth. I discovered that I couldn’t achieve that with the MiniBrass plating. This wasn’t because the brass plates are too thick, they’re just about the equivalent of 1” thick at 1/200 scale, it was largely due to the layers of CA glue that accumulate between plating. What I ended up with was plating that was sticking out from the hull too far. It was about 1 foot out if it were at 1/200 scale. To me, this is an example of a detail detracting from the realism of the project. It would be better to have no plating. I removed all of the brass and used each plate as a template for cutting out new plating from .13mm styrene. I also used the MiniBrass template to help me lay out the plating, etc.
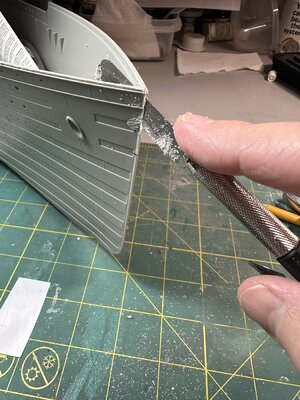
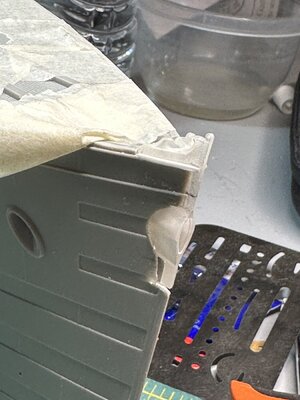
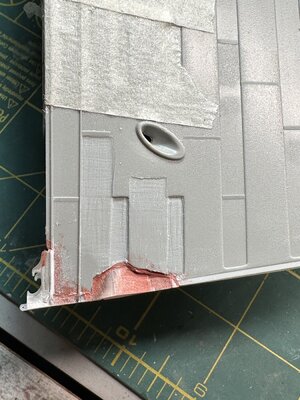
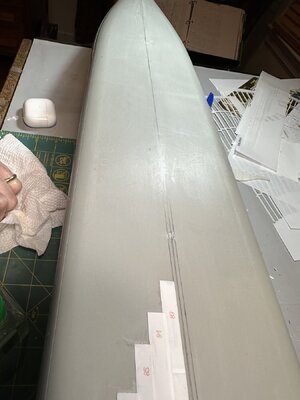
No matter which direction you choose, you’ll need to sand the stern area to make it flush for your new plating. I also chose to carve out the plating on the side of the hull to enable the new plating to lie flush with the molded plating.
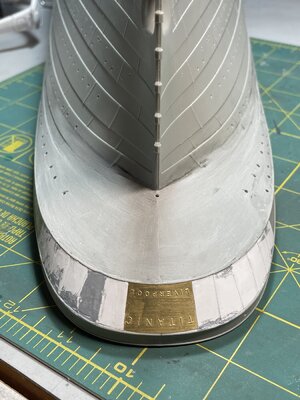
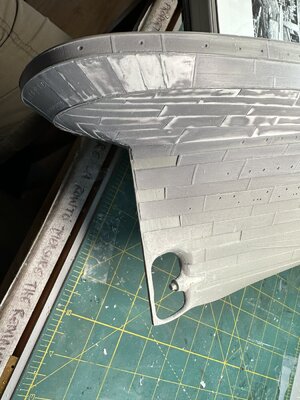
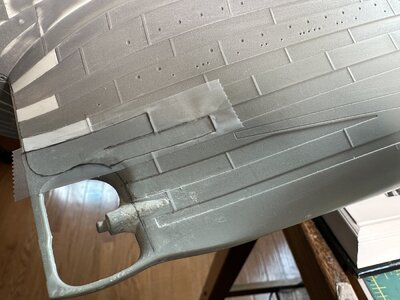
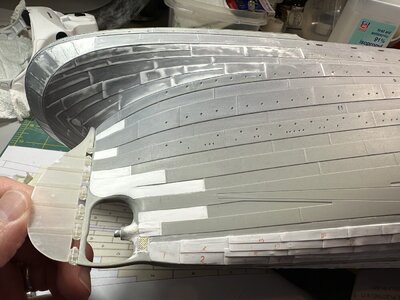
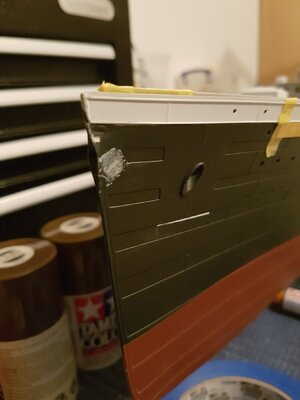
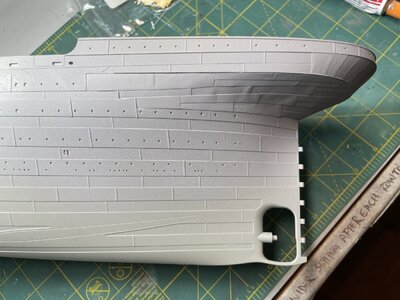
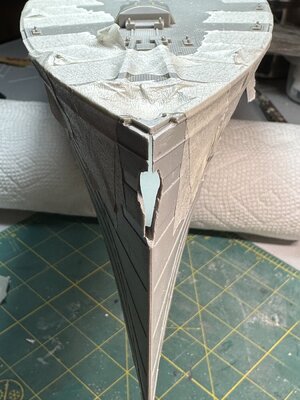
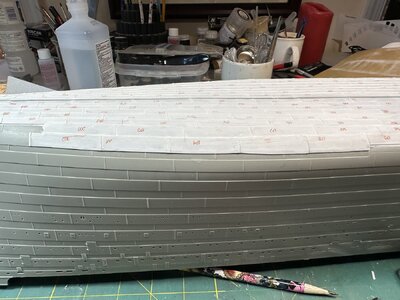
Here’s a shot of the stern of my project, showing the area that I sanded smooth for plating. This is a bit later in the work, after I’ve removed the MiniBrass plating. You can also see that I’ve plated the upper stern with styrene and left the MiniBrass nameplate (The MiniBrass kit offers a choice of nameplates. You can choose raised or recessed lettering. I mistakenly chose raised and decided to leave it in place. The Titanic had recessed or etched lettering on the hull.)
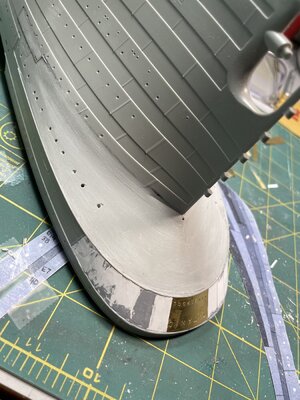
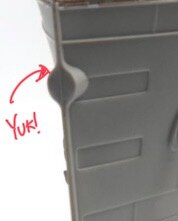
You can see the area forward of the stern where I’ve carved out the area for the new plating to be inserted. I did this with the X-acto chisel blades and the regular blades. Just take your time and scrape away.
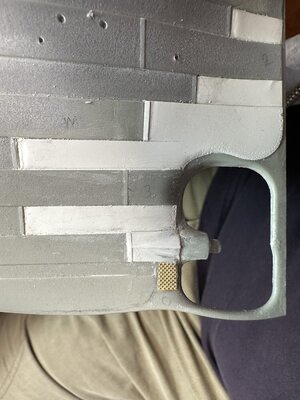
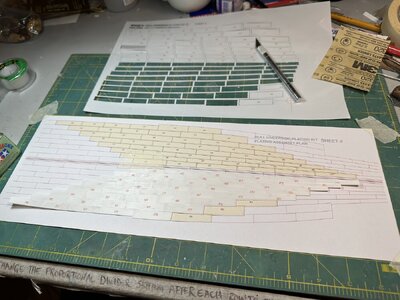
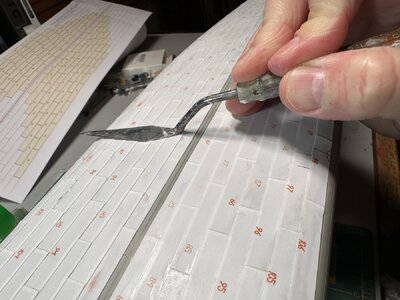
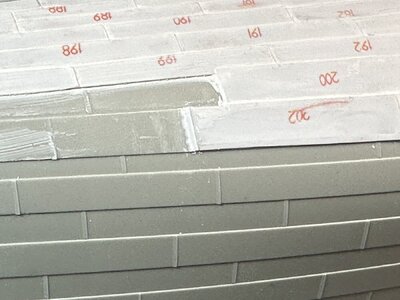
The MiniBrass kit comes with a template for laying the new plates. This came in handy for marking out the areas to be sanded and carved. The template is also used for showing the sequence and location for plates. Here I’ve begun laying out my styrene plating using the template. Note how I’ve numbered each MiniBrass plate to keep track. If you’re using the brass, the recommendation is to work the plating in sections. You can chose to do the entire plating work on the template, using styrene.
.
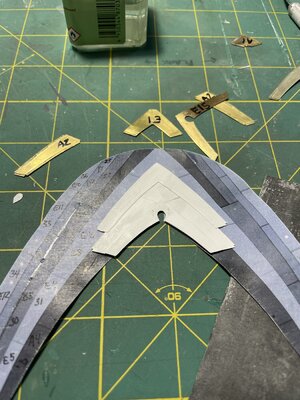
Another advantage of styrene was that I was able to work with Tamaya Extra Thin Cement. This stuff is glorious. It secures promptly but allows time to adjust the plating. Make sure that you use extremely thin coats if you’re working with .13mm styrene. The putty areas you see on the upper stern plating were to repair distorted plastic from the glue.
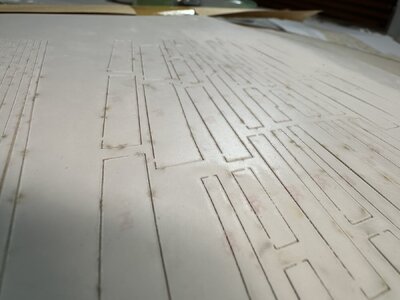
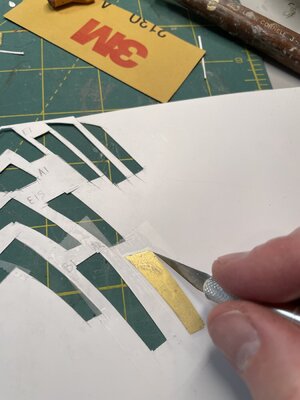
Here’s the process for cutting out the plating from plastic using the MiniBrass plates as templates:
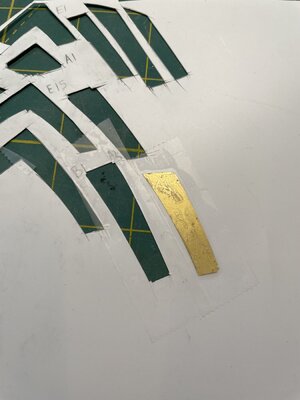
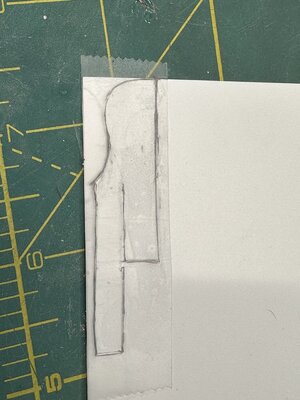
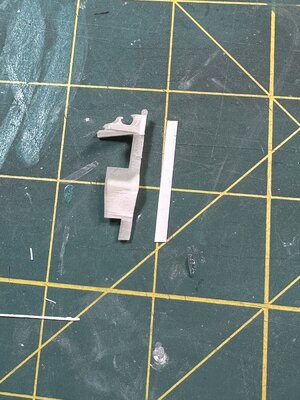
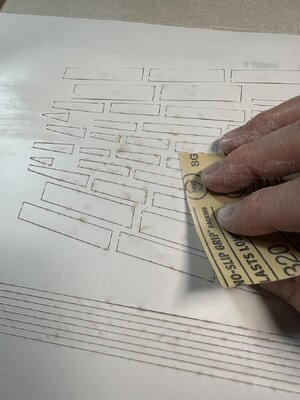
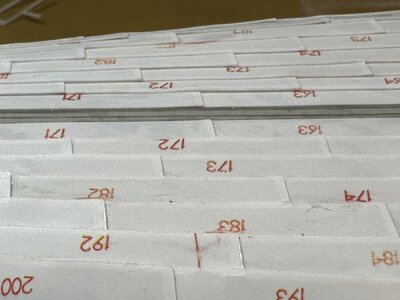
I taped the plates to the plastic, following the layout pattern of the brass kit (laid out approximately how they’d attach to the hull) to keep things organized. I obsessively labeled everything to stay sane. The metal plates made it easy to cut the plastic with an x-acto knife. I carefully sanded each piece to remove the ridge created by the cutting process. I wanted my plates to lay as flush as possible on the hull.
Once I completed the entire stern plating on the paper template, I transferred the entire structure to the stern, gluing from the center of the stern forward on each side. I trimmed around the edges to ensure that the plates were flush with the rub rail. I went back through each plate to ensure that it was secured to the hull and to adjoining plates. Tamaya’s Extra-Thin cement was a huge help here, since it flows right into gaps. I also filled in gaps with putty and finished with a primer layer. I’ve since sanded and re-filled several times, whenever I’ve detected a gap or defect.
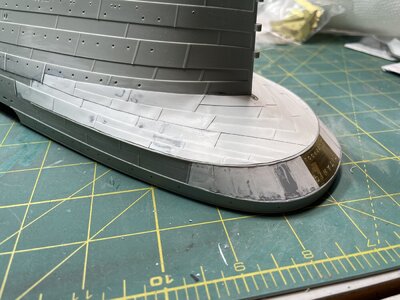
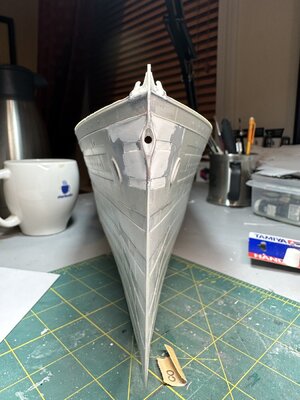
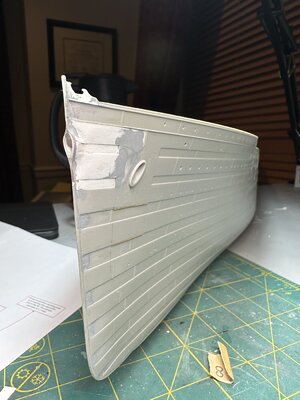
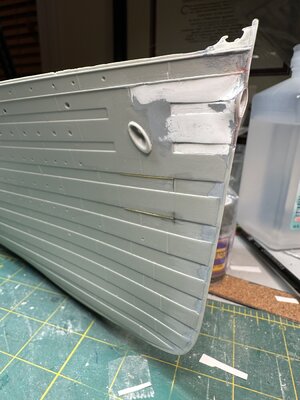
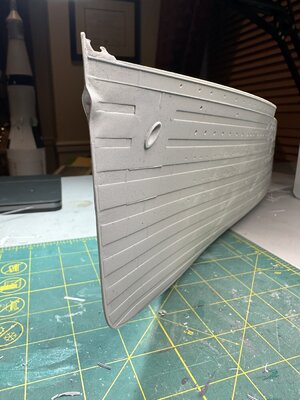
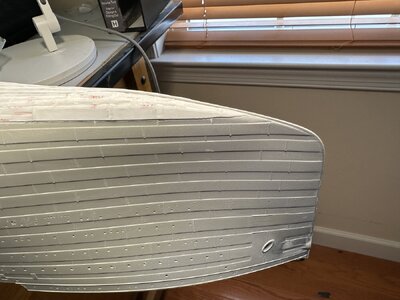
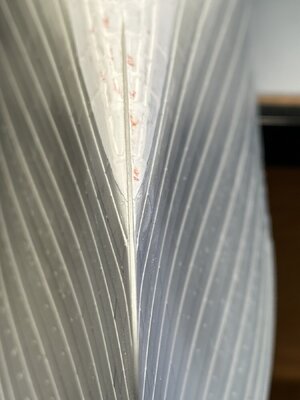
All of the plates are in place. It’s not perfect, but it’s closer to the hull and seems to blend well with the molded plating.
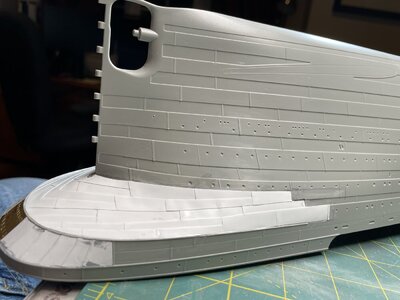
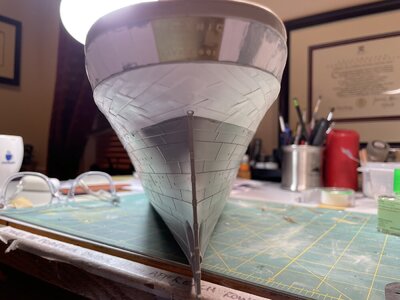
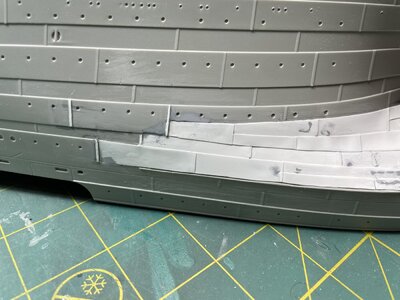
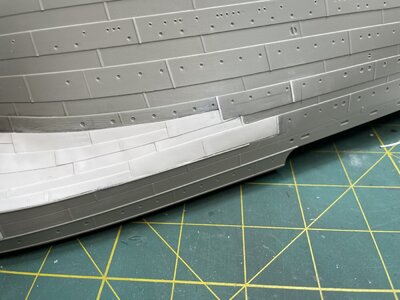
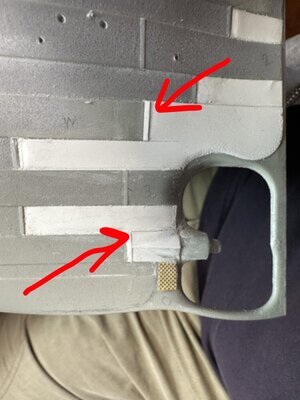
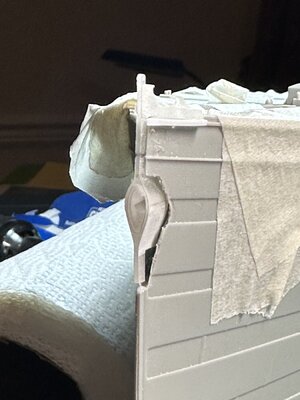
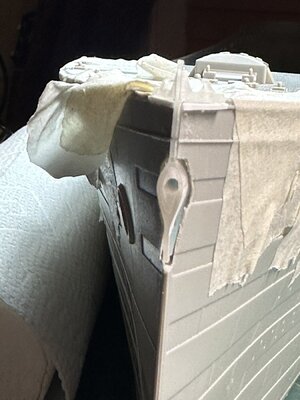
Here is where the etching or carving of the hull helped me to blend my new plating with the hull. I’ve also added vertical strips to replicate where the plates lap each other. Note the endless filling of damaged plates surfaces from glue or other mistakes.
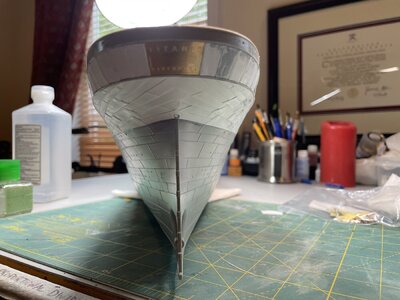
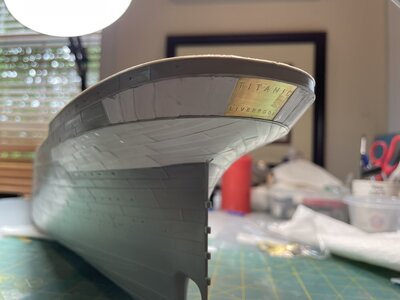
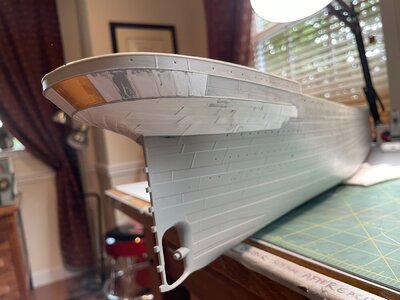
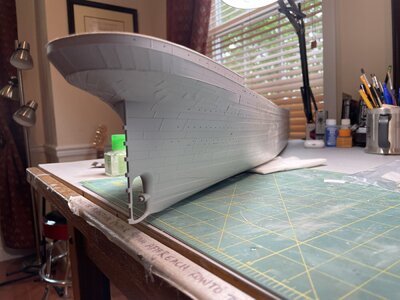

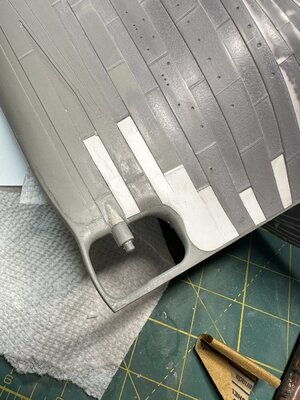
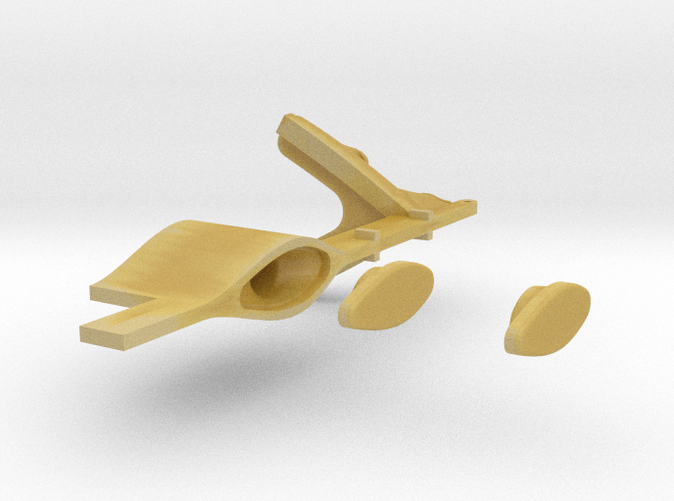
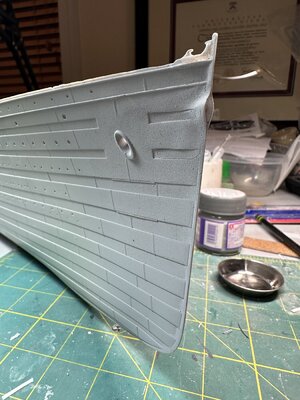
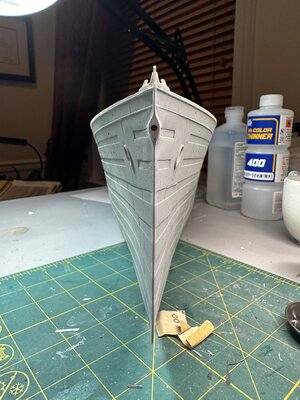
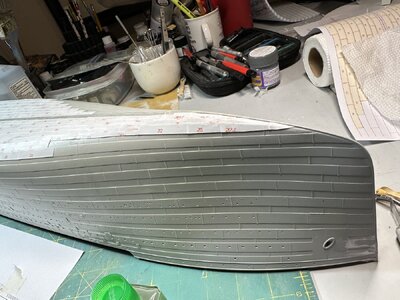
Here’s the stern area with an initial coat of primer. I’ve since sanded this and did some more filling. I think I got close to the original. Note that the blocks for servicing the propellers (screws) that you see on the photo of the Olympic will be added just before I’m ready to paint. I will also drill out the portholes on the stern later.
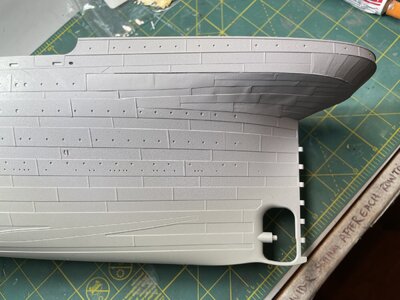
I’ll keep working to minimize the wavy areas of the plating. This is due to how thin the plates are. I don’t think it can be helped. Thicker plates are smother, but they stick out more. Pick your poison. I am satisfied with the way that the new plates blend.

