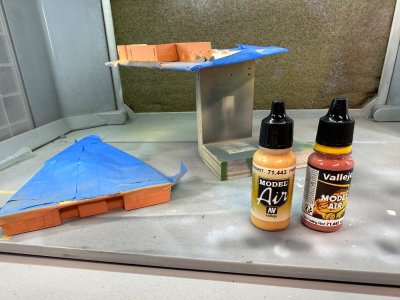
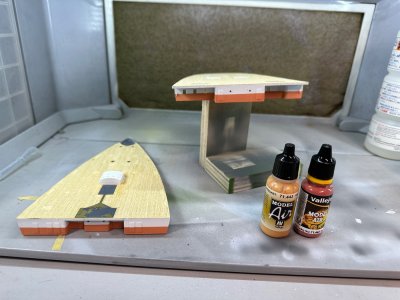
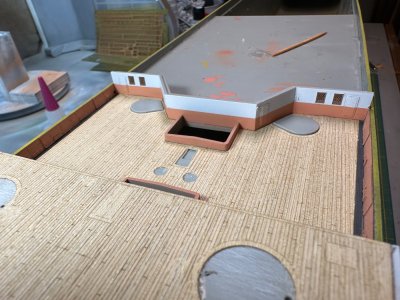
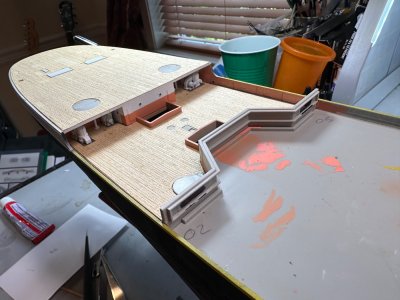
Painting The Hull:
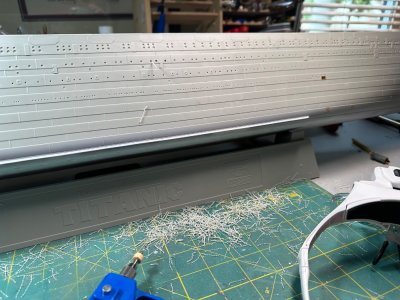
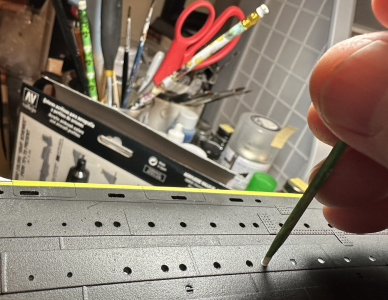
After drilling portholes, I spent a lot of time prepping the hull. This included filling a lot of gaps in the MiniBrass hull plates on the bow, bottom of the hull and also the stern plating. I spot-primered critical areas to reveal any issues and went back and forth with putty, sanding and priming. I won’t bore you with all of the details, suffice to say that there were many iterations as I looked to minimize blemishes.
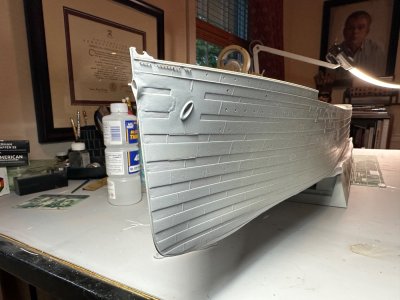
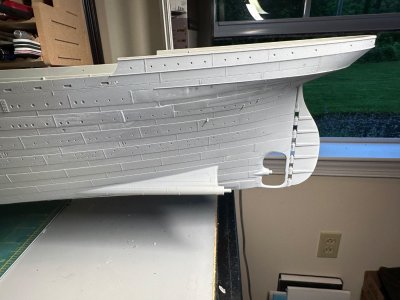
The hull was given an overall coating of grey primer to prepare for color.
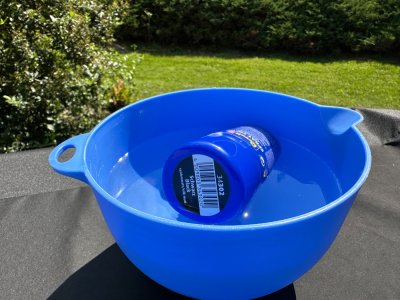
I was originally going to use an airbrush to paint the base layer but opted for the ‘ol trusty “rattle can”. I like to soak spray cans in warm water for a while and give them several rounds of shaking. This helps with a smooth coat.
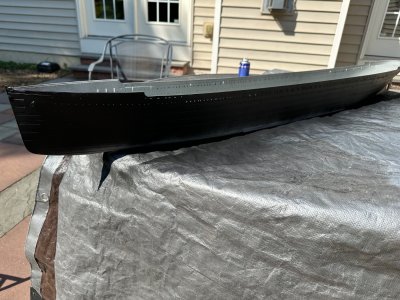
I went with a semi-gloss. This gives a nice sheen. I know some prefer everything to be flat, claiming that gloss paint looks flat at a distance and that this creates a sense of scale. I don’t disagree, however, I feel that 100% flat is unrealistic for a commercial ocean liner as well. I’ve had success with semi-gloss on LARGE models.
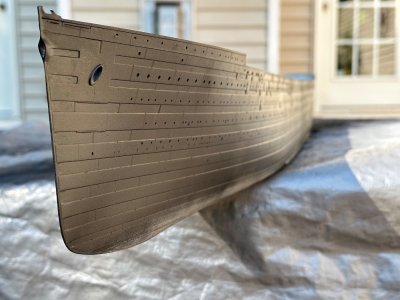
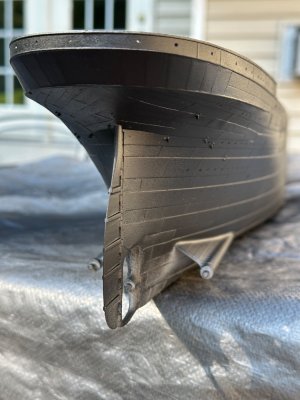
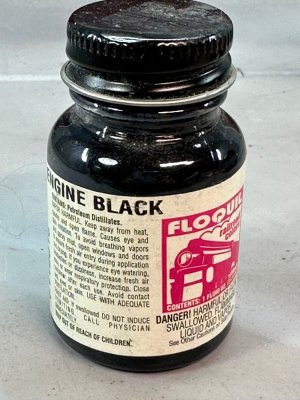
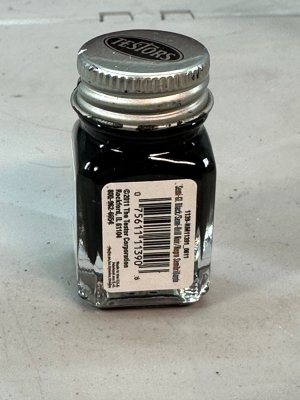
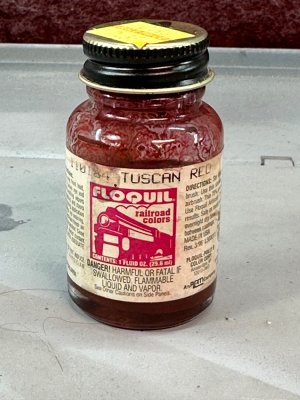
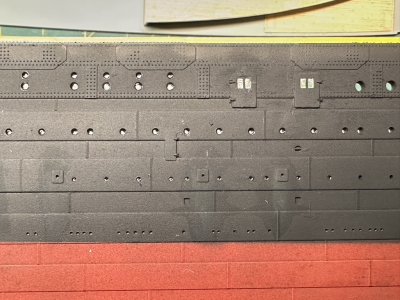
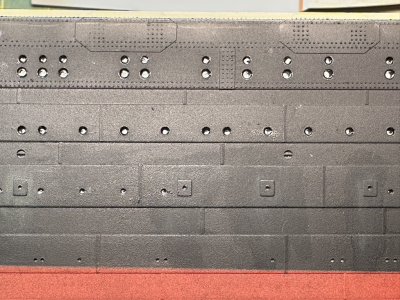
Using an airbrush, I added variations and weathering to the black hull paint, using Floquil Engine Black (Flat) and Tester’s Semi-Gloss Black. The Floquil Engine Black has an interesting bluish-black look that I liked. I worked mostly in virtual motions to simulate the effect of many days of rain, etc. draining down the sides of the hull.
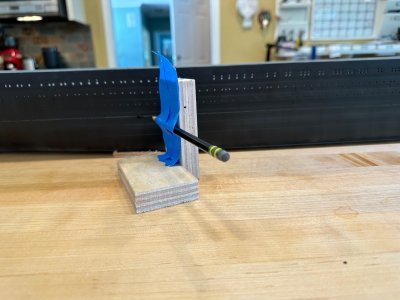
After painting the hull black, I needed to mark the line for the anti-fouling. It’s not a straight line for the Olympic Class ships. It curves up a bit on the bow and stern. I did start with a straight pencil line using a jig and a large, flat surface (kitchen island counter).
The Midwest Model Shop has a great YouTube video describing this process. I highly recommend it.
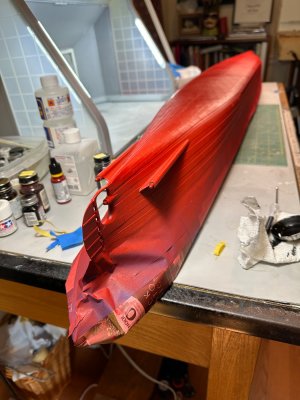
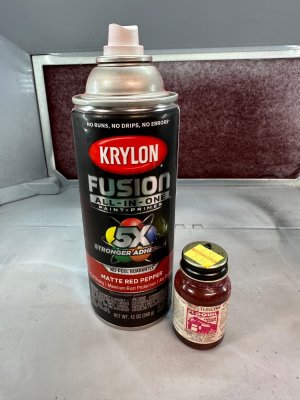
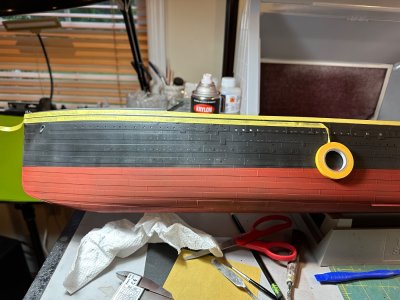
Here’s a shot of the hull painted with a base layer of Krylon Matte Red Pepper. I then used an airbrush to add some accents of Floquil Tuscan Red to knock down the color and provide a bit of weathering.
This picture will give you an idea of the weathering effects. Note the darker vertical streaks on the anti-fouling and the variation in the hull black.
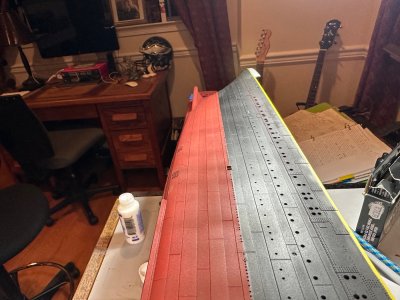
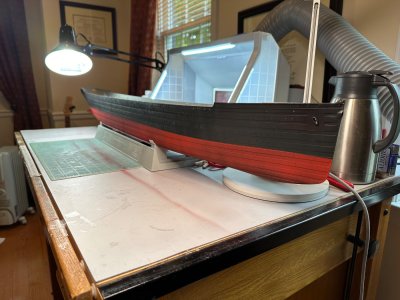
Here is the hull, with the hull black and anti-fouling and initial weathering.

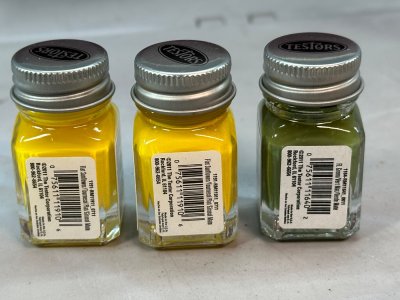
The next step was to add the zinc yellow accent stripe. Vallejo sells a Titanic paint kit that has this. I didn’t have it at the time, so I mixed my own using drops of green added to yellow:
Painting the yellow stripe before I painted the white worked out well.
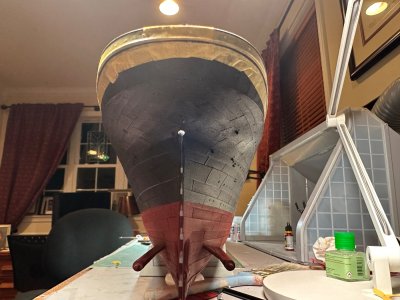
(Oh look! The rudder got knocked off…again.)
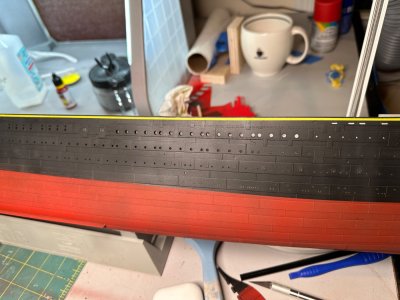
The last step was to paint the white upper part of the hull. I used Tamaya Flat White with a semi-gloss clear coating. Having the yellow stripe already painted made it easy to mask over top of it to create the needed white areas. I’ve seen the yellow stripe added last before and I watched the modeler struggle to keep things neat.

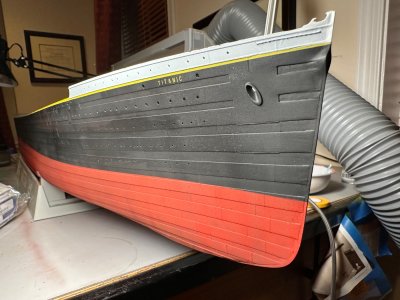
A view of the starboard bow, showing the name decals in place. I like how all of the work I put into the haws pipe upgrade and surrounding plating came out. I skipped a step here and didn’t spray that area with gloss before applying the decal, so I’ll end up re-doing that later.
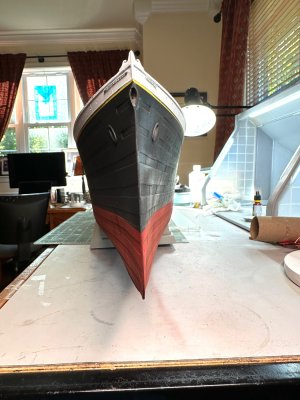
Another lesson-learned is to paint the inside of the haws pipe before painting the hull. It won’t be a big deal to squeeze some red in there later, but it would’ve ended up looking better had I sprayed that area first and then masked it off. Also, note the PE railings just at the bow. These tend to get knocked off, as well as some of the other PE items such as the shackles on the stern (used for servicing the propellers). It might be best to add these last, if you’re planning on using such PE parts.
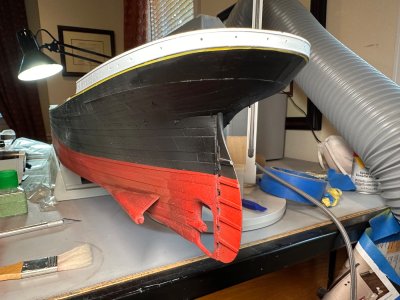
Stern view. I have since touched up the yellow stripe and added the “TITANIC LIVERPOOL” lettering on the stern. The anti-fouling appears very red here. It’s since been knocked down with Floquil Tuscan Red and highlights have been dry brushed on using the Anti-Fouling Red (Pink) that is included in the Vallejo Titanic Paint Kit. BTW, that Shapeways rudder has been re-attached about a dozen times so far.

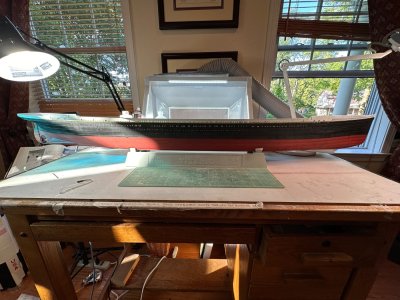
Here’s the overall view of the painted hull.


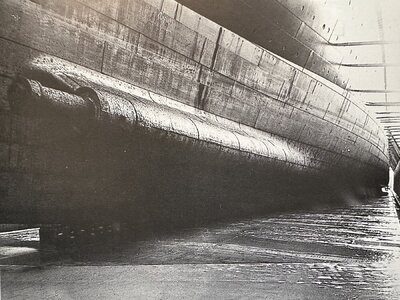



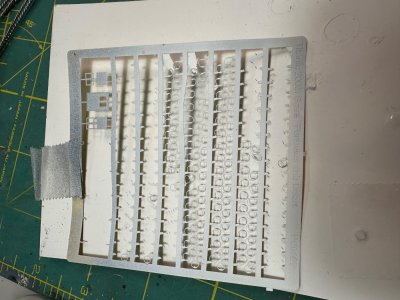
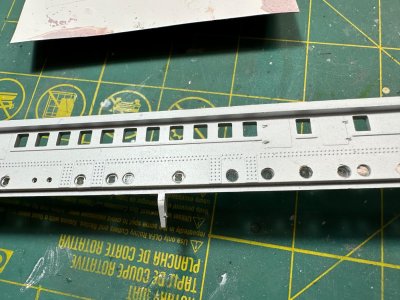
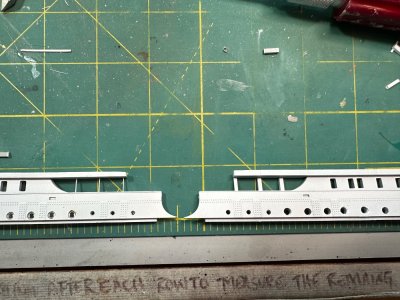
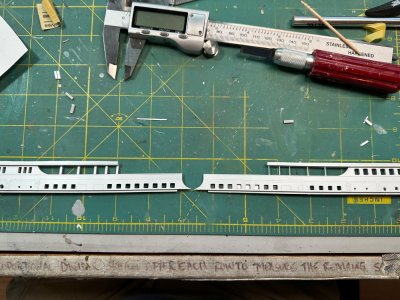

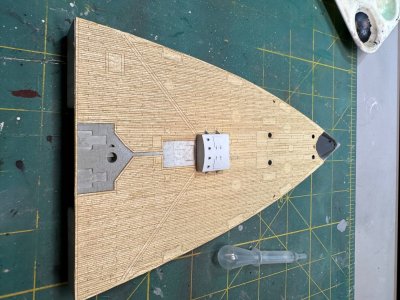
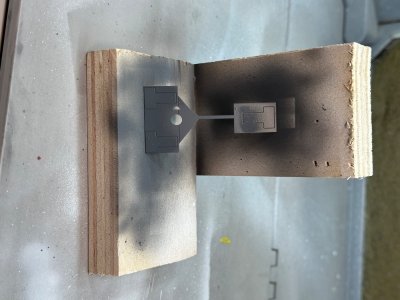
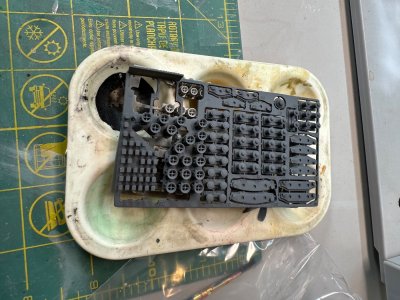
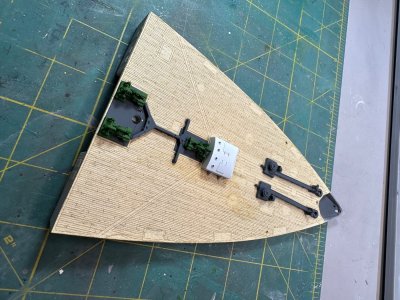
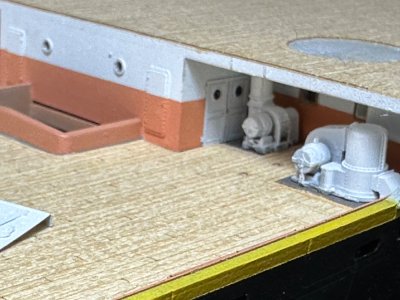
 windlasses and winches set in place but not glued. I’ll install these much later on so that they don’t get damaged during the deck construction.