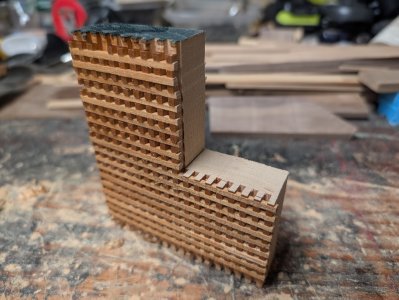
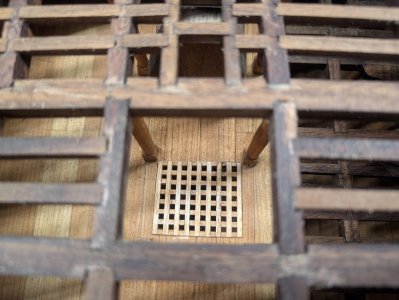
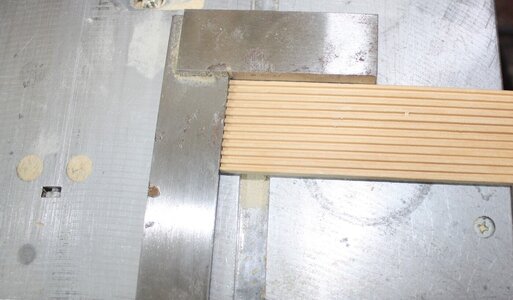
Another take on making gratings if a small table saw is available. Note the guide rail to guarantee the spacing between cuts is always the same. Pictures and a 1000 words.....
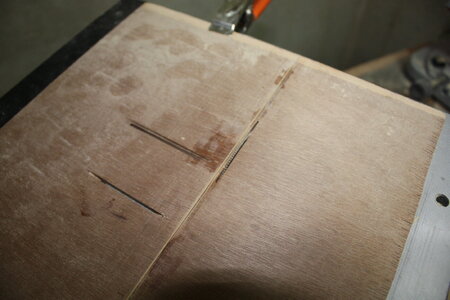
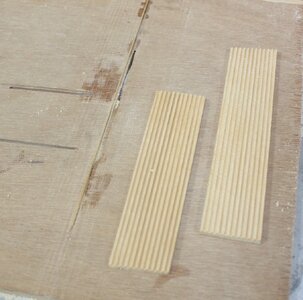
In the photo below the squaring can be done with the first slots up or down. Obviously the blank here would be flipped over when making the cross cuts which will be deeper than the initial cuts.
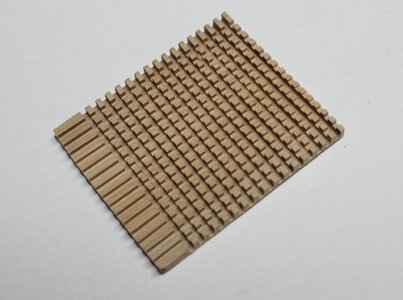

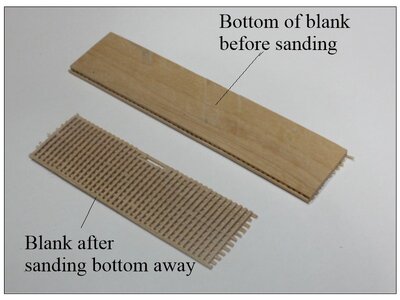
As there is still wood on the underside this can be planed, rasped, or sanded off so the holes are all the way through. As it is nigh impossible to see through the holes it is easier to just leave the wood and the gratings will still look good. I always make the gratings at least two or three rows larger than the largest grating to account for any breakage as can be seen in the photo below.
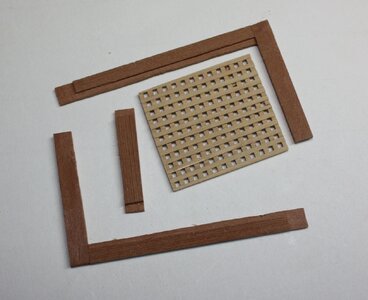
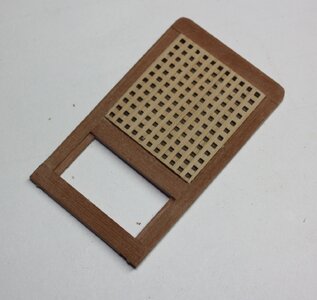
Note that there were never open holes against the coaming or head ledges. In order to accomplish this, it is best to make the grating as close to the drawings as possible them build the head ledges and coamings around the grating. The battens should always run fore and aft rather than athwartships.
In the photo below the squaring can be done with the first slots up or down. Obviously the blank here would be flipped over when making the cross cuts which will be deeper than the initial cuts.
As there is still wood on the underside this can be planed, rasped, or sanded off so the holes are all the way through. As it is nigh impossible to see through the holes it is easier to just leave the wood and the gratings will still look good. I always make the gratings at least two or three rows larger than the largest grating to account for any breakage as can be seen in the photo below.
Note that there were never open holes against the coaming or head ledges. In order to accomplish this, it is best to make the grating as close to the drawings as possible them build the head ledges and coamings around the grating. The battens should always run fore and aft rather than athwartships.

 )
)