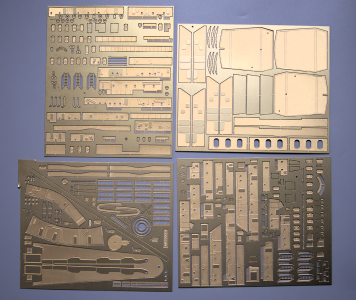
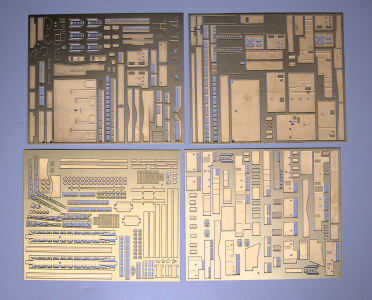
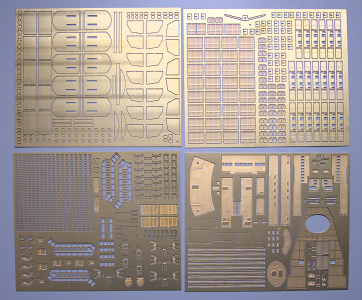
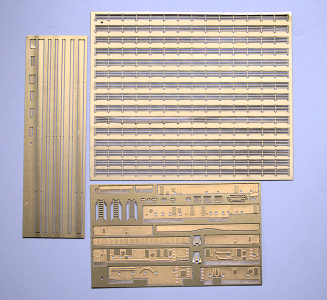
Greetings everyone.
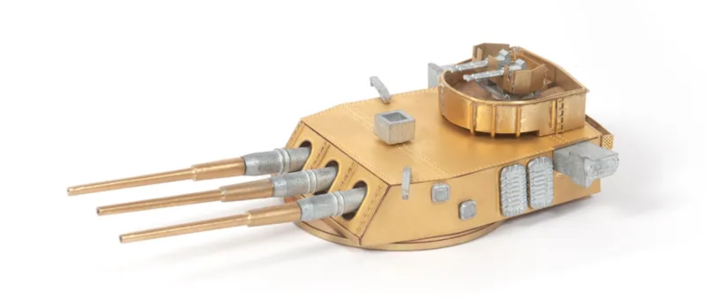
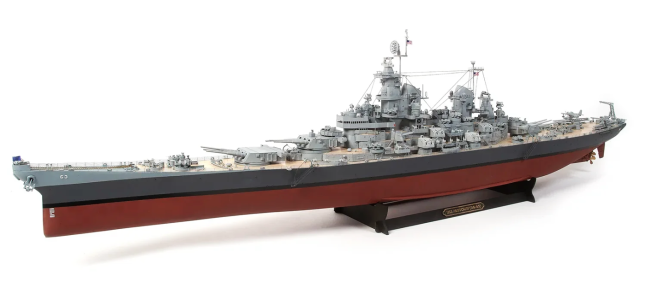
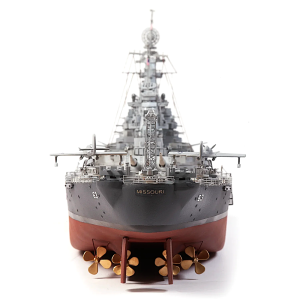
As I promised you last week, I am happy to present the battleship kit of the USS Missouri on a scale of 1:200, by Spanish kits manufacturer Occre. Though it is not necessary, now, however, if you would like to get a brief overview of the contents of this kit, you can follow the link below to read the 'unboxing' review I made last week.
Introduction and Technical Facts
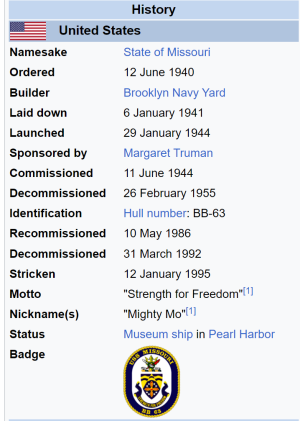
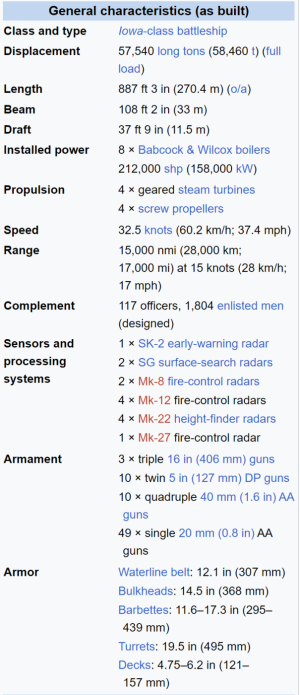
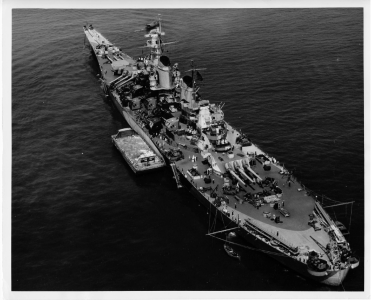
Three battleships have been etched into the minds of most Americans - the Maine, the Arizona, and the Missouri. The first two are remembered for tragedy; the third, for triumph. Maine, raised from her watery grave in Havana Harbor, was towed out to see, the bodies of her crew were removed, and then she was scuttled. Arizona rests, as she has since the morning of December 7, 1941, on the bottom of Pearl Harbor, a tomb for over 1.100 US servicemen. Just a few years from the gleaming white monument that serves as a tombstone for Arizona and her crew, the USS Missouri is tied up; upon her decks, the surrender papers were signed that ended the global conflict that the United States had entered with the sinking of Arizona. USS Missouri, not yet two years old when the surrender was signed, would serve her nation in two more conflicts - Korea, and the first Gulf War - before being moored adjacent to her fallen comrade in arms in June 1998.
* information credits to David Doyle, his book USS Missouri (BB-63) America's Last Battleship


The model
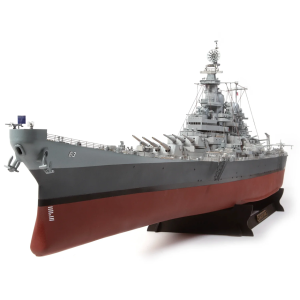
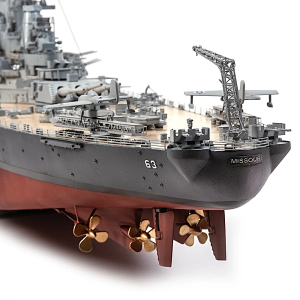
The USS Missouri model was designed based on when she was built/commissioned in 1944.
Catalogue #: 16002
Scale: 1/200
Width: 178mm
Height: 320mm
Length: 1355mm
The kit
Wood, Plywood, and MDF
The kit is made using various materials of different thicknesses. Among the wood selection, you can find MDF laser cut boards for the false keel base, most of the superstructure, main caliber turrets, and other parts suited as a base. The Laser cut line seems very fine and doesn't have burn marks on either side: front or back. There are a total of 11 MDF sheets.
The falskeel MDF shhets are 6.0mm
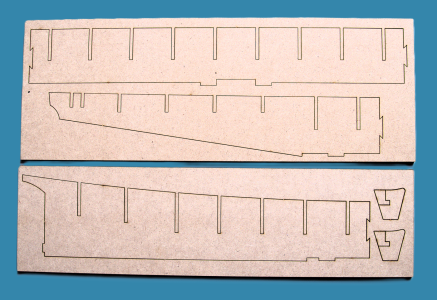
The bottom part of the falsekeel/keel assembly is 5.0mm MDF. On the same sheet, you will find parts for the stands.
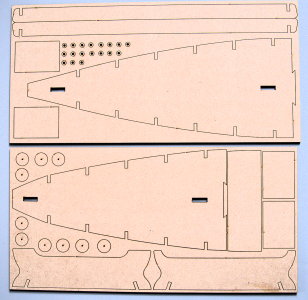
The other MDF sheets consist of parts for the superstructure and various sub-assemblies including the main caliber turrets. All those sheets are 3.00mm thick.
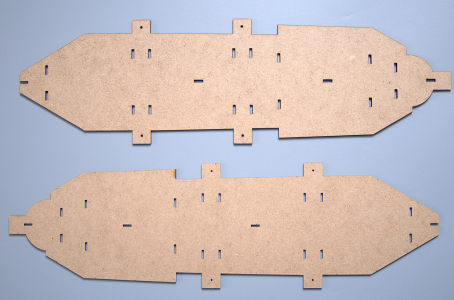
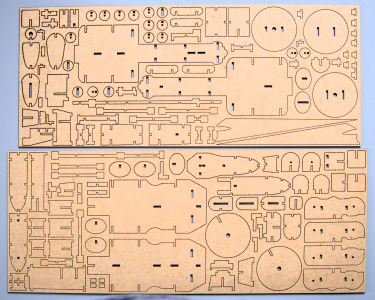
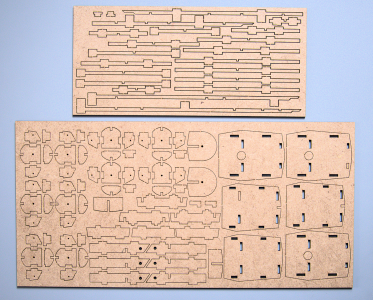
There are a total of 11 plywood sheets. I must say that even though all plywood parts would be hidden, the quality of those sheets is awesome. There are no visible defects or knots on each sheet. They are straight without wraps. The parts are nicely cut through the sheets without the char burns on either side.
Here you see the false deck parts, they are almost 3.00mm (2.7mm exactly)
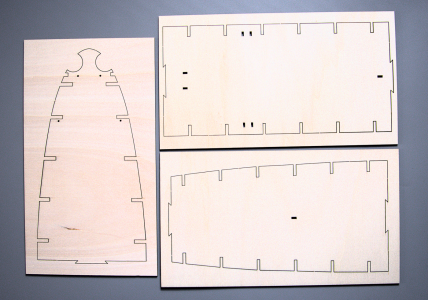

While the falskeel/keel structure is MDF, the bulkheads are 3.7mm plywood. 24 bulkheads located on a total of 5 sheets
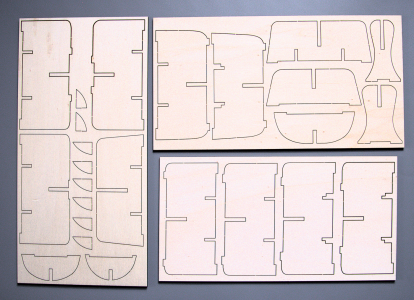
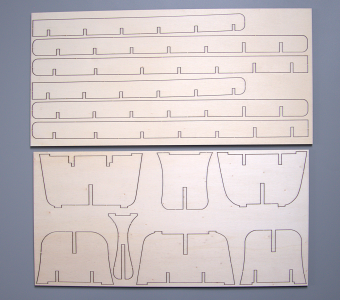
The rest of the plywood sheets are used in assembling the superstructures, some of them are parts of falsedecks and other additional structural parts that are not MDF medium.
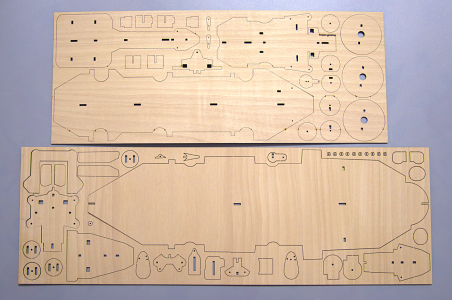
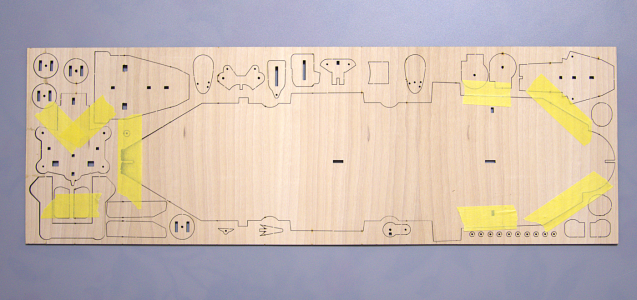
Here I made a photo of the opposite side for one of the plywood sheets, just so you can see the quality of the laser cut lines without a burn.
That's it for the MDF and Plywood sheets. The only wood left from the timber selection is the milled planks for the hull assembly, and smaller milled planks for the deck. There is also balsa wood to use as the filler blocks between the bulkheads. The planks seem to be very uniform in color and also in size (per bundle). In my 'Unboxing' review, there were some concerns made by @Bryian about the width of the planks supplied for the decking. This seems to be the case, and you might want to consider supplying your milled planks or if you have a table saw, you can adjust the kit's supplied wood.
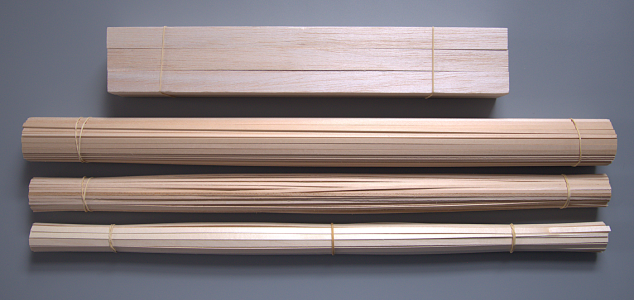
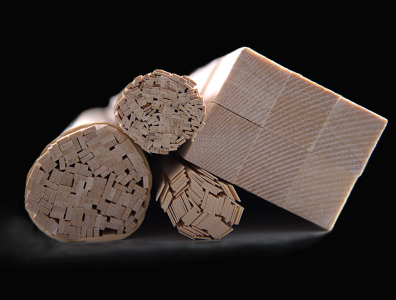
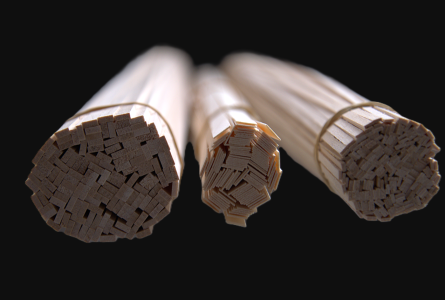
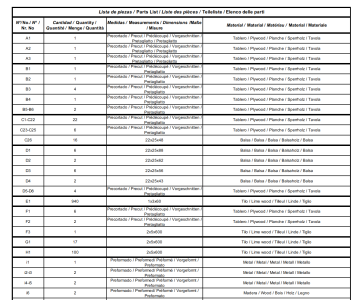
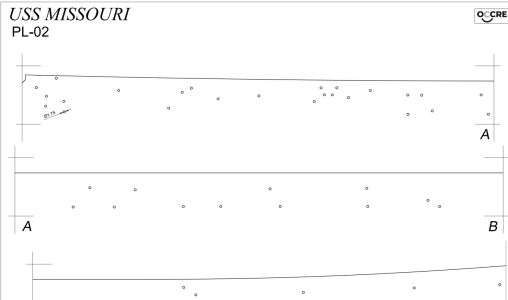
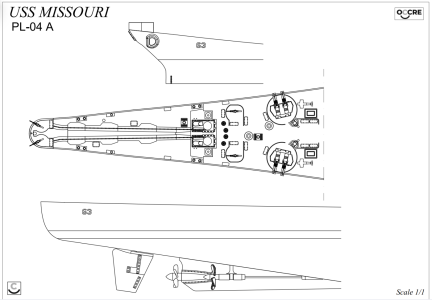
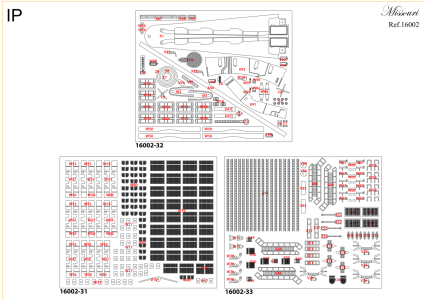
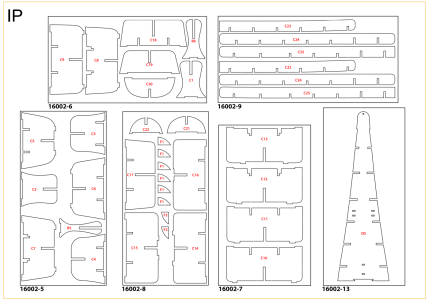
This is all the wood supplied in the kit. What can I say? The MDF becomes a standard for keel-structured parts as it doesn't warp, and is not affected by temperature changes. The plywood is high quality and doesn't show splintering across all the boards. The actual planks seem to be Limewood. They are nicely milled with precision and uniform in color. The smaller width planks might be required as an additional purchase or your stock, if you decide to go this route. Almost forgot, the boards don't have identification numbers. However, all parts can be identified from the instructions, they are labeled 'IP' (Identification Part). Here is an example of one of the sheets.
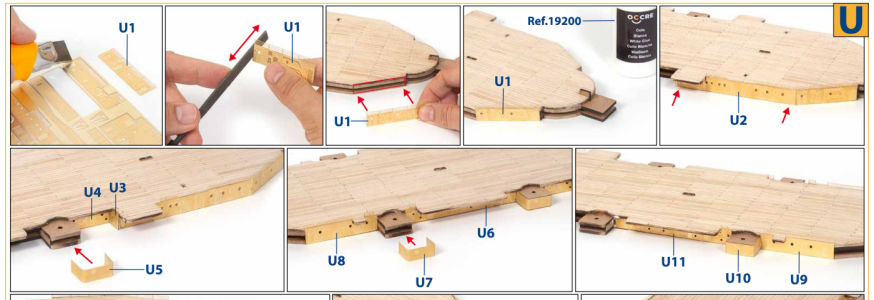
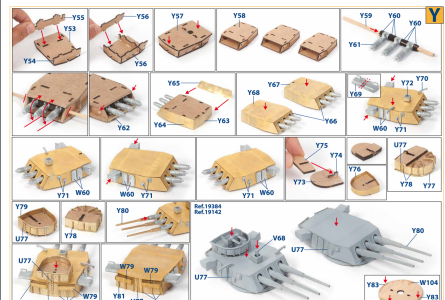
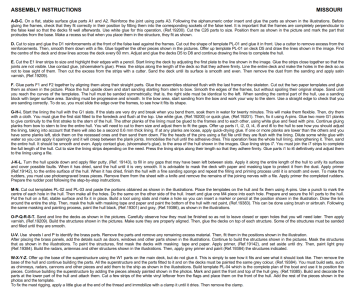
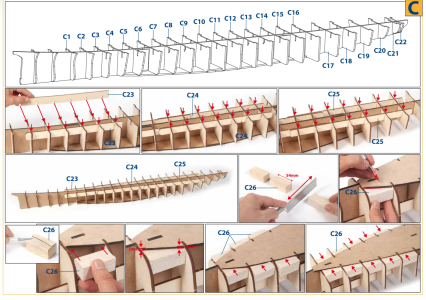
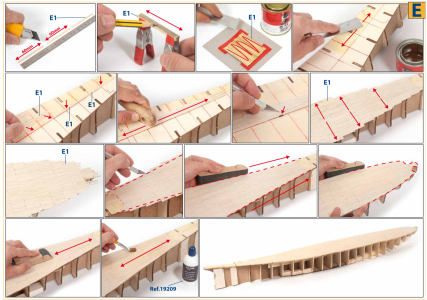
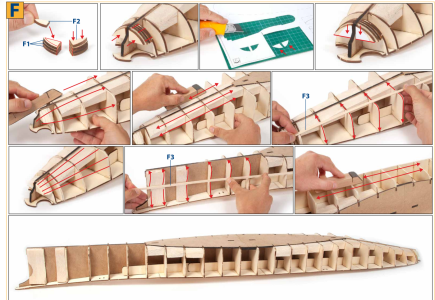
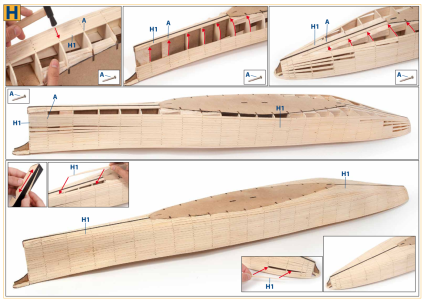
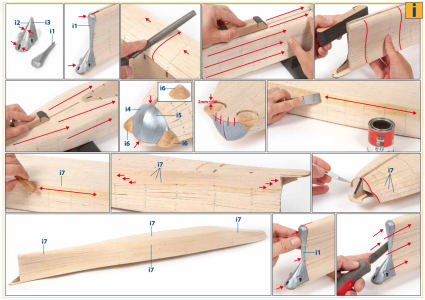
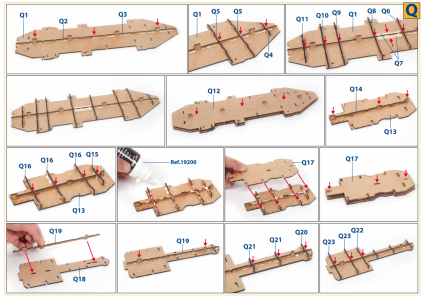
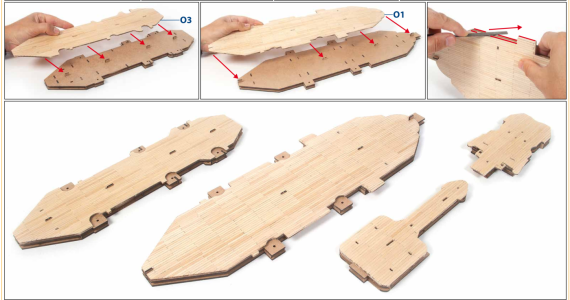
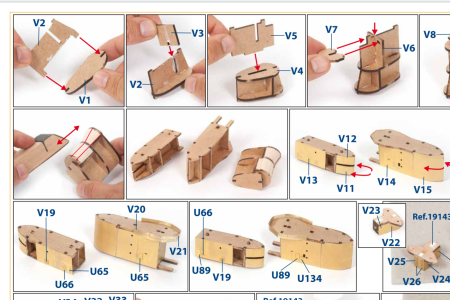
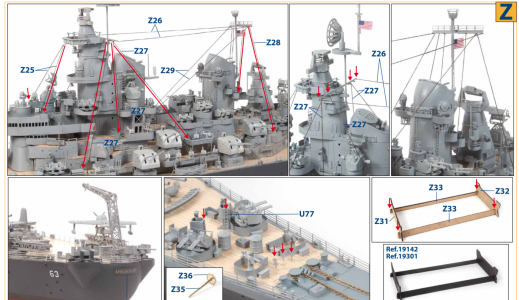
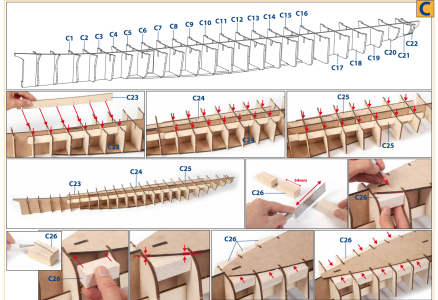
BTW, going a bit ahead of this review, all assembly stages are labeled alphabetically so are the parts required for this stage. For example; The IP sheet below identified some parts required for stage C as they all started with the letter C. Combining this identification sheet with the instruction manual step-by-step (below the IP sheet)... it is all clear the bulkheads C1, C2, and so on... are for the frames assembly. is that easy
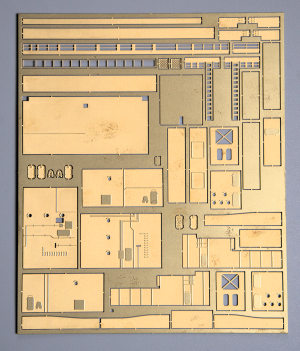
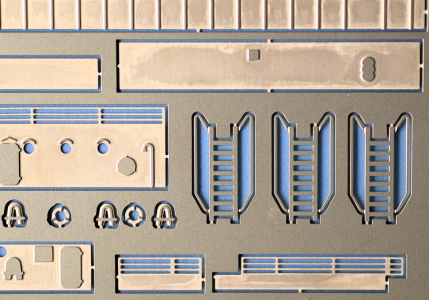
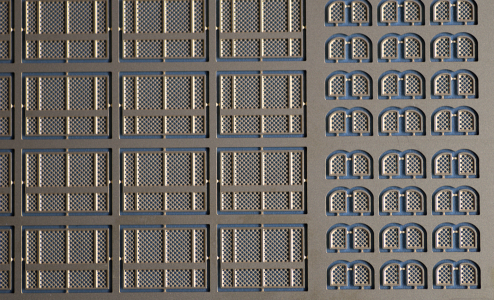
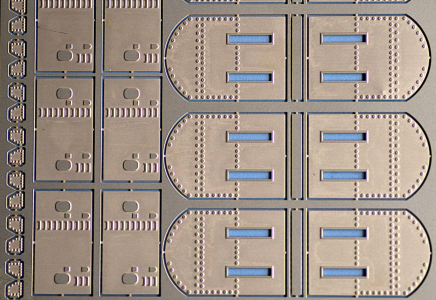
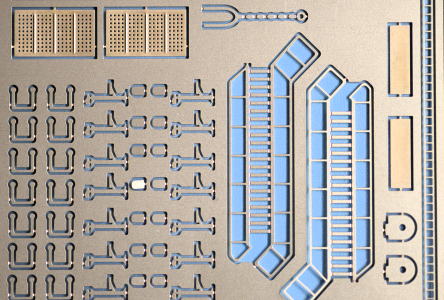
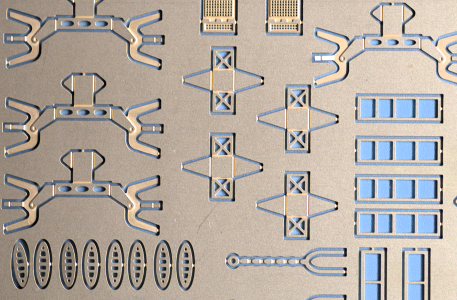
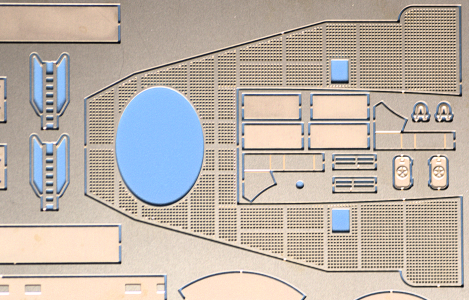
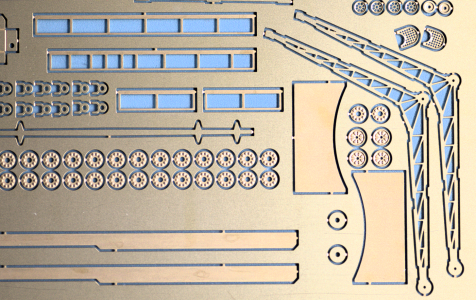
This is it for today... Tomorrow, I will review the photoetched parts so don't go too far. Thank you for joining me in my review, I hope it will help you in some way...
As I promised you last week, I am happy to present the battleship kit of the USS Missouri on a scale of 1:200, by Spanish kits manufacturer Occre. Though it is not necessary, now, however, if you would like to get a brief overview of the contents of this kit, you can follow the link below to read the 'unboxing' review I made last week.
Unboxing - USS Missouri BB-63, Scale 1:200, by Occre
USS Missouri BB-63 or Mighty Mo! Though dwarfed by much newer aircraft carriers, the size of the Missouri is no less impressive. Greetings folks! Today, I have the great pleasure of showing you a kit made by Occre (Spain) of a legendary Big Mo, an Iowa-class battleship that fought in WWII...
shipsofscale.com
Introduction and Technical Facts
Three battleships have been etched into the minds of most Americans - the Maine, the Arizona, and the Missouri. The first two are remembered for tragedy; the third, for triumph. Maine, raised from her watery grave in Havana Harbor, was towed out to see, the bodies of her crew were removed, and then she was scuttled. Arizona rests, as she has since the morning of December 7, 1941, on the bottom of Pearl Harbor, a tomb for over 1.100 US servicemen. Just a few years from the gleaming white monument that serves as a tombstone for Arizona and her crew, the USS Missouri is tied up; upon her decks, the surrender papers were signed that ended the global conflict that the United States had entered with the sinking of Arizona. USS Missouri, not yet two years old when the surrender was signed, would serve her nation in two more conflicts - Korea, and the first Gulf War - before being moored adjacent to her fallen comrade in arms in June 1998.
* information credits to David Doyle, his book USS Missouri (BB-63) America's Last Battleship


The model
The USS Missouri model was designed based on when she was built/commissioned in 1944.
Catalogue #: 16002
Scale: 1/200
Width: 178mm
Height: 320mm
Length: 1355mm


The kit
Wood, Plywood, and MDF
The kit is made using various materials of different thicknesses. Among the wood selection, you can find MDF laser cut boards for the false keel base, most of the superstructure, main caliber turrets, and other parts suited as a base. The Laser cut line seems very fine and doesn't have burn marks on either side: front or back. There are a total of 11 MDF sheets.
The falskeel MDF shhets are 6.0mm

The bottom part of the falsekeel/keel assembly is 5.0mm MDF. On the same sheet, you will find parts for the stands.

The other MDF sheets consist of parts for the superstructure and various sub-assemblies including the main caliber turrets. All those sheets are 3.00mm thick.


There are a total of 11 plywood sheets. I must say that even though all plywood parts would be hidden, the quality of those sheets is awesome. There are no visible defects or knots on each sheet. They are straight without wraps. The parts are nicely cut through the sheets without the char burns on either side.
Here you see the false deck parts, they are almost 3.00mm (2.7mm exactly)


While the falskeel/keel structure is MDF, the bulkheads are 3.7mm plywood. 24 bulkheads located on a total of 5 sheets


The rest of the plywood sheets are used in assembling the superstructures, some of them are parts of falsedecks and other additional structural parts that are not MDF medium.

Here I made a photo of the opposite side for one of the plywood sheets, just so you can see the quality of the laser cut lines without a burn.

That's it for the MDF and Plywood sheets. The only wood left from the timber selection is the milled planks for the hull assembly, and smaller milled planks for the deck. There is also balsa wood to use as the filler blocks between the bulkheads. The planks seem to be very uniform in color and also in size (per bundle). In my 'Unboxing' review, there were some concerns made by @Bryian about the width of the planks supplied for the decking. This seems to be the case, and you might want to consider supplying your milled planks or if you have a table saw, you can adjust the kit's supplied wood.


This is all the wood supplied in the kit. What can I say? The MDF becomes a standard for keel-structured parts as it doesn't warp, and is not affected by temperature changes. The plywood is high quality and doesn't show splintering across all the boards. The actual planks seem to be Limewood. They are nicely milled with precision and uniform in color. The smaller width planks might be required as an additional purchase or your stock, if you decide to go this route. Almost forgot, the boards don't have identification numbers. However, all parts can be identified from the instructions, they are labeled 'IP' (Identification Part). Here is an example of one of the sheets.
BTW, going a bit ahead of this review, all assembly stages are labeled alphabetically so are the parts required for this stage. For example; The IP sheet below identified some parts required for stage C as they all started with the letter C. Combining this identification sheet with the instruction manual step-by-step (below the IP sheet)... it is all clear the bulkheads C1, C2, and so on... are for the frames assembly. is that easy


This is it for today... Tomorrow, I will review the photoetched parts so don't go too far.


