• LUCZORAMA SHIPWRECK SCAVENGER HUNT GIVEAWAY. 4 Weeks of Fun • 1 Legendary Prize ((OcCre’s Fram Ship)) • Global Crew Welcome!
    **VIEW THREAD HERE**

1/30 HMS Royal Caroline 1749 Build

Joined
Aug 20, 2024
Messages
20
Points
48

Location
Milton Keynes: UK
Hello, and Happy New year

My name is Terry, I am only a novice at building model ships with this build being only my second build. The model I am building is from ZHL 1/30 scale Royal Caroline 1749 with pearwood carvings and masks brought for me by my wife at Christmas. I have been reading and following a lot of the build logs from other members who are also building this model and have obtained a copy of Anatomy of the ship by Sergio Bellabarba & Giorgio Osculati, which is a great reference book with a lot of detail.

I am not as skilled as some of you members and will not obtain some of the high level of detail that you have shown but I will do my best and hopefully with your help improve as the build progresses, I have taken on board a lot of the tips and pitfalls all of you were giving which will be a great help.

I intend to build for the enjoyment and the challenge of obtaining something that is pleasing to the eye and not so much to be historically accurate so in main I will be following the supplied instructions and photos which came with the model and may do some things back to front due to inexperience or not following the instructions correctly.

If you see I am going wrong or have any tips, pitfalls to watch out for or helpful comments please post them as I will need all the help, I can get to complete what looks to be a great model once completed.

I will start to post Photos soon
Terry
 
Ok lets start the build, as said previously I will be following the instructions supplied as I am not skilled enough yet to divert from them.
P1011139.JPG
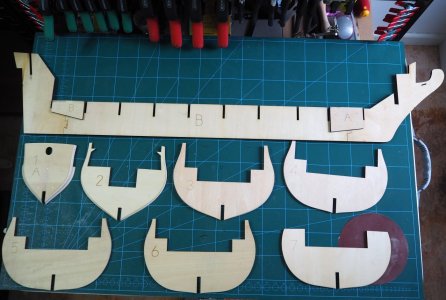
The rib sections all came with a line for filing off which was a great help and a nice touch.
P1011140.JPG
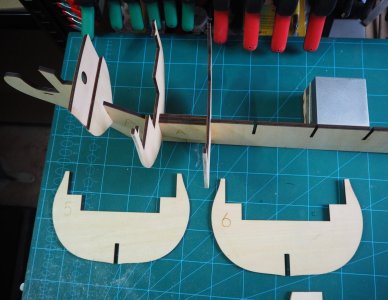
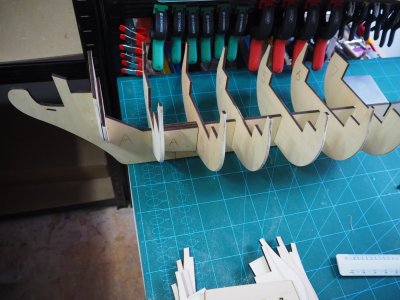
This part of the build all went smoothly, everything nice and tight and only a few that need adjusting to fit.
P1011142.JPG
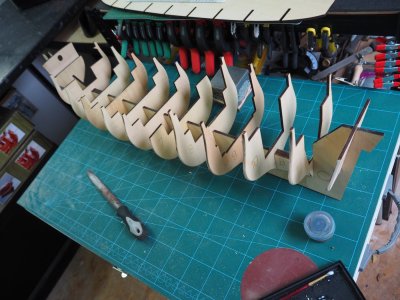
I had a few problems with the stern and the last few ribs getting them to line though but eventually achieved the result I wanted.
P1011147.JPG
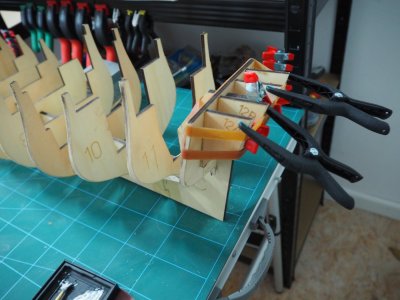
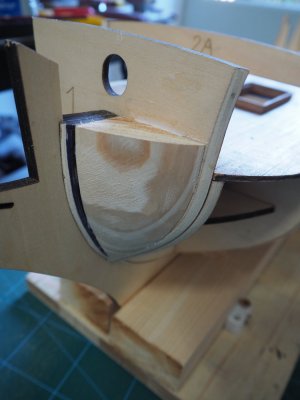
Fitted the thin bow fillers without any problems but I would next time mark up the bow filler blocks off the thin bow fillers before fitting
them as you cant get the pencil in to mark the blocks up after.
P1011149.JPG
The stern went together well.
P1011150.JPG
The first deck fitted well without any problems.
P1011153.JPG
Thank you for following I will post some more soon.
 
Have you used "search" function to check for other build logs of this kit, it often helps identify possible issues to watch out for and what problems they may have had.
 
G'day Terry, it's great to see you have started your build log, she is a fantastic kit to build, I've built the Pear Wood version and now I'm building the Boxwood version with an extension piece in the middle.
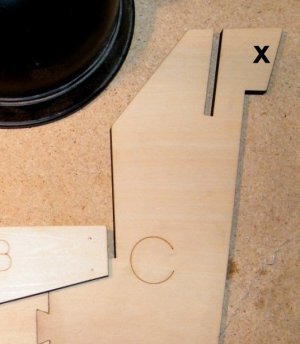
One thing to watch out for on the ply keel section is right at the back, there is a small tab right at the back end at the top that needs to be removed, see attached pic, or you won't be able to get the rudder up through when the time comes, looking forward to the rest of your build, enjoy,
Best regards John,

5.jpg
 
Last edited:
G'day Terry, it's great to see you have started your build log, she is a fantastic kit to build, I've built the Pear Wood version and now I'm building the Boxwood version with an extension piece in the middle.
One thing to watch out for on the ply keel section is right at the back, there is a small tab right at the back end at the top that needs to be removed, see attached pic, or you won't be able to get the rudder up through when the time comes, looking forward to the rest of your build, enjoy,
Best regards John,

View attachment 495519
Thank you for this tip I will remove mine now before its too hard to get too. Much appreciated. I am watching your build with interest and it looks great and moving along nicely
 
Hello, and Happy New year

My name is Terry, I am only a novice at building model ships with this build being only my second build. The model I am building is from ZHL 1/30 scale Royal Caroline 1749 with pearwood carvings and masks brought for me by my wife at Christmas. I have been reading and following a lot of the build logs from other members who are also building this model and have obtained a copy of Anatomy of the ship by Sergio Bellabarba & Giorgio Osculati, which is a great reference book with a lot of detail.

I am not as skilled as some of you members and will not obtain some of the high level of detail that you have shown but I will do my best and hopefully with your help improve as the build progresses, I have taken on board a lot of the tips and pitfalls all of you were giving which will be a great help.

I intend to build for the enjoyment and the challenge of obtaining something that is pleasing to the eye and not so much to be historically accurate so in main I will be following the supplied instructions and photos which came with the model and may do some things back to front due to inexperience or not following the instructions correctly.

If you see I am going wrong or have any tips, pitfalls to watch out for or helpful comments please post them as I will need all the help, I can get to complete what looks to be a great model once completed.

I will start to post Photos soon
Terry
I'm in your camp Terry. I build and just enjoy the process. I try to build the model as shown on the box and delivered in the box. In some cases that's challenge enough. Needless to say my stuff will not be in any museum in the future.:)
 
I'm in your camp Terry. I build and just enjoy the process. I try to build the model as shown on the box and delivered in the box. In some cases that's challenge enough. Needless to say my stuff will not be in any museum in the future.:)
Mine wont be museum standard either but as long as my better half likes it I would have done a good enough job thank you for comment much appreciated. :)
 
Off to a great, clean, start! I can't pass up this opportunity to share. I saw this guy, big guy, 6'6''. His name was "Anchor". He told the story that both his parents were in the US Navy and he was 10lbs 12oz at birth, so they named him "Anchor". True story!
I look forward to following your build.
 
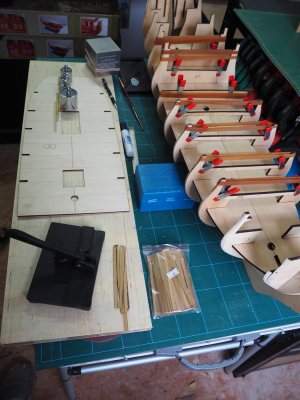
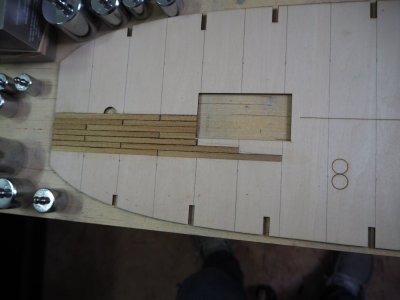
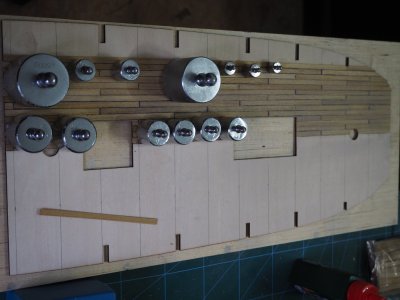
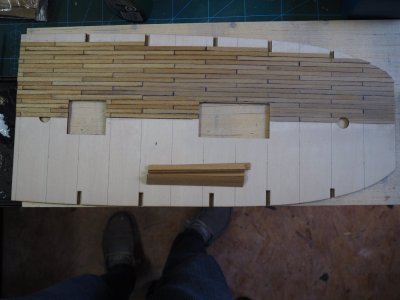
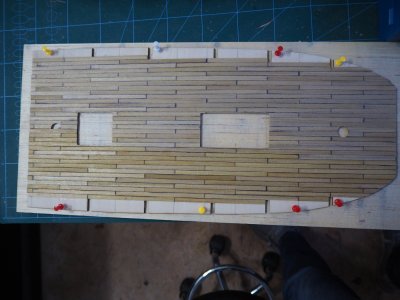
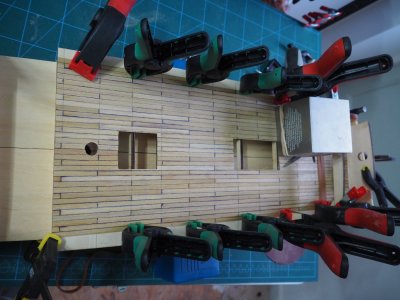
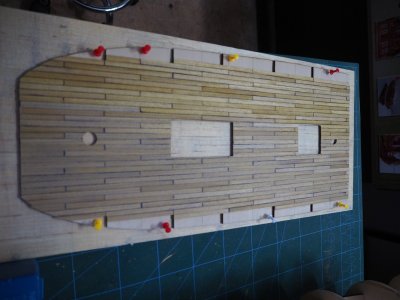
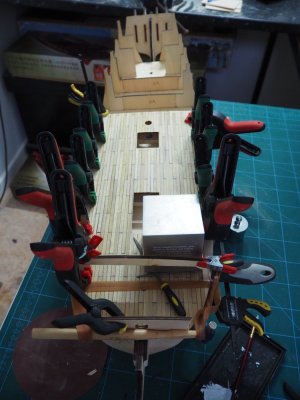
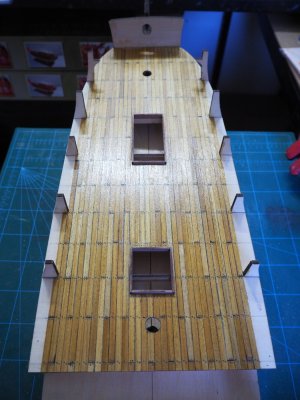
Just fitting the deck beams and then I am going to plank the main deck as I think its easier to get to whilst not in place plus the instructions show this step next.
P1011159.JPG

I notice that most other members leave this stage to later on in the build
P1011162.JPG

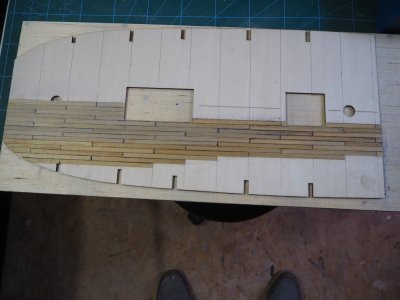
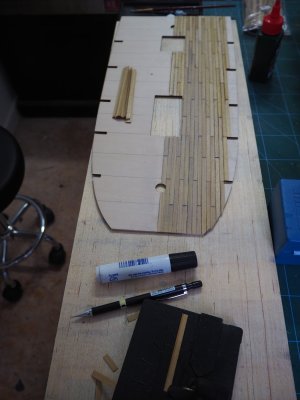
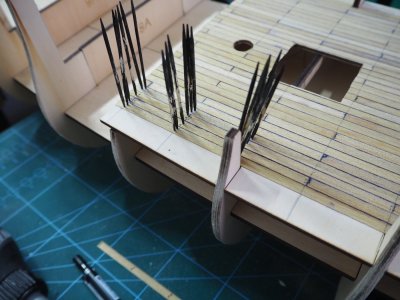
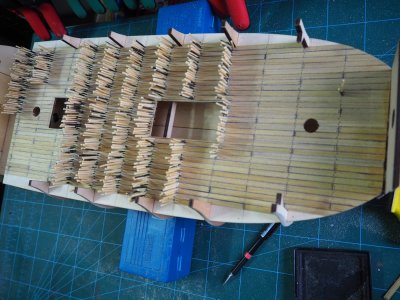
I am using a marker pen for the edges and I intend to treenail the deck using tooth picks
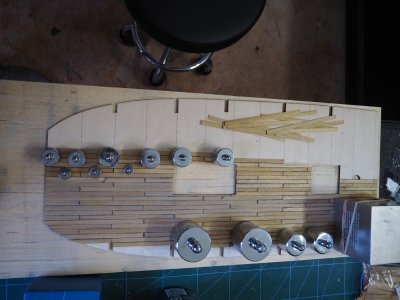
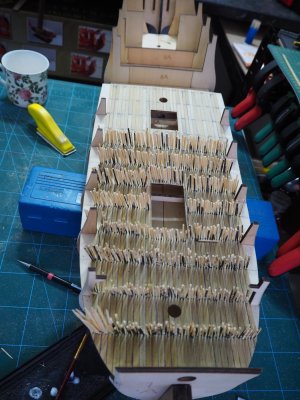
P1011165.JPGP1011167.JPGP1011169.JPGP1011171.JPGP1011172.JPGP1011173.JPGP1011174.JPGP1011176.JPGP1011180.JPG Now the start of the treenails
P1011183.JPG
I think this may take some time post some more soon.

P1011177.JPG

P1011179.JPG
 
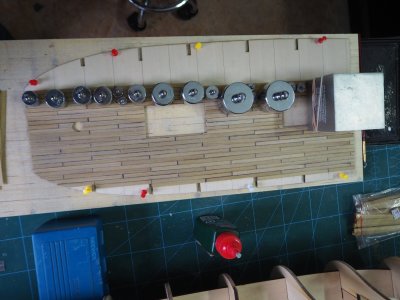
Its been a little while but as you can see the treenails were well on there way
P1011190.JPG
P1011193.JPG
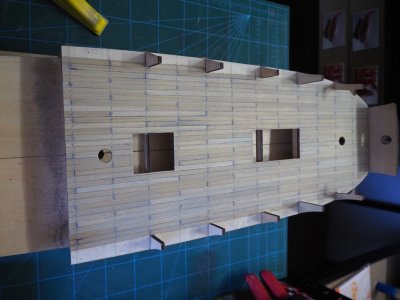
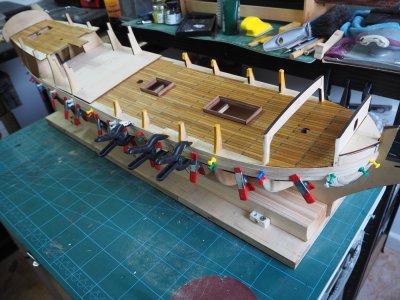
once all the nailing had been done I then sanded down, I did leave the sides to be completed once the ribs come out.
P1011198.JPG
I then gave it all a bee wax finish to protect it from any spills, once the sides have been completed I will sand down and coat it all up again.
P1011199.JPG
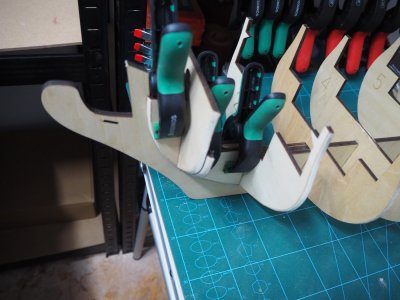
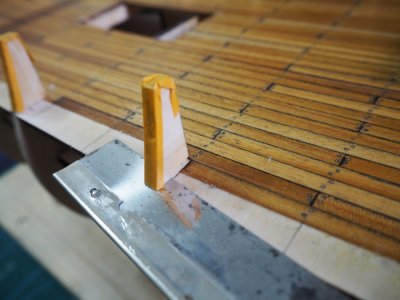
I taped and cut half way though the ribs that have to come out to make it easier to remove once all the first planking was complete.
P1011206.JPG
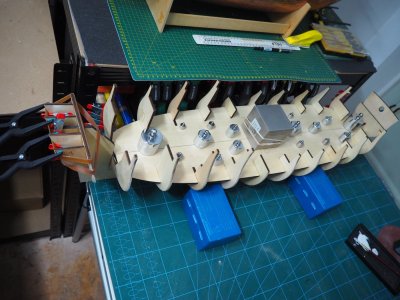
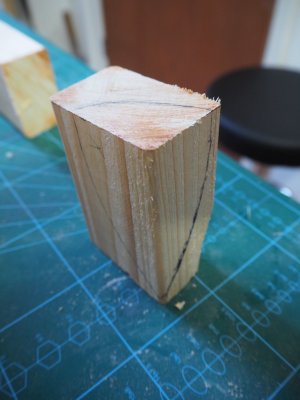
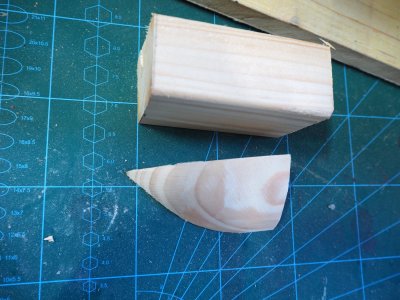
Then on to form the bow filler blocks
P1011212.JPGP1011213.JPGP1011214.JPG
Thank you for following, and thank you to everyone that has commented and helped with tips and advice so far.
 
Its been a little while but as you can see the treenails were well on there way
View attachment 499493
View attachment 499494
once all the nailing had been done I then sanded down, I did leave the sides to be completed once the ribs come out.
View attachment 499495
I then gave it all a bee wax finish to protect it from any spills, once the sides have been completed I will sand down and coat it all up again.
View attachment 499496
I taped and cut half way though the ribs that have to come out to make it easier to remove once all the first planking was complete.
View attachment 499497
Then on to form the bow filler blocks
View attachment 499502View attachment 499503View attachment 499504
Thank you for following, and thank you to everyone that has commented and helped with tips and advice so far.
Looking great Terry, the deck planks have nice assorted colours to them,
Best regards John,
 
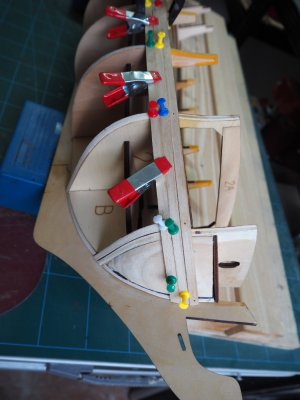
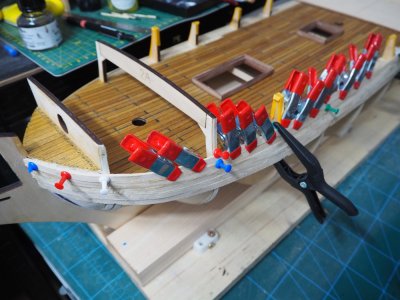
I have now started on the first planking
P1011245.JPG
P1011248.JPG
P1011147.JPG

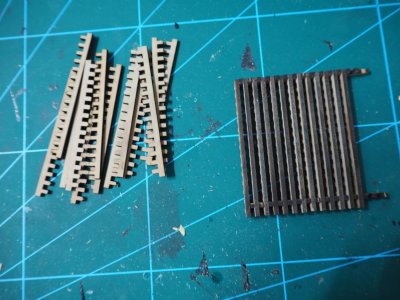
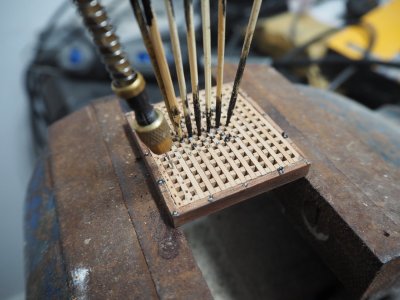
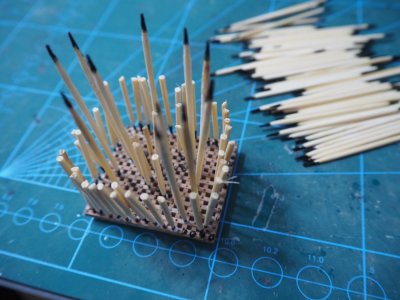
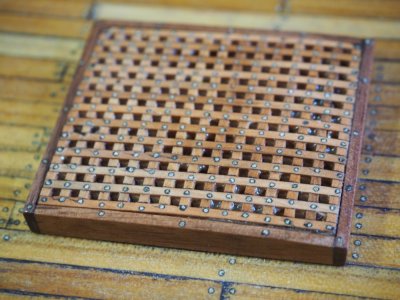
While waiting for the glue to go off I started to build one of the gratings
P1011148.JPGP1011154.JPGP1011155.JPG

I found drilling the holes in the centre of each cross over was difficult with the drill wanting to slide but with a lot of perseverates I am happy with the result, just a little tidying up to do and back to the first planking.
P1011160.JPG
 
Back
Top