• LUCZORAMA SHIPWRECK SCAVENGER HUNT GIVEAWAY. 4 Weeks of Fun • 1 Legendary Prize ((OcCre’s Fram Ship)) • Global Crew Welcome!
    **VIEW THREAD HERE**

Gunboat Philadelphia 1776 Model Shipways MS2263 1:24 Scale

Kurt Konrath

Kurt Konrath
Joined
Feb 11, 2020
Messages
4,882
Points
588

Location
Oklahoma City OK
Well I am two weeks late for the online group build being hosted by Olha , on her YouTube channel, but I have started my build of this kit.

In episode #1, Olha identified a problem with some of the kits sent out. One of the two bottom sheets were cut undersize, and she showed the fix in episode #2.

My kit didn't have this problem, so hopefully I can catch up by not having to spend time working the corrective fix.

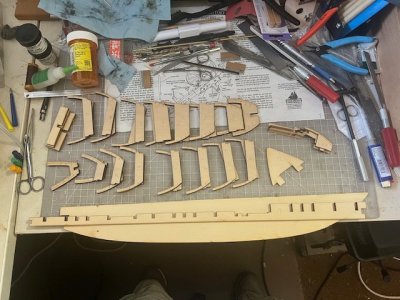
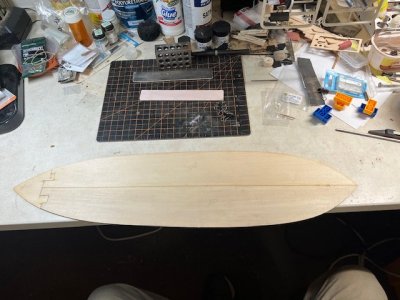
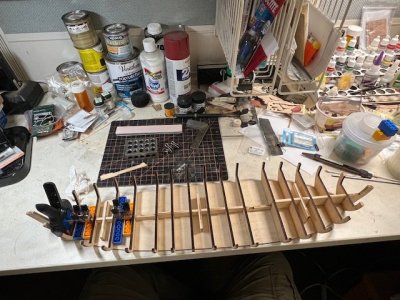
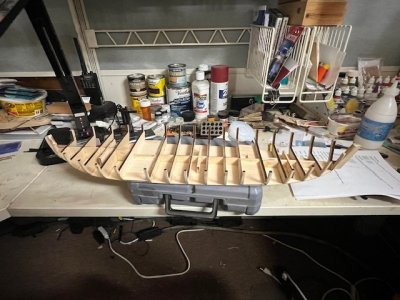
So here are photos of my start, cutting all the lower hull bulkheads and bottom pieces out getting ready to sand and glue up.

Pardon my very messy and cluttered work bench.
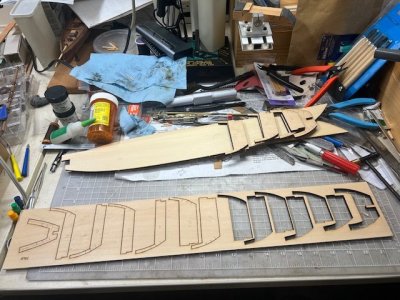
IMG_3236.jpgHull Parts.jpg
 
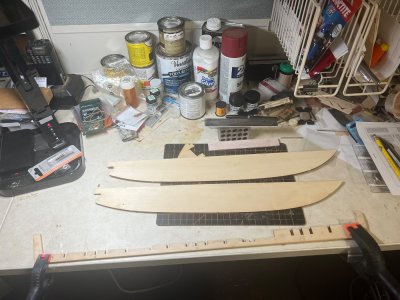
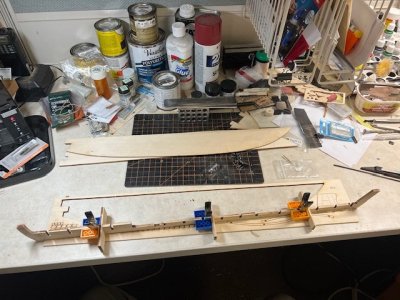
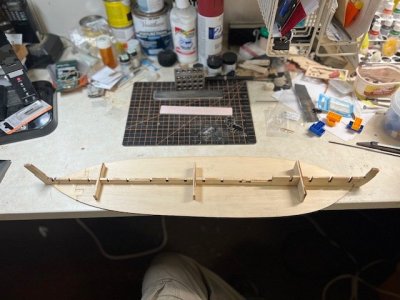
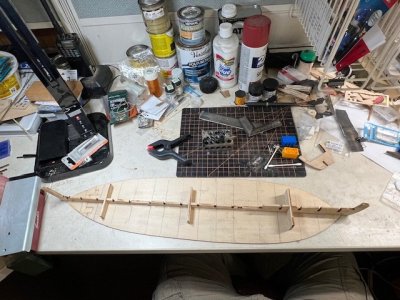
So I got the ends attached to center keel, step one. Next step is to add three stabilizing supports to keep the keel vertical on the bottom.

I use the board PA2, which one of the bottoms came from as a spacer for the supports, as the keel has long center notch where it goes over the bottom and stem and stern boards extend down to be level with bottom of the bottom.

Keel Support 1.jpgKeel Supports.jpg

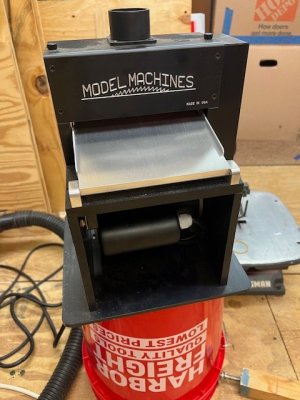
While the keel and supports were drying I thought I would assemble the bottom of the gunboat, but I did have a problem other than the short size Olha had in her kit. The two boards for bottom pieces were both supposed to be 3/32", but PA2 was actually 17/128", which is not much except when placed side by side and a difference it noticed. I had to think of what to do next, first option was to glue up and use the side with step on outside bottom, to give a smooth inside bottom to glue up bulkheads to. Then for some strange reason my brain engaged the thought mode and I remembered my new tool from Christmas 2023, I got a Model Machine thickness sander. So this was my first time/reason to use it. I hooked up power and vacuum and inserted the half that was too thick, and adjusted till it barely could be pulled out. After 5-6 passes, making minor adjustments I finally got it to 3/32" checking multiple times with my digital calipers.

MM Sander.jpgBottom.jpg

Now I could glue up the complete bottom, and move to attaching the center keel.

This is where I noticed the stem post was a bit loose, and didn't fit well, bad fitting when first glued. So after using some acetone to soften the PVA, I got the parts separated and did come cleaning and sanding, while test fitting keel on the bottom. After getting a tight fit, I re-glued he stem to keel and clamped it together to dry.

Stempost Repair.jpg

Now I applied PVA down the center of the bottom, joint made nice guideline to place glue, and then attached the keel, and placed weights on it to hold down while it dried. Then I thought I might try to save time in fairing bulkheads and started filing on #1 to the laser marked guidelines, and I broke it in half, so another repair.

Keel Installed.jpg
 
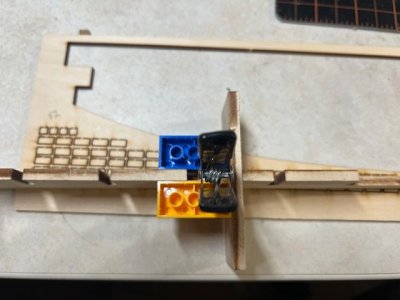
So after some time I started getting ready to attach the bulkheads. Except for #1 & 16, the others are in two piece sets. So I used a few of them to temp place in the keel and using a small square, I marked lines on the bottom to keep the bulkheads square and straight across the width of the hull. Then started the slow process of gluing, cleaning up excess glue, and clamping with my Lego blocks to keep things square. It is nice that Oklahoma City has a official Lego store in the mall, so I could go buy enough pieces just for ship building. The Admiral forbid robbing of the grandkids Lego stash.
Bulkhead guidelines.jpg

Then working every other bulkhead set I started gluing them all in, alternating location of my blocks, as some spots were tight on spacing. When done I carefully added #1 back after repairs and all will sit now overnight to glue up.
Bulkheads done.jpg

Now to start the fun part which is fairing all the bulkheads from top to bottom, and that means the bottom must also be faired as the side planks go down to bottom, with no external keel to mate against. A true flat bottom boat. Hopefully, fingers crossed I won't break any bulkhead tops off, as Olha has two break just by bumping them lightly. But she showed how to fix this kind of problem, which makes for great teaching video series.

I have a week to get fairing done to catch up with where the work is at in her online group build.
 
Hey Kurt, things are looking solid so far! I'll definitely be keeping an eye on how your build comes together.
 
Hey Kurt, things are looking solid so far! I'll definitely be keeping an eye on how your build comes together.
Good for you, I need someone watching over me to make sure I don't make mistakes. Had to double check placement of three end sets of bulkheads, as they had carving marking which needed to face the ends, easy to put on wrong side if not paying attention, and I almost glued one bulkhead in wrong spot, but the 1/2' overhang was a clue to pending error.
 
Well we had some rain and thunderstorms this evening, so what better thing to do than work on the model ship.

Reading the manual (yes I know guys never do,) but as Olha says to read 5-6 steps ahead to see if there may be something missed or a better way of doing things.

So I followed the book and worked on the two lower floor sections of the boat, mainly as I thought it would save time when fairing the hull sides.

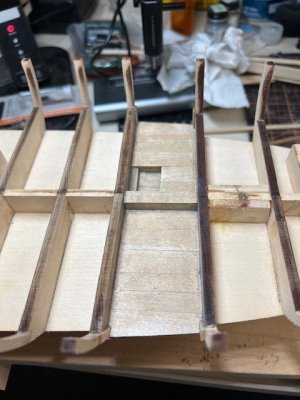
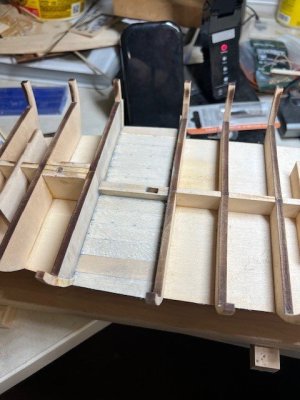
The floor has square strips as supports and floor boards go all the way to side. Also there are small risers glued to sides of bulkhead to support ceilings later in build. So I wanted to get this installed now so I can sand the strips and outside edge of floor smooth with sides of bulkheads.

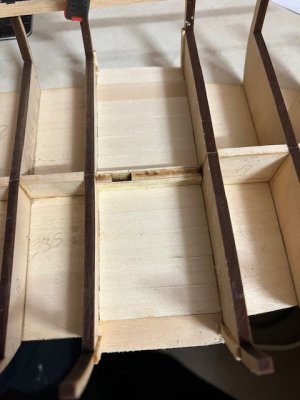
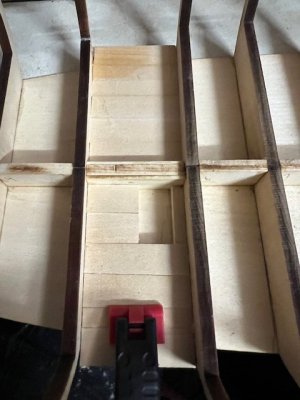
The steps are simple, install keel side boards, then square support strips and lastly the floor boards. Forward floor has mast step and aft floor has sump for bailing. The aft floor requires a few extra square supports for the half length boards.

Mast well.jpg
fwd floor.jpg
aft floor.jpg

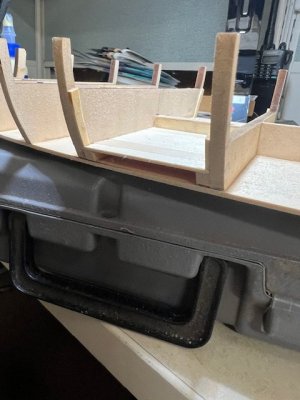
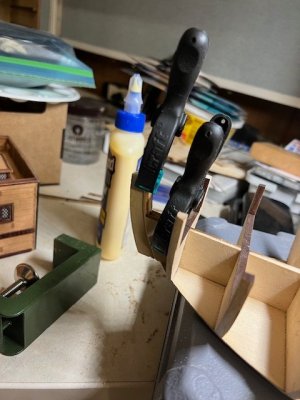
So while I was working the floor, like Olha I looked wrong at one of the bulkhead ribs and it broke. Only two so far.....

ribs 2.jpg

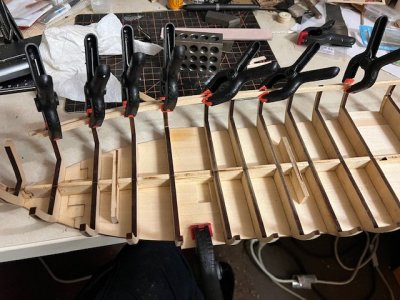
After gluing the rib in place I used scrap strips to help keep top in alignment with others.
 
I’m reading this with interest. After I complete the Albatros, this will be my next build. I am working up toward a museum quality hundred gun ship of the line. I am slowly working on gaining the skills to build one.
 
I’m reading this with interest. After I complete the Albatros, this will be my next build. I am working up toward a museum quality hundred gun ship of the line. I am slowly working on gaining the skills to build one.
You should join up on the Saturday live YouTube group build, or you can watch them after posted to YouTube. I do that so I can fast forward thru some boring spots.
 
OK, back to work again, the term rinse and repeat, while sanding, handling the hull I have broken and re-glued several more ribs so that slows things down.

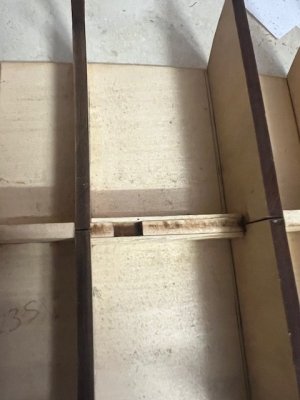
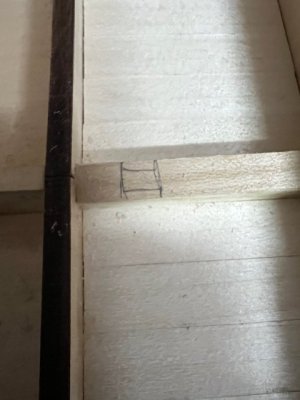
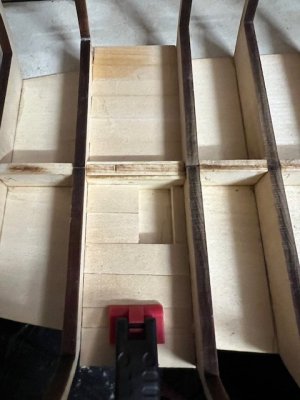
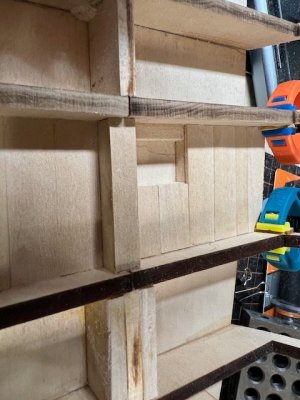
I finally finished working on fairing the bulkheads after glue dried. Next I did some slight visual improvements to keel center beam in floor areas. Instructions have you glue spacers to both sides as part of floor install, and that leaves an ugly looking center beam, with multiple layers of wood, so I decided to cover them.

I found some 1/32" thin wood sheet stock and cut some small pieces to cover the center beam in both floor areas, and the forward floor has the mast support, so I had to cut that out. Still need some final fine sanding to get it looking nice. I think they look better they the layers of ply.

Fwd Floor Keel.jpgFwd Keel Cover.jpgfwd keel opened.jpgRear Floor Keel.jpgaft keel cover.jpg

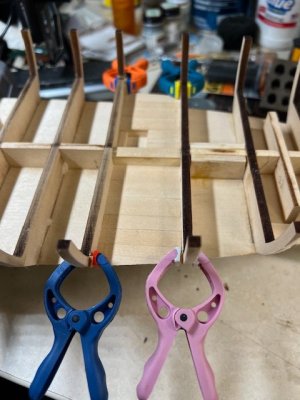
So that little upgrade done, I worked on the floors and small attachments to floors on bulkheads. The ceiling planks line the inside of the hull, all the way to the floors, and to provide support in lowered floor area there were small supports glued to bulkheads to support ceiling planks going down to floor. They were easy to install, but each bulkhead had its own pair, which needed to be kept straight until glued in.

Ceiling Plank Supports.jpgFloor Bulkheads.jpg

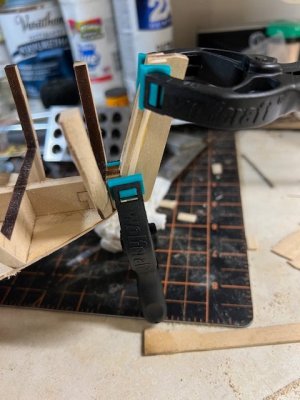
Next up was shaping and installing the stem and stern post plank guides, one on each end and each side. Needed to sand the taper into leading edge to support the planks like a rabbit on bigger ships. I only broke one of the long skinny bow guides. Just what Olha warned about in last Saturdays episode of the group build.

Bow Spacers.jpgStern Spacers.jpg

At then after some testing of plank alignment and final sanding I think the hull is about ready for the start of planking. Looks simple for upper three strakes, then the lower four need spiling for correct shape, something I have needed to learn about.

That's all for this session.

Finished Fairing.jpg
 
Hey Kurt,

Everything looks good so far! I'll definitely keep an eye on your build report.

Cheers
Günther Ship-1
 
Great start , looking forward to see the ship complete.
Cheers
Guy
So am I, as the ability to follow the online group build keeps me invigorated to stay on track with getting this model completed as I often loose energy in projects that have dragged out.
 
I am awaiting shipment of new wood and blocks to upgrade the kit supplied items.

Also ordered books to show details, the one Olha shared in this weekends online episode on cockpit floor boards.

Learning I want to add more simple details, like nail holes to floor planks and at 1:24 scale they stand out much more than smaller scales.

Being able to watch and follow a much better builder than I am is helping to improve my skills and models at the same time.

A shout out to @shipphotographer.com for the information and techniques shown in the online YouTube group build.
 
Why are you building ahead of Olha ?

The aft cockpit you built isn't as the one that Olha did. She built the cockpit based on the book plans and not on the kit plans. Plus she is teaching us some tips, ie how to do the nails with black putting. Will you add all the nails later on your cockpit?

This is Olha cockpit built this past weekend

FB_IMG_1749121482891.jpg
 
OK, while waiting on this weekends live update on forward cockpit floor, which I have done poorly, in my haste to get ahead, I have stained my floors a light grey color to simulate a little wear and dirty washing around the lower floors of the boat. I tried an oak stain, and it was too brown for my liking, and found a weathered grey with poly, that I had seemed to look ok.


Aft Floor Done.jpgFwd Floor Done.jpg
 
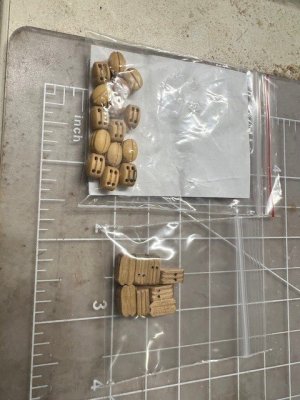
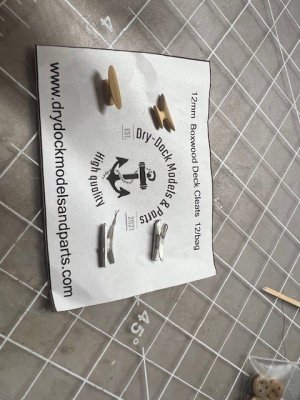
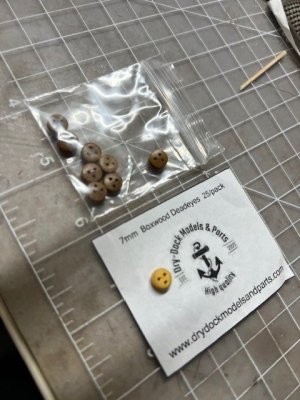
Well my shipment of new parts arrived from Dry-Dock Models and Parts, with great customer service form them on shipping with all the tariff issues abounding now a days.

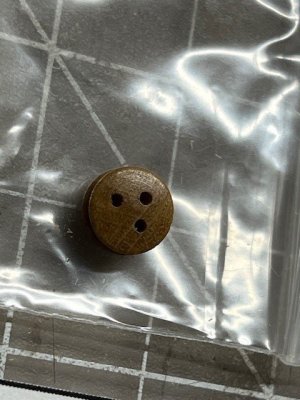
I ordered blocks, deadeyes and cleats along with some small belaying pins and needles.

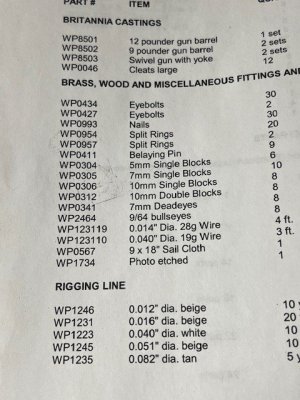
Below is the parts list for rigging, and based on what the kit instructions state and my looking at what came with the kit, I wanted better blocks and cleats for my kit.

Per the kit instructions a heads up: "Kit blocks are not shaped very well. Their appearance can be much improved with a little work with knife, file, and sandpaper. This is more difficult for the smaller blocks."

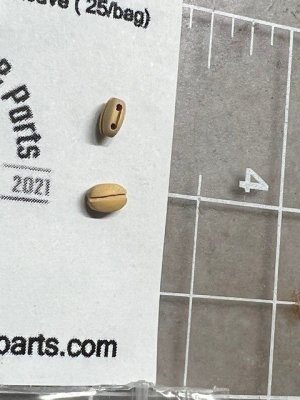
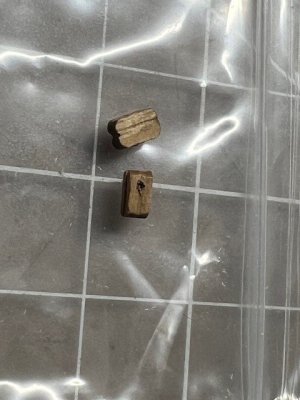
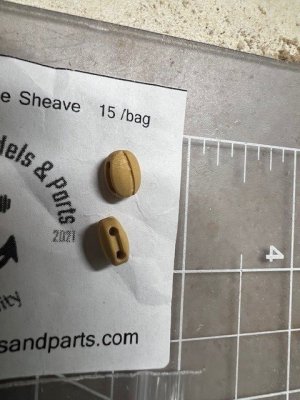
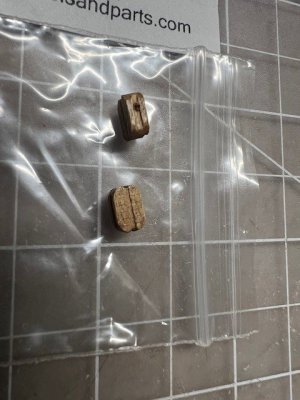
So here is what I got with kit and what I got from Dry-Dock. You judge if it was worth the cost of upgrades.

GP Parts List.jpg
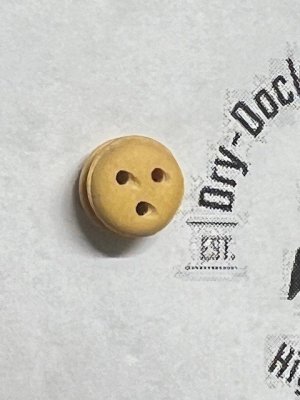
Deadeye's
DD Deadeye.jpgKit Deadeye.jpg
5mm Single Blocks

DD 5mm Single Block.jpgkit 5mm single block.jpg
8mm Single Blocks

DD 8mm Single Block.jpgKit 8mm Single block.jpg
Double Blocks, 9mm from Dry-Dock, and 10mm from kit
Double Block SBS.jpg
Cleats wood from Dry-Docks and metal casting with kit (rough looking is under statement)
Cleat SBS.jpg

Deadeye SBS.jpg
 
Well the question on my color selection versus what Olha used in her build in the YouTube online group build was asked of me.

I know this boat in real life only last about two months, and I think the yellow shellac was too bright, unless it is a "showroom new car look" you want, I used the light grey, to represent two months of wear by boots, and mud and dirt being tracked in and washed down to the lowest level of the boat. With soot from gun usage and carrying powder from casks to barrels and other things that happen in battle, I don't think the floor was still pristine. So this is my artistic viewpoint of slightly used new boat just before she went down to the bottom after battle.
 
Yea, I jumped ahead, which I now regret, as I don't want to tear it down to fix it. Time to be more patient on following along. :eek:
OK, so the improper looking floorboards have been nagging me for two weeks, and not I think I will spend the time to remove them and rework the floor boards (turn them over and use underside) to correct the nails and location of frames underneath, especially in aft cockpit where the plans are wrong on size of the bailing well located there. And hopefully get mine more like the way Olha shows in her online build. I still don't like the bright yellow shellac color, but I will make some adjustments to what I did, based on her last online posting where she showed how just stain makes boards look dirty, vs using thin CA as wood sealer first then adding stains to adjust shade of wood.
 
Back
Top