Hi all
The Anatomy of the Bounty, by Artesania Latina, first version (~30 years old kit) was finished. Now I am building the Gunboat Philadelphia as part of Olha Batchvarov Facebook group built. Every weekend, Olha built a section, that takes her around 2-3 hours. More or less the same amount or a bit more is what I spend too. That leaves me with free hobby time during the week. The Bounty was completed so..... I need to start another project.
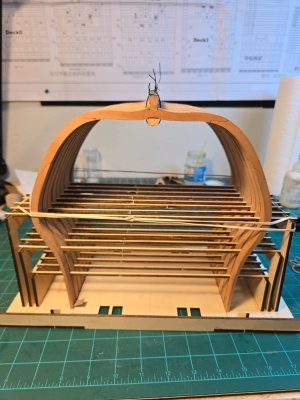
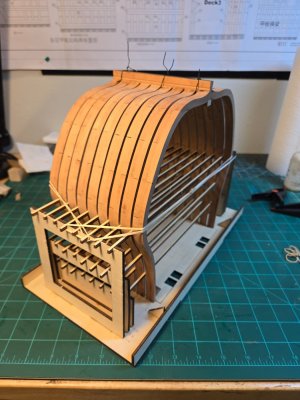
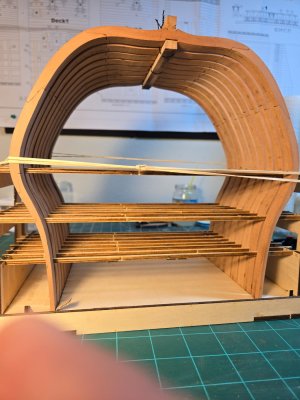
I picked the Bonhomme Richard cross section (pear wood) from my kit stock. This is the full kit version. I bought this kit from a SOS member a few years ago.
There are SOS excellent builts threads. Here is the link to some that I will follow for my built. Nevertheless, if anybody is interested on this kit, I will suggest you take a look to all of them, as i am doing.
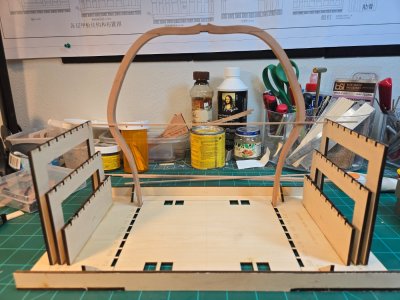
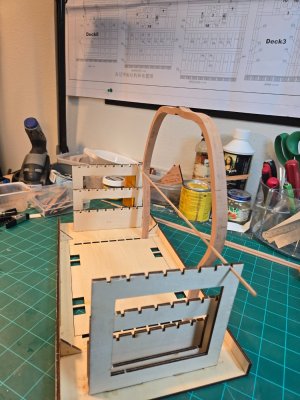
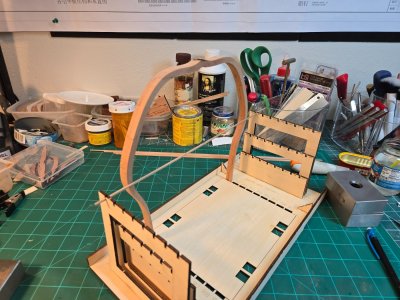
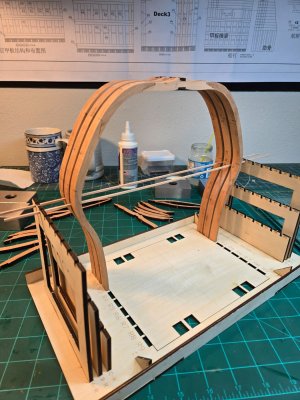
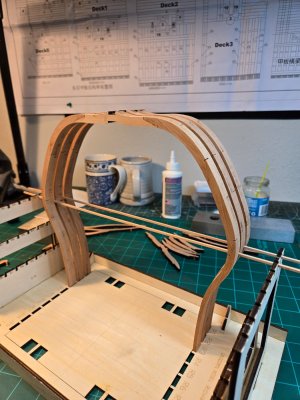
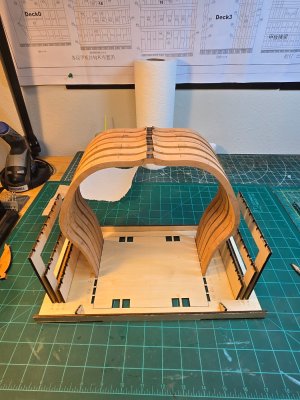
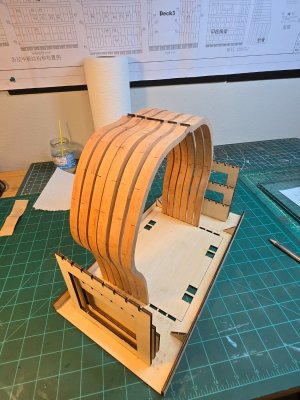
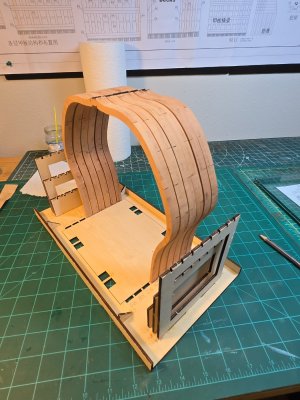
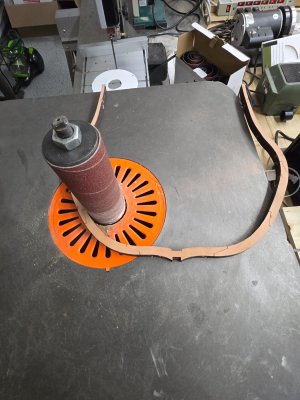
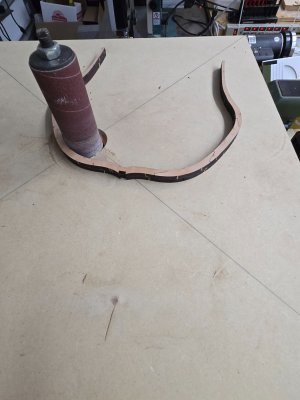
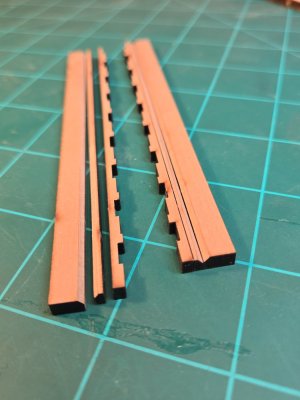
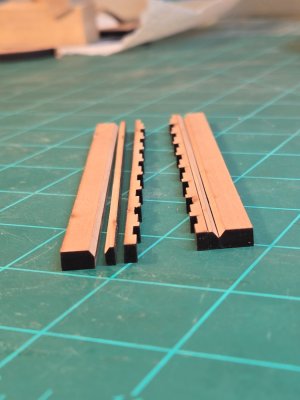
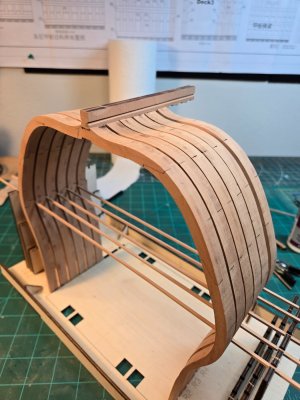
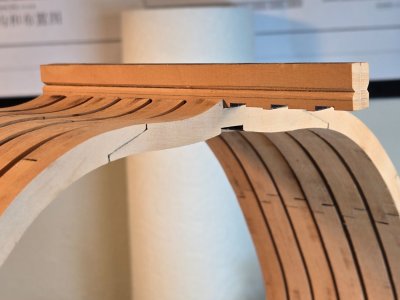
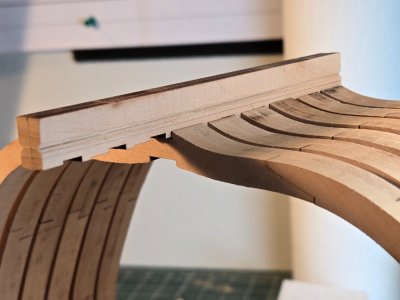
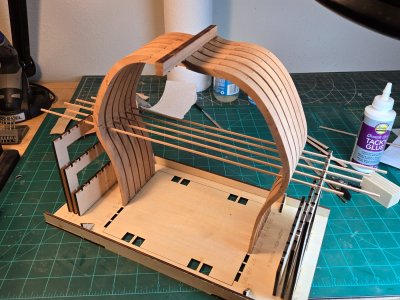
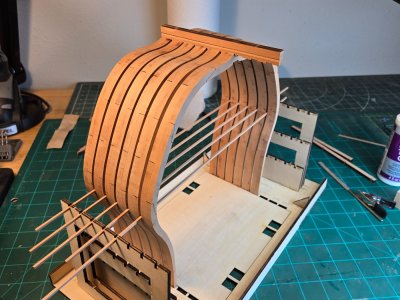
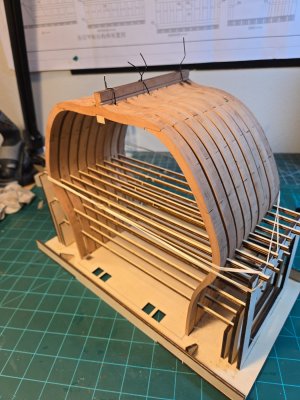
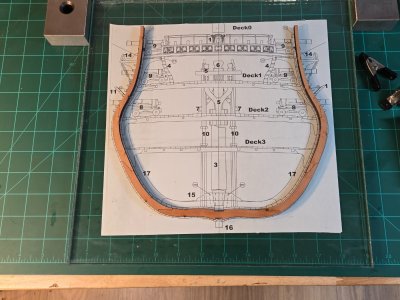
So, here is my first frame . Wish me fun and a bit of luck
  HAHAHA
Cheers
Daniel
The Anatomy of the Bounty, by Artesania Latina, first version (~30 years old kit) was finished. Now I am building the Gunboat Philadelphia as part of Olha Batchvarov Facebook group built. Every weekend, Olha built a section, that takes her around 2-3 hours. More or less the same amount or a bit more is what I spend too. That leaves me with free hobby time during the week. The Bounty was completed so..... I need to start another project.
I picked the Bonhomme Richard cross section (pear wood) from my kit stock. This is the full kit version. I bought this kit from a SOS member a few years ago.
There are SOS excellent builts threads. Here is the link to some that I will follow for my built. Nevertheless, if anybody is interested on this kit, I will suggest you take a look to all of them, as i am doing.
Bonhomme Richard - Pear Cross section kit (with scratch duplicate using alder) Unicorn Model
DHL delivery from China Today!!! I'll post a few pictures from the unboxing below. Next post, I'll discuss my thoughts on making a duplicate with a bunch of Alder I have from a recent project. First impressions: 1. Kit arrived via DHL in Eight days! It was well packed and looked pristine...
shipsofscale.com
USS BONHOMME RICHARD - POF - Cross Section in Pear - 1:48 - by Uwe
Yesterday I started the first activities on my section model - in order to warm up At the end it should look like this a kit review you can find here...
shipsofscale.com
USS BONHOMME RICHARD - POF - Cross Section in Cherry - 1:48 - by neptune,
I have had these kits for approx two years now and I have been holding off starting them, once Uwe started his build log it got my juices flowing so here goes, and by the way I will be building two of them at the same time, I will post some pics of the kit contents in awhile, but for now, This...
shipsofscale.com
Signet's Bonhomme Richard Cross Section [COMPLETED BUILD]
Yeah, another one. There are already so many builds, of such high quality, that I'm sure you're thinking we don't need another one. But I'm hoping that my build might provide some interesting discussion, and the build will definitely be from a professional non-perfectionist viewpoint. Besides...
shipsofscale.com
So, here is my first frame

Cheers
Daniel
Last edited:


