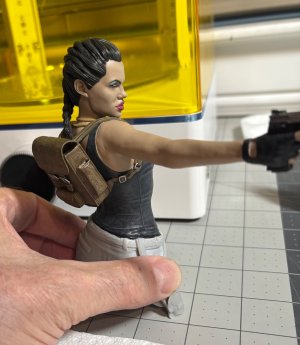
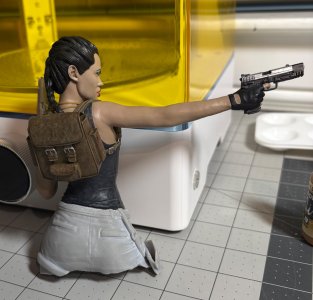
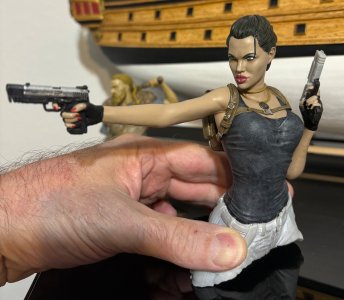
Thank you! I’m thinking of painting more figures now, it’s actually fun.Wow! Forget the boat. Your work on the Viking bust is outstanding. Attention to detail really pays off.
-

Win a Free Custom Engraved Brass Coin!!!
As a way to introduce our brass coins to the community, we will raffle off a free coin during the month of August. Follow link ABOVE for instructions for entering.
You are using an out of date browser. It may not display this or other websites correctly.
You should upgrade or use an alternative browser.
You should upgrade or use an alternative browser.
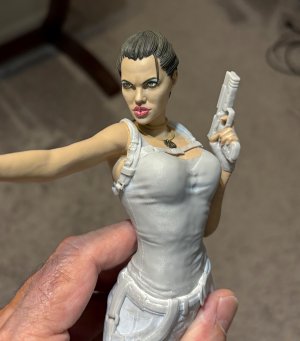
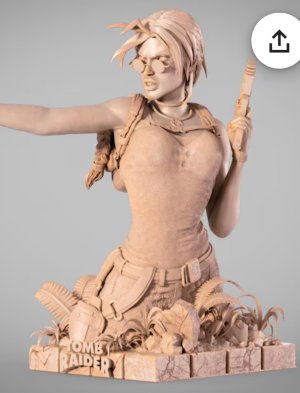
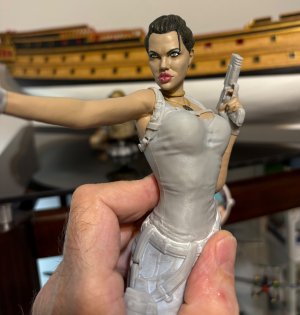
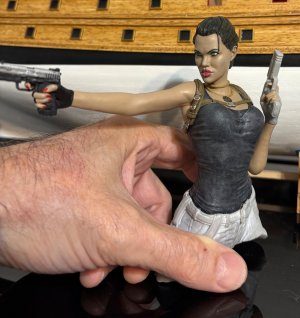
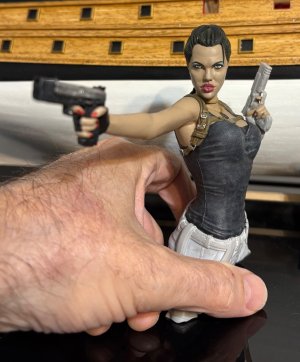
A. Jolie as L. Croft…
- Joined
- Apr 15, 2025
- Messages
- 106
- Points
- 103

Keeee this is very fun and talented. What kind of printer do you have?
- Joined
- Jun 13, 2022
- Messages
- 288
- Points
- 168

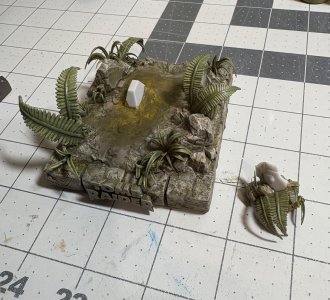
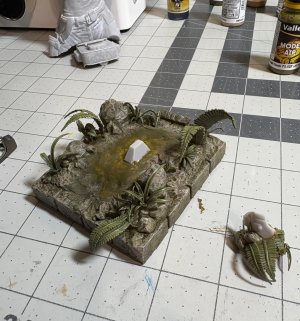
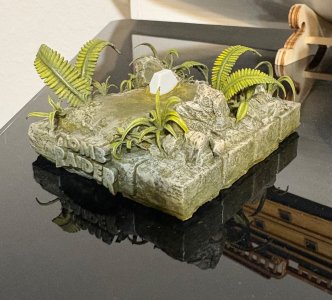
Totally agree with your daughter, that was my thoughts as I looked through your images. What a fantastic level of detail and texture you have added. Great skills.My oldest daughter said paint the base in metal to accent the metal on the figure. She’s usually right when giving me artistic direction.
View attachment 546265
View attachment 546266View attachment 546267
Other than some clear coat on the base, I’m finished with this mini project! Thanks for following along.
Thanks, I have an Elegoo Saturn 4 Ultra 16K printer.Keeee this is very fun and talented. What kind of printer do you have?
Thanks!Totally agree with your daughter, that was my thoughts as I looked through your images. What a fantastic level of detail and texture you have added. Great skills.
Thank you!I am so impressed with your painting. Knowing how difficult it is to get it right. Your visuals of how things should look is a great talent. What tools are you using to get such great results?
I use brushes for everything. I typically start with a base coat (darkest color), then dry brush a medium shade, dry brush highlights with the lightest shade, and sometimes even add white to the lightest shade to do highlight accents. Then I typically do a wash over all that to tone down the highlights some and add more contrast to the deeper areas. Wash with your darkest color or base color.
I typically stop when I have achieved a realistic amount of depth and contrast. You can get carried away if not careful. So it’s a balance between realism and exaggeration!
For metal I typically start with black and dry brush dark grey and silver on that. Sometimes it’s just black and silver or gold.
I use Vallejo water based air brush paints because they are properly thinned and brush very well without leaving brush marks.
I typically wash by putting a drop of paint in 4-5 drops of water. You basically want colored water! Brush it on and let it run into all the low areas. You don’t want to get too slopy with this or let it run all over everything else around it. So work slowly and deliberate when doing a wash.
Dry brushing is an exercise in patience. Wetting the end of the brush and brush almost all of the paint off on a paper towel and then carefully brush lightly on the upper surfaces perpendicular to the grooves or lower areas and as you run out of paint you can get more aggressive with the pressure on your brush. They key is to start out with a very light touch when the most paint is on the brush and then progressively apply more pressure. You would be surprised at how long paint will continue to come off the brush before you have to add again.
Layering colors is a judgement thing. How many layers, how many shades, etc. I once painted some blue jeans on a figure and started out with a dark navy blue, dry brushed medium blue, dry brushed a light blue, added white to the light blue and dry brushed that on and finally added more white and did a final dry brush of highlights on the knees and other high areas. It looked like a well worn pair of jeans.
So I have found realism requires multiple shades of color, not just two. For me 3 is a minimum. And add a wash to that most of the time.
So in conclusion, it’s mostly layered brush work with a series of dry brushing and a wash. Hope that helps.
Last edited:
- Joined
- Apr 2, 2021
- Messages
- 537
- Points
- 198

Thanks. The brushes you use for the facial eye liner, lip stick, hair, jewelry, cloths, etc and your hand control is also of note. Do you have favorite brushes and compliant paints you prefer. You can tell I'm gobsmacked by your. work.Thank you!
I use brushes for everything. I typically start with a base coat (darkest color), then dry brush a medium shade, dry brush highlights with the lightest shade, and sometimes even add white to the lightest shade to do highlight accents. Then I typically do a wash over all that to tone down the highlights some and add more contrast to the deeper areas. Wash with your darkest color or base color.
I typically stop when I have achieved a realistic amount of depth and contrast. You can get carried away if not careful. So it’s a balance between realism and exaggeration!
For metal I typically start with black and dry brush dark grey and silver on that. Sometimes it’s just black and silver or gold.
I use Vallejo water based air brush paints because they are properly thinned and brush very well without leaving brush marks.
I typically wash by putting a drop of paint in 4-5 drops of water. You basically want colored water! Brush it on and let it run into all the low areas. You don’t want to get too slopy with this or let it run all over everything else around it. So work slowly and deliberate when doing a wash.
Dry brushing is an exercise in patience. Wetting the end of the brush and brush almost all of the paint off on a paper towel and then carefully brush lightly on the upper surfaces perpendicular to the grooves or lower areas and as you run out of paint you can get more aggressive with the pressure on your brush. They key is to start out with a very light touch when the most paint is on the brush and then progressively apply more pressure. You would be surprised at how long paint will continue to come off the brush before you have to add again.
Layering colors is a judgement thing. How many layers, how many shades, etc. I once painted some blue jeans on a figure and started out with a dark navy blue, dry brushed medium blue, dry brushed a light blue, added white to the light blue and dry brushed that on and finally added more white and did a final dry brush of highlights on the knees and other high areas. It looked like a well worn pair of jeans.
So I have found realism requires multiple shades of color, not just two. For me 3 is a minimum. And add a wash to that most of the time.
So in conclusion, it’s mostly layered brush work with a series of dry brushing and a wash. Hope that helps.
I had to bookmark this post.Thank you!
I use brushes for everything. I typically start with a base coat (darkest color), then dry brush a medium shade, dry brush highlights with the lightest shade, and sometimes even add white to the lightest shade to do highlight accents. Then I typically do a wash over all that to tone down the highlights some and add more contrast to the deeper areas. Wash with your darkest color or base color.
I typically stop when I have achieved a realistic amount of depth and contrast. You can get carried away if not careful. So it’s a balance between realism and exaggeration!
For metal I typically start with black and dry brush dark grey and silver on that. Sometimes it’s just black and silver or gold.
I use Vallejo water based air brush paints because they are properly thinned and brush very well without leaving brush marks.
I typically wash by putting a drop of paint in 4-5 drops of water. You basically want colored water! Brush it on and let it run into all the low areas. You don’t want to get too slopy with this or let it run all over everything else around it. So work slowly and deliberate when doing a wash.
Dry brushing is an exercise in patience. Wetting the end of the brush and brush almost all of the paint off on a paper towel and then carefully brush lightly on the upper surfaces perpendicular to the grooves or lower areas and as you run out of paint you can get more aggressive with the pressure on your brush. They key is to start out with a very light touch when the most paint is on the brush and then progressively apply more pressure. You would be surprised at how long paint will continue to come off the brush before you have to add again.
Layering colors is a judgement thing. How many layers, how many shades, etc. I once painted some blue jeans on a figure and started out with a dark navy blue, dry brushed medium blue, dry brushed a light blue, added white to the light blue and dry brushed that on and finally added more white and did a final dry brush of highlights on the knees and other high areas. It looked like a well worn pair of jeans.
So I have found realism requires multiple shades of color, not just two. For me 3 is a minimum. And add a wash to that most of the time.
So in conclusion, it’s mostly layered brush work with a series of dry brushing and a wash. Hope that helps.
I use assorted brushes depending on what I am painting…wide flat for large surfaces, medium round for dry brushing, fine tip for detail work…Thanks. The brushes you use for the facial eye liner, lip stick, hair, jewelry, cloths, etc and your hand control is also of note. Do you have favorite brushes and compliant paints you prefer. You can tell I'm gobsmacked by your. work.
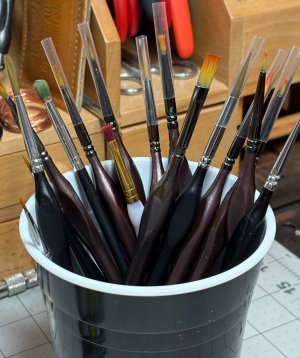
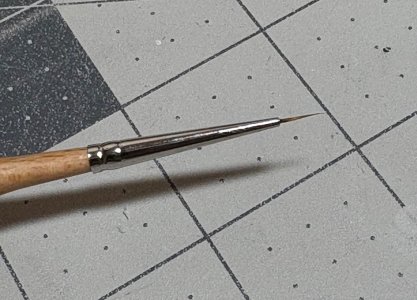
And my super fine brush…
Paints …
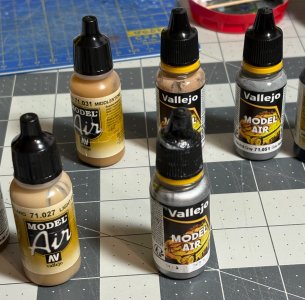
Vallejo model air are my favorites! Once again, thinned properly and go on smooth.
Sometimes I dry brush using the Tamiya weather master …mainly on aircraft models and sometimes cars.
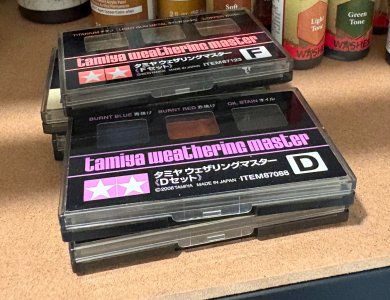
Complaints with these is they are applied with a sponge type applicator and are powdery. They don’t always do well if a clear coat is brushed over them. I prefer to dry brush with regular paints. But I do like using them for the burnt colors on exhaust.
I also use wash paints on occasion…
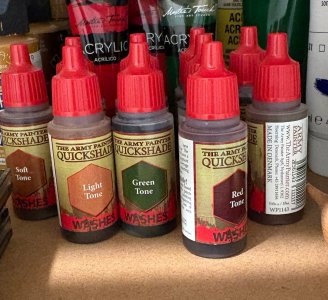
The washes in a bottle shown above are good for detail stuff, like bolt heads, rivets, etc. when I don’t want to mix a wash for a tiny detail. Complaints, they dry up quick and you can not put a lot in your paint tray or it will thicken up before you use it.
Oh yeah, use a plastic paint tray.
My brushes are fine hair and typically animal hair brushes (sable). Although I do use some synthetic brushes as well since I mainly work with water based paints. To avoid brush marks, stick with fine hair brushes!
And finally when painting tiny things, I wear magnifying glasses and I always anchor my hand with my pinky finger to the object I am painting. That way my hand doesn’t move, the only movement is the brush by using my pointing finger and thumb to pull the brush.
And if the object I am painting is too small to rest my pinky on it, then I anchor my pinky to my left that is holding the object. So the key is always anchor the hand holding the brush when painting tiny details. Otherwise your hand can move accidentally in the middle of a brush stroke.
Last edited:
Awesome!
- Joined
- Apr 15, 2025
- Messages
- 106
- Points
- 103

Oooo so it's a uv resin printer instead of a filament printer ?
Love all the painting tips -- forgot I could bookmark o.o
Love all the painting tips -- forgot I could bookmark o.o
Thanks!Awesome!
Thanks Russ, I find them on EtsyBeautiful Dean. Where do you get your STLs?
Thanks, yes resin prints detail way better!Oooo so it's a uv resin printer instead of a filament printer ?
Love all the painting tips -- forgot I could bookmark o.o


