• Win a Free Custom Engraved Brass Coin!!!
    As a way to introduce our brass coins to the community, we will raffle off a free coin during the month of August. Follow link ABOVE for instructions for entering.

18th Century Longboat - First Build

Joined
Sep 22, 2025
Messages
27
Points
48

Welcome to my build log! This is my first wooden ship kit. I finally cleared my workbench so I can get started.
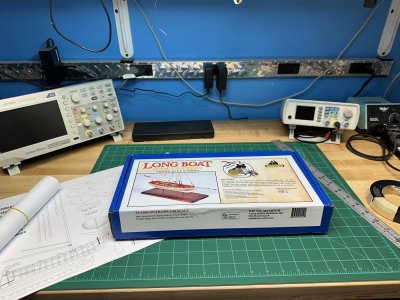
IMG_9464.jpeg

The kit comes with a basic set of tools, paint and glue. I chose to use Elmer’s carpenters glue. I also bought some other tools and supplies.
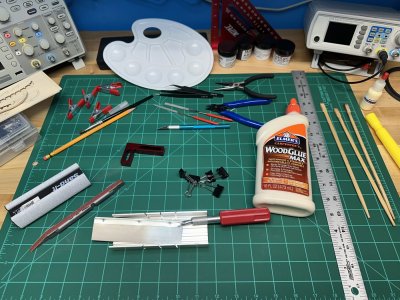
IMG_9502.jpeg

I attached my build plans to my computer monitor which is on an arm mounted to my bench.
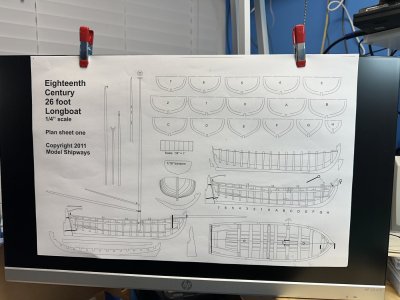
IMG_9468.jpeg

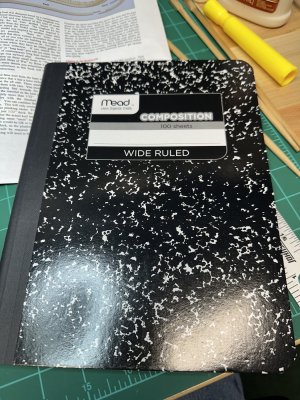
I also bought a notebook to journal my build and keep track of the time I spend on my build.
IMG_9469.jpeg

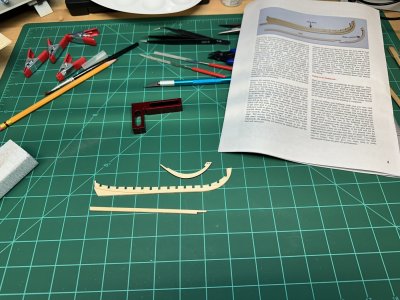
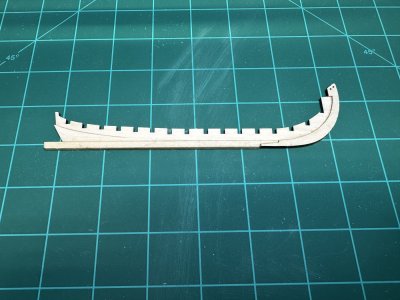
I started off by checking the parts list and making sure everything was in good condition. Next, I started on the keel, I dry fitted everything, created a rabbet and glued it all together.
IMG_9467.jpeg

IMG_9504.jpeg

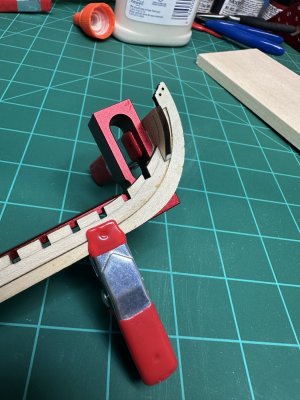
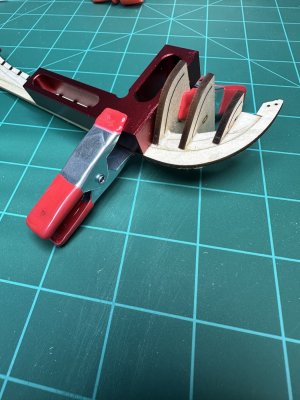
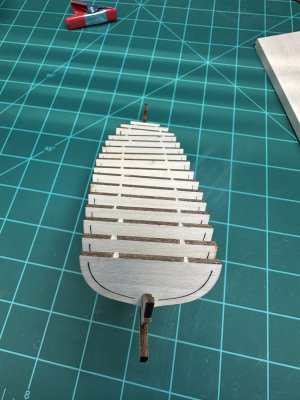
Next, I dry fitted all the bulkheads. I decided to start gluing the bow bulkhead, it attaches to the stem and it was easier to square first.
IMG_9505.jpeg

IMG_9507.jpeg

IMG_9508.jpeg

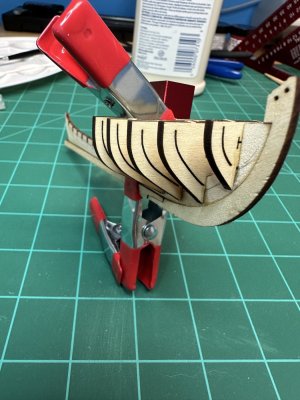
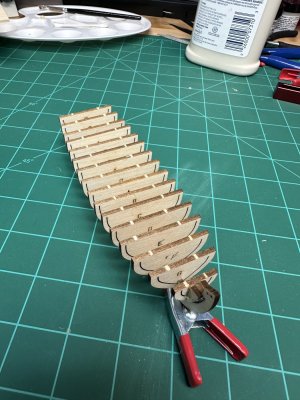
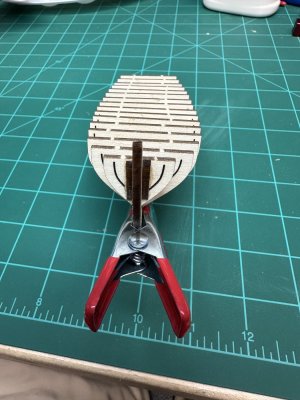
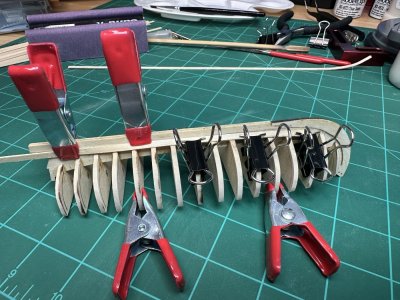
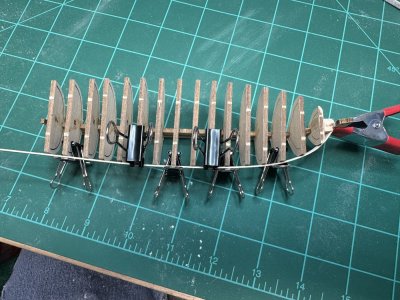
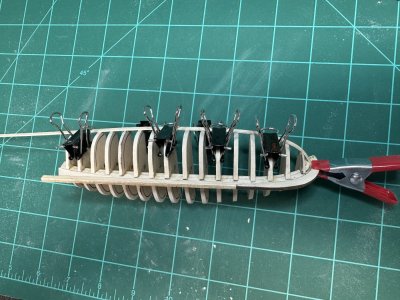
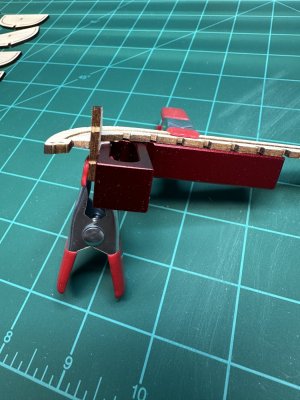
I clamped everything to a small pocket square while the glue sets.

So far I’m off to a good start.
 
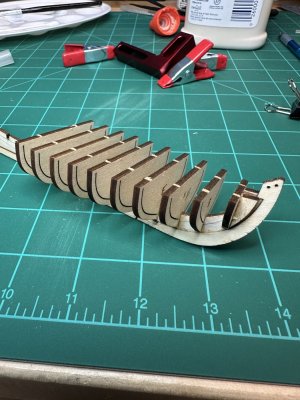
It was a good first day, all the bulkheads are glued in place and I added the front bow fillers. I will let the glue set overnight before fairing the hull.

IMG_9510.jpeg

IMG_9512.jpeg

IMG_9514.jpeg


IMG_9515.jpeg

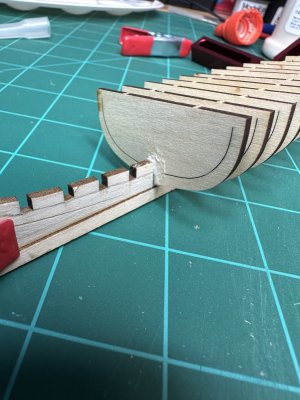
In the above picture, I drew a line on the keel at the bottom of the bulkhead notches so I could see when the bulkheads were pushed down to the bottom. The bottom of the notch is about the same position as the laser cutout on the bulkhead.

IMG_9516.jpeg

IMG_9517.jpeg

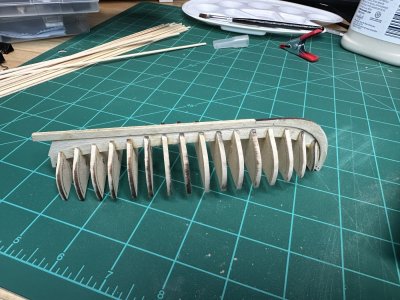
With all the bulkheads in place I verified the alignment, not bad for my first build.

Total build time at this point is 2 hours and 35 minutes, not including time for the glue to dry.

One day in and I’m hooked!!
 
Started fairing my hull today, using the laser char as a sanding guide.

IMG_9520.jpeg

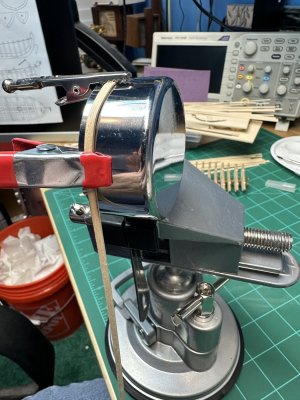
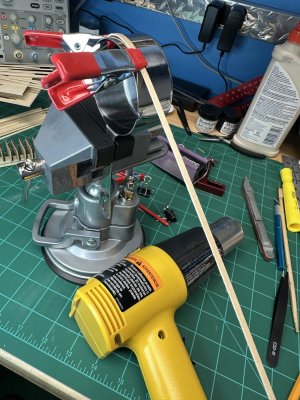
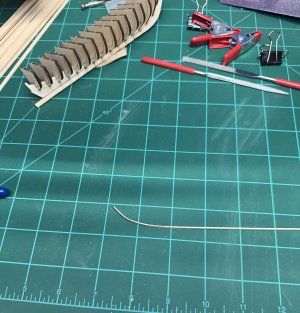
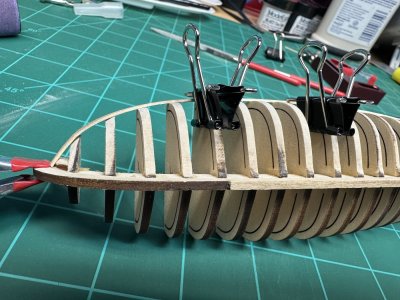
I used a stainless steel measuring cup and a heat gun to bend a plank to check the fit at the bow.

IMG_9521.jpeg

IMG_9524.jpeg

IMG_9525.jpeg

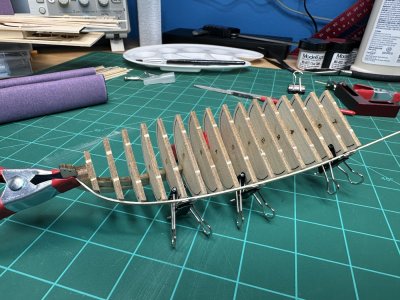
Checking the fit and sanding more.

IMG_9522.jpeg

IMG_9523.jpeg

Worked about an hour today, happy with my progress. I can see this will take some time to get it right.
 
Alternatively, shape the rabbet along the keel as well as the stem as on the contemporary drawing below. The sternpost and inner post leave what is pretty much a 90 degree angle.
Allan
Thanks Allan!! I found a beginners guide to planking posted on the forum and I have been reading it, I also have a book for beginners. I am learning patience on this project, while waiting for glue to dry or researching proper techniques, I will not move forward until I am comfortable with the process. I am glad to have the help of everyone on the forum.
 
Hi John
There are usually more routes than one to reach the target destination. The rabbet shaping or edge of the planking is a great example. Find what suits you best. Planking is another example. Up to ten years ago or there abouts, most builders that wanted planking to look like than on an actual ship rather than what most (not all) kit makers espouse, spiled every strake. Edge bending did not work as the plank lifts. Then someone came up with the idea of edge bending the planks that have been tapered in breadth to their final size around a jig that creates the curve while maintaining the plank flat. Once permanently shaped, the broad bend like you are doing can be done very easily by hand or with a hot bending system. A nice part is that a properly shaped plank can be glued in place with finger pressure for some seconds, most of the time. There are always the nasties that go easier with a clamp. There are a ton of posts on this here at SoS, but if you can't find them give a shout.

Which beginner's guide are you using? Some are really good.

Allan
 
Which beginner's guide are you using? Some are really good.

Allan
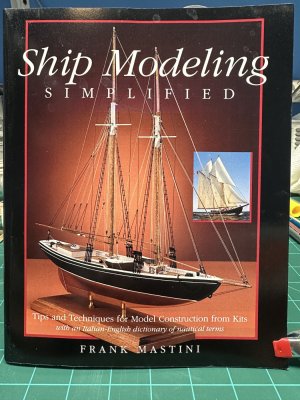
Thanks Allan, I will post a picture of the book when I get home from work. I don’t agree with all the methods used in the book but I am learning the proper names for everything. I feel it’s good to study many methods and find the best that suits my needs. I am bending the planks dry with just heat from my heat gun and it works well, I watched a video that used this technique with great success. My plan is to pin a plank at the sheer without glue to set my sheer line, then glue the second plank below it, once the glue is set on the second plank I will use it as a guide to glue the first sheer plank. Then I will start on the garboard planks. I am still reading and studying everything I find about planking before I start gluing planks in place.
 
I worked another hour this evening, I fit the garboard strake on the port side of the hull and faired the starboard side of the hull. Then I fit the sheer strake on the starboard side.

IMG_9535.jpeg

IMG_9536.jpeg

IMG_9537.jpeg

I am very happy with my progress so far.
 
I feel it’s good to study many methods and find the best that suits my needs.
Usually a very good idea. :)

I am not familiar with the book, but keep in mind, planking a schooner is a lot easier than a vessel with more of a bluff bow. Regardless, the breadth of each strake needs to be determined and most find that lining off and marking the frames using tick strips is both easy and accurate. Look at the four part by Chuck Passaro. Part 1 is below, It is quite helpful regarding the edge bending.
Allan
 
Back
Top