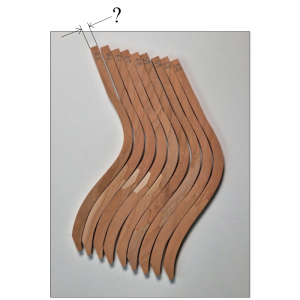
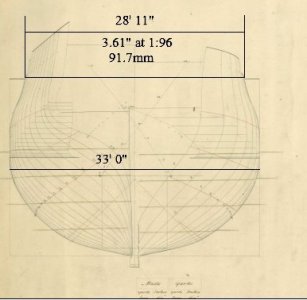
Started this Modelship Dockyard project about three months ago, but was never sure how it would pan out, so only just starting a log.........................
The early stages, making the frames, seemed tedious and I wish I'd done a better job. The rough fairing has already involved removing more material than I'd like, but I have learnt my lesson. Way more care to be taken next time!
Finding parts is a challenge and looking at other build logs here on SOS has been indispensable. The kit's instructions, excepting the eight videos, are minimal and some kit parts are missing or so similar as to create some confusion. Various gaps and misalignments have appeared during construction which take a little ingenuity and head scratching to resolve. However, that’s been part of the fun of it.
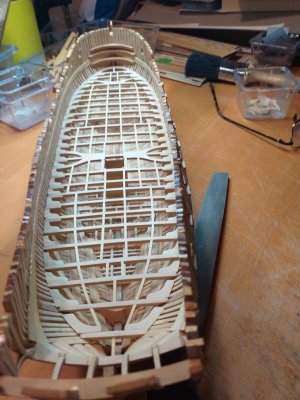
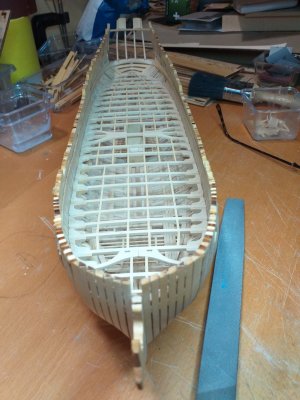
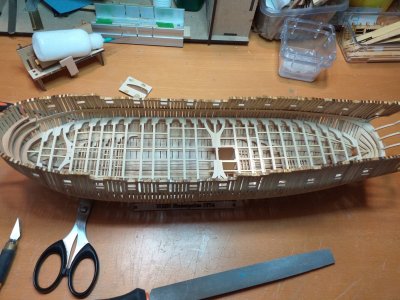
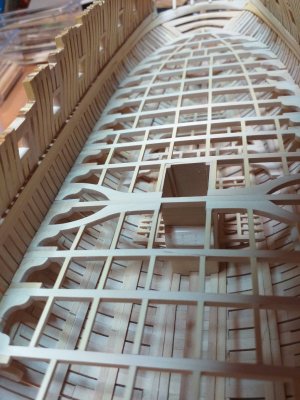
Current status seen below. Just finishing the lower deck. Next step standing knees and hatch combings. I will probably do a little more of the rough fairing as well because I'm concerned that heavy vibration later may start to weaken joints on some of the more delicate parts where the wood-to-wood contact area is very small. Boxwood is hard, and many parts are very thin, so vibration is considerable.
I've left out various elements, such as the interior rooms as I wasn't thrilled with the laser engraving quality. I also felt that I wanted to 'open out' the interior and let in more light. Furthermore, I used thinner stock for the carlings for the same reason. I removed most of the engraving from the 'well' due to its boldness. I wanted to include the well as it's a nice connection between the frame and the lower deck and its central position just sorta works!
I'll not be using any of the 3D printer parts as I want the model to be just wood and glue. Some I'll remake in boxwood, others I'll leave out. It all depends on visual effect. My idea isn't to make a perfectly accurate model, but a visually interesting representation of the ship that shows of the natural beauty of its design and construction as well as the quality of the kit.
No liquid surface treatment to be used. All finishing is with polishing paper which is very laborious, but I like the look of natural wood.


