• SUBSCRIBE TO SHIPS IN SCALE TODAY!

    The beloved Ships in Scale Magazine is back and charting a new course for 2026!
    Discover new skills, new techniques, and new inspirations in every issue.

    NOTE THAT OUR NEXT ISSUE WILL BE July/August 2026
  • Win a Free Custom Engraved Brass Coin!!!
    As a way to introduce our brass coins to the community, we will raffle off a free coin during the month of August. Follow link ABOVE for instructions for entering.

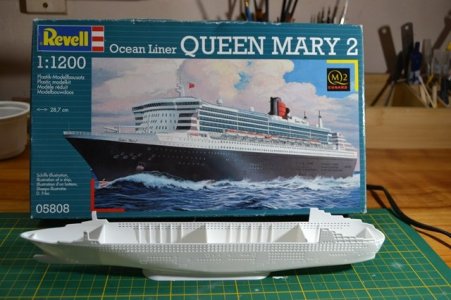
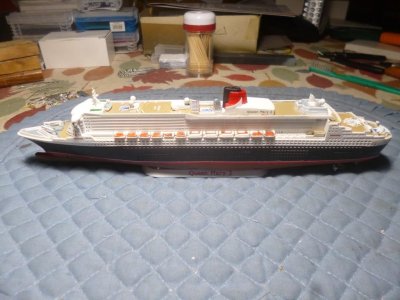
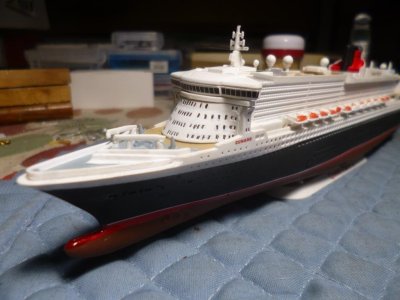
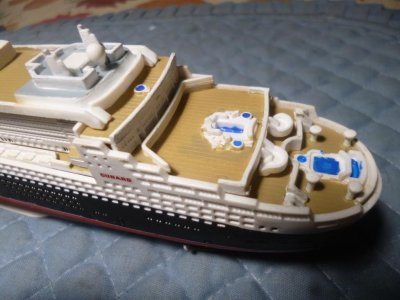
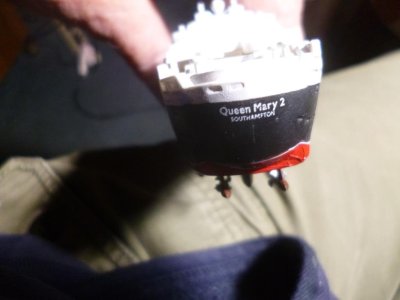
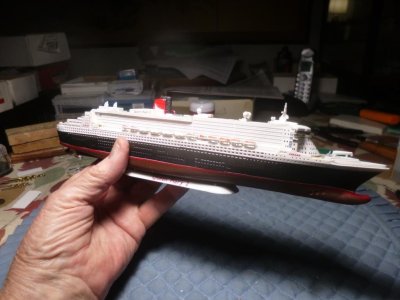
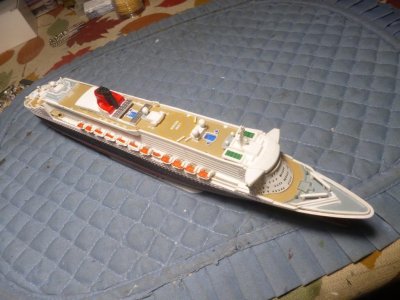
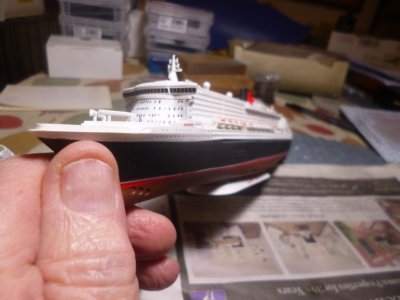
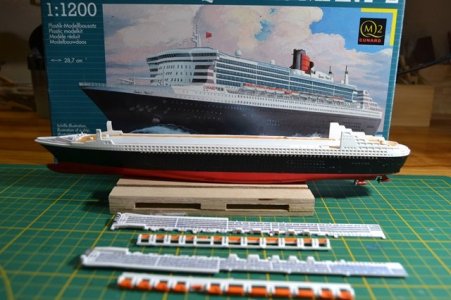
Queen Mary 2 Revell 1/1200

Joined
Sep 9, 2021
Messages
440
Points
278

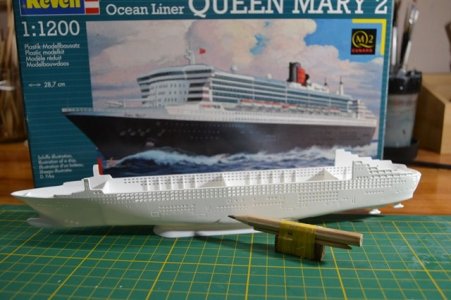
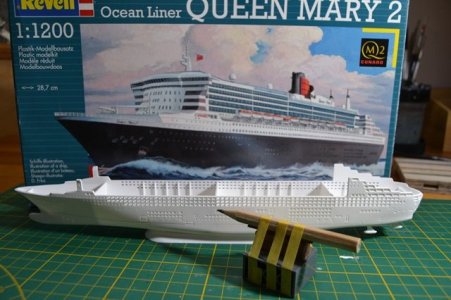
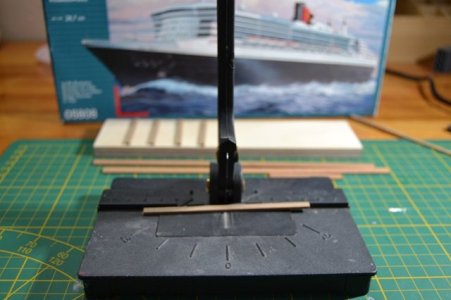
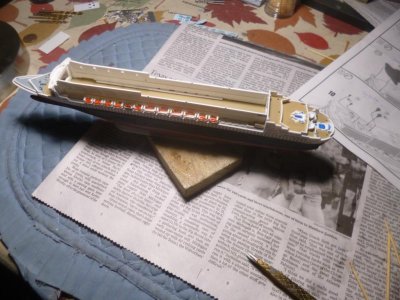
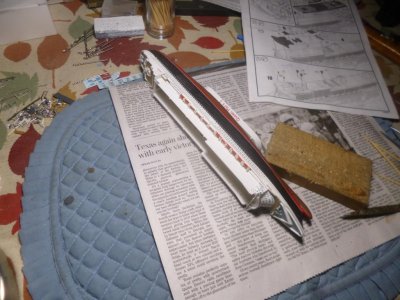
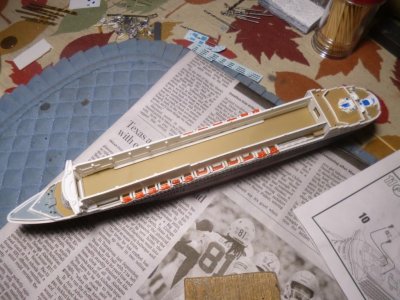
The RMS Queen Mary 2, also known as the QM2, is the flagship of the British shipping company Cunard Line. It was built at the French shipyard Chantiers de l'Atlantique in Saint-Nazaire in 2003.

Considered the last great ocean liner, the Queen Mary 2 is designed for the North Atlantic route, though it is also used for cruises. It set sail on January 12, 2004.

At the time it entered service—and until the MS Freedom of the Seas launched in 2006—the QM2 was the largest passenger ship in the world; however, it remains the world's largest ocean liner, as the ships that surpass it in size are passenger cruise ships rather than ocean liners.

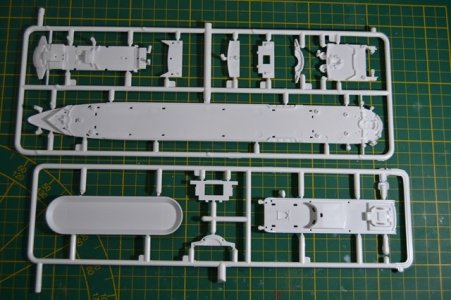
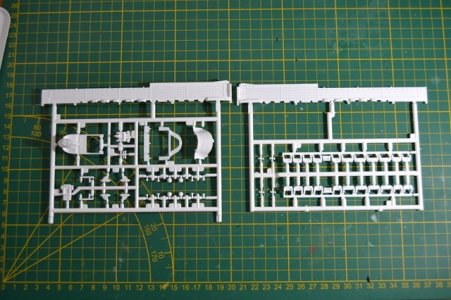
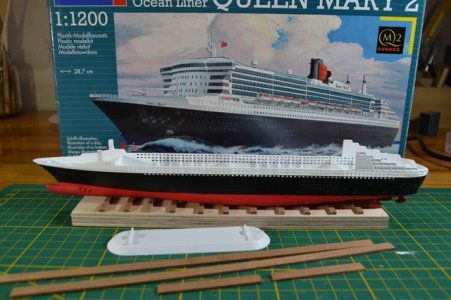
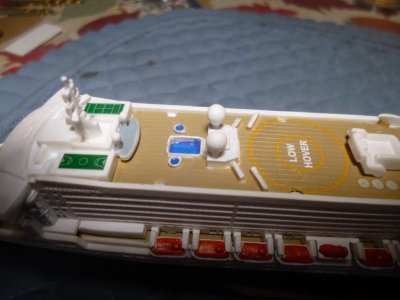
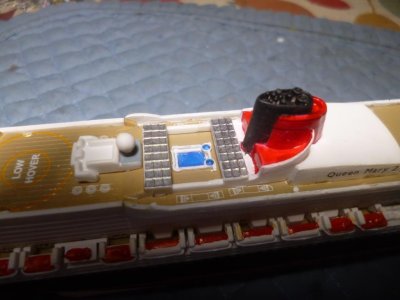
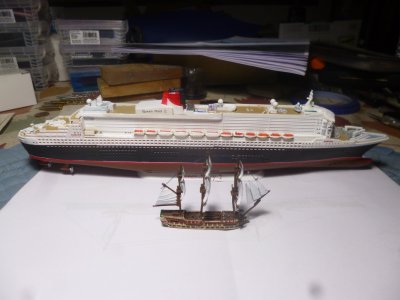
This is a discontinued 1/1200 scale kit from Revell.

DSC_1231.JPG

DSC_1232.JPG

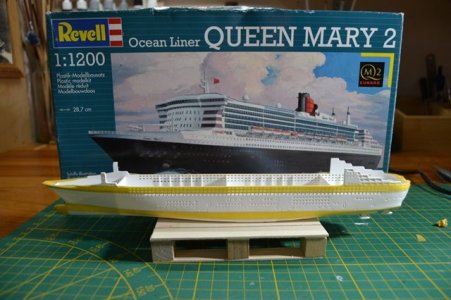
DSC_1234.JPG

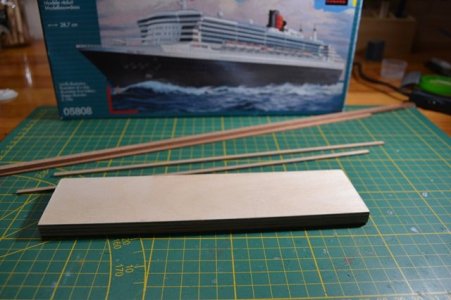
DSC_1237.JPG
 
Last edited:
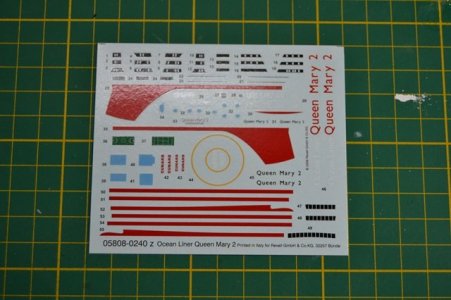
It looks really good. I'm debating whether to apply the waterline decals. Since they come in several sections, I'm worried they won't line up right. How did it go for you?
 
It looks really good. I'm debating whether to apply the waterline decals. Since they come in several sections, I'm worried they won't line up right. How did it go for you?
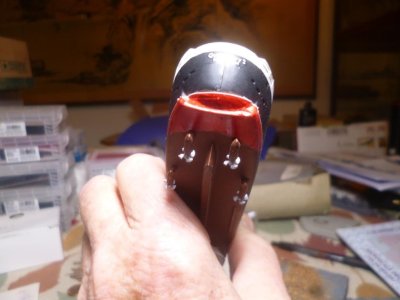
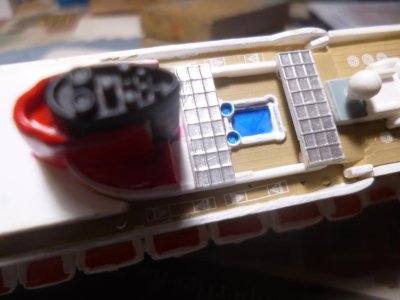
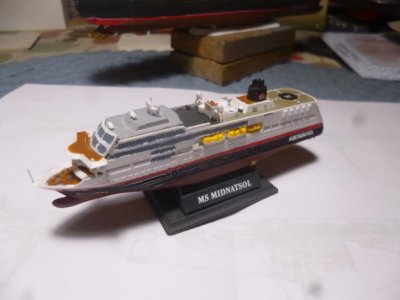
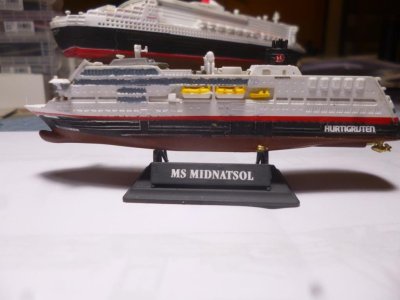
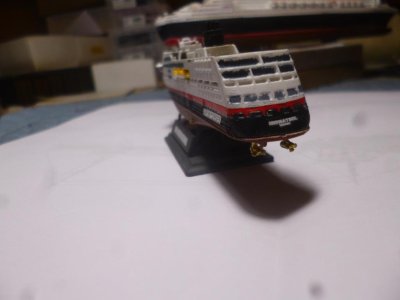
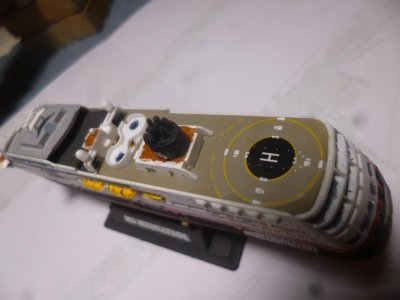
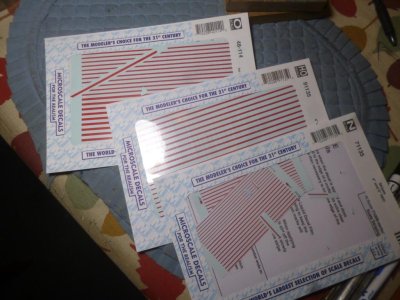
Lorenzo: Took another look at my Revell QM 2 and QE 2 full-hull models (after I found them!). Decals on both are very good as well as those on the smaller Midnatsol Revell kit. Sometimes the difficulty is photographing them, especially the curved stern sections (see attached photos, 1-5). The Revell decals are all very thin, but stronger than the thick Microscale decals (px 15) that one can purchase on line. For the QM 2, I did find it hard to apply the four tiny shuffleboard decals to the narrow deck area in front of the stack, I believe.

Re 1200/1250 scale decals in general, the standard rule is to prime models with glossy paint, apply the decals aided by Microsol/Set solutions or something similar as desired, and than over-spray with a clear matte. Matte paints have rough micro-sufaces that scatter the light giving them that non-reflective appearance. But if you put the flat paint on first, it can create tiny air pockets when the decal is applied on top, clouding or damaging the decal. I always try to experiment first.

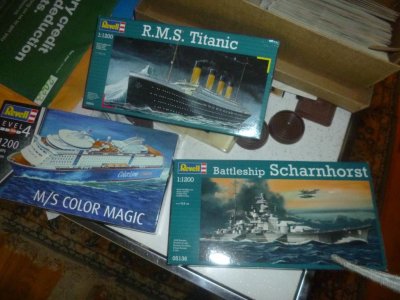
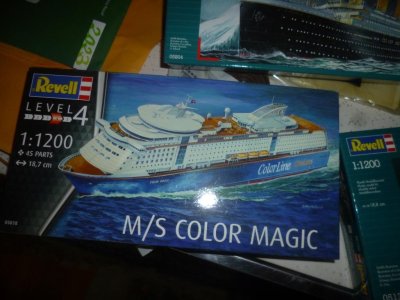
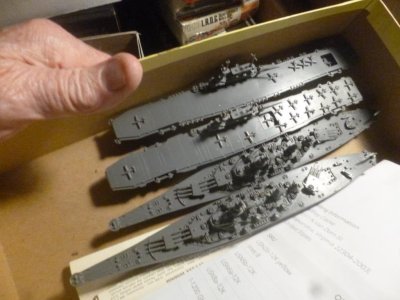
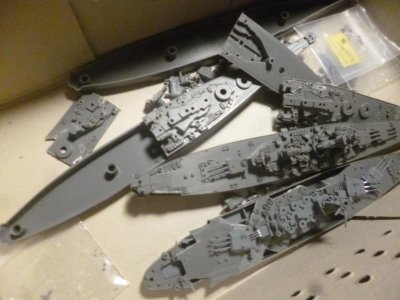
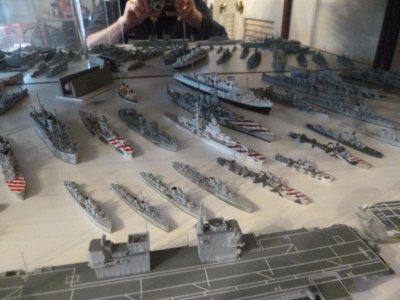
I bought the Revell kits perhaps 30 or so years ago when they were very cheap, and still have a dozen or more unbuilt. And many were re-issues of Pyro, Cassidio, or other makes that once cost only a few dollars apiece. Many I use for spare parts (see attached photos 10-14). Best were perhaps the Italian Littorio class battlehships and the Essex-class carriers. Began working up many of these kits after I finally retired from the Army in 2010.

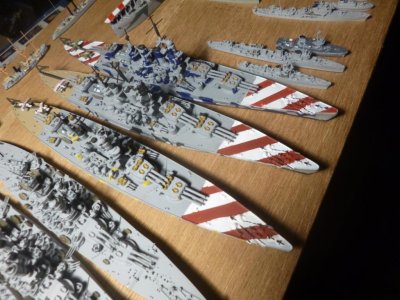
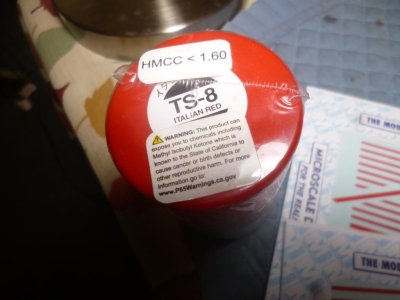
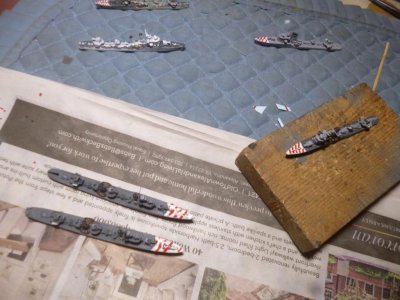
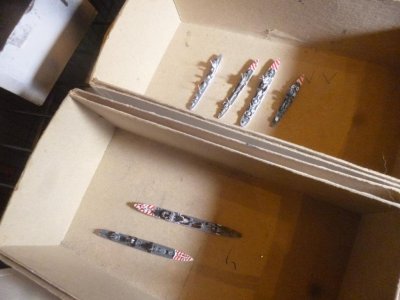
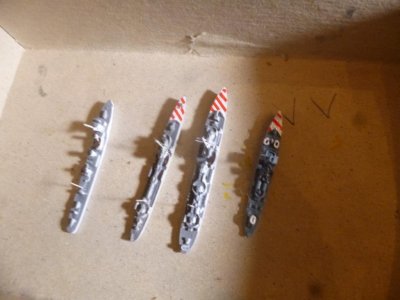
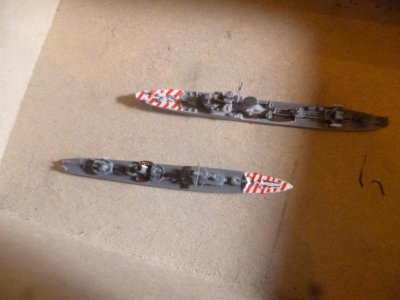
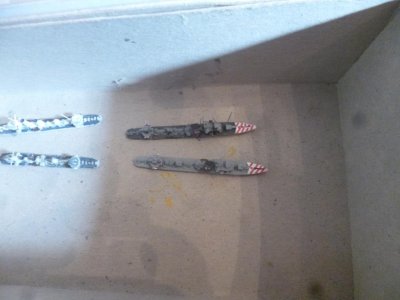
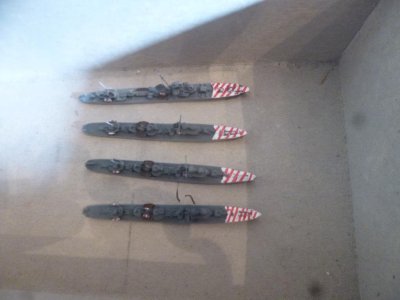
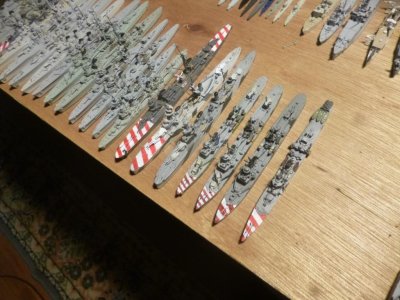
Actually I've been dealing with the decal subject for the past month while completing a bunch of (metal) Italian cruisers and destroyers with their colorful red and white barbershop deck recognition stripes (so the Regia Aeronautica wouldn't bomb them), finding it easier to use red Microscale line decals for the smaller ships but correcting tiny errors with small apllications of red paint. Seems to work out well -- but there are few contemporary aerial phots which could provide accurate info re the size and angle of the stripes let alone the shade of red. (See photos 17-24 for some results -- the larger ships are mostly painted).

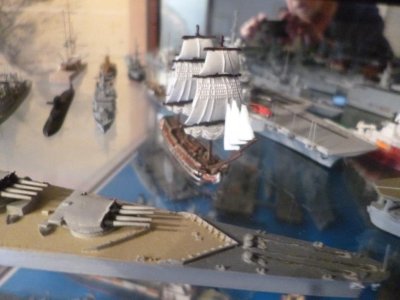
And (last photo) if you're into sailing ships, there are some wonderful GHQ kits in this scale which allow you to display multiple, finely detailed models without regard to display 1. QM 2.JPGspace, a concern for many SOS builders.
Jeff Clarke

2. stern.JPG

3..JPG

4..JPG

5. Shuffleboard decals.JPG

6. Midnatsol model.JPG

7..JPG

8..JPG

9..JPG

10. Revell kits.JPG

11. Revell kits.JPG

12. Spares.JPG

13 Spares.JPG

14. Littorio class BBs.JPG

15. Microscale decals.JPG

16. Tamiya Italian Red.JPG

17. Italian WWII DDs.JPG

18..JPG

19..JPG

20..JPG

21..JPG

22..JPG

23..JPG

24..JPG

25..JPG
 
Lorenzo: Took another look at my Revell QM 2 and QE 2 full-hull models (after I found them!). Decals on both are very good as well as those on the smaller Midnatsol Revell kit. Sometimes the difficulty is photographing them, especially the curved stern sections (see attached photos, 1-5). The Revell decals are all very thin, but stronger than the thick Microscale decals (px 15) that one can purchase on line. For the QM 2, I did find it hard to apply the four tiny shuffleboard decals to the narrow deck area in front of the stack, I believe.

Re 1200/1250 scale decals in general, the standard rule is to prime models with glossy paint, apply the decals aided by Microsol/Set solutions or something similar as desired, and than over-spray with a clear matte. Matte paints have rough micro-sufaces that scatter the light giving them that non-reflective appearance. But if you put the flat paint on first, it can create tiny air pockets when the decal is applied on top, clouding or damaging the decal. I always try to experiment first.

I bought the Revell kits perhaps 30 or so years ago when they were very cheap, and still have a dozen or more unbuilt. And many were re-issues of Pyro, Cassidio, or other makes that once cost only a few dollars apiece. Many I use for spare parts (see attached photos 10-14). Best were perhaps the Italian Littorio class battlehships and the Essex-class carriers. Began working up many of these kits after I finally retired from the Army in 2010.

Actually I've been dealing with the decal subject for the past month while completing a bunch of (metal) Italian cruisers and destroyers with their colorful red and white barbershop deck recognition stripes (so the Regia Aeronautica wouldn't bomb them), finding it easier to use red Microscale line decals for the smaller ships but correcting tiny errors with small apllications of red paint. Seems to work out well -- but there are few contemporary aerial phots which could provide accurate info re the size and angle of the stripes let alone the shade of red. (See photos 17-24 for some results -- the larger ships are mostly painted).

And (last photo) if you're into sailing ships, there are some wonderful GHQ kits in this scale which allow you to display multiple, finely detailed models without regard to display View attachment 618735space, a concern for many SOS builders.
Jeff Clarke

View attachment 618736

View attachment 618737

View attachment 618738

View attachment 618739

View attachment 618740

View attachment 618741

View attachment 618742

View attachment 618743

View attachment 618744

View attachment 618745

View attachment 618746

View attachment 618747

View attachment 618748

View attachment 618749

View attachment 618750

View attachment 618751

View attachment 618752

View attachment 618753

View attachment 618754

View attachment 618755

View attachment 618756

View attachment 618757

View attachment 618758

View attachment 618759

Thanks for the information. You have a nice collection! The advantage of these small kits is the price and, above all, the little space they take up.
 
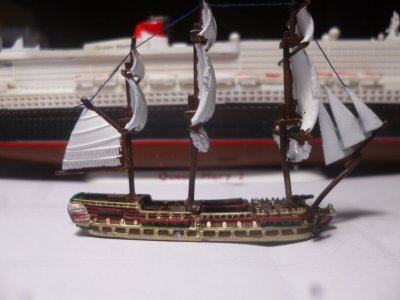
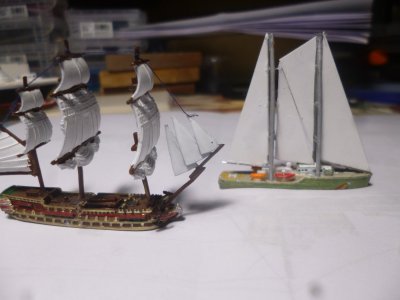
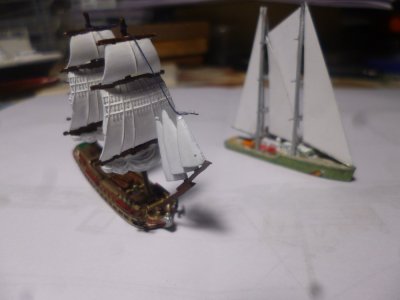
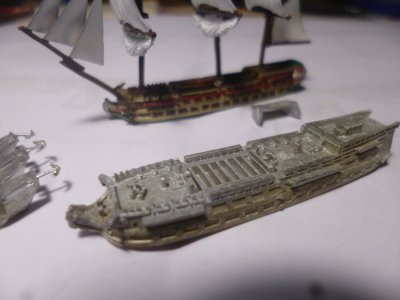
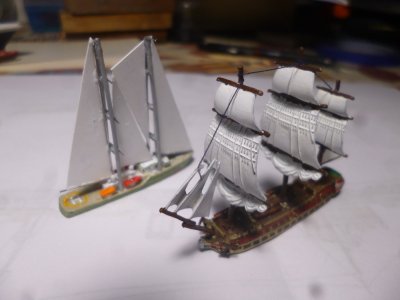
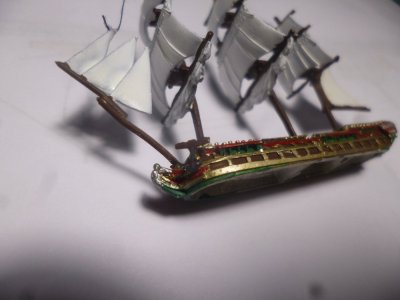
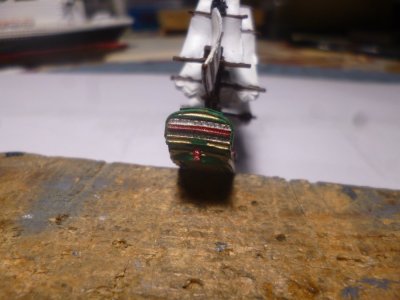
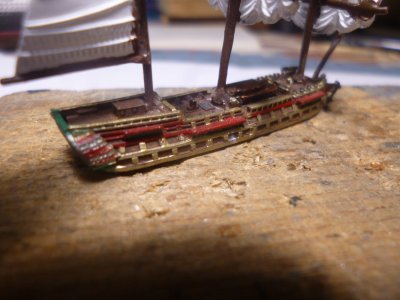
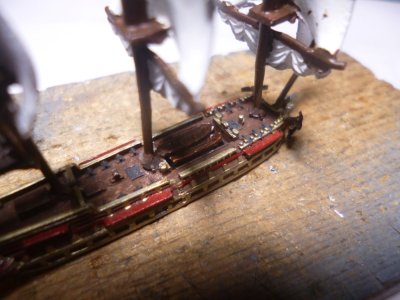
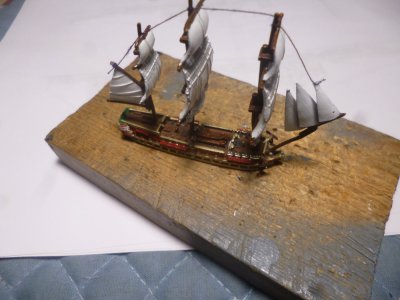
The sailing ship on the last photo, could you give a better image? :D
The 1/1200 sailing ship is the French Le Superbe, a 74-gun 3d rate warship, GHQ Micronaut #132 (series kits still available on-line). Difficult to paint & photograph because of its small size, I've pictured the model from several angles, some with the Revell QM2, my own Rainbow Warrior, and an unpainted Le Superbe for comparison. Detail is very good and the individual deck cannons can be easily picked out with the naked eye. jc

P1280470.JPG

P1280471.JPG

P1280472.JPG

P1280473.JPG

P1280474.JPG

P1280475.JPG

P1280476.JPG

P1280479.JPG

P1280480.JPG

P1280482.JPG

P1280485.JPG
 
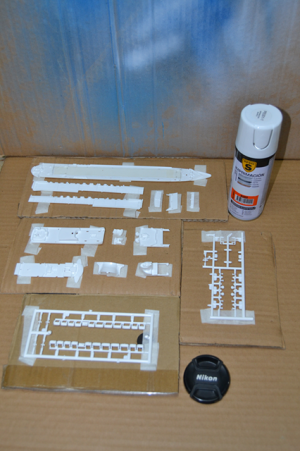
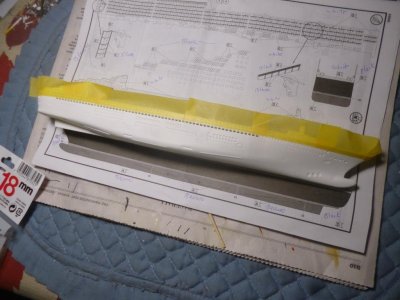
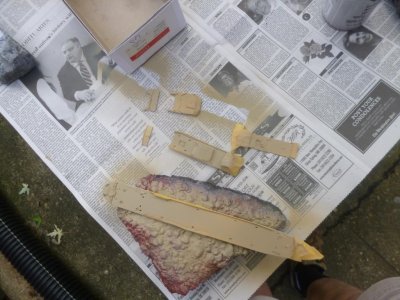
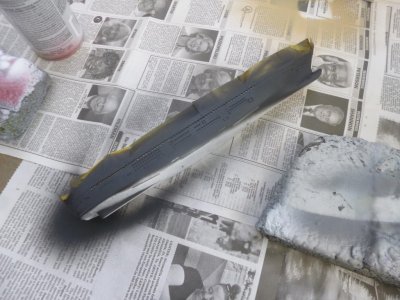
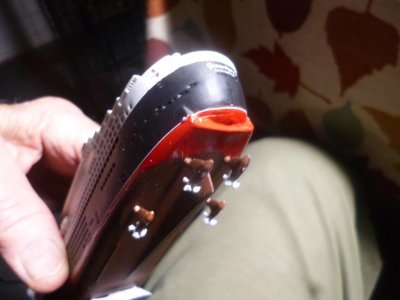
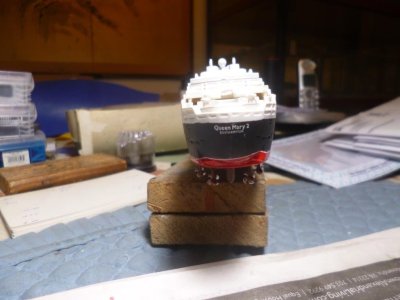
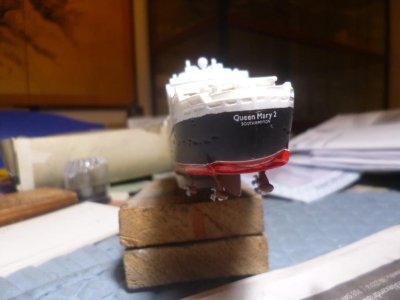
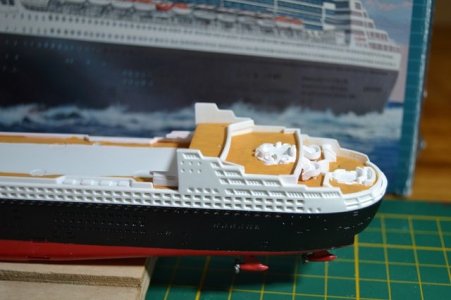
Moving on with the little ship. I ruined the waterline decals; they were incredibly thin and split into four separate pieces. Another mistake I made was squeezing a bottle of red paint too hard, because the paint wouldn't come out. Eventually, it did come out—but in a sudden spurt that splattered almost all the parts. All because I didn't clear the nozzle with a pin or a toothpick. Oh well... I hope there are no more setbacks.

DSC_1231.JPG

DSC_1232.JPG
 
Back
Top