



Thanks Grant.love it

 |
The beloved Ships in Scale Magazine is back and charting a new course for 2026! Discover new skills, new techniques, and new inspirations in every issue. NOTE THAT OUR NEXT ISSUE WILL BE July/August 2026 |
|
 |
As a way to introduce our brass coins to the community, we will raffle off a free coin during the month of August. Follow link ABOVE for instructions for entering. |
|
Thanks Grant.love it
Thanks Peter, its enjoyable to be on a roll again.After adjusting all those parts and the dry fittings is this a very nice result, Daniel.
It’s looking great.
Regards, Peter

Hi Stephan, are you planning on building one of these?More and more I'm going to love this kit.
Hello Bill, thank you for the compliment. It has been a few years since I have been up in your area. It looks like Round Rock, Pflugerville, and Hutto are now just a part of North Austin! Looking at Google Earth, I didn't realize how that whole area has exploded.Wow, fantastic build, Daniel!


I hope to get my hands someday on that kit. To expensive for me now. Maybe scratchbuilding it.Hi Stephan, are you planning on building one of these?
Hi Daniel, your description of the greater Austin area is pretty spot on. In what area of Houston do you live? (I was born in Houston, much of my family is still there). Back in my days at Texas A&M, we'd go to Austin on the weekends and those little towns were just that - little and spread out. Not long after I graduated, Dell created the big wave that spurred so much growth - definitely a big town now. Come visit soon!Hello Bill, thank you for the compliment. It has been a few years since I have been up in your area. It looks like Round Rock, Pflugerville, and Hutto are now just a part of North Austin! Looking at Google Earth, I didn't realize how that whole area has exploded.

Hello all, starboard gun deck is installed with a few sub millimeter gaps, but I'll take it! What a relief. I just slid the main cabin bulkhead in to see the fitment, all looks well. Check it out.
View attachment 618688View attachment 618689
Still a lot of finishing sanding to do and a staining of the canon/ gun deck trim piece.
Thank you Dean.Looks excellent Daniel! Great job!
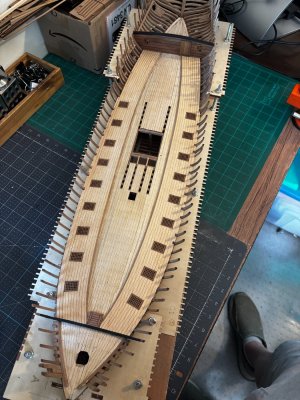
Beautiful Daniel! She’s really coming alive now.I've finished all the main and canon decking. Next, I need to finish the deck nails then start with the rear cabin wall planks and internal furnishings.
View attachment 619493
I'm looking forward to the interior hull planking in the cabin area for its a step toward removing the ship from its cradle.
Till next time.

Thanks Dean.Beautiful Daniel! She’s really coming alive now.
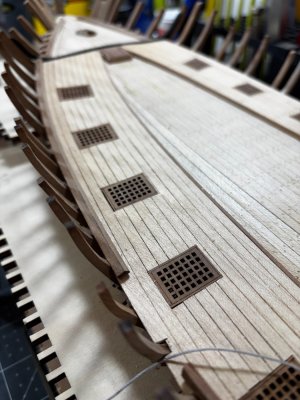
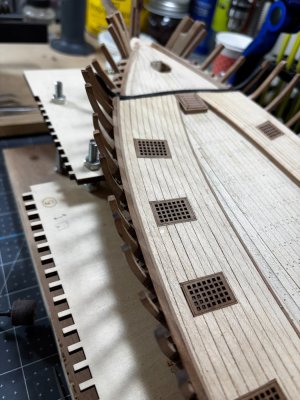
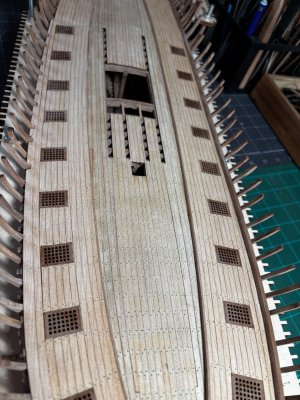
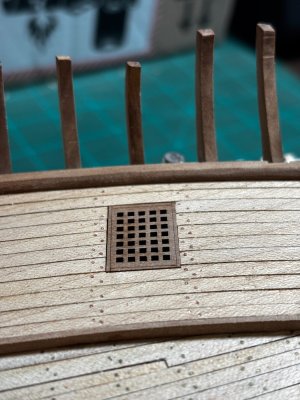
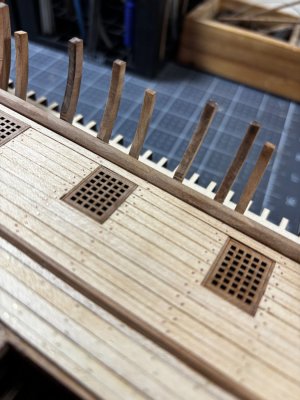
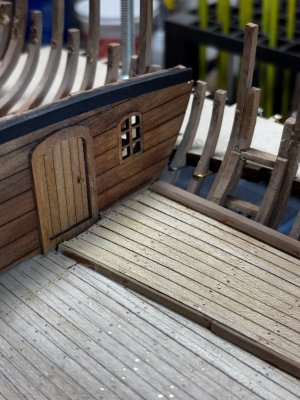
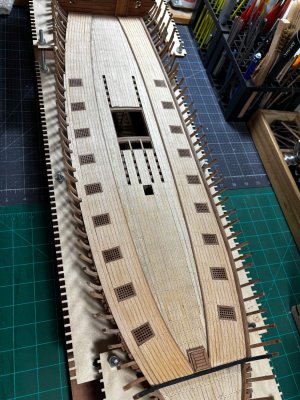
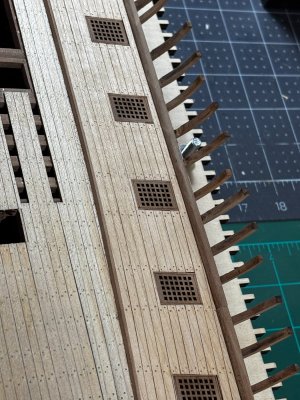

Good morning Daniel. I am always very happy for those waterways/ moldings……that molding covers a multitude of sins. T
 . Your LR is taking shape fabulously. Going to be “sexy” eye candy for sure. Cheers Grant
IndeedI am always very happy for those waterways/ moldings……
. I'm not really sure what the correct term for what I call the molding could be. The actual waterway however is located below the gundeck and on top of the false deck as shown and described in Boudriot's monograph. When I get to the outside hull planking, I'll need to add the drain scuppers which will have to go between each of the standards on the false decking, a bunch of them. The small a is next to the waterway and there is a small arrow showing the waters exit through some kind of scupper (I think). There also needs to be a way to shed heavy rain or wave water off the central main deck but none is shown or talked about that I can find.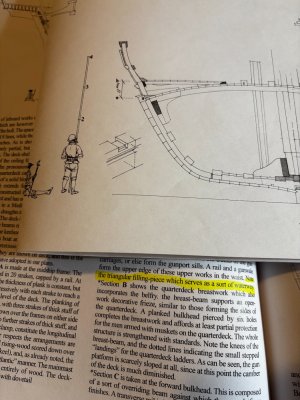
Got to love these Xebecs. Clever but very unusual engineering.Indeed
View attachment 621993

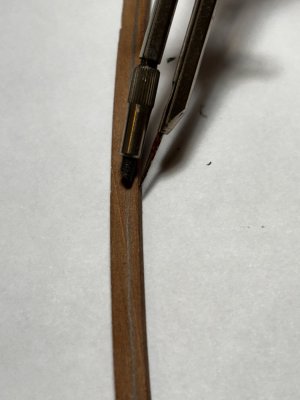
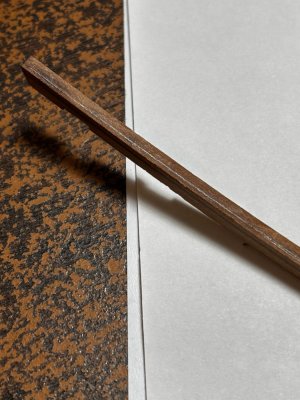
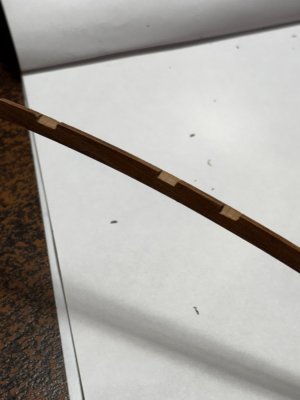
The deck nailing gives it a beautiful look. The time invested pays off here as well, Daniel.I finished the edge molding on the port side gun deck. Just like paint, that molding covers a multitude of sins. The first picture shows the difference along the starboard side. I decided to use CA gel because I needed adjustment time and a fast hold where it was not practical to fashion clamps for use with PVA, while a little nerve racking it did work. I also finished all the deck nails, not my favorite thing to do. Once I finish the starboard side, I'll work on planking the interior cabin area. Check it out.
View attachment 621795View attachment 621797View attachment 621798
View attachment 621799View attachment 621800View attachment 621801
Thanks for having a look see, till next time.
