• Ships of Scale has incorportated an extra level of security when you log In. Please follow on-screen prompts to acknowledge that you are not a robot via a "Check Box" or a "Pictorial Check Box Puzzle". This is needed due to higher level of AI Activity Security.
  • SUBSCRIBE TO SHIPS IN SCALE TODAY!

    The beloved Ships in Scale Magazine is back and charting a new course for 2026!
    Discover new skills, new techniques, and new inspirations in every issue.

    NOTE THAT OUR NEXT ISSUE WILL BE July/August 2026
  • Win a Free Custom Engraved Brass Coin!!!
    As a way to introduce our brass coins to the community, we will raffle off a free coin during the month of August. Follow link ABOVE for instructions for entering.

My 1/72 scale aircraft

Update on the F9F-8 Cougar.
Today I did paint, clear coat and decals. They are shiny right now because I have to wait until tomorrow to put the final clear coat on to seal the decals.
I am happy with the scheme I chose. This is based on an actual photo I found online of a F9F-8 Cougar at an airfield.
Once completed I will compare it to the F9F-3 Panther.
Here it is with the paint done…

Now with the decals on…


Amazing how the decals give it that finished look. Next I will install the engine and arrestor hook. Then it will be time for landing gear and ordinance.

See ya next time…
 
Last edited:
Next is the first US fighter jet, the F-80 Shooting Star…


This is another old kit, and it has a lot of gaps, flash and fitment issues. First cockpit assembly and nose gear and bay were done prior to joining the fuselage halves.

Some of the gaps…


And the inlet needs a lot of tlc to get it right…


Putty, sanding and painting was done next. Then the decals were applied. Next will be clear coat. Then onto the landing gear, bombs and wing tip tanks.


I didn’t use the box art or decals, neither looked promising. So after some online research I chose the above scheme and sourced decals from my box of leftovers. ;)
See ya next time…
 
Last edited:
Update on the f-80 Shooting Star…
Working on the landing gear, gear doors, nose antenna, pylons, and bombs…


Then the wing tip tanks were painted and glued on after adding the red stripe to the fuselage. I also added the fuel filler cap on the tanks. Going to be nice…


Once they dry I have a few more details to wrap up and she will be finished.

See ya next time…
 
Last edited:
F-80 Shooting Star is finished! It was a bit of a challenge, but all kits can be made into something nice if you’re willing to put in the extra effort. ;)
Pics…


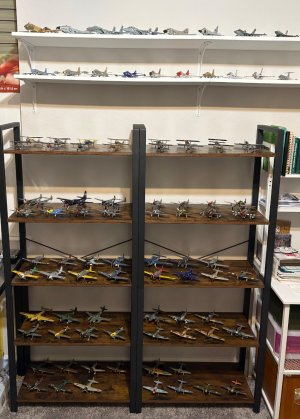
And on the shelf…


That is now 18 jets and counting! And a total of 94 aircraft.
I’m not sure what’s next? WW1 biplane, WW2 prop plane, or another jet? Need to get back to finishing my ship carving.

See ya next time…
 
Last edited:
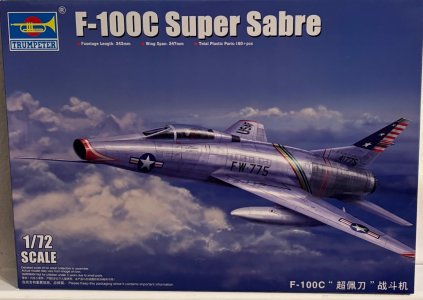
I asked my granddaughter to pick my next airplane build. Out of all my models, WW1, WW2 and jets she picked…
IMG_3851.jpeg
…the F-100C Super Sabre. ;)

I began work today…
IMG_3842.jpeg
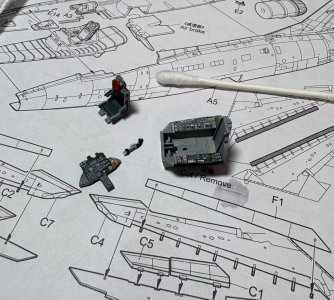
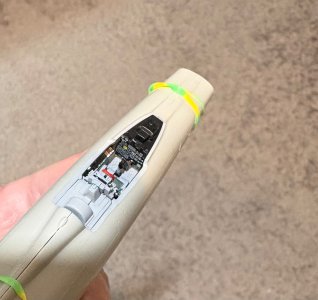
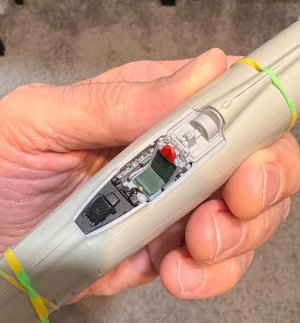
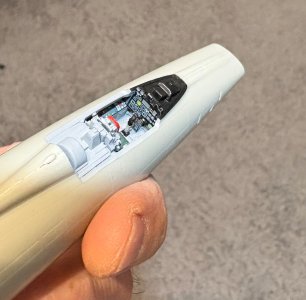
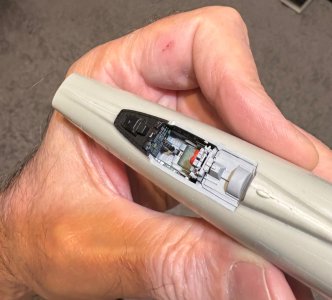
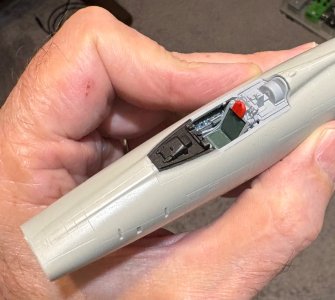
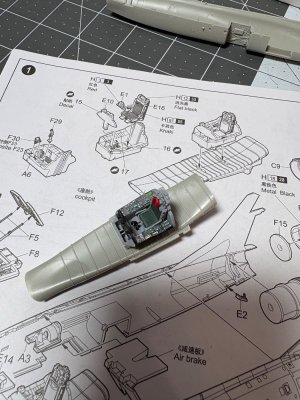
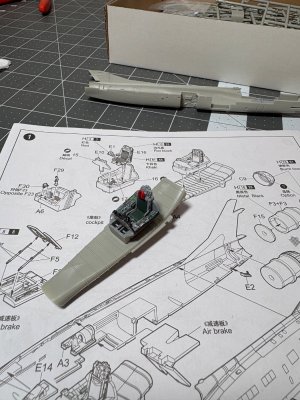
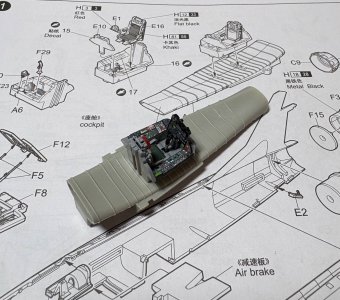
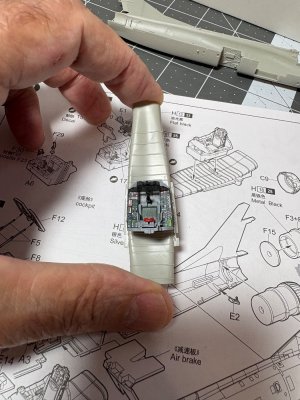
I started with the cockpit assembly. Then it’s glued to the top of the intake…
IMG_3855.jpegIMG_3854.jpegIMG_3853.jpegIMG_3856.jpeg

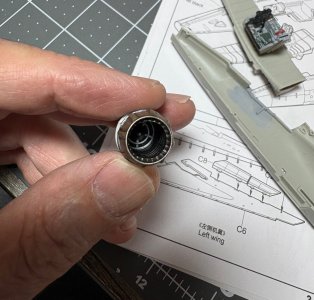
Next I will build the engine assembly and prepare the remaining parts in preparation to joining the fuselage halves.


See ya next time…
 
Update on the F-100 Super Sabre…
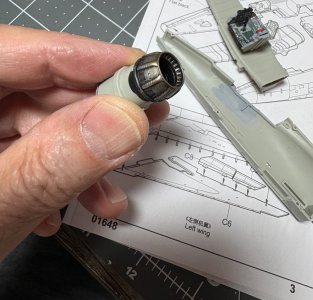
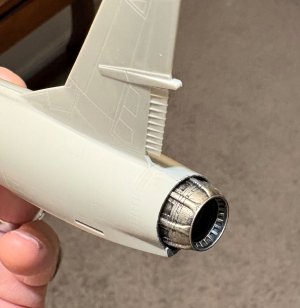
I painted the engine…
IMG_3857.jpegIMG_3858.jpeg

Then I painted a few of the cockpit pieces and test fit the fuselage halves with the cockpit assy and other pieces glued to one half of the fuselage. This way I can check for gaps or uneven surfaces where they join. I can sand as much as possible and after that I have to putty if there are still gaps.
IMG_3859.jpegIMG_3861.jpeg
There are a few areas to address, but not too bad.

See ya next time…
 
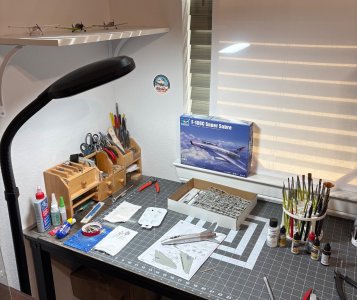
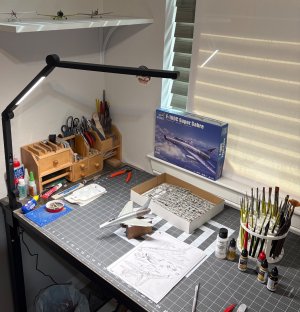
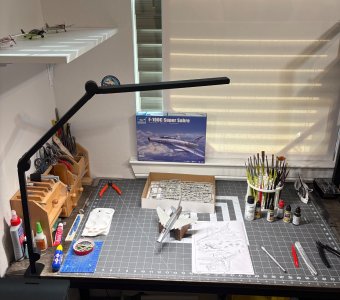
I upgraded my light.

Old light…
IMG_3874.jpeg
It’s not bad, but on floor stand.

New light…
IMG_3876.jpegIMG_3878.jpeg
It rotates about the base, and has two light bars, and the light bars can rotate around at different angles. 5 different light colors and 5 degrees of brightness. Very versatile and this will be less bulky. So a definite improvement.

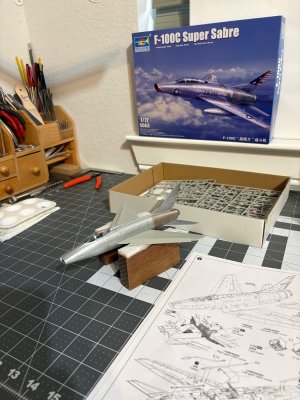
Current progress…
IMG_3881.jpeg

See ya when I get it painted and decals on.
 
Last edited:
Back
Top