• Ships of Scale has incorportated an extra level of security when you log In. Please follow on-screen prompts to acknowledge that you are not a robot via a "Check Box" or a "Pictorial Check Box Puzzle". This is needed due to higher level of AI Activity Security.
  • SUBSCRIBE TO SHIPS IN SCALE TODAY!

    The beloved Ships in Scale Magazine is back and charting a new course for 2026!
    Discover new skills, new techniques, and new inspirations in every issue.

    NOTE THAT OUR NEXT ISSUE WILL BE July/August 2026
  • Win a Free Custom Engraved Brass Coin!!!
    As a way to introduce our brass coins to the community, we will raffle off a free coin during the month of August. Follow link ABOVE for instructions for entering.

Sea of Galilee boat - SE Miller Creates - 1:12

Joined
May 24, 2023
Messages
90
Points
113

Location
Nunnelly,Tennessee
I debated on doing a build log for this build, mainly because there are several very informative logs here from the past. But just to bring it back so others can decide to enjoy this build. It will be my third time. The first two were 16” and this one is 26”. The first week was just building the strong back.

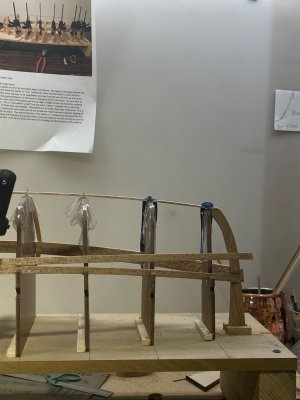
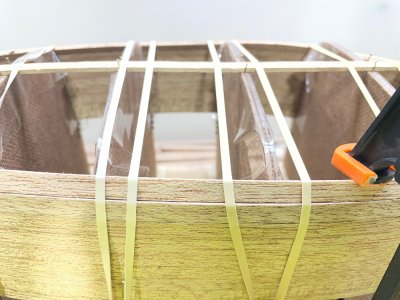
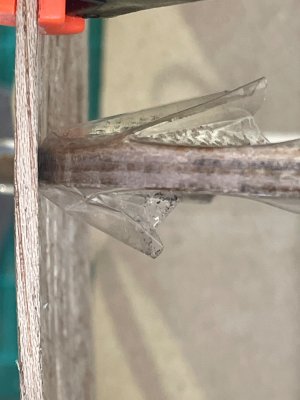
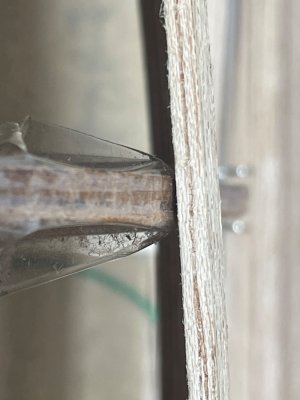
I learned to covers the frames with packing tape so the planks don’t stick to as bad.
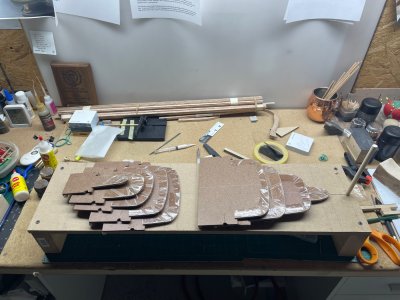
IMG_7672.jpeg

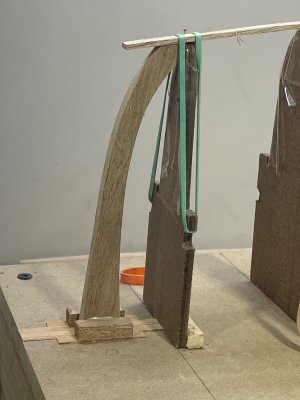
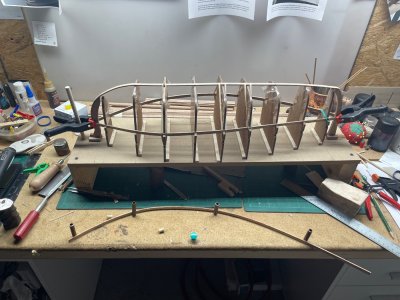
Scott pre-bends the keel and attaches it to the stern. Also pre-bends the cap rails which are not shown in the material below.
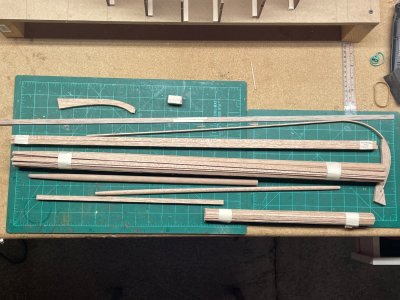
IMG_7676.jpeg

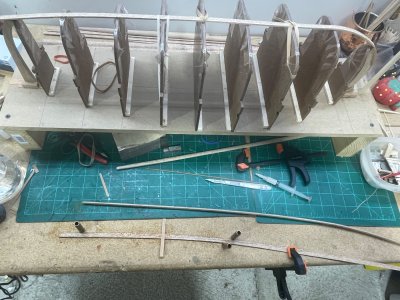
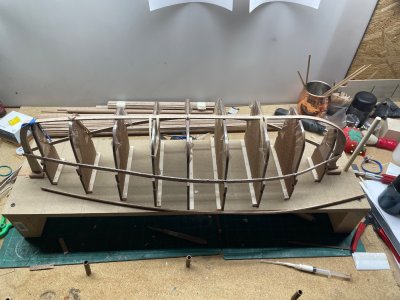
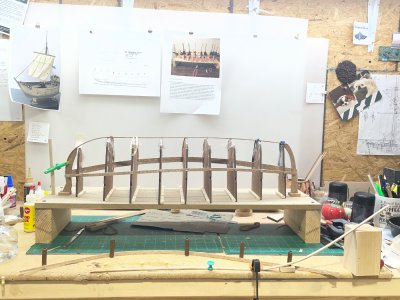
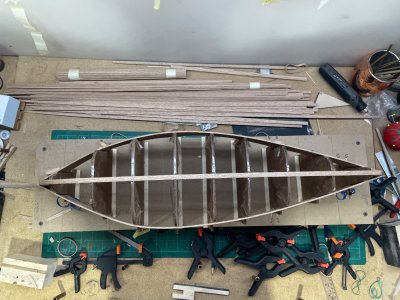
Strongback completed, ready for the keel.
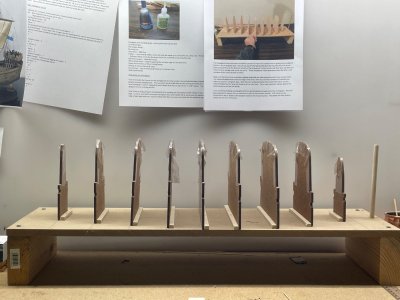
IMG_7677.jpeg

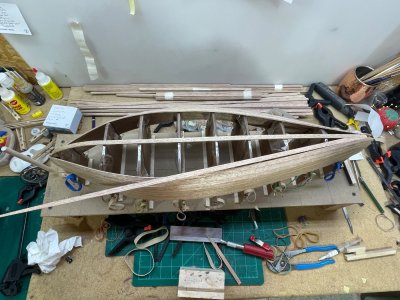
Keel is set and the two first planks are just notched in the frames so I can check the shape of the hull.
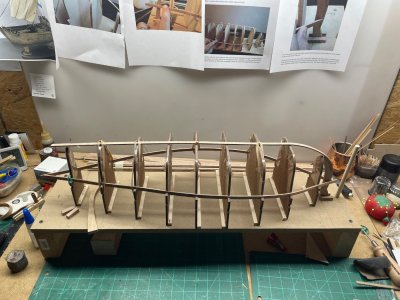
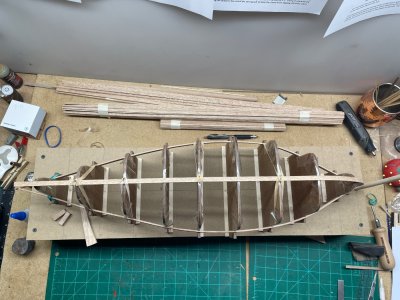
IMG_7678.jpeg

IMG_7679.jpeg

The bow stem is next but I’ll be busy on other things for the next week.
 
Bow stem installed this morning. I’ve been using PVA but the kit suggests using CA. I’m leaning on PVA with this build, if I am able to get the planks bent enough where there’s little tension. The main reason is I don’t enjoy wearing CA :-)

IMG_7689.jpeg
 
Last edited:
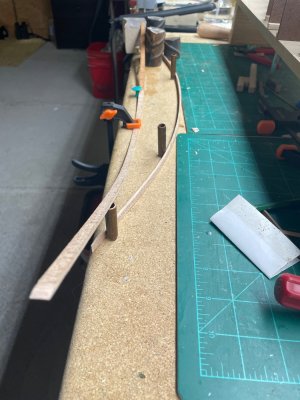
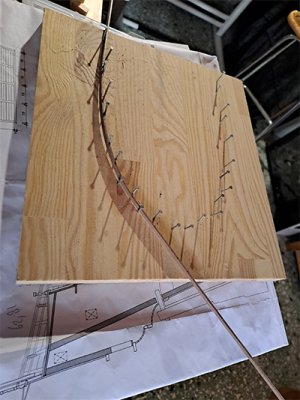
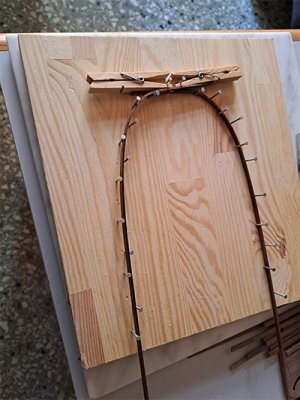
I’m trying any way that comes to mind on the best way to bend these planks. I use a ladies hair straightener to heat the planks up after misting them with water as they dry. I squeeze the straightener like I was using one of those crimper benders. Then I’m made a jig on the cork work top, until I’m ready to put it on.

IMG_7695.jpeg


IMG_7692.jpeg

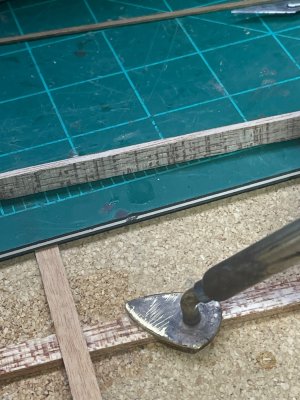
I use this spade to try to edge bend the bow end.

IMG_7691.jpeg
First planks on.

IMG_7697.jpeg
Trying PVA on the edges.

IMG_7698.jpeg
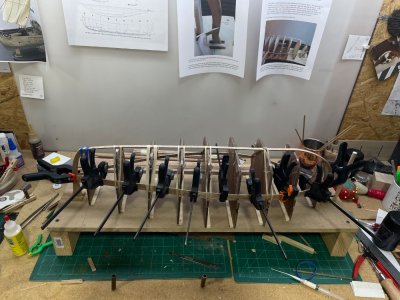
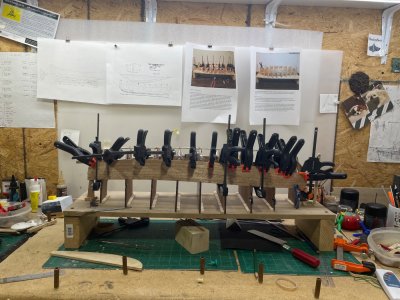
I’m always changing the way I try to clamp.

IMG_7700.jpeg
The bow rises and it’s hard for me to get enough edge bend with the fear on snapping it. I’m hoping the PVA will handle any stress I leave in the planks.

IMG_7704.jpeg
I’ll keep trying new ideas and way I think I can get em bent better:-)

IMG_7707.jpeg

The third planks are tapered on the stern end. 3-7 are supposed to be easier than when it starts transitioning to horizontal.
 
Hi captain B,
When I start with bending, I always start with the "standing" way. I build a small tool, in my case for planks of 1.6mm. (wet planks are 1.7 or 1.75mm)
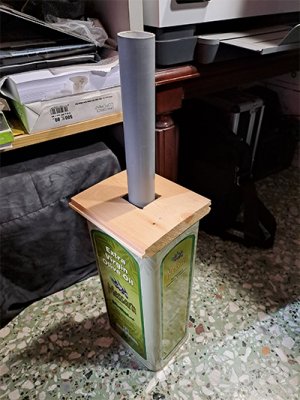
I think the images say what it is. Before I put them in for bending, I put them in a tube with hot water. (one side closed) From heating boiler.
20241209_001.jpg
After about 20 minutes a placed them in the "bending tool". (big word) :)
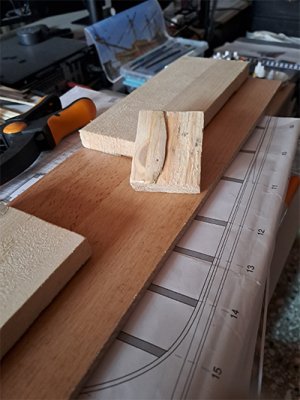
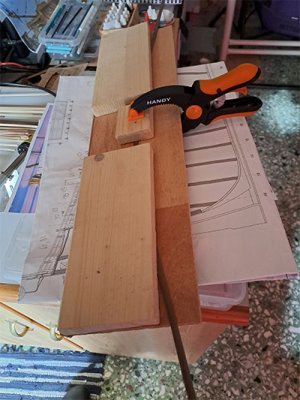
2 big parts are fixed with a curved rebate in the wood. Then I bend it with a smaller rebate piece in how far I need it and fix it. They stay flat.
Wait 24 hours until dry.
It is then try and retry until you find your correct bend.
20241209_004.jpg 20241209_005.jpg

After that, I start bending in the other direction. Also first wet/hot in the pipe. :mad:
20241209_003.jpg 20241209_002.jpg

I hope it can help you. If not, maybe for somebody else. Thumbs-Up
 
Hi captain B,
When I start with bending, I always start with the "standing" way. I build a small tool, in my case for planks of 1.6mm. (wet planks are 1.7 or 1.75mm)
I think the images say what it is. Before I put them in for bending, I put them in a tube with hot water. (one side closed) From heating boiler.
View attachment 628715
After about 20 minutes a placed them in the "bending tool". (big word) :)
2 big parts are fixed with a curved rebate in the wood. Then I bend it with a smaller rebate piece in how far I need it and fix it. They stay flat.
Wait 24 hours until dry.
It is then try and retry until you find your correct bend.
View attachment 628716 View attachment 628717

After that, I start bending in the other direction. Also first wet/hot in the pipe. :mad:
View attachment 628719 View attachment 628720

I hope it can help you. If not, maybe for somebody else. Thumbs-Up
Thank you Papatoalos! Those are some great jigs you’ve made. I’ve got a similar jig that I’ve made but I made it for a much smaller build. You’re ideas are definitely worth trying.
 
I’ve reached the seventh plank on the starboard side. Planks have been typical and that has helped develop a routine . First I edge bend the bow end. Then wet it down, but not soak it. I’ve gotten pretty good at using the hair straightener. The mahogany planks are 2mm thick, heat up well and can handle quite a bit of bending. After eyeballing my bend but still warm I put in the push pin jig on the cork table top and let it dry. All but this 7th plank has almost laid right where they needed to be. The stern end on this plank needed edged down. I dipped the end in water while the straightener heated up. Being careful not to unbend what I’ve bent, heated up the stern end of the plank. While warm clamped it on the strongback. We’ll see how that worked later.
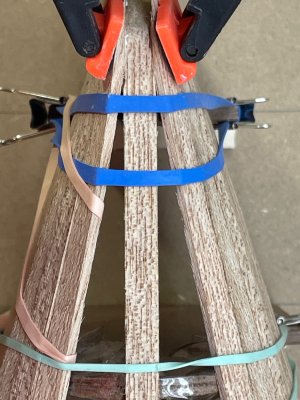
IMG_7724.jpeg

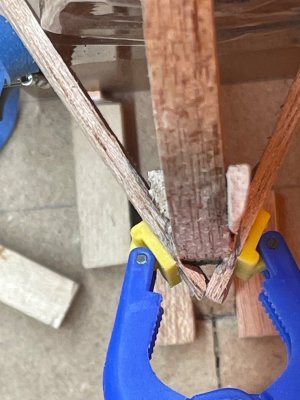
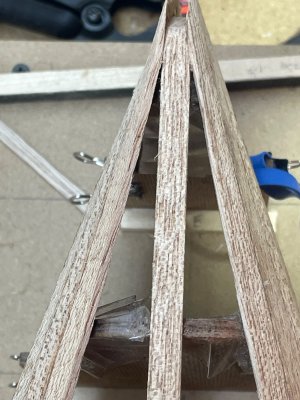
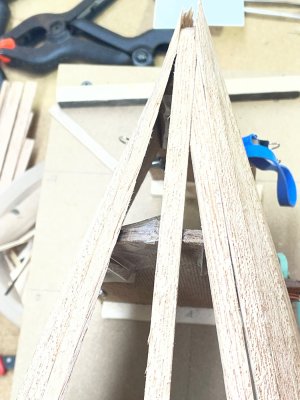
At both ends where the planks meets the stems, I worried about the lack of surface that was actually glued. I’m not for sure about the strength difference between PVA and CA, I don’t want to take a chance. So I cut some wedges and glue them after the planks have dried.

Here’s the bow. After I have mated and cut the stern end to meet the stems. I clamp the plank on the strongback and saw the bow end plank on strongback. I’m hoping the ends hanging over will help me cover where the cut water meets the bow. From experience this is a very hard piece to flawlessly meet for me:-)

IMG_7722.jpeg

This is the stern. When the ends get cut off there wasn’t going to be much touching. The bow stem could have been push farther out I think. But the directions said it was to touch the E frame.

IMG_7723.jpeg
 
Step 5 is completed, that was planks 3-7. Planks 8-12 will transition from the sides to the bottom. The middle of the plank will need to be beveled so a crack won’t appear between the planks. This should slow me down considerably. Here’s where I stand on the build.

IMG_7726.jpeg

IMG_7728.jpeg

IMG_7727.jpeg
 
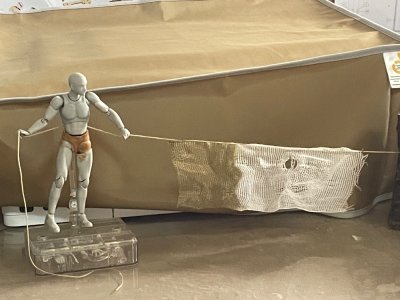
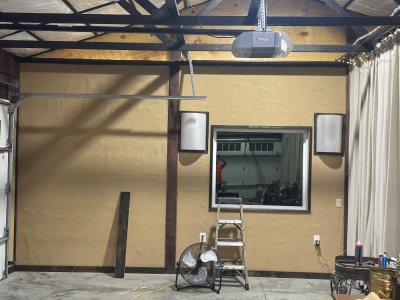
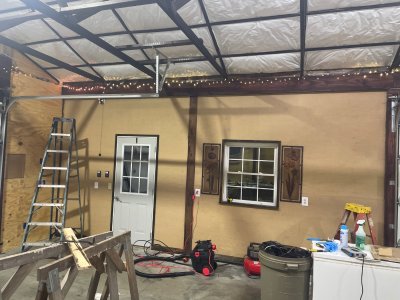
I’ve only got one more plank glued on and one on being shaped. My wife added on her project that involves attaching 750 sq ft of burlap to the walls of her she shed / garage / decor storage. This takes much more out of me than model ship building:-)

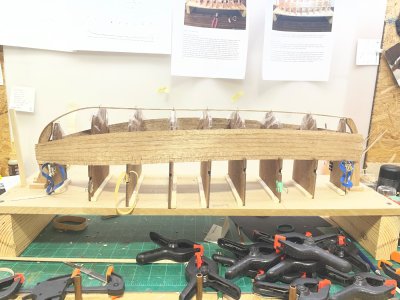
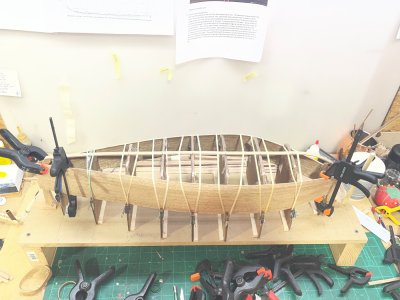
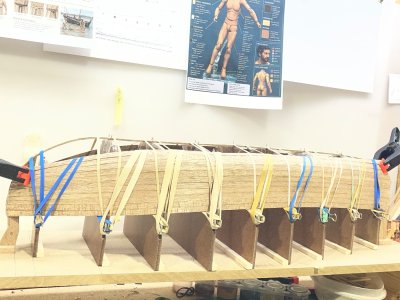
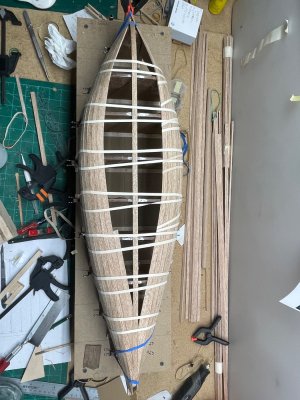
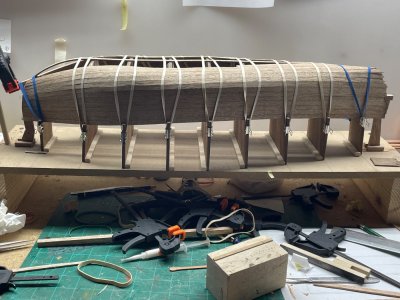
I start by pre-bending a damp plank. Then while warm but not wet I strap it on the strongback.

IMG_7746.jpeg

Here is the middle of the plank just strapped on.

IMG_7745.jpeg

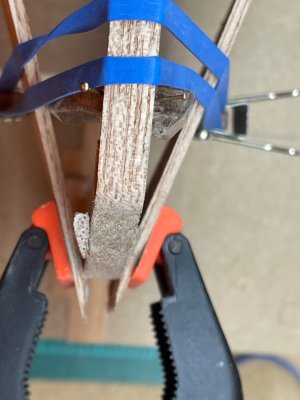
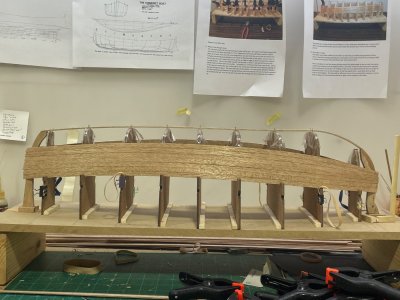
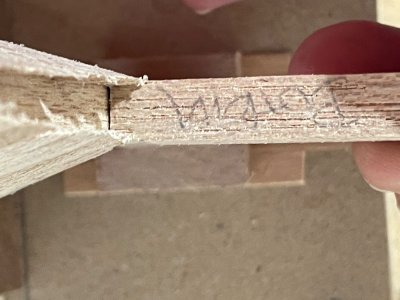
The top edge of the plank looks like this against the frame. Which is not what we want.

IMG_7730.jpeg

The way to get the edge down, the lower inside of the plank needs to be beveled. Here is the port side that I’ve beveled and glued on the same frame.

IMG_7731.jpeg

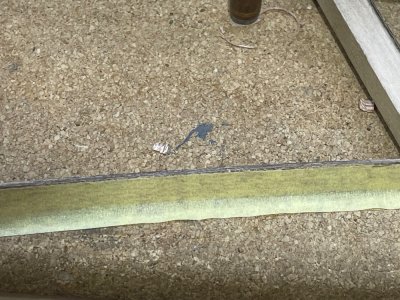
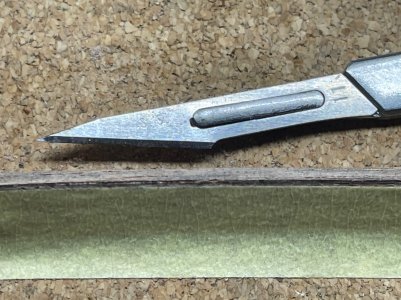
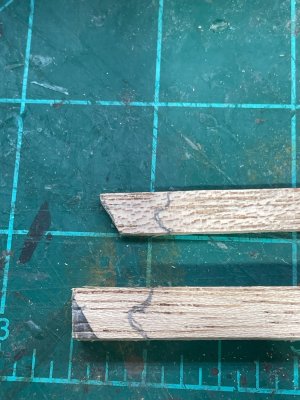
The way I’ve started to bevel the edges is just visually looking at the crack it makes on the outside when I press it down to lay flat on the frame. I couldn’t take a pic of this because it takes both hands:-) I make a pencil mark on the inside of the end of the plank I’m starting from and just do 3 or 4 inches at a time. The I place a piece of tape on the inside of the plank trying to duplicate the crack on the out side. I color the part I want to remove and sand away hoping I’m taking too little instead of too much:-) That’s experience talking:-)
IMG_7738.jpeg
IMG_7729.jpeg
The next plank will take a little more beveling.

Another thought for how it will be displayed to show scale, I’m thinking of trying to figure the water line and have it set like it was in shallow water with two fishermen ( who knows it could be Peter and Andrew, or maybe James and John). With them wading in the sea holding a net pulling them fish to the shore.

IMG_7736.jpeg

Well that’s all I’ve got on the Sea of Galilee boat but I’m going to post pics of what’s slowing down the build:-)

image.jpg

image.jpg
I’m about half done with this.
 
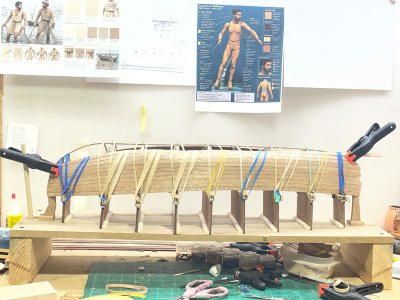
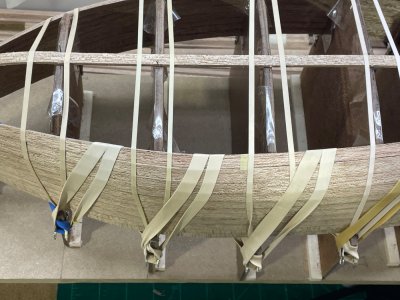
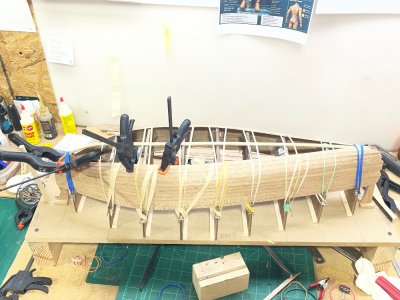
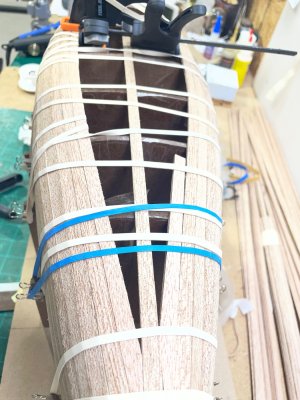
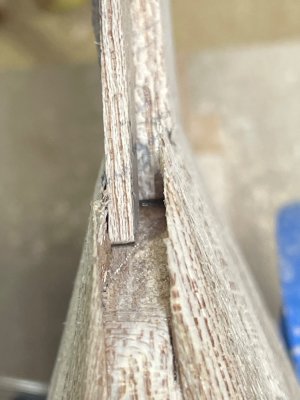
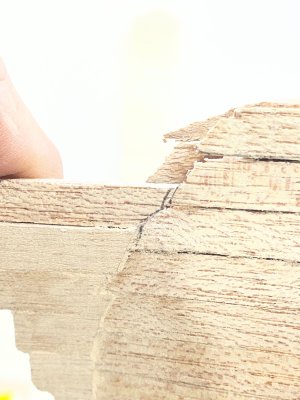
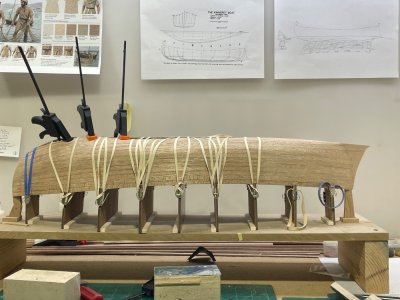
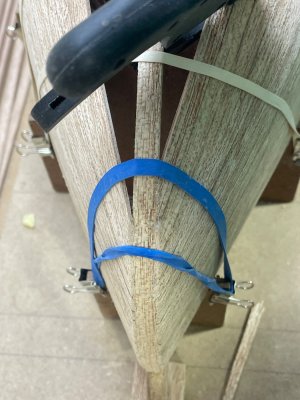
I’ve made it to plank 11 on the port side. It is by far the hardest so far to get right. I bend it, strap it on with 18 rubber bands, take a look at the crack between the planks and take it back off. I’ve been doing this quite a few times on this one plank. Pretty much the whole distance needs some bevel. I just do a little at a time. Looking closely at the 3rd pic , I’ll be taking this one off to bevel some more.

IMG_7794.jpeg

IMG_7790.jpeg

IMG_7791.jpeg

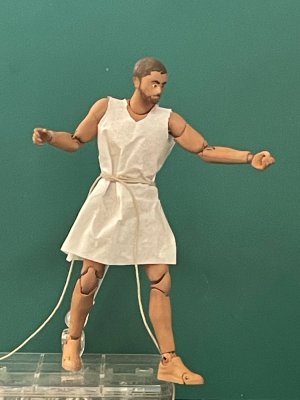
I’ve also worked on painting the mannequin and trying on new cloths.

IMG_7780.jpeg
 
On the starboard side I decided to sand the bevel on the top side of the plank already installed. This was a little nerve wrecking knowing I could mess up what’s already on. But it was easier to see what was needed. I when frame by frame and used a knife to cut right at the frames edge. The next plank doesn’t make it to the bow. It has to be cut to meet the keel. Here’s the bow end.

IMG_7804.jpeg

I sanded the bevel, on the right to except the next plank.

IMG_7810.jpeg
Then cut the plank to check the fit and see how much bend it’s going to need.
IMG_7811.jpeg
Quite a bit.

IMG_7812.jpeg

After soaking it for about 15 minutes, I heated it up and gradually got it to lay right on the strongback.

IMG_7813.jpeg
Next I’ll remove the plank and try my hand again at the beveled edge on the edge of the existing plank.
 
Last edited:
I’ve made it to plank #13 on both sides.

IMG_7832.jpeg

IMG_7833.jpeg

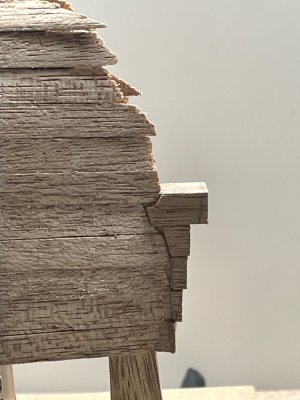
One thing that I’m doing out of order from the directions is the cut water at the bow. I left the planks hanging over the stem to try to hide the joint where it connects.

IMG_7826.jpeg
I carve the end so it fits between the planks and cut it off, hopefully a little longer than needed.

IMG_7831.jpeg

I hope I’ll be able to shape it after they all are glued on.

IMG_7830.jpeg

The next planks will be the last that connects to the stern. After that both ends of the plank will meet the keel. A plank a day has been my average. And I usually can add a block or two to the bow while a plank is being bent.
 
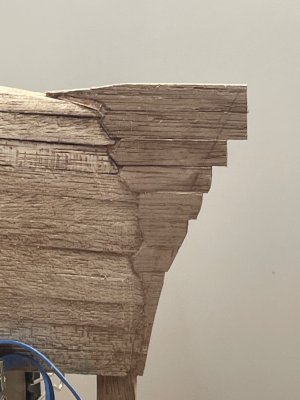
I want to say a little more about the cut water. Building it while on the strongback to me was a lot easier to see what it was looking like as I added blocks. This is how I went about doing it. I took a scrap plank and laid the edge flat on the lower block to copy the curve of the bow stem.

IMG_7834.jpeg

After that I traced the outline of both sides, on to the plank.

IMG_7835.jpeg

Then transposed the lines on to the square stock.

IMG_7836.jpeg

I only had to remove about a mm from each side for it to slip between the planks. I had to add an extra block just to fill a small space where it meets the stem.

IMG_7837.jpeg

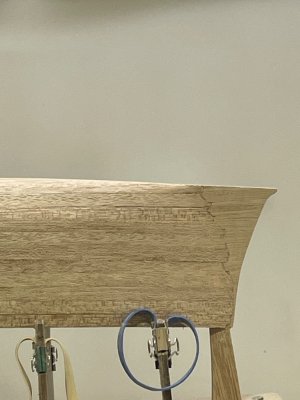
If I redid it I might try to line up the plank ends better. I was hoping they’d just disappear when they met the cut water:-) I know it’s stuck on better. I’ve sanded the bow down a bit,(I couldn’t wait any longer) I still sand on it every time I set down in front it.

IMG_7842.jpeg

I’m starting on plank 15, it was the first plank that glued to the keel instead of the stem.


IMG_7843.jpeg

Here a shot of the stern with the 15th plank on the port side.

IMG_7844.jpeg
 
Back
Top