• Ships of Scale has incorportated an extra level of security when you log In. Please follow on-screen prompts to acknowledge that you are not a robot via a "Check Box" or a "Pictorial Check Box Puzzle". This is needed due to higher level of AI Activity Security.
  • SUBSCRIBE TO SHIPS IN SCALE TODAY!

    The beloved Ships in Scale Magazine is back and charting a new course for 2026!
    Discover new skills, new techniques, and new inspirations in every issue.

    NOTE THAT OUR NEXT ISSUE WILL BE July/August 2026
  • Win a Free Custom Engraved Brass Coin!!!
    As a way to introduce our brass coins to the community, we will raffle off a free coin during the month of August. Follow link ABOVE for instructions for entering.

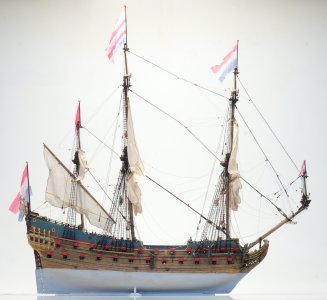
Dutch 143' ship GIDEON 1664 in a recent scale

Joined
Sep 17, 2018
Messages
1,130
Points
443

Location
Berlin/Germany
Hello sometimes my brain outwits me out - so I tryed to change the scale for GIDEON from 1/66 towards 1/44 by using the 150% scale...
and I certainly got 1/66 × 1/2 = 1/33 :oops:

So now I have got a very, very fat Dutch Lady!
IMG-20260821-WA0016.jpeg

IMG-20260821-WA0014.jpeg

But I allways dreamed about one model in a "recent" scale:
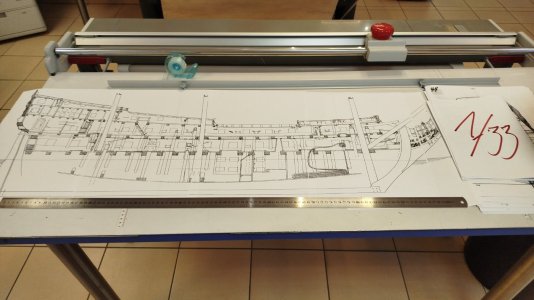
IMG-20260821-WA0011.jpeg
Here my 125% trial in some 1/55(?) scale in comparison to 150% copies.
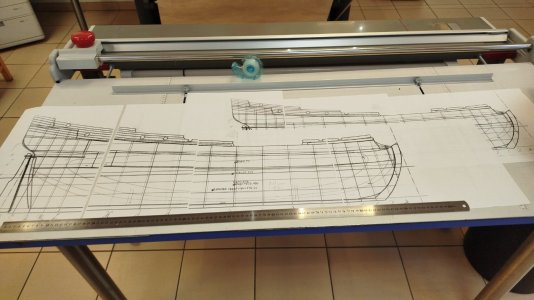
IMG-20260821-WA0009.jpeg
I know it is madness but I really fall in love to her - sometimes it is really better to be an independent single without any supervision of any admirality... ROTF

So let's use this quote as the real reason:

34587442_hi.jpeg

So let's do some stupid things we do like.

Best wishes from Berlin Card Yard,

Chris
____
ErrorAlert:
She iwas certainly build 1681 and not 1664, sorry for this.
 
Last edited:
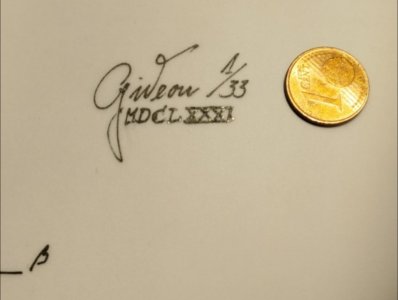
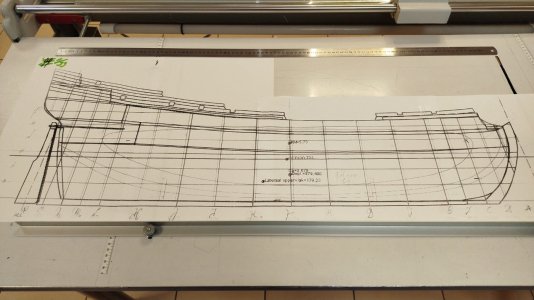
Today's night I started with the criticism of the plans as I was told to do - and Instarted with labelingthe frostpaper:
Polish_20260823_220210878.jpg

Here the bulkheads in 1/33 scale side by side:
Polish_20260823_220246218.jpg
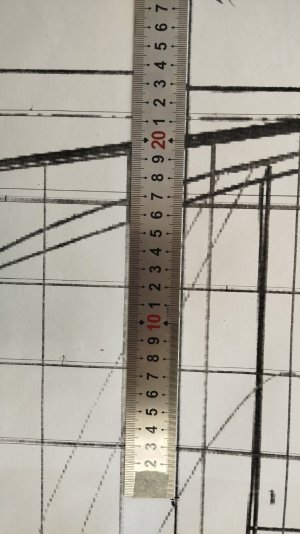
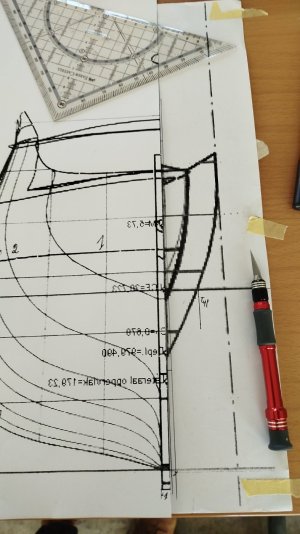
Here the Centerboard with it's 8mm thickness - measurement done admids of the given lines:
IMG-20260823-WA0015.jpeg

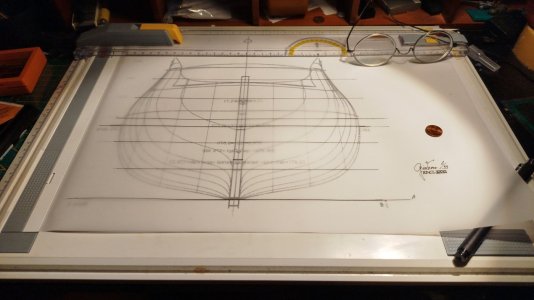
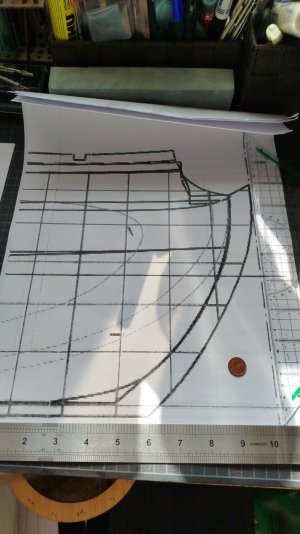
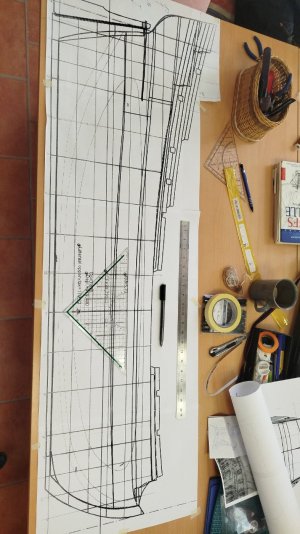
First I draw all the horizontal lines in frostpaper
IMG-20260823-WA0017.jpeg
Than I decided to add all the vertical lines in perpendicular to the CWL:
IMG-20260823-WA0025.jpeg
Aaaaand now it is starting that the wrapping of the paper is coming to be seen:
IMG-20260823-WA0021.jpegIMG-20260823-WA0023.jpeg
So the lines are bent towards port and all the lines, too.

So here I stopped and decided to look if it is only this particular photocopy that is bent below the warterline such heavily or if it is problem infecting all my seven 150% enlarged copies Cautious :mad:


That's all from here and me for today,

Chris
 
Okay back to start - found the booklet with the original drawings send by Ab. They were firstly downloaded and printed and are straight - so restarting the hole story!
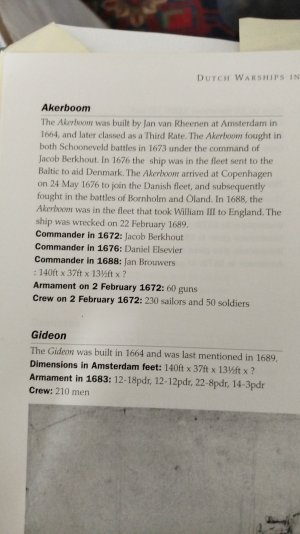
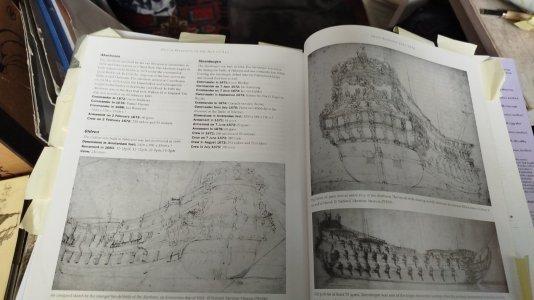
Something about data from "Dutch warships in the Age of Sail" - here AKERBOOM and GIDEON are born 1664 and not 1681:
IMG-20260824-WA0017.jpegIMG-20260824-WA0019.jpeg
Also the drawings by VdV are the right ones.
 
Now U brought her up to 1/33 exactly: the 143 Amsterdam Foot with its 283mms length does become 40.469mms;
40.969mms through 33 makes 1.226,333mms
and here we are:
IMG-20260824-WA0028.jpeg
Now she is really a big fat Dutch girl Okay

Next step is glueing the parts together so they become a complete plan.
 
Here the first steps guarded by my workminion:IMG-20260824-WA0036.jpeg
IMG-20260824-WA0038.jpeg
IMG-20260824-WA0041.jpeg
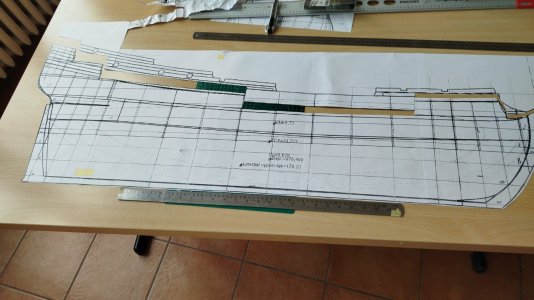
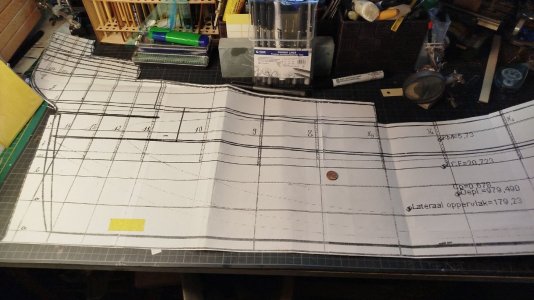
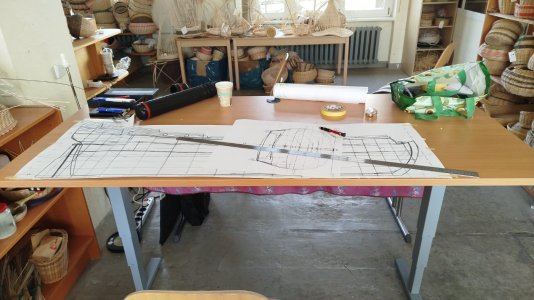
And here my start to glue the centerboard into one very big pice from seven parts:
IMG-20260824-WA0032.jpeg
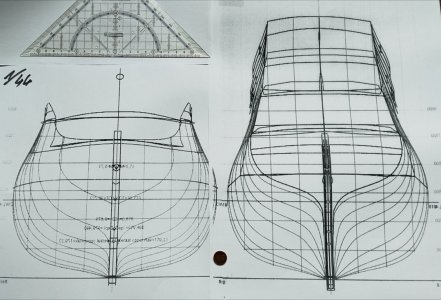
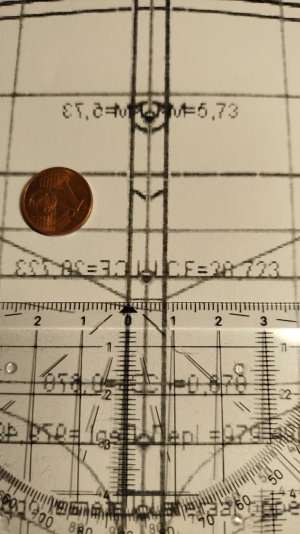
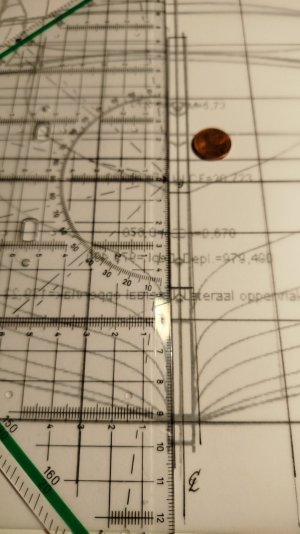
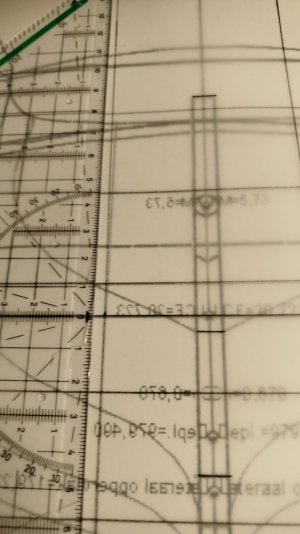
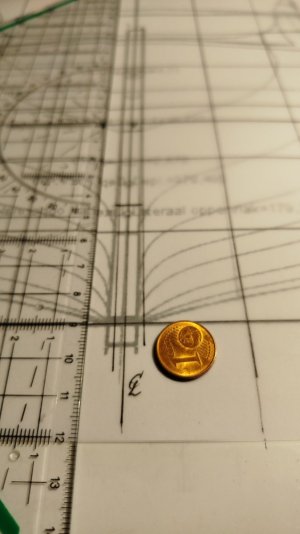
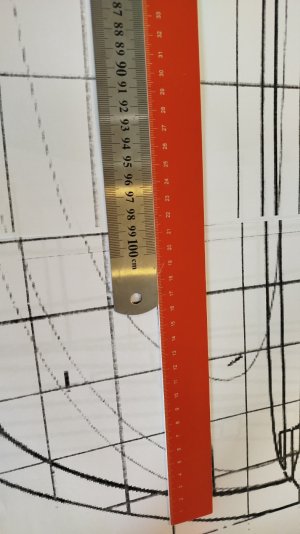
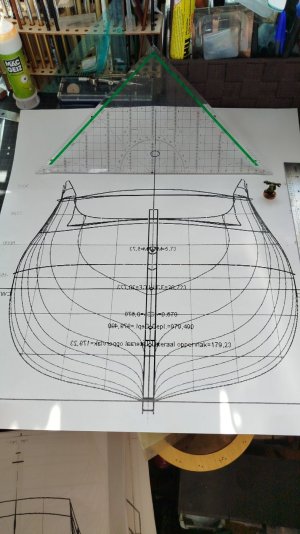
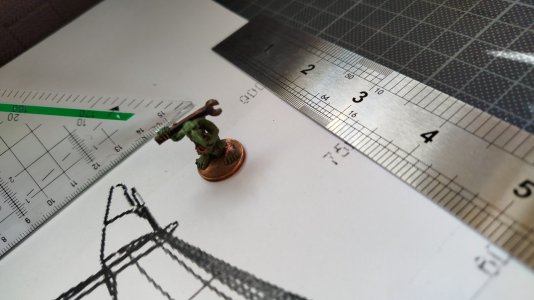
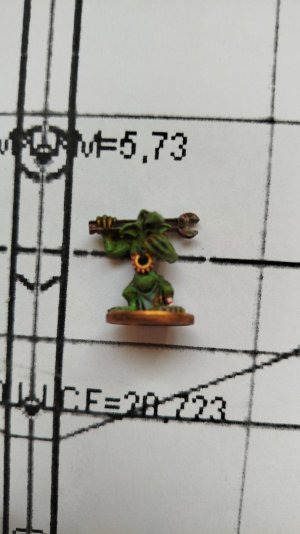
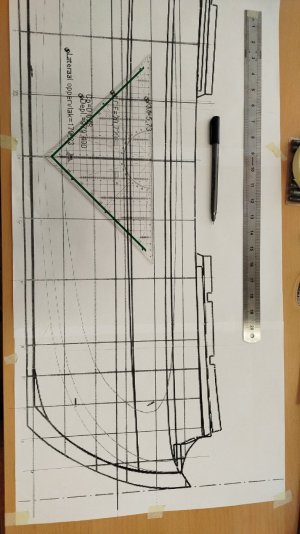
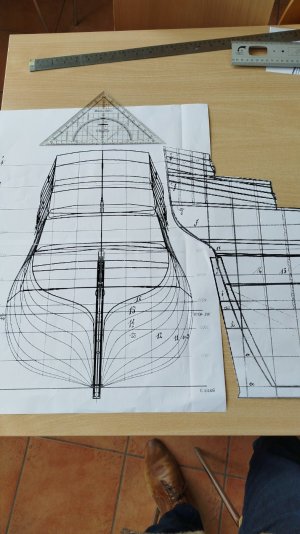
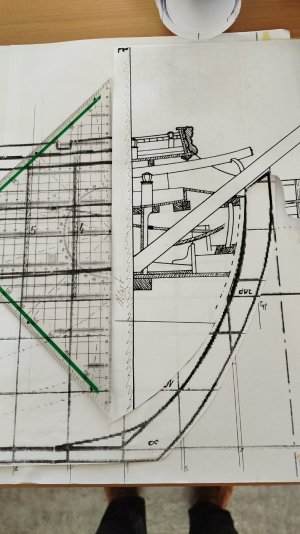
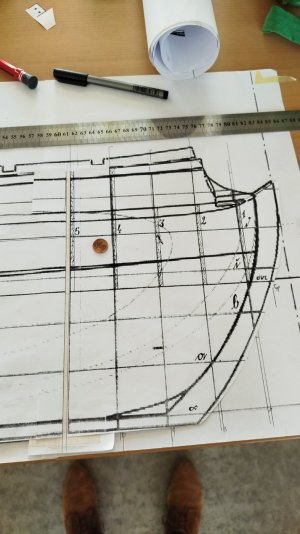
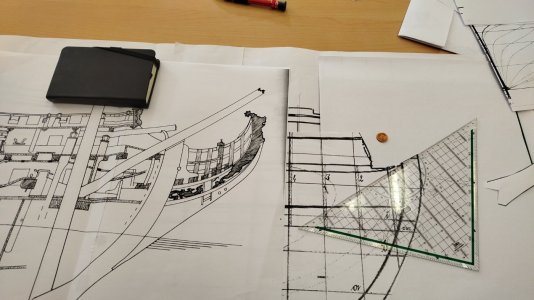
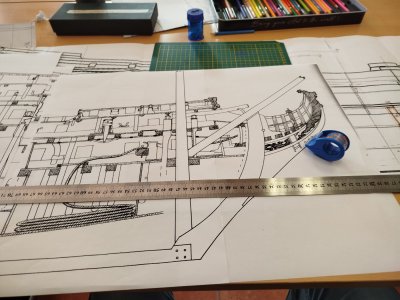
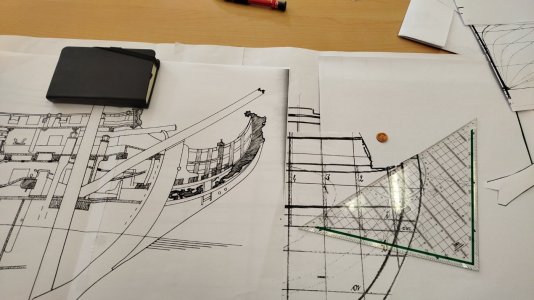
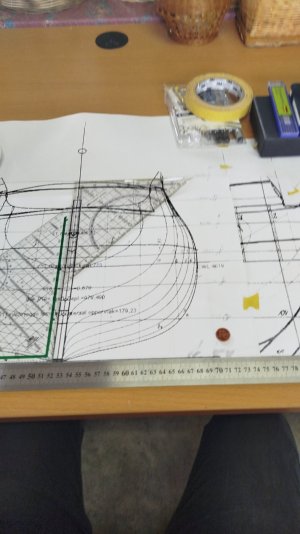
The two rulers and the one cent coin may give some idea of her sitze to you (the set square is 30mm in length).

This from here and now.
 
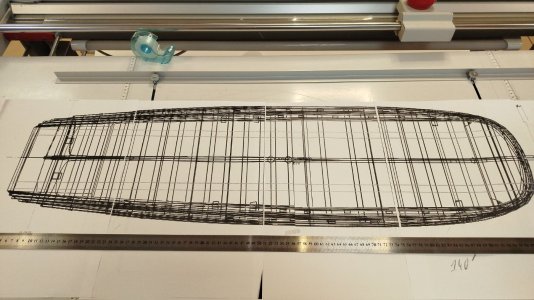
Today I measured my copy and recognized the Lpp of 140 Amsterdam voet makes certainly

283mms × 140 and scaled to 1/33 is 1.200,6mms it does fit:
IMG-20260826-WA0014.jpeg
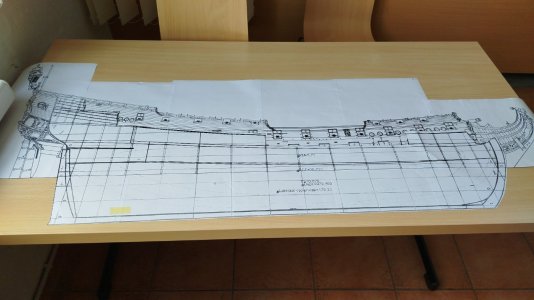
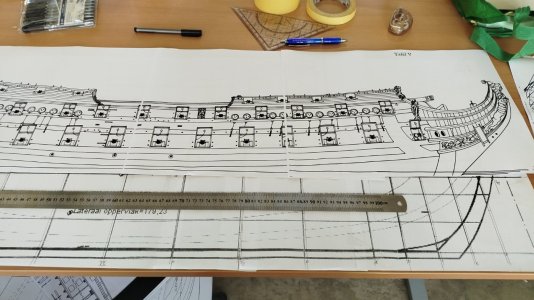
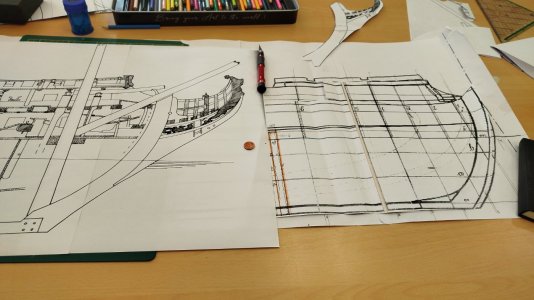
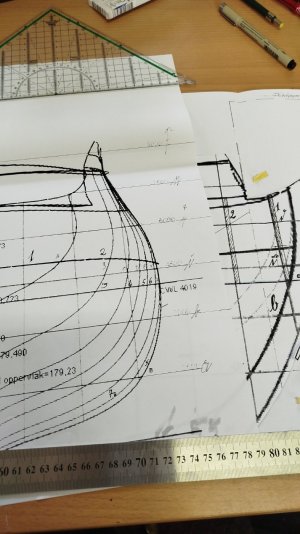
Here the hole drawing in a pair of pictures for this famous "closer look" - so it is...
IMG-20260826-WA0008.jpeg
IMG-20260826-WA0009.jpeg
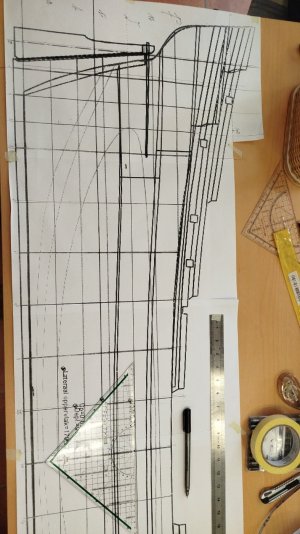
And in one picture
IMG-20260826-WA0010.jpeg

Have a nice day.
 
Last edited:
Have been asked how many hours I do think this project will need (in a modelbuilding beginners' group)?

My answer: Really I do have absoloutly no idea how long, I do use bookbinder's cardboard and at this size I will have to invent other techniques to get a stiff construction. The centerboard could be a twelve sheet layer of 1mm cardboard - much too heavy, so I would have to cut twelve times the this same part and glue it ontop each other - but the tickness of glue suddenly becomes a part of the computing! You see? So I do not think about time I do ask myself how many clever solutions I do have to find - one more than problems visiting me - I hope very much.
 
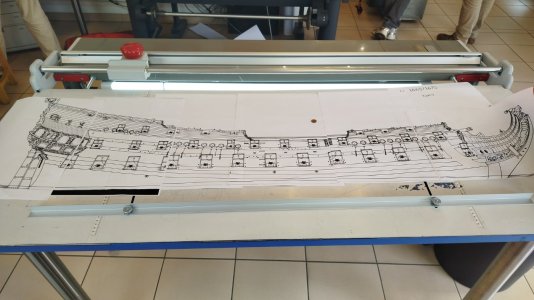
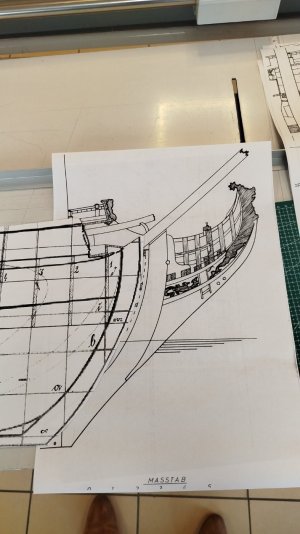
Today I copied the Heinrich Winter's sideview into 1/33 scale by enlarging to 306%A1p8e-xssuL._AC_UF894,1000_QL80_.jpg
So I got the side with it's gunports positions and the gallion in detail to my immense size - without the underwatership:
IMG-20260831-WA0004.jpeg
 
Last edited:
Today a little progress was made
IMG-20260901-WA0007.jpeg
IMG-20260901-WA0006.jpeg
cutting out the centerboard template:
IMG-20260901-WA0010.jpeg
I enlarged the "Dutch Twindecker" a bit too large:
IMG-20260901-WA0012.jpeg
I may messed up my bulkheads?
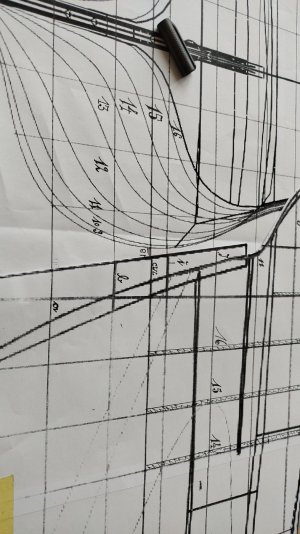
After N° 16 there are still framed but -
IMG-20260901-WA0014.jpeg

where to find them in the lines plan to build the transom right:
IMG-20260901-WA0016.jpeg


:eek: Where did I implemented an error!?:eek:
 
I do think I figured out what was made wrong:Polish_20260901_170929171.jpg
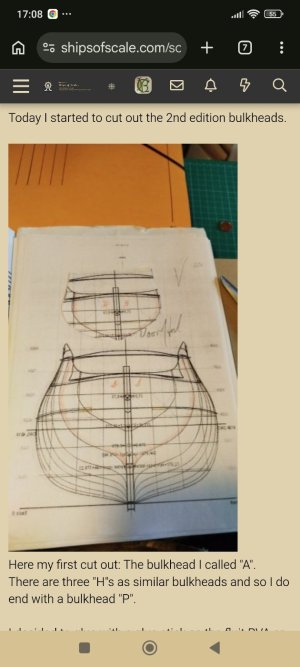
THREE "H"s as similar bulkheads so I do need to replicate the main bulkhead three times as the hull's lines are quite parallel admidships:
Schermafbeelding 2024-02-25 142246 (2).png
So undoing the numbering tomorrow so I can start to go into the bookbinder's cardboard.
 
THREE "H"s as similar bulkheads so I do need to replicate the main bulkhead three times as the hull's lines are quite parallel admidships:
I think this is normal for most nations' ships. This dead flat area is well marked on contemporary British ship plans where the station lines fore and aft of midships are marked with parentheses..... fore to aft (B), (A), 0, (1), (2). Once past the dead flat, the frames are marked without the parentheses,,,,,,, from midships forward for example,,,,,, 0, (A), (B), A, B, C,,,,,,, &c.
Allan
 
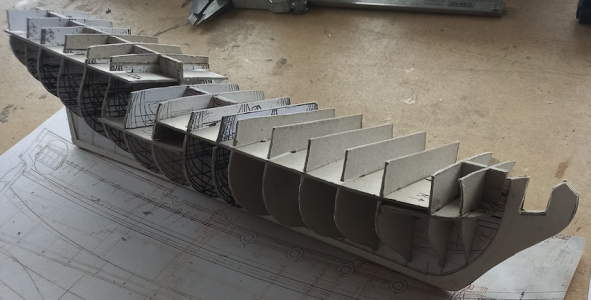
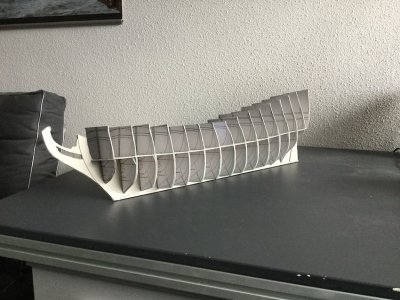
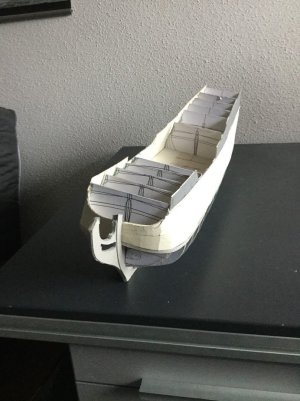
Hello friends, very slow progress but I started to construct the stand (still classifyed!) and the mid of is orientaded at the mid of the Lpp. The bulkheads will be 5mm thick, the centerboard may really be in need of this 12mm to bear the wight of cardboard, glue, filler and gold


By this I figured out that the plan fits 1/2 onto my home yard in my kitchen - and yes she is a big girl compared to my flat. :cool:.

IMG-20260905-WA0006.jpeg
Today I dealt with the numbering of my bulkheads. N° 1 Up to 7 could stay as they were and 8 changed towards H1, 9 towards H2, and 10 was converted into H3:

IMG-20260905-WA0007.jpeg

Than comes 11 and so on untill 14,
and 15 is the last existing in the lines drawings, so I "invented" 15a, 15b, and 15c - that have to be constructed to give the transom a good backing and the "doll house" of the captain's chamber a solid environment:
IMG-20260905-WA0009.jpeg
That's all for today, dear friends ..
 
Last edited:
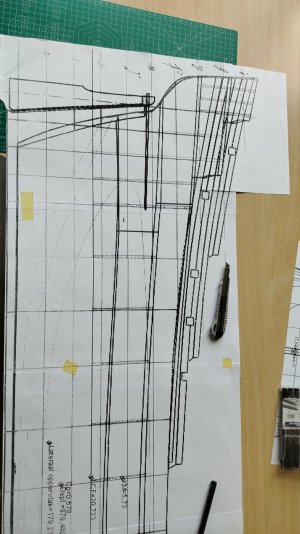
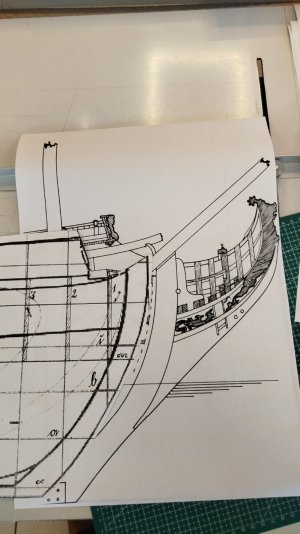
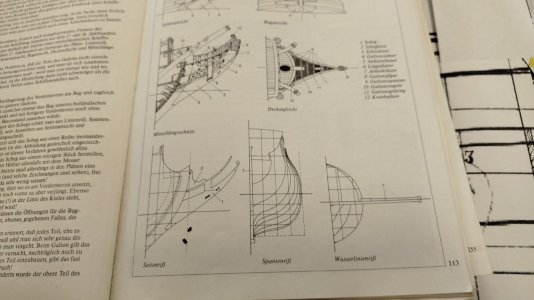
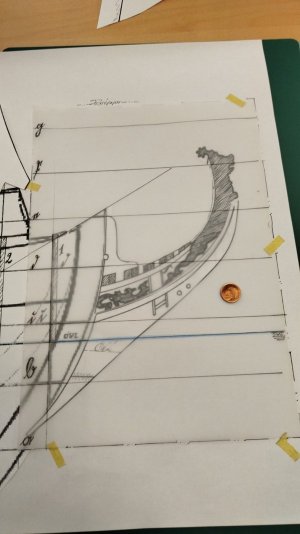
Today I enlarged the Heinrich Winter plans (not all sides) by 255% to come close to my 1/33 scale and so I can construct the gallion into the centerboard/"spine". By doibng this it will be easier to handle it than any separate part that has to be glued to then stem later on.

IMG_20260907_110528_039.jpg
So my question is If the placement is done right with the cutwaters so deep für to the "higher" CWL?
img_1_1788776114722.jpg

Here Ab's solution for the same plan:
IMG_9679 kopie.JPG

Here a cutout for showing some details:
Polish_20260907_122440366.jpg


By the way - my diet works:
IMG_20260907_110016_802.jpg

I can see my feet!
 
Last edited:
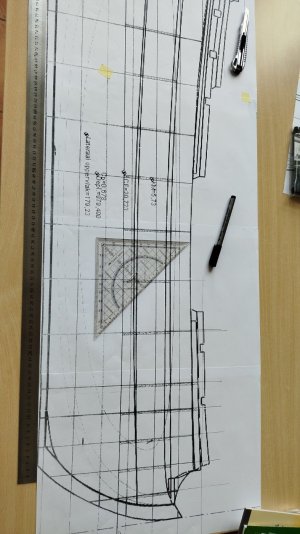
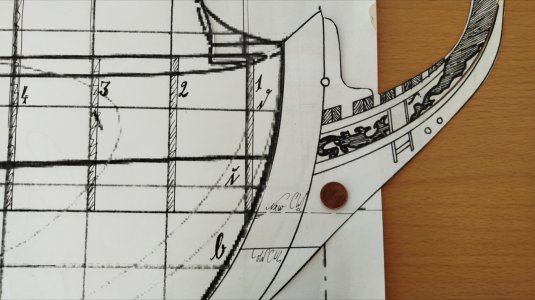
Today I started my work on the centerboard

And with the placement of the cutwater I am completly irritated (as to be seen in the difference between the original and Heinrich Winter's CWL. .
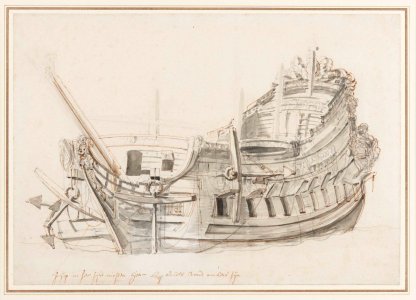
The placement of the bowspriet looks right.
I had to lengthen the centerboard template byt three millimeters to get my Lpp of 1.200,3mms at the CWL.

Best wishes from Berlin Card Yard,
Chris

IMG_20260908_094817_647.jpg

IMG_20260908_095127_372.jpg

IMG_20260908_100947_632.jpg

IMG_20260908_102914_379.jpg

IMG_20260908_112441_661.jpg

Polish_20260908_124150566.jpg
 
Hello,

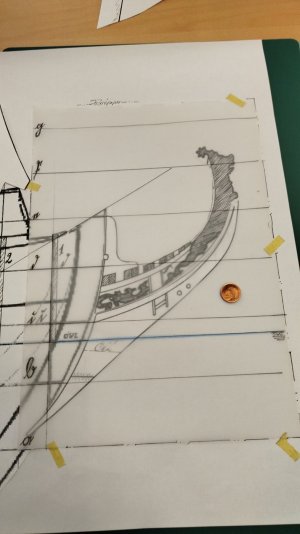
today I am still dealing with the gallion addition to the centerboard.
IMG_20260909_100404_303.jpg
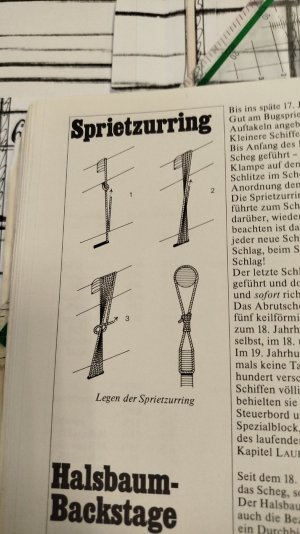
I am still un shure If my placement and distance between CWL and the opening for the "Spritzurring"
IMG_20260909_113143_450.jpg
IMG_20260909_110135_650.jpg

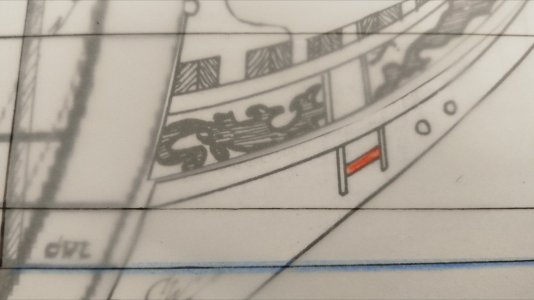
I coloured the lower opening in orange...
Polish_20260909_113502787.jpg...it's minimal distance to CWL is 21,5mms x 33= 709,5mm -> 2-1/2 Amstrdm. Feet Redface
So the ropes are getting very very wet.

@Ab Hoving @Herman is my placement historically correct for midst of the 60th* ?
IMG_20260909_111834_887.jpg
Here dealing with the sprietmast's slot for the centerboard. Position of the fockmast is quite easy to construct:
IMG_20260909_103335_688.jpg
here the completed cut by Heinrich Winter:
IMG_20260909_100603.jpg
Thank you very much.


*17th century ;)

IMG_20260909_103335_688.jpg

IMG_20260909_095802_945.jpg
 
Hello,

today I am still dealing with the gallion addition to the centerboard.
View attachment 633570
I am still un shure If my placement and distance between CWL and the opening for the "Spritzurring"
View attachment 633575
View attachment 633566

I coloured the lower opening in orange...
View attachment 633574...it's minimal distance to CWL is 21,5mms x 33= 709,5mm -> 2-1/2 Amstrdm. Feet Redface
So the ropes are getting very very wet.

@Ab Hoving @Herman is my placement historically correct for midst of the 60th* ?
View attachment 633567
Here dealing with the sprietmast's slot for the centerboard. Position of the fockmast is quite easy to construct:
View attachment 633565
here the completed cut by Heinrich Winter:
View attachment 633563
Thank you very much.


*17th century ;)

View attachment 633564

View attachment 633568
Hi Chris.
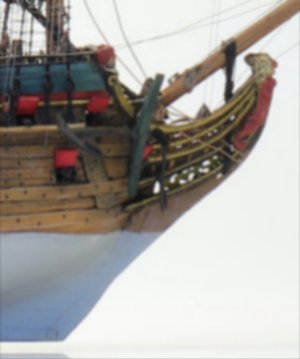
I am no expert, just a hobbyist, for now following the drawings of Blom and Dik. I am now studying Ab’s book “Nicolaes Witsens Scheeps-Bouw-Konst open gestelt” to get more basic knowledge. What you come up with looks ok to me with one remark. Looking at one of your latest drawing, 1788955430658.jpegthe bowsprit seems to come in contact with the upper parts of the galleon. It should of course stay clear.
Enclosed a picture of my 7 Provincien.
1788952364086.jpeg
 
Last edited:
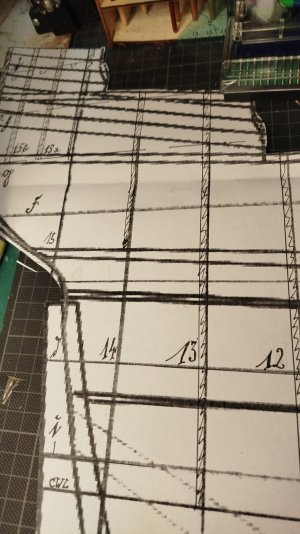
First steps with the bulkheads have started
IMG_20260909_142214_161.jpg
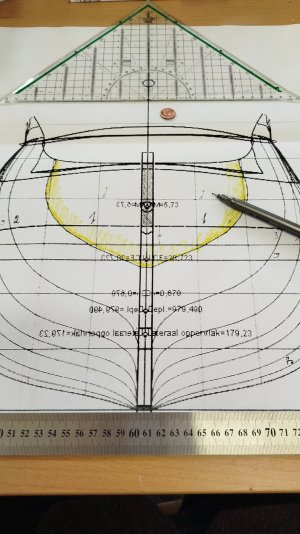
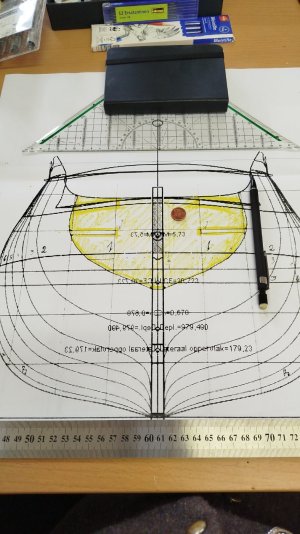
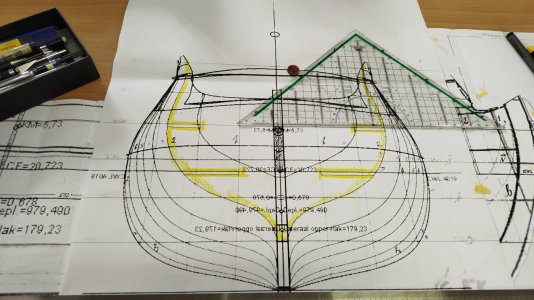
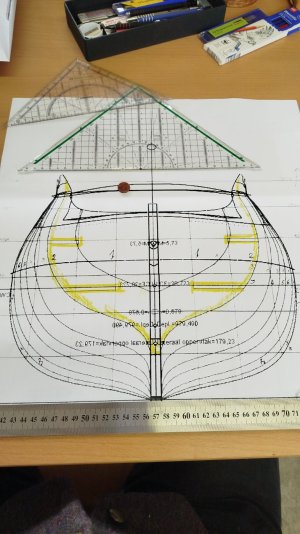
I pinned the centerbord to the table's top and added the ruler parallel to theowest line called Alpha. Than I looked for 90° edged by the use of two set squares. By the use of these I prolonged the waterlines to the sheet's edge and aligned the bulkheads.
IMG_20260909_150747_770.jpg
The outline of the bulkheads is coloured in yellow due to the good contrast.
IMG_20260909_141042_030.jpg
IMG_20260909_141843_919.jpg

After this I added the slots for the horizontal boards and by dots 5mms away from the deck's top the curved slots for the deck(s).
IMG_20260909_145847_719.jpg
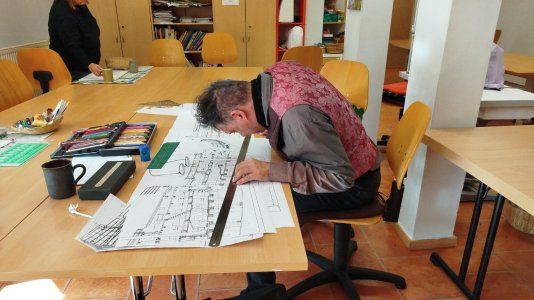
My time invest? I needed one hour for the first two bulkheads

Best wishes from Berlin Card Yard, Chris

P.S.:
Here I will have to add the dotted line for the back deck as a support:
IMG_20260909_145629_093.jpg
 
Last edited:
Hi Chris.
I am no expert, just a hobbyist, for now following the drawings of Blom and Dik. I am now studying Ab’s book “Nicolaes Witsens Scheeps-Bouw-Konst open gestelt” to get more basic knowledge. What you come up with looks ok to me with one remark. Looking at one of your latest drawing, View attachment 633599the bowsprit seems to come in contact with the upper parts of the galleon. It should of course stay clear.
Enclosed a picture of my 7 Provincien.
View attachment 633584
Thank you very much Herman! So I have to avoid contact between bowsprit and the upper parts of the gallion.

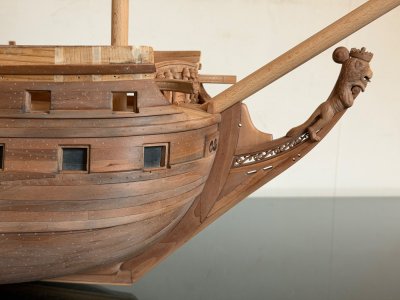
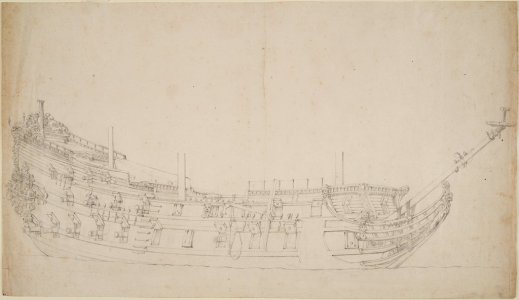
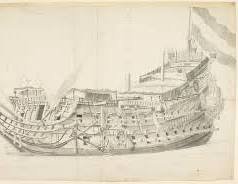
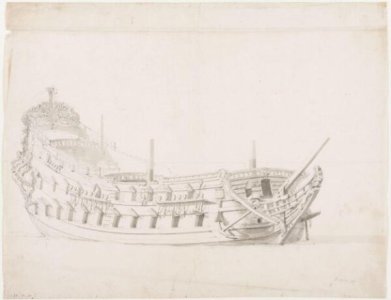
As shown by Van de Velde:
Velde-II-T-2013-140-scaled.jpg1945.0002.000234.jpg2018LH3074.jpg

images - 2026-09-09T153609.165.jpeg
 
Back
Top