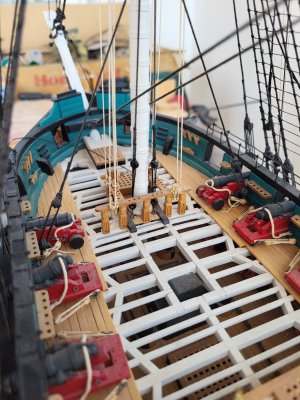
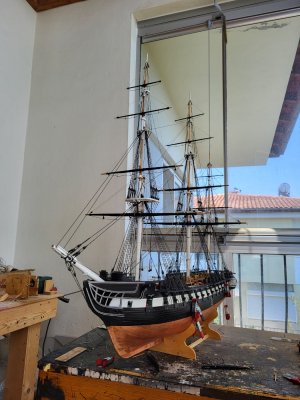
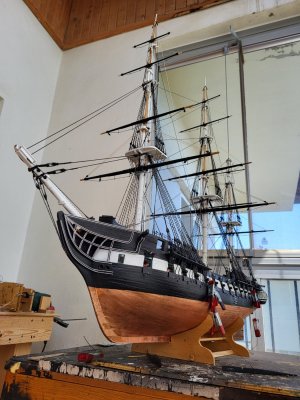
- Joined
- Oct 9, 2020
- Messages
- 2,547
- Points
- 538

I fully appreciate that. I am on year 2 and I haven't even started the rigging yet.I have spent three years so far.

 |
The beloved Ships in Scale Magazine is back and charting a new course for 2026! Discover new skills, new techniques, and new inspirations in every issue. NOTE THAT OUR NEXT ISSUE WILL BE July/August 2026 |
|
 |
As a way to introduce our brass coins to the community, we will raffle off a free coin during the month of August. Follow link ABOVE for instructions for entering. |
|
I fully appreciate that. I am on year 2 and I haven't even started the rigging yet.I have spent three years so far.
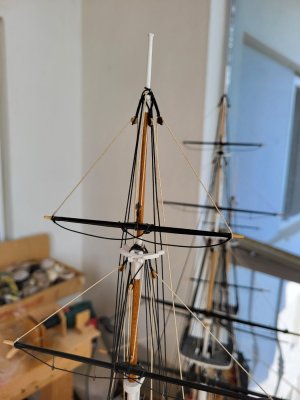
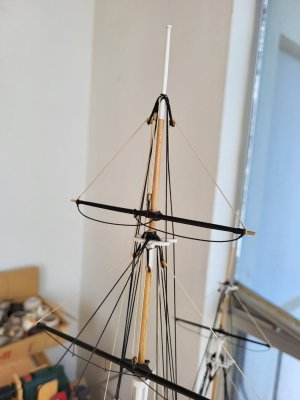
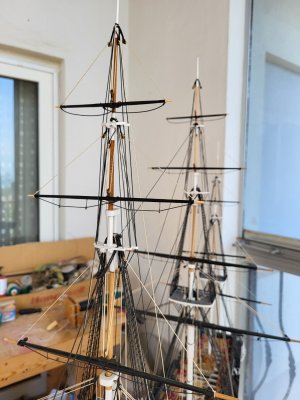
I think your model looks spectacular. One can tell that it has been worked on for a long timeI'm on year 9 and haven't finished the spar deck! Slow and steady, and everyone else finishes before me! But it's not a race, it's a journey.
Jon


I took the easy route and decided to build the Constitution in its present-day form. The reason is that there are countless photos of the current version available online, and I’m making extensive use of them.I think your model looks spectacular. One can tell that it has been worked on for a long time
that's right its a journey. My problem is that I keep changing the scope of work all the time and add more stuff. I mean why would I want to put 1812 rigging on the MS version of the boat? Just because.
A smart move Mustafa. I decided to make her as she was in 1812 and had no idea what a research project that would become. August marked 3 years for me. Hoping to finish in 6 or 7. We'll seeI took the easy route and decided to build the Constitution in its present-day form. The reason is that there are countless photos of the current version available online, and I’m making extensive use of them.
i am just using the 1812 rigging. Everything else is as the kit is designed. They should have kept the 1812 rigging on the real ship anyways, imhoA smart move Mustafa. I decided to make her as she was in 1812 and had no idea what a research project that would become. August marked 3 years for me. Hoping to finish in 6 or 7. We'll see

Thank you Jon. I’ll try to do the scrollwork on the trailboard last. For now, I don’t want to waste time on it. I don’t want to rush it and end up with a sloppy job.I can't say enough to praise your craftsmanship.
I do have one question that has been lingering in my mind. Everytime I see the bow, I can't help wondering if you are going to add the white trailboard scroll work that defines the look of the ship. I believe at one point you stated that you hadn't decided or figured out how to properly apply the decoration. Had you decided to forgo this detail?
Jon
Thank you Paul.Outstanding work, Mustafa. Your experience always shows.

No, Peter, tying the sling was easier, but using a block looked more appealing to me visually. There is no other reason.You are correct that the MS plans do not use blocks for the royal yards. The halliard is simply attached via sling. Did you find it easier to incorporate a block then merely tie a sling?
Fair enough... I did not find adding blocks to the yard all that easy, so will likely go with the slings - when I get there.No, Peter, tying the sling was easier, but using a block looked more appealing to me visually. There is no other reason
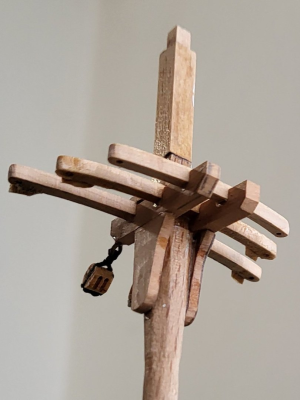
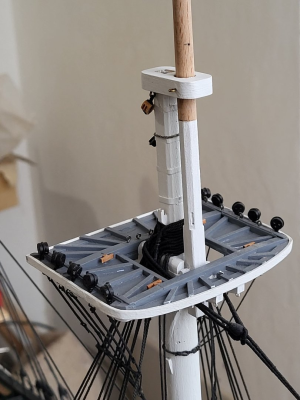
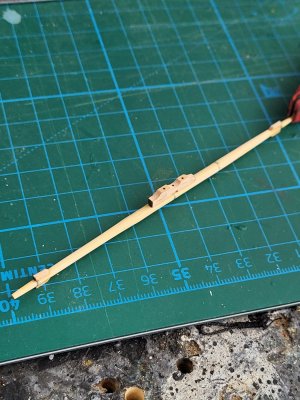
No Peter, there’s really no reason not to glue the cheeks and crosstrees directly onto their mast segments right away.In the meantime, I'm now constructing crosstrees. I looked back to where you made yours in this build log, and have to ask. Is there any reason not to just glue the cheeks and crosstrees onto their respective mast segments right away?
I cut the top edges of the cheeks at the same angle as the mast, so the fighting top and trestletrees sit on them parallel to the deck.I'm assuming that you provided for the mast angle when you installed the cheeks? Although, I just now checked the MS plans, and there does not seem to be an angle for these cheeks. The top edges are perpendicular to the mast. That can't be right. Or can it?
Hello,No Peter, there’s really no reason not to glue the cheeks and crosstrees directly onto their mast segments right away.
I cut the top edges of the cheeks at the same angle as the mast, so the fighting top and trestletrees sit on them parallel to the deck.
Hi Jack, I don’t have a kit, I’m building everything from scratch. I only answered because Peter asked, but maybe I misunderstood his question. If that’s the case, I’m sure he’ll get back to me.Hello,
I am just curious why you had to cut the cheeks. At least in my kit, they were already angled. I am asking because I am wondering if i did something wrong.
oh i am sorry. For some reason I thought you were using the MS kit and modifying it.Hi Jack, I don’t have a kit, I’m building everything from scratch. I only answered because Peter asked, but maybe I misunderstood his question. If that’s the case, I’m sure he’ll get back to me.