• Ships of Scale has incorportated an extra level of security when you log In. Please follow on-screen prompts to acknowledge that you are not a robot via a "Check Box" or a "Pictorial Check Box Puzzle". This is needed due to higher level of AI Activity Security.
  • SUBSCRIBE TO SHIPS IN SCALE TODAY!

    The beloved Ships in Scale Magazine is back and charting a new course for 2026!
    Discover new skills, new techniques, and new inspirations in every issue.

    NOTE THAT OUR NEXT ISSUE WILL BE July/August 2026
  • Win a Free Custom Engraved Brass Coin!!!
    As a way to introduce our brass coins to the community, we will raffle off a free coin during the month of August. Follow link ABOVE for instructions for entering.

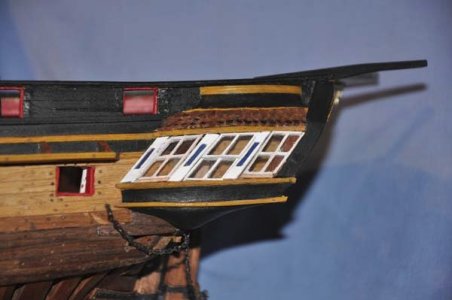
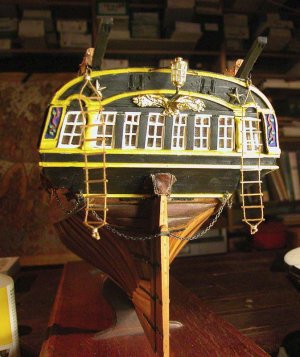
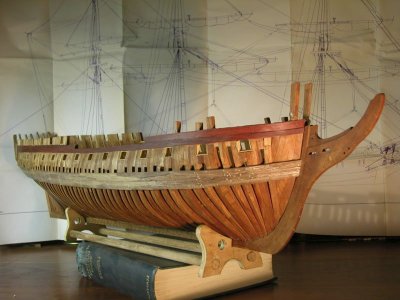
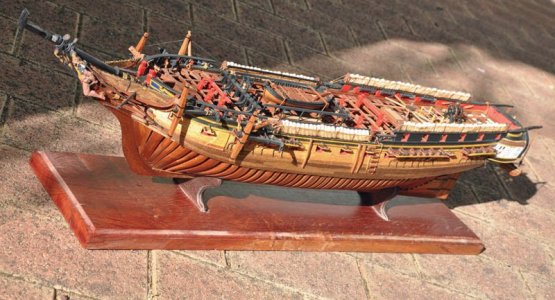
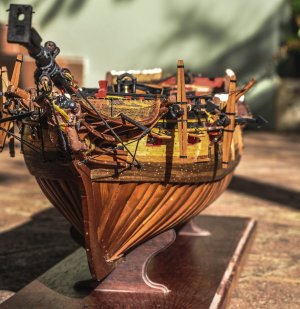
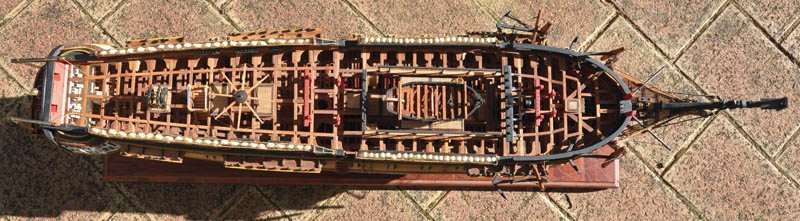
USF Essex. Admiralty style model 1/64 from Takakjian plans

I will repost what I said in my deleted post of december 6th in answer to Mr Zimmerman:
"
Thanks, Walt for the offer but I am finished with the Essex. It was buit 20 years ago when all that was available were Portia;s plans and Chappelle's lines.
If what I produced was inaccurate, sobeit. But it was, after all ,my first shipmodel. It taught me much and I am still proud of it with all its faults"


With this addition:
I think Mr Zimmerman missed the fact that this model was not "in progress" but had been finished over 10 years ago and therefore not subject to alteration. It followed not only Portia's plans but also her monograph on her build. As it was my first ship model, I was and still am fond of it and probably overracted to Mr Zimmerman's comments by deleting my posts.
Nonetheless I am still prepared to repost the log if the membership wish .
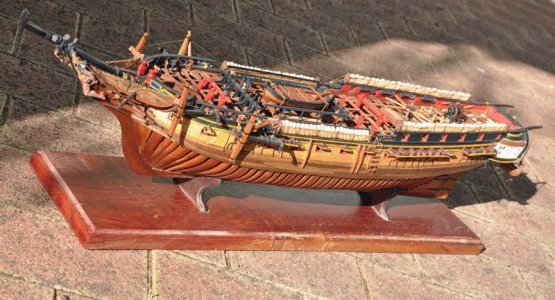
DSC_0005a.jpg
Cheers
Dick Woodrat
 
I will repost what I said in my deleted post of december 6th in answer to Mr Zimmerman:
"
Thanks, Walt for the offer but I am finished with the Essex. It was buit 20 years ago when all that was available were Portia;s plans and Chappelle's lines.
If what I produced was inaccurate, sobeit. But it was, after all ,my first shipmodel. It taught me much and I am still proud of it with all its faults"


With this addition:
I think Mr Zimmerman missed the fact that this model was not "in progress" but had been finished over 10 years ago and therefore not subject to alteration. It followed not only Portia's plans but also her monograph on her build. As it was my first ship model, I was and still am fond of it and probably overracted to Mr Zimmerman's comments by deleting my posts.
Nonetheless I am still prepared to repost the log if the membership wish .
View attachment 626153
Cheers
Dick Woodrat
Thank you for your new post in your log, Dick. The photo you posted again shows, in my opinion, a beautiful build model. I can also understand your earlier disappointment. But there is a variety of approaches to building a model, and there are also different ways to demonstrate that to others. Discussions about the method have been held here on the SoS quite often. And the documentation and techniques to be used have also improved over the years.
Everything has probably ‘sunk in’ now, and hopefully you will be willing to show us a few more photos of your model. I certainly appreciate it.
Regards, Peter
 
Wonderful model! More pictures would be awesome.

I'm assuming it was not in a case the last 20 years!

A day with a small brush and tiny blower would be time well spent on such a nice model!

Thanks for sharing!!!
 
I'm assuming it was not in a case the last 20 years!
In fact it has been encased. I believe a case is vital to preserve the the models. Occasionally I take them out and oil them. Cases also protect against vicious dusters wielded by well meaning admirals.

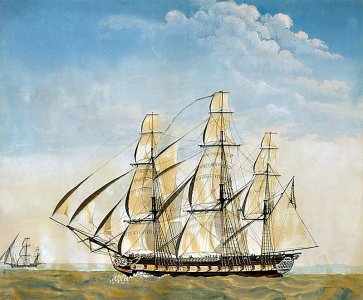
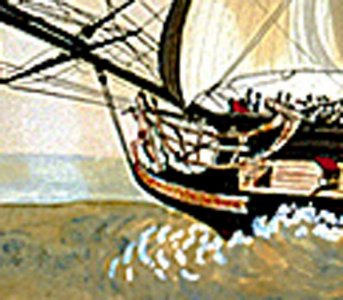
This is the famous Howard painting of Essex. I will recommence the abbreviated log soon. Note the algerian xebec in the background

Dick


howard painting sharpened 01.jpg
 
I started this as my first scratch model having had an unpleasant encounter with the Billings Golden Hind (I had completed and decorated the hull when I made the mistake of actually researching elizabethan galleons. As a result I discarded it and decided to build something from scratch). About this time (1990s) I saw a picture of Portia Takakjians Essex in a shipmodelling magazine and was taken by the beauty of the admiralty style model. I sent away and got the plans from Abe Taubman and got a photocopy of Portia's monograph on the build. Also was obtained the AOTS Essex publication. I should point out that I live in Western Australia and access at that time to shipmodelling books was difficult.
Having already possessed a Triton table saw, I spent a few years accruing tools (Unimat3 lathe, disc sander, hand tools) or building them ( thickness sander, ropewalk, spindle sander).
As it was an american ship, I chose cherry as the wood and bought a baulk of cherry which I converted to rough planks which I then thicknessed.
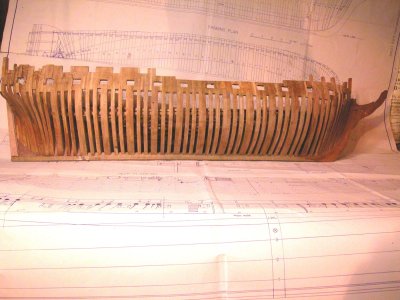
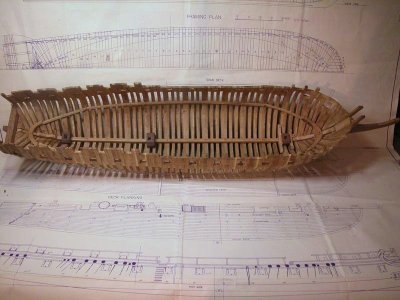
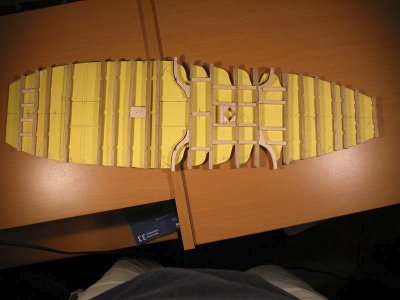
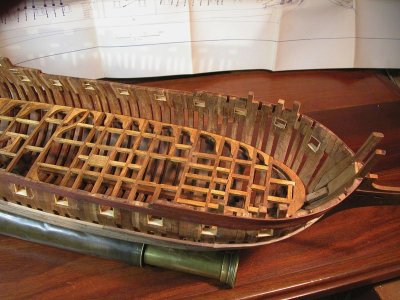
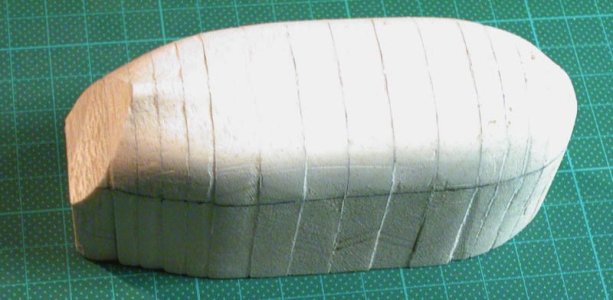
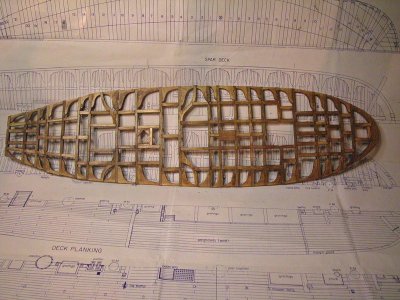
Note that Ms Takakjian was impressed by the admiralty model of the HMS Bellona which had two thicknesses of frame but did not reproduce the true framing technique.
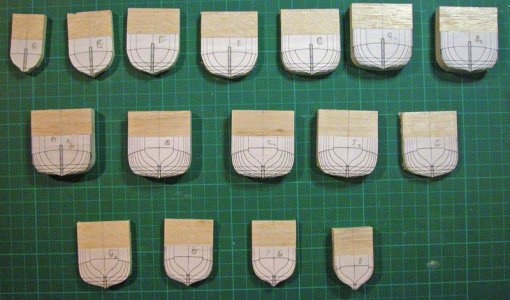
As she built her model in a similar way, so the plans were drawn and I followed them.
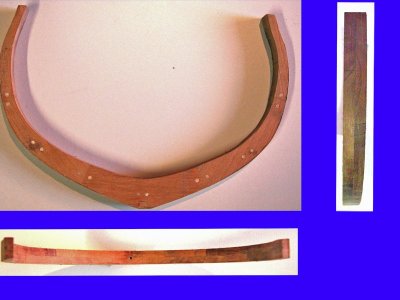
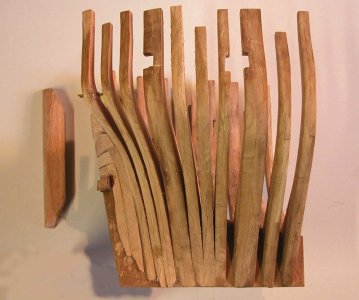
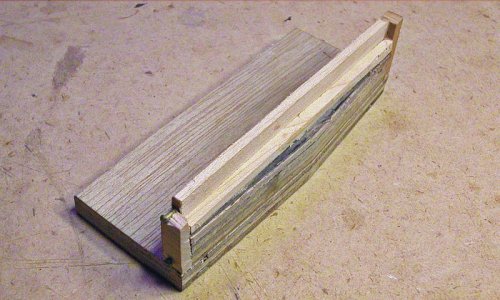
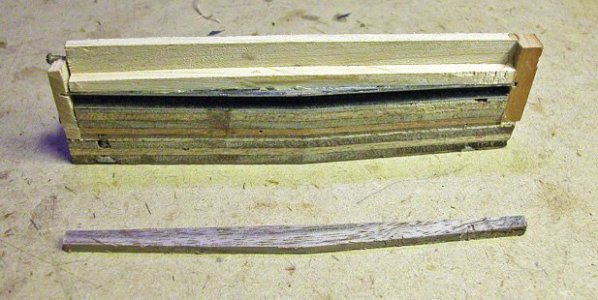
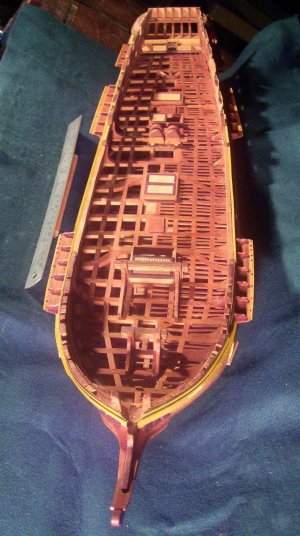
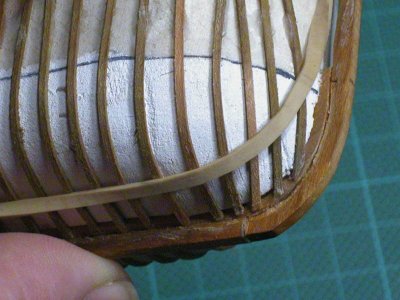
This is a typical double frame. As you can see, it makes no pretense to be a true frame. The technique use was also quite wasteful of wood.
Two-part resin glue and wooden dowels.
frame 01.jpg
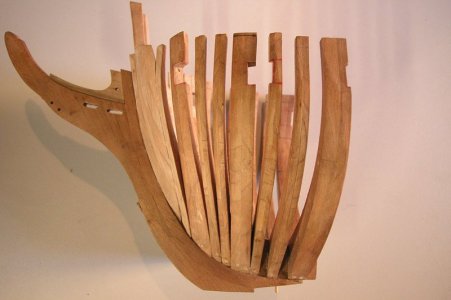
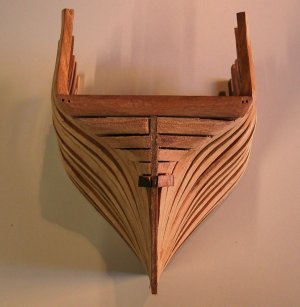
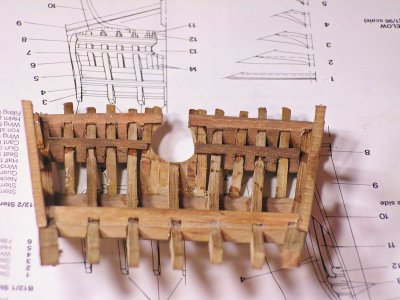
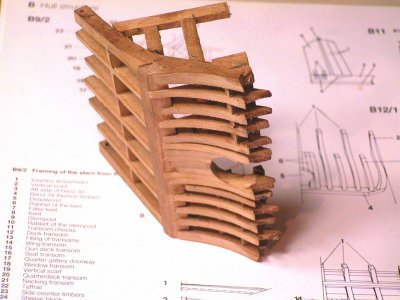
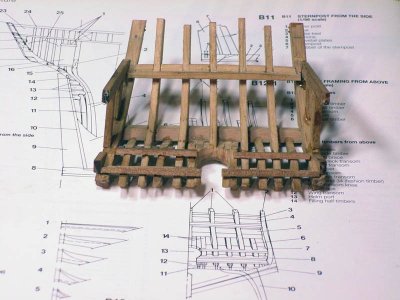
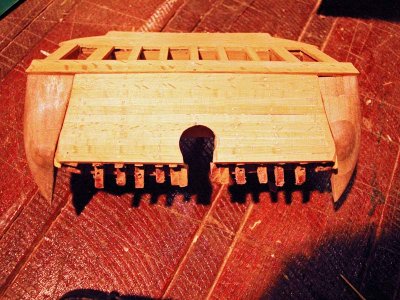
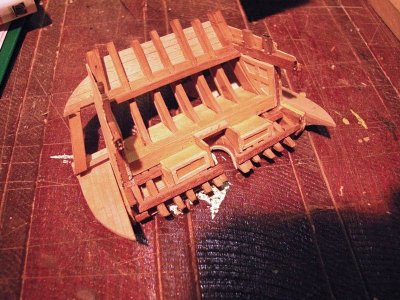
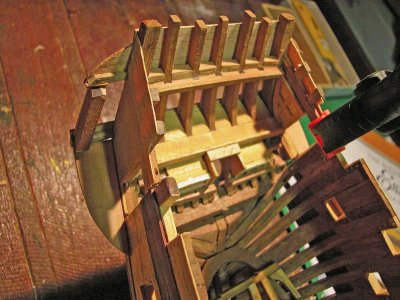
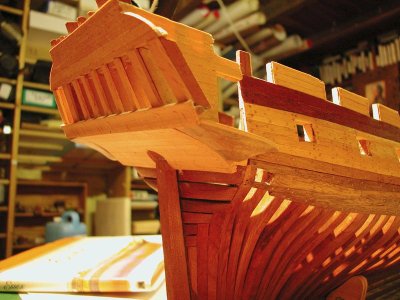
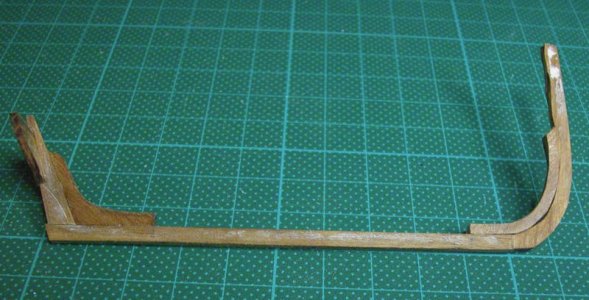
The bow and stern were made as separate modules
pic0245a.jpgPic0251a.jpgPic0253a.jpg
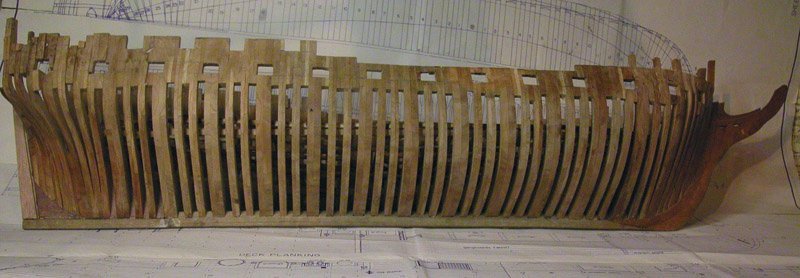
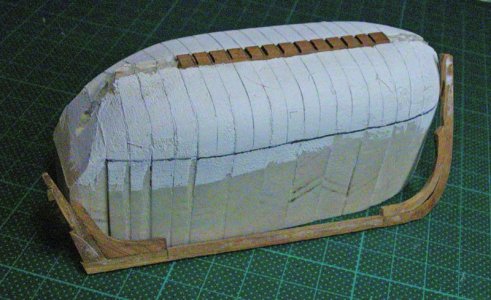
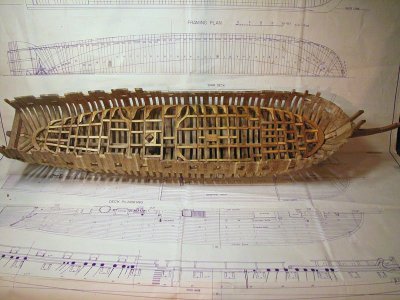
Later joined with the keel and the intervening frames made. You can see the two diiferent frame thicknesses
pic0268b.jpg
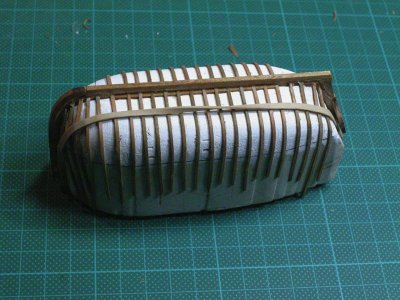
At this point (2005) my inexperience showed, I did not use a full building jig and consequently developed a slight twist to the hull and a slight hog which I had to live with. Since that time a building jig has been used on all subsequent models that were built frame first.

Dick Woodrat
 
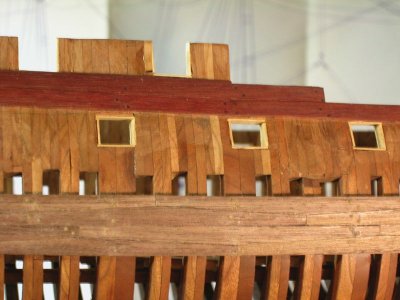
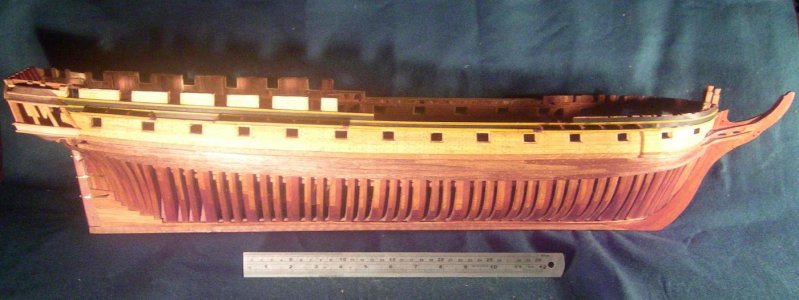
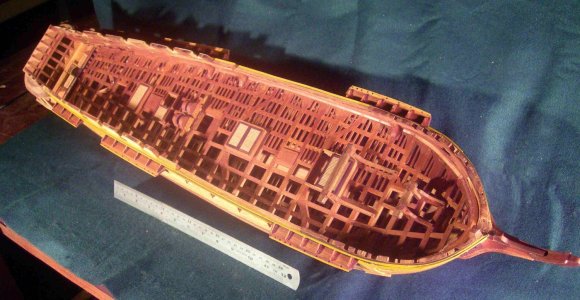
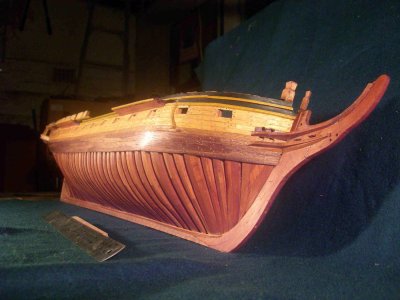
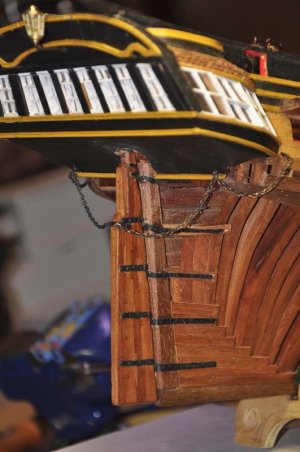
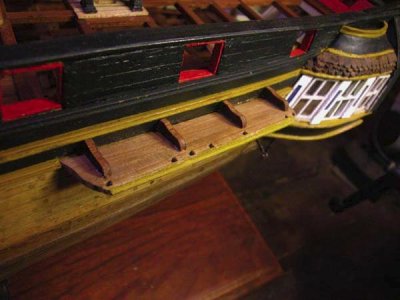
This is now 2008. The frigate is planked above the main wale and the gun deck is framed .
Chainwales applied, hatches, pumps
essex may2008 01a.jpgessex may2008 02a.jpgessex may2008 03a.jpg
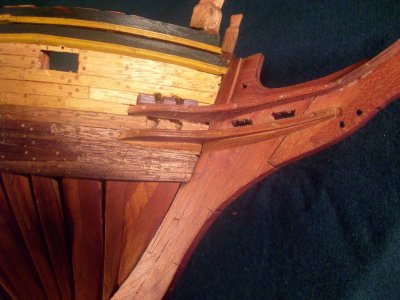
a start has been made on the ship's head
essex may2008 06a.jpgessex may2008 07a.jpg

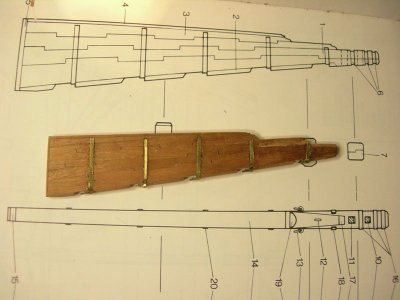
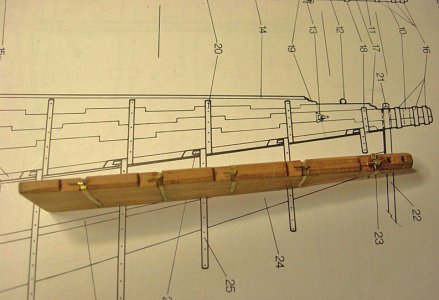
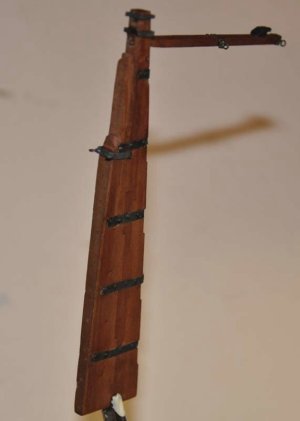
The built rudder shown on the AOTS drawings

rudder 01.jpgrudder 02.jpg
rudder 04.jpgrudder 080510 resized 04.jpg
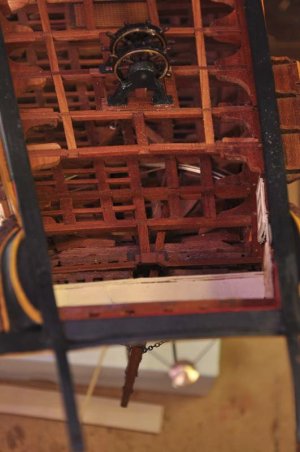
starboard the helm.jpg
And hooked up to the wheel. The steering mechanism functions.

Next post, the building of the wheel and capstan
Cheers
Dick
 
Last edited:
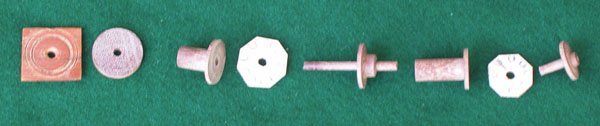
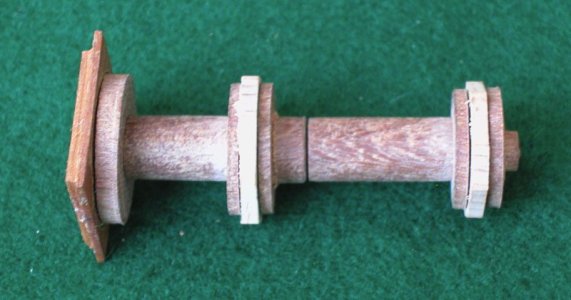
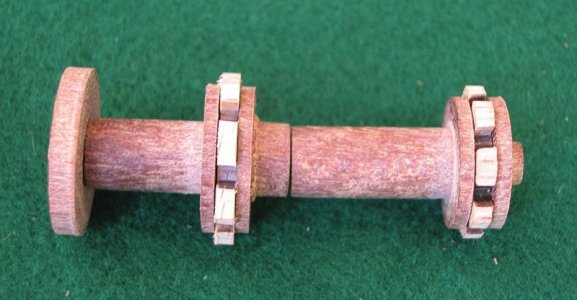
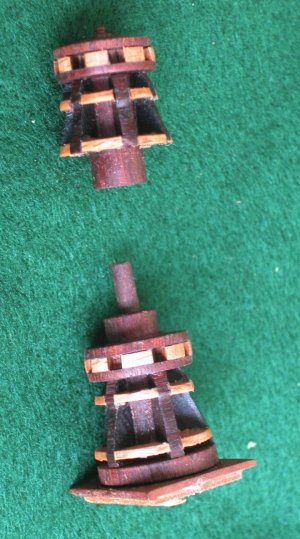
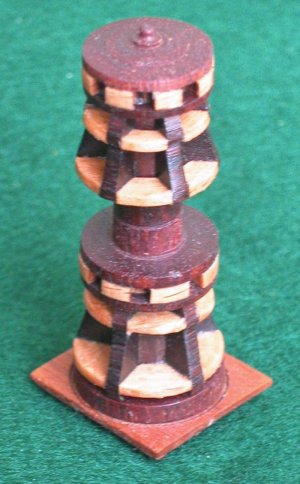
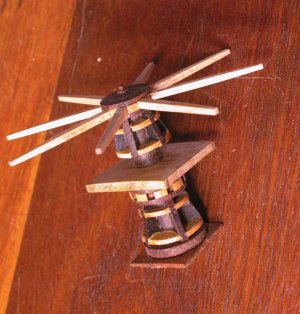
The double capstan showing components and assembly
double capstan essex 01.jpgdouble capstan essex 02.jpgdouble capstan essex 04.jpgdouble capstan essex 05.jpgdouble capstan essex 06.jpgcapstan 01a.jpgcapstan 03.jpg

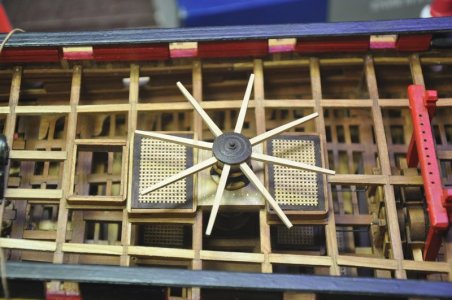
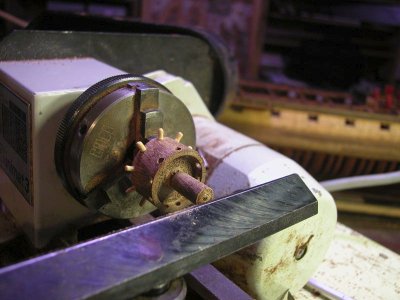
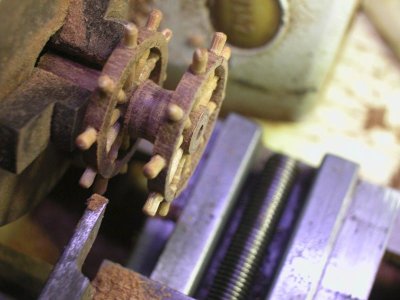
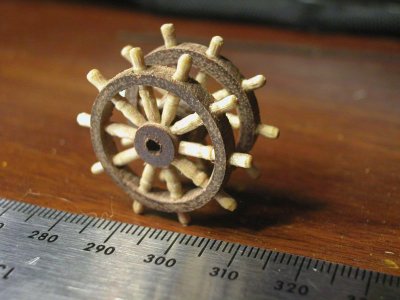
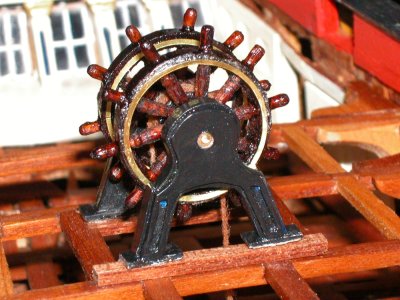
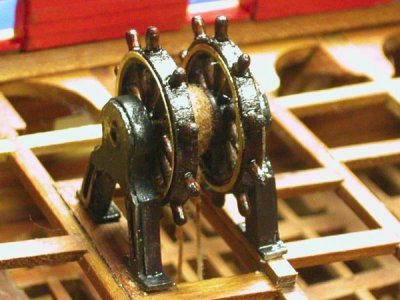
The double wheel. The Unimat 3 lathe used throughout the build came into its own for the capstan and the wheel.
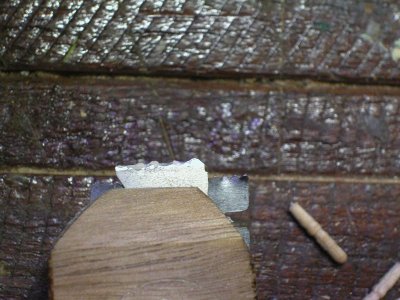
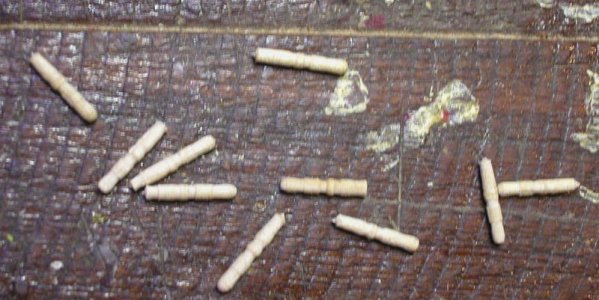
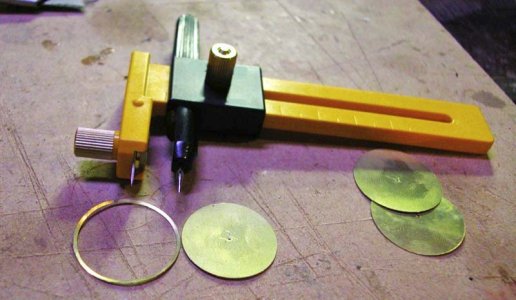
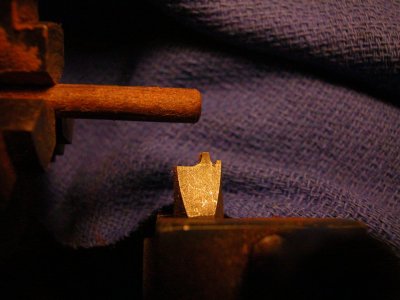
The template made from a piece of saw blade to cut the spokeswheel 04.jpg
DSCN0005a.jpg
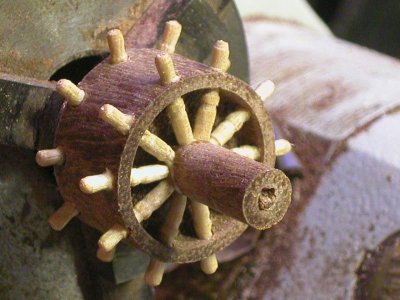
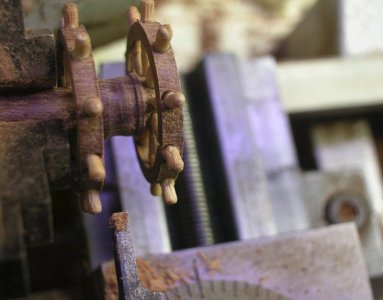
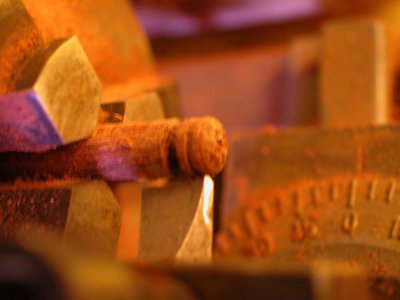
The dividing attachment and the milling attachment was used to drill the holes for the spokes and handles.
the centre removed DSCN0001a.jpgwheel 05.jpg
The barrel between the wheels turned with great trepidationwheel 06.jpgwheel 07.jpg
The wheel completedwheel 08.jpg

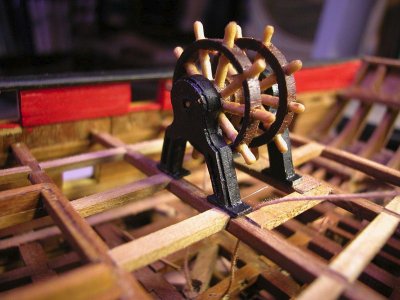
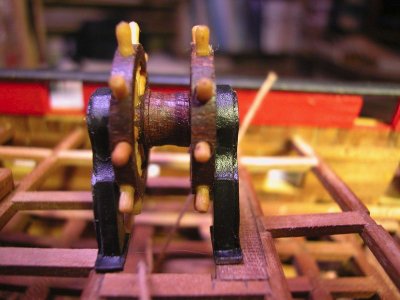
The pedestals fittedwheel 09.jpgwheel 10.jpg
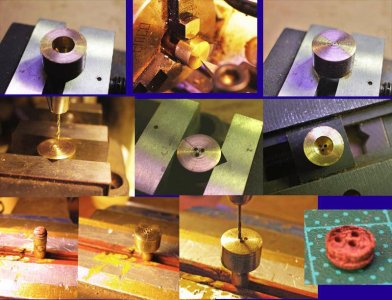
The rims cut from sheet brass with a circle cutter and glued on
wheel brass resize 1.jpgwheel brass 2 (6).JPG
wheel brass 3.jpg
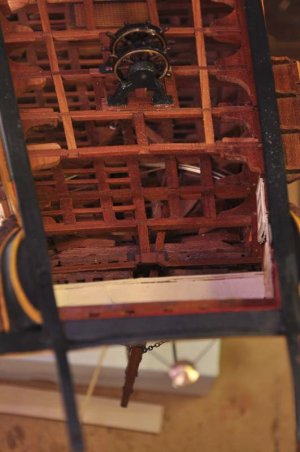
The wheel linked to the tiller mechanism
starboard the helm.jpg

Boorda
Dick
 
A nicely executed ships wheels and the brass rims gives a great plus.
Regards, Peter
Yanga (Noongar for thank you) Peter. I find doing these smaller fittings very satisfying. A bit like furniture for a doll's house.

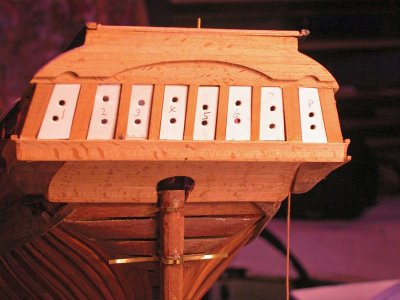
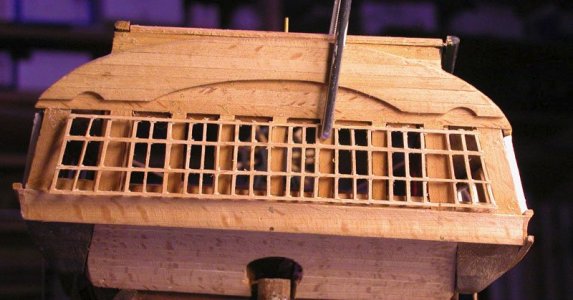
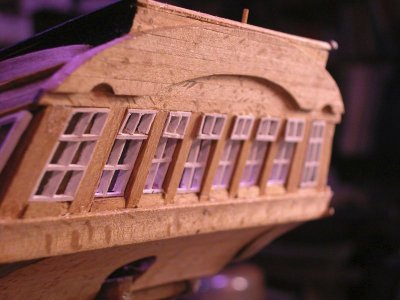
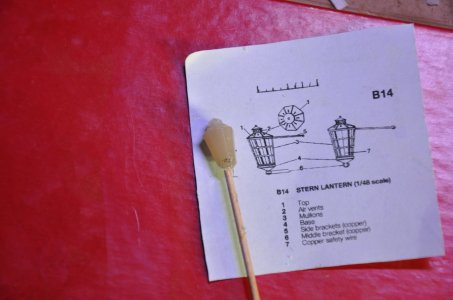
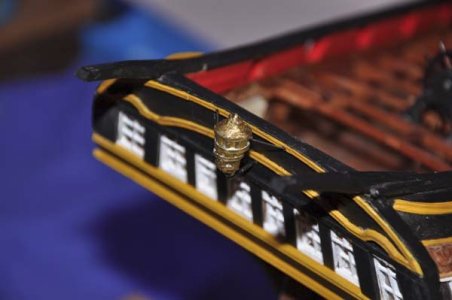
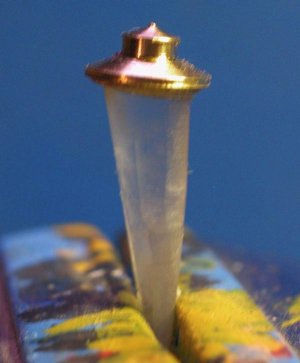
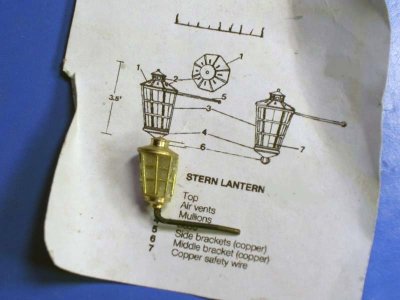
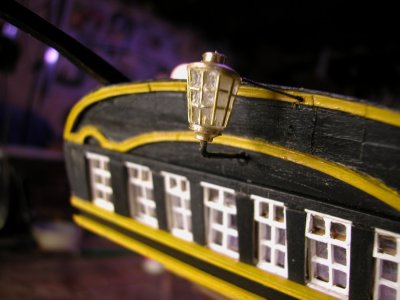
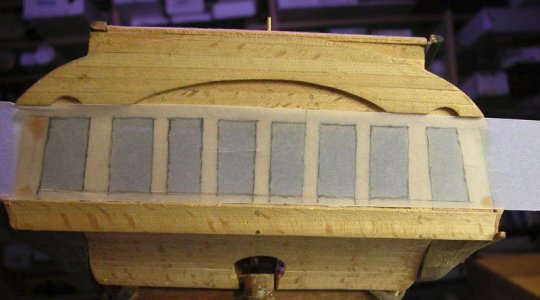
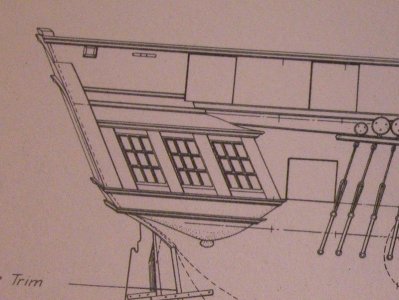
A rough but effective stern lantern
The first try

lantern first version(21).JPG

lantern resize 07.jpg
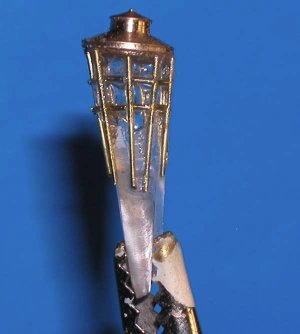
As has been said: "first efforts should not be seen by third parties". So I tried again. No short cuts.
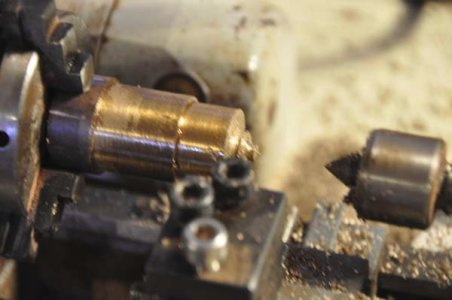
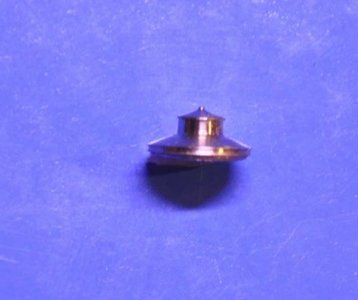
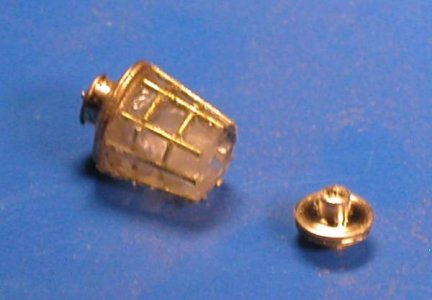
A brass capsecond try resize 01.jpgsecond try resize 02.jpg
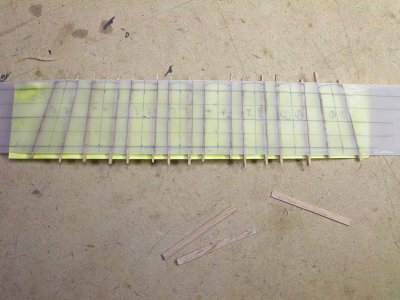
Perspex carved body and I filled the spaces beteween the brass wire with 2-part clear resinsecond try resize 05.jpgsecond try resize 07.jpgsecond try resize 08.jpgsecond try resize 09.jpgstern lantern second try 2.JPG
"Its not fancy but it's cheap"

Boorda
Dick
 
Thank you for all the likes.
What I am about to decribe may irritate the purists out there but I hope they take it in the spirit in which it was meant.

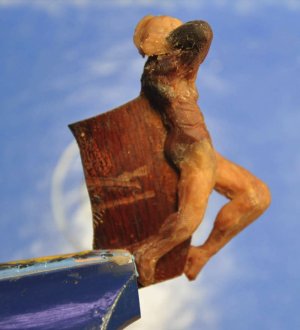
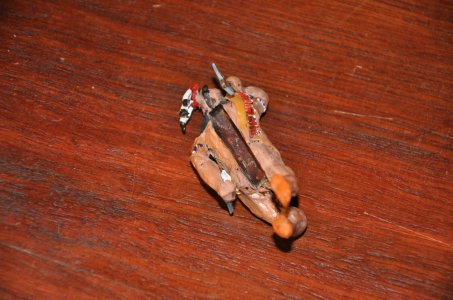
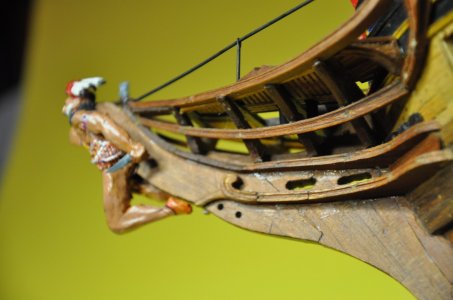
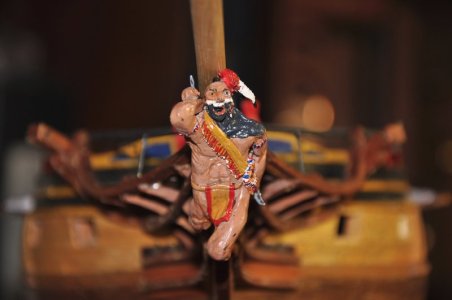
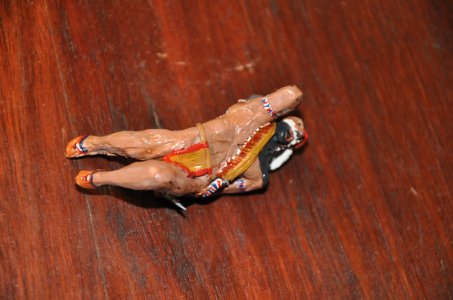
The Howard painting of the Essex shows an indigenous warrior probably Iroquois/Mohawk toting a tomahawk bestriding the head timbershoward painting sharpened 01 figurehead.jpg
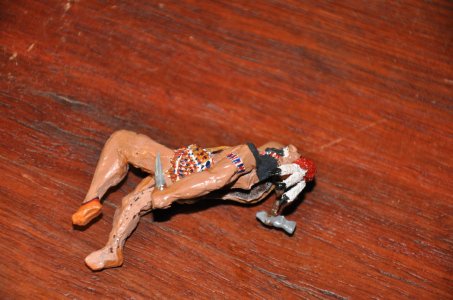
In order to do this figure justice I felt the warrior should be correctly depicted as much as I could and with appropriate respect for the indigenous culture.
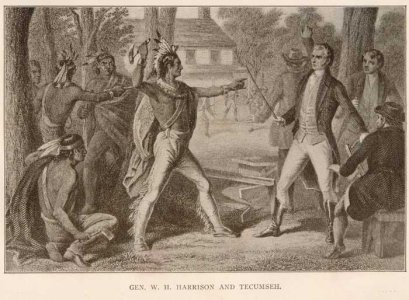
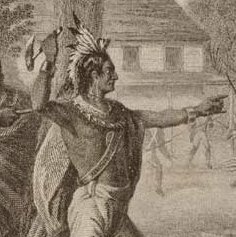
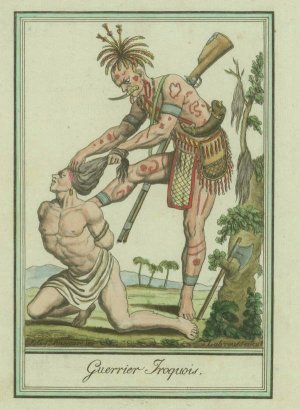
I therefore did some research into the attire and bodily ornaments of a Mohawk warrior of the period. I hope I came close. The posture of the warrior was similar to that in this engraving of Tecumseh confronting Harrison
Tecumseh_and_Harrison.jpgt 02.jpg
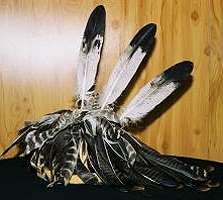
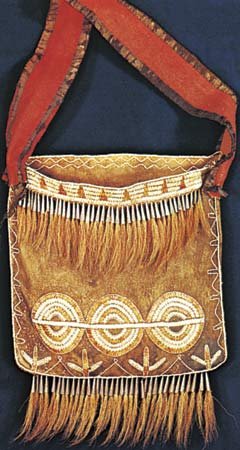
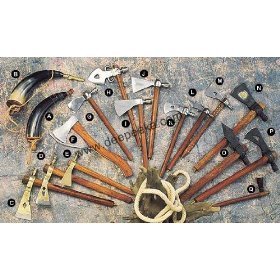
Other items of apparel were taken from contemporary ilustrations and museum exhibits
iroquois warrior resized.jpgheaddress14.jpg42165-004-B187ABC3.jpgmohawk6.jpg61C1d-IJbVL__SL500_AA280_.jpg
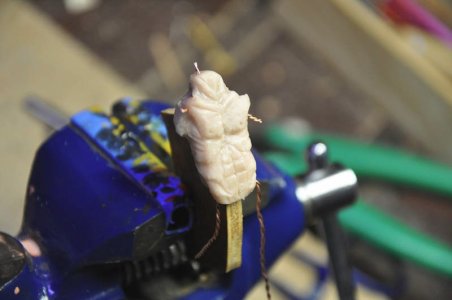
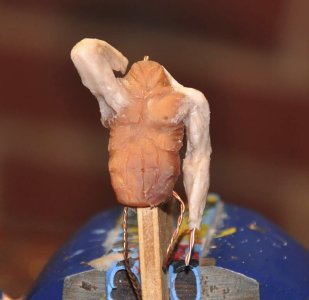
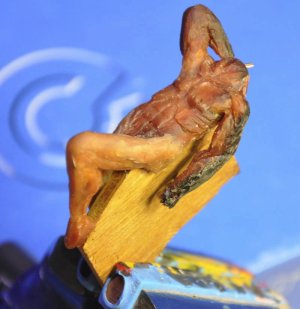
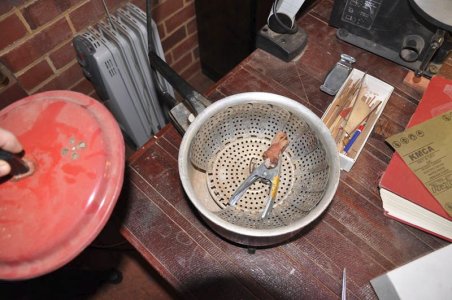
I hand-molded the figure in Sculpy based on a wire frame and baked it. Clout, headress and weapons were added after and appropriate body painting.figurehead 01.jpgfigurehead 02.jpg
figurehead 04.jpgfigurehead 05.jpgfigurehead 08.jpgfigurehead 030310 (2).JPGfigurehead 030310 (3).JPGfigurehead 030310 (4).JPGfigurehead 030310 (9).JPGfigurehead 030310 resized 06.jpg
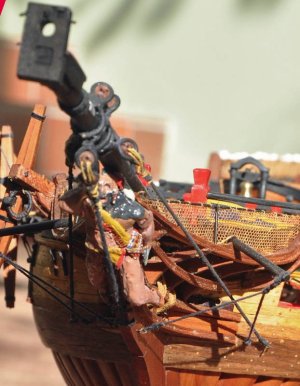
I hope the result would terrify any Algerian corsair
DSC_0006c.jpg

Boorda
Dick
 
Back
Top