Hi Greg,
Thanks for stopping by, I'm just muddling along one build step at a time.
Thanks for stopping by, I'm just muddling along one build step at a time.

 |
The beloved Ships in Scale Magazine is back and charting a new course for 2026! Discover new skills, new techniques, and new inspirations in every issue. NOTE THAT OUR NEXT ISSUE WILL BE July/August 2026 |
|
 |
As a way to introduce our brass coins to the community, we will raffle off a free coin during the month of August. Follow link ABOVE for instructions for entering. |
|
Yup, I've watched them a few times, seems to take me hours to do build steps he does in a twenty minute video.Those vifeo’s are very usefull!


Yup, I've watched them a few times, seems to take me hours to do build steps he does in a twenty minute video.

Hi Peter,Man-O-Man ….. that was a long time ago that I visited your log, Jan. You have neatly resolved 'a few minor issues'. And what a progress with your nice model. My chair is set again.
Regards, Peter
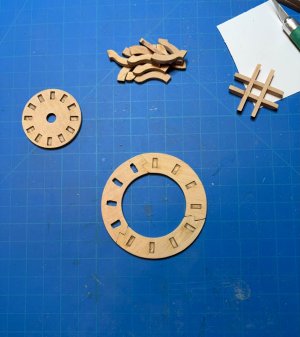
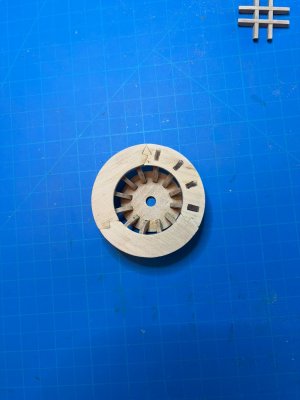
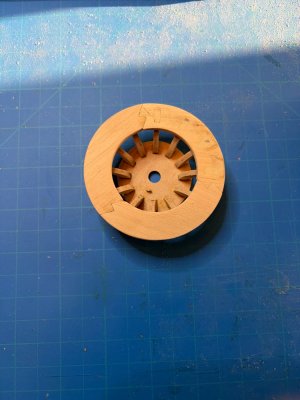


Thanks, those videos show quite a few of the minor errors that I've managed to work around. Hopefully future SM builders will find and watch them before they start those build steps.Jan - You may already be aware of these, but there are also some YouTube videos documenting their Santa Maria builds that assisted me in a few areas. And, yes, they ran across multiple concerns during their respective builds, as well. But all turned out well in the end.
Hi Yves,This is a very rare and exciting Build. Even more rare is the fact that it is done in the scale of 1/48th, which turns the model into something that can be held and admired easily. These Pavel Nikitin kits are usually very good and it is okay to have to go through a few mistakes. I am sure your comments will be taken into account and the next generation of this kit will have some corrections applied.
A legendary vessel finally replicated in the 1/48th scale.
Yves
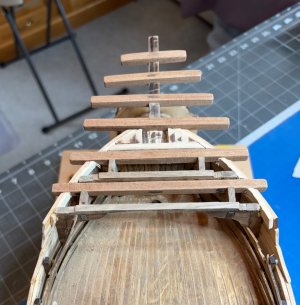

 . Cheers Grant
Hi Grant,Get better soon- I hope all the scans etc come out all good.

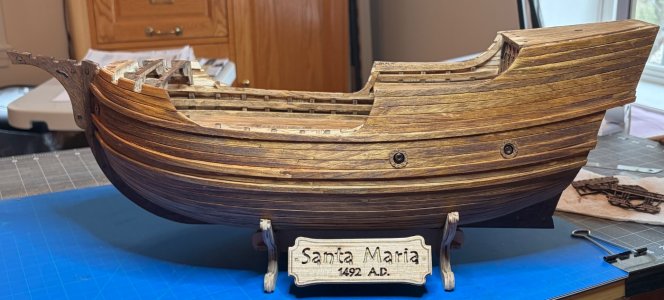
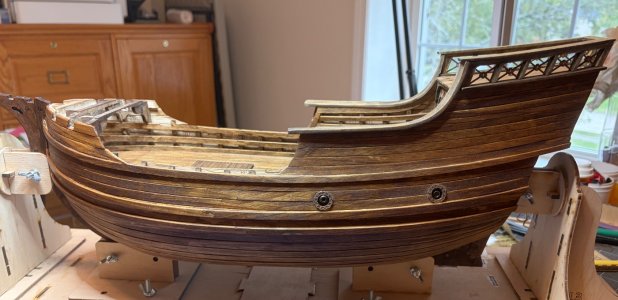
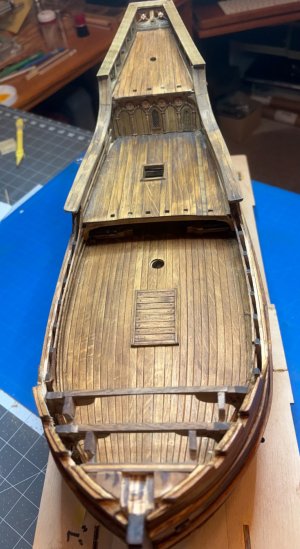
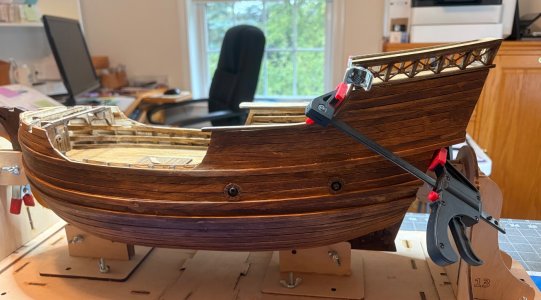
This came out nice, Jan. Feels very authentic.Little bit of work on the hull this morning. Covered myslf up with mask, apron and gloves and applied a third coat of Oak stain.
View attachment 638417
I've wiped off the excess stain and will let it dry for a couple of days and then I will lightly sand the hull with 400 grit sandpaper.
True story. How are you doing Jan. Cheers GrantFeels very authentic.
Hi Grant,How are you doing Jan
 cables" added.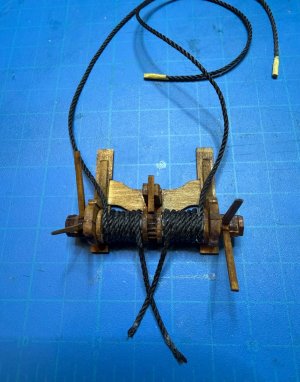
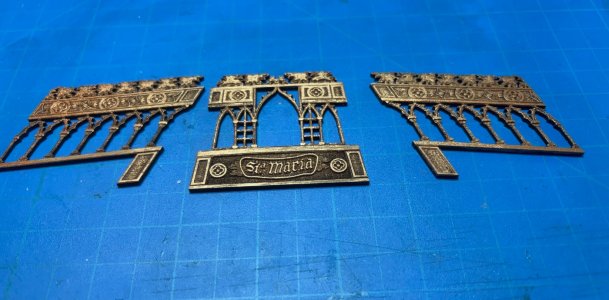
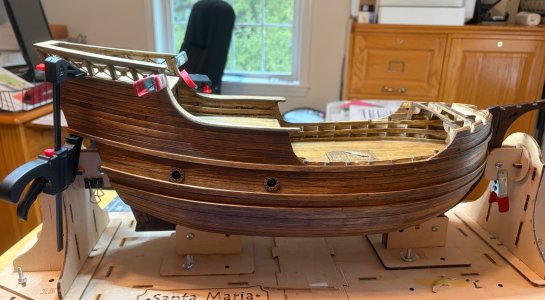
 Well maybe I'll check it again before I glue everything in place.