• Ships of Scale has incorportated an extra level of security when you log In. Please follow on-screen prompts to acknowledge that you are not a robot via a "Check Box" or a "Pictorial Check Box Puzzle". This is needed due to higher level of AI Activity Security.
  • SUBSCRIBE TO SHIPS IN SCALE TODAY!

    The beloved Ships in Scale Magazine is back and charting a new course for 2026!
    Discover new skills, new techniques, and new inspirations in every issue.

    NOTE THAT OUR NEXT ISSUE WILL BE July/August 2026
  • Win a Free Custom Engraved Brass Coin!!!
    As a way to introduce our brass coins to the community, we will raffle off a free coin during the month of August. Follow link ABOVE for instructions for entering.

Santa Maria1:48 (Pavel Nikitin)

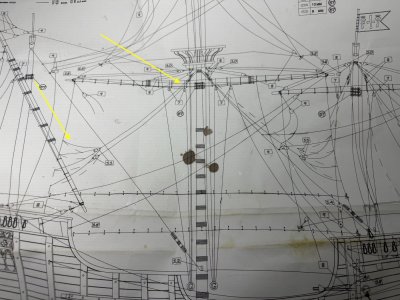
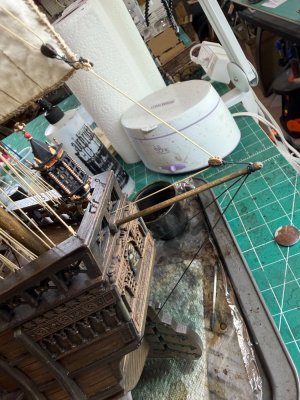
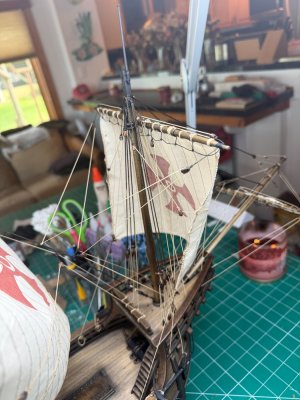
Can someone who knows about sails help me understand these ropes on the side of the main/fore sails? The kits rigging diagram shows these ropes on the front and rear of the sail. Are there really ropes going both ways? The other question is - the ropes lead up to the bottom of the crows nest then down. Is this right?
1.jpg

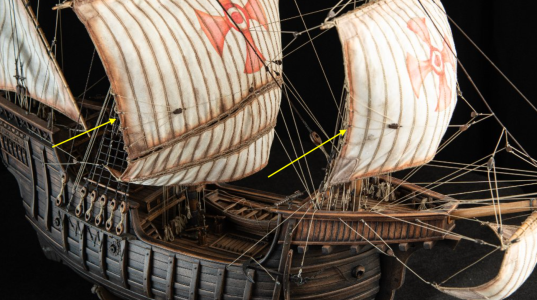
Here's a partial image of Pavel's build on the SOS website. Far as I can tell there are only ropes going forward and they are connected to a stay (they don't go up towards the crowsnest). Are there ropes going aft the we just can't see? Would there also be ropes going towards the rear?

2.png
 
Last edited:
trying to put a sail on the mizzen mast boom. Hasn't gone well so far!! First try I put the sail on upside down. I had the lower end of the boom pointing up and tied the sail to the boom. Oops! :rolleyes:. Second time tying the sail to the boom I tore the edging of the sail. Cut a new sail out. This is the third attempt at attaching the sail to the boom. I painted it with a water glue mixture.
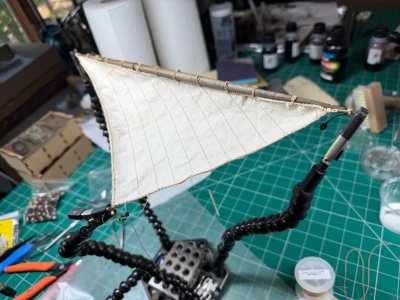
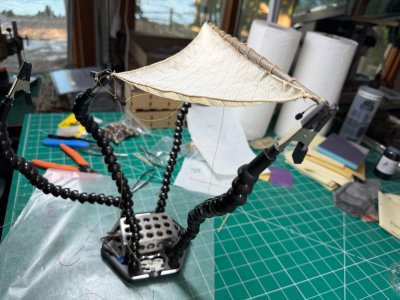
1.jpg2.jpg

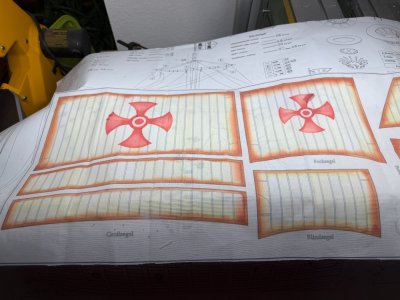
Don't remember exactly. But, think I bought painted sails from the Pavel website when I bought the ship kit. I don't really care for the color of the painted sails, so I'm using my own material. These are the sail I bought.
3.jpg
 
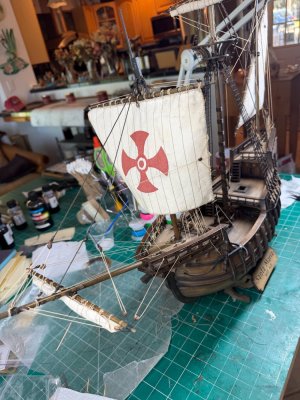
One more sail to go. The main sail. And the ship will be finished!
1.jpg2.jpg3.jpg4.jpg5.jpg

This little stick hanging of the back of the ship has about 2 pounds of glue on it!! I've lost count of how many times I've broken it.
6.jpg

Note on blocks. You will need about 20 more #8 blocks than those that come with the kit. AND be sure to drill out all holes on all the blocks before you install them. Some are too small to thread. Some don't have holes a all, just looks like they have holes. And some the holes don't go all the way through.
 
Last edited:
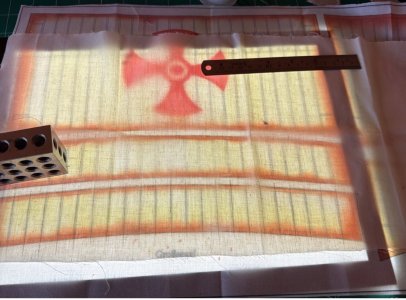
I had bought a light box on Amazon 3 years ago to trace some designs. I used it to trace the sails for the Santa Maria.
1.jpg
Board Light Tracing Box

There was a great fabric store called Joann's in town that had about anything one wanted for sail making. They closed down this store some time ago. I had some sail material I purchased from ModelExpo and I used this to make the sails. It's about the same thickness as the material which came with the kit.
I think this was the material

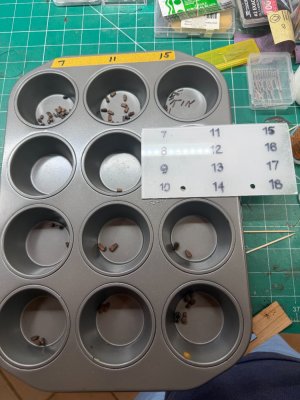
I had several rigging fittings left over. Don't know why there were so many of some and not enough of theres. #8 is the only one I was short of. I used 25 of my own.
2.jpg

I used all of my own rope as the kits rope looked 'shiny' and not as 'rope' looking quality as the rope you can buy from the sponsors here on SOS. I did use the kits rope for the shrouds. I liked the thickness and color.

On the foresail, I sewed the bolt rope on the sail. Doesn't look too good. Olha (website) has some great videos on sail making, well everything she does is greate!! I'm just nowhere near her skill level. I tried hand sewing the bolt rope as she shows. There's no way I can do that!

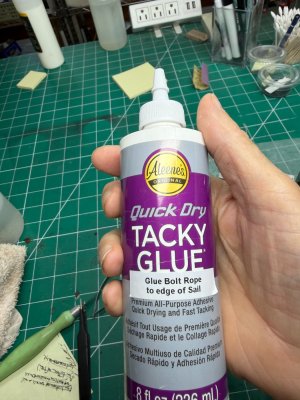
I had saved a video of a builder gluing the boltrope on. I tried this on the mainsail. This looks so much better (to me) than using s sewing machine. This is the glue he used. (glue)
3 tacky.jpg

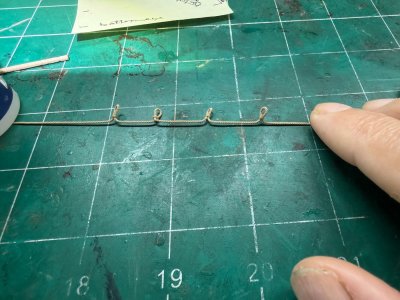
Was having trouble forming the cringles?? on the side of the sails. So I tied little loops on the boltrope before gluing it to the sail.
4 boltrope.jpg

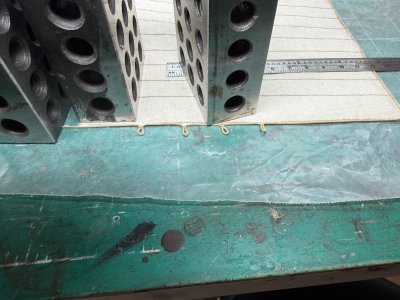
Gluing boltrop to mainsail. I also made smalll loops at the corners to tie lines to.
5 sails.jpg

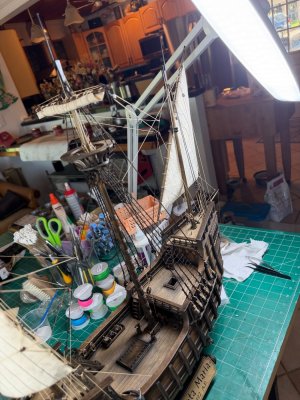
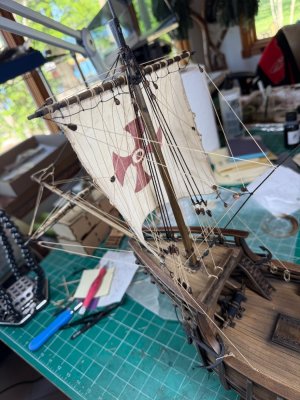
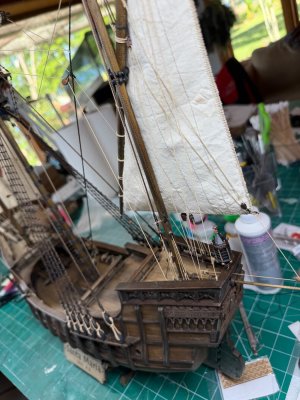
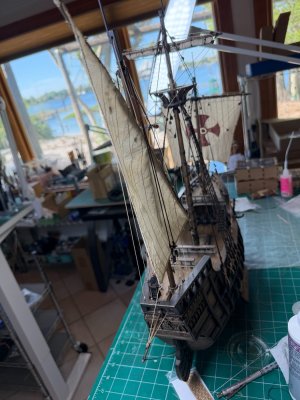
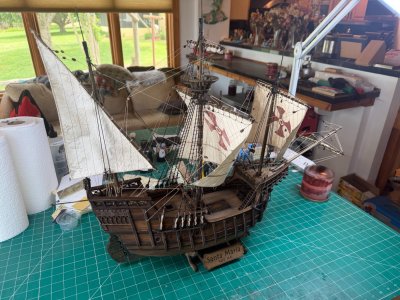
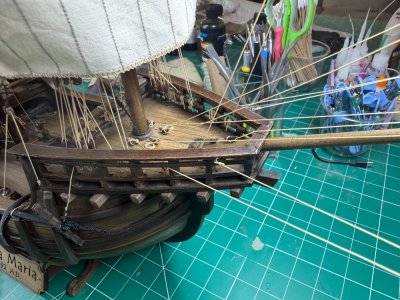
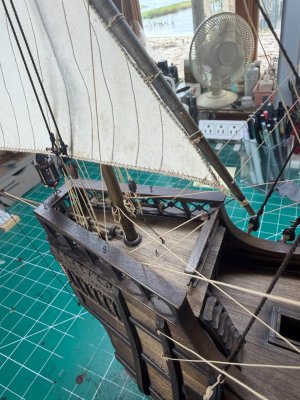
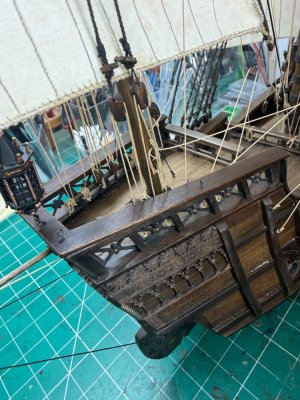
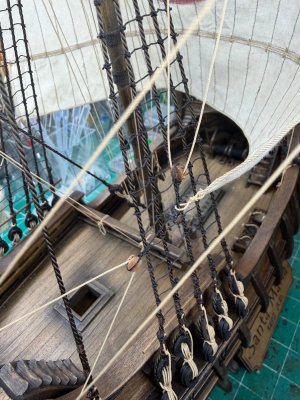
I completed the ship. Will attach some images next.
 
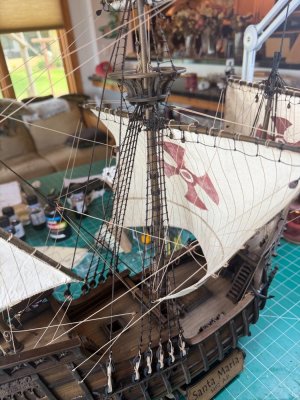
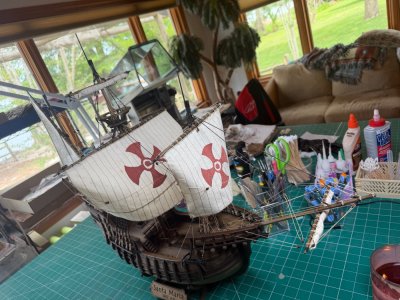
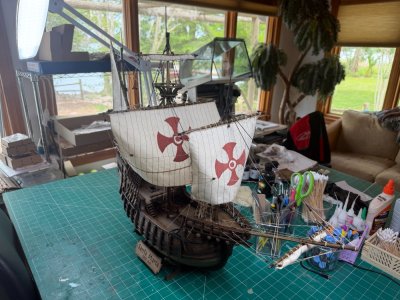
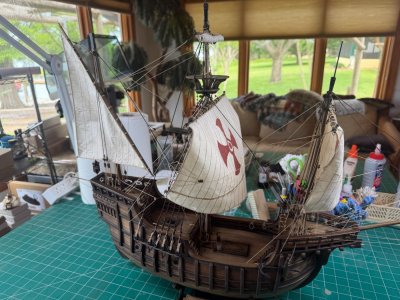
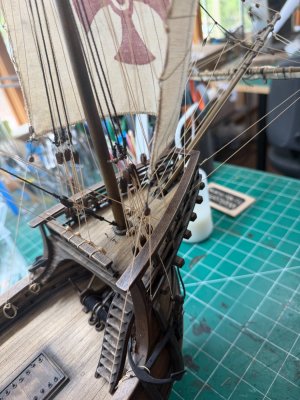
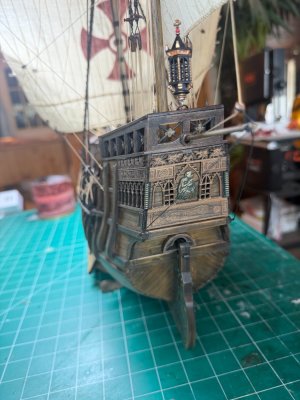
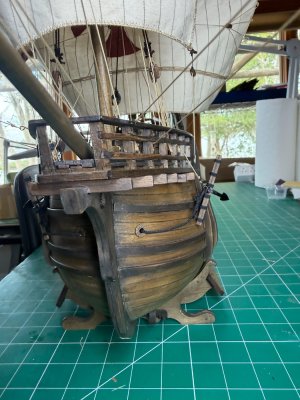
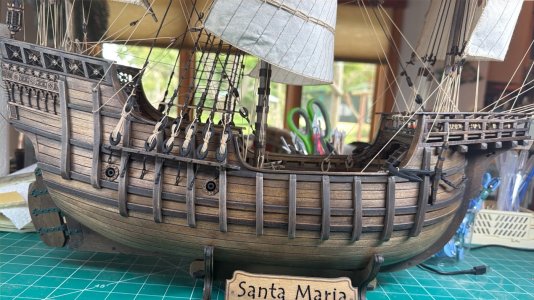
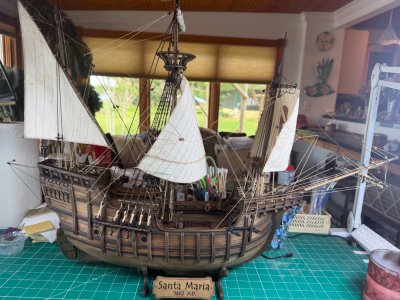
I finished the ship today. Quite a task for me. I made quite a few mistakes along the way, but was able to recover from some of them. To me, this is the best looking model ship I've ever built. Pavel also made a few mistakes in his kit, but overall this is a great kit for someone wanting to make a beautiful large model. Don't know what I'll do with it. It's too big to fit anywhere in my house!!
1.jpg2.jpg3.jpg4.jpg5.jpg6.jpg7.jpg8.jpg9.jpg10.jpg11.jpg12.jpg13.jpg
14.jpeg15.jpg
 
I finished the ship today. Quite a task for me. I made quite a few mistakes along the way, but was able to recover from some of them. To me, this is the best looking model ship I've ever built. Pavel also made a few mistakes in his kit, but overall this is a great kit for someone wanting to make a beautiful large model. Don't know what I'll do with it. It's too big to fit anywhere in my house!!
View attachment 593391View attachment 593392View attachment 593393View attachment 593394View attachment 593395View attachment 593396View attachment 593397View attachment 593398View attachment 593399View attachment 593400View attachment 593401View attachment 593402View attachment 593403
View attachment 593404View attachment 593405
Good morning Rob. Wow I’m away for 14days and this beauty is completed. I have enjoyed this log. Congratulations on building a stunning Santa Maria. A worthy model. Cheers Grant
 
Rob,

Its also been a pleasure following your log. Excellent work with the sails as well. She looks great indeed.
Pavel's Santa Maria is arguably the best kit available for this ship. You did a splendid job!!


Cheers,
 
Ma befejeztem a hajót. Nem kis feladat volt számomra. Jó néhány hibát elkövettem útközben, de néhányból sikerült kijavítanom. Számomra ez a legszebb modellhajó, amit valaha építettem. Pavel is elkövetett néhány hibát a készletében, de összességében ez egy nagyszerű készlet annak, aki egy gyönyörű, nagyméretű modellt szeretne építeni. Nem tudom, mit kezdjek vele. Túl nagy ahhoz, hogy bárhol elférjen a házamban!!
View attachment 593391View attachment 593392View attachment 593393View attachment 593394View attachment 593395View attachment 593396View attachment 593397View attachment 593398View attachment 593399View attachment 593400View attachment 593401View attachment 593402View attachment 593403
View attachment 593404View attachment 593405

I finished the ship today. Quite a task for me. I made quite a few mistakes along the way, but was able to recover from some of them. To me, this is the best looking model ship I've ever built. Pavel also made a few mistakes in his kit, but overall this is a great kit for someone wanting to make a beautiful large model. Don't know what I'll do with it. It's too big to fit anywhere in my house!!
View attachment 593391View attachment 593392View attachment 593393View attachment 593394View attachment 593395View attachment 593396View attachment 593397View attachment 593398View attachment 593399View attachment 593400View attachment 593401View attachment 593402View attachment 593403
View attachment 593404View attachment 593405
It turned out to be a beautiful ship—congratulations! I’m building this model too, and I’m currently thinking about the deck scupper. I see you created the opening on the inner planking; why didn't you do it on the outside as well?
 
Completed the lower hull on both sides. Taking a short break and reflecting on the lower and upper hulls, what I've completed and what is next.

The starboard side came out perfect. Just one minor problem at the keel. Otherwise the planks fit great. All planks reached the stern. No short planks. Plank #1, the last plank next to the keel fit in the space prefectly. It needed slight trimming at the stern as was a little too wide.

I needed to add a thin piece to Plank #1 on the Port side for the plank to reach the keel. Was not needed on the Starboard. I measured from the wale to the keel on both sides, thinking maybe the distance between the two were different. They were the same. The width of the planks on port/starboard had to be slightly different. Maybe I over-sanded the plank edges on the Port side?? I did take more time fitting the planks and had a little more experience putting on the Starboard side.

So... Now I will smooth the lower hull on both sides. There are a couple small gaps between planks on the Port side which can easily be filled. None on the Starboard side. I'll check the grooves i sanded in between the planks after smoothing the hull and correct any deficiencies before moving on.

Very pleased with the hull so far...
View attachment 559903
Hi Rob. I've followed your build log with great interest. I am considering the Santa Maria via Pavel as my next build. I have read many comments about short planks and sometimes parts missing. I am not the most experienced of model makers and therefore need to consider the complexities carefully.

I was particularly interest in that you had no problems with planking of the second side of the Santa Maria. I have for some time now thought that often, the shortness of planks comes about by errors on the part of the builder. I suspect that perhaps often, too much char is removed and therefore making the planks under sized, leading to shortness in both length and height. This has been the case with my Oseberg by Pavel. I have learnt that just very slight errors in construction are multiplied many times in something like planking. I have also mentioned this in my build log of the Oseberg.

You comments and observations would be most appreciated over this matter and would those of others.
 
Last edited:
Hi Ashley. I don't remember removing any char? I did slightly edge sand the inside edges to put a slight bevel on the edges to ensure the edges butted together. All the best on your build. Hopefully, no short planks on your ship too!

I have Pavel's San Bartolome that arrived in Feb or Mar of this year. I would like to start it, but haven't really felt up to taking it out of the box yet.
 
Last edited:
Back
Top