• Ships of Scale has incorportated an extra level of security when you log In. Please follow on-screen prompts to acknowledge that you are not a robot via a "Check Box" or a "Pictorial Check Box Puzzle". This is needed due to higher level of AI Activity Security.
  • SUBSCRIBE TO SHIPS IN SCALE TODAY!

    The beloved Ships in Scale Magazine is back and charting a new course for 2026!
    Discover new skills, new techniques, and new inspirations in every issue.

    NOTE THAT OUR NEXT ISSUE WILL BE July/August 2026
  • Win a Free Custom Engraved Brass Coin!!!
    As a way to introduce our brass coins to the community, we will raffle off a free coin during the month of August. Follow link ABOVE for instructions for entering.

Edge bending jig

Joined
Aug 5, 2026
Messages
43
Points
48

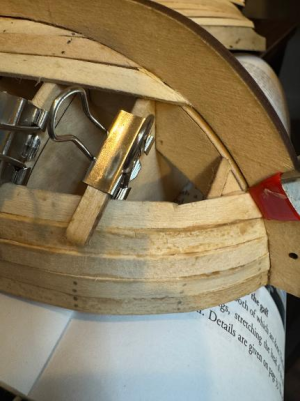
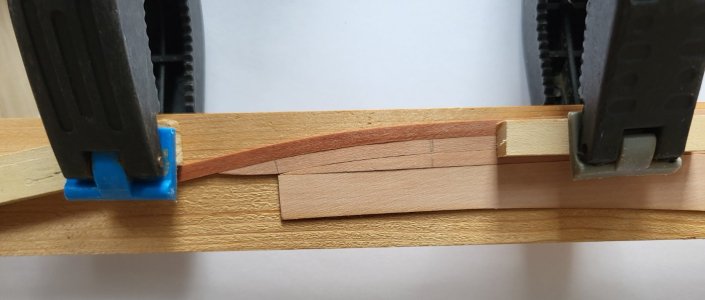
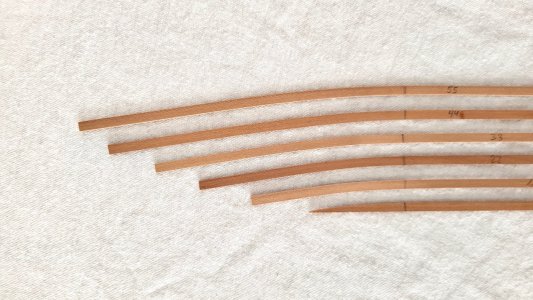
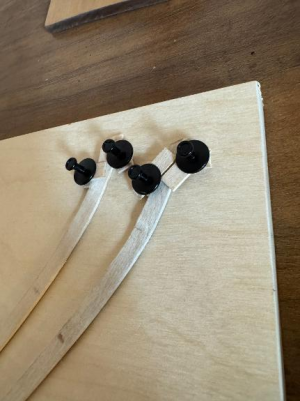
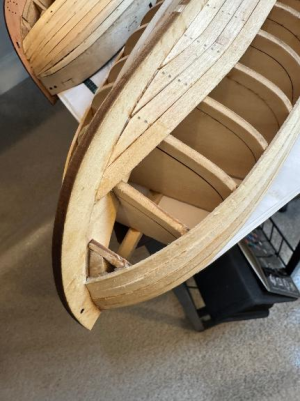
Been struggling with the armed longboat planking. Visible planks from inside and out, 1/16" thick and 1/4" wide. I've done ok so far but I'm struggling to be able to keep them flat against the frames (or bulkheads, if you prefer) while leaving no gaps. So, off-model edge bends are my final thing before I have to try tapering. Tapering isn't in the instructions. This jig seems like it is ok. The pins have two small basswood pieces on them. The top one holds the bent plank flat against the base, and the bottom one holds the edge of the bent plank. The instructions are to work down the boat for the last four planks. The next plank, fifth from top, is the first one I've been hopeless with trying to get the shape right by bending on the boat itself.
1793307768571.png
1793307787864.png
 
It's not really clear what you are asking for help with. the four planks next to the keel look pretty good.

When you say '5th' plank, are you talking about the next plank you want to make?
 
Yeah I guess I was wondering if I'm doing anything terribly wrong. Turns out the edge bending allowed the plank to fit flush right where it should. But I creased it with the wood pieces holding it to the jig. Should have done this with the plank above it (towards the top of the boat that is). Then there wouldn't be the step between those two planks.

1793315977234.png
 
Take a small piece of paper towel, clamp it over the spot and wet it. Keep it wet for a while. It may cause the crimped area to heal itself. If not, add the next plank and later fix the spot; putty or a tiny piece of wood.

Roger
 
Take a small piece of paper towel, clamp it over the spot and wet it. Keep it wet for a while. It may cause the crimped area to heal itself. If not, add the next plank and later fix the spot; putty or a tiny piece of wood.

Roger
Thank you for the tip! I will try that tonight.
 
Been struggling with the armed longboat planking.
Your attempt at making a jig is great to see! You can mark out the frames the same as on a ship hull in order to get the right taper of the breadth of each plank. You don't need to mark every frame but if you mark out those closest to the stem and post plus every other one or even every third along the hull that will really be helpful for you.
Allan
 
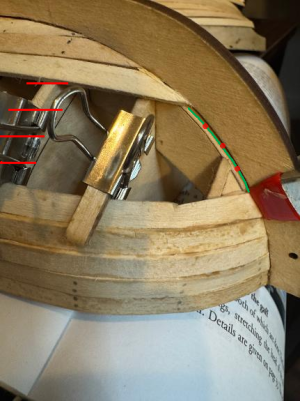
With what Allan is saying in mind.


1793370782557.png

You will want to taper the remaining planks so they fill the remaining space in a uniform manner.
My rough drawing shows the width of the planks at a bulkhead. The four planks need to be tapered to fit the space at the green line.
 
Thanks TheGatzby! I'll do that for bow and stern. I think in the middle, I'll have some space to fill. I suppose a thin plank as low as I can put it will be necessary.
 
Back
Top