-

Win a Free Custom Engraved Brass Coin!!!
As a way to introduce our brass coins to the community, we will raffle off a free coin during the month of August. Follow link ABOVE for instructions for entering.
You are using an out of date browser. It may not display this or other websites correctly.
You should upgrade or use an alternative browser.
You should upgrade or use an alternative browser.
Royal William Euromodel 1:72 by Vince P. -- FINISHED
- Thread starter Vpirozzi
- Start date
- Watchers 23
-
- Tags
- euromodel royal william
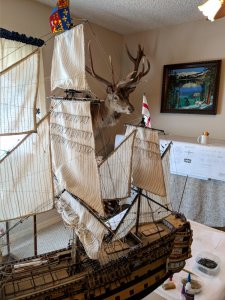
Oh dear! I like your shipyard area. I take it that you like hunting as well as building ship models.
Great pogress on that fine old lady mate.
Great pogress on that fine old lady mate.
- Joined
- Nov 26, 2018
- Messages
- 546
- Points
- 343

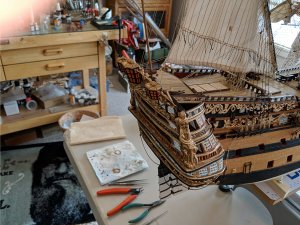
Yes Peglegreg, My second passion is hunting. I go all over the world. My next trip is this May to Africa.Oh dear! I like your shipyard area. I take it that you like hunting as well as building ship models.
Great pogress on that fine old lady mate.
Vince P.

Hi Vince, I am really enjoying following your build, I have this kit which I bought second hand for £400. I shall wait until I have seen more of
your build before starting mine this way I can see all of the problems you have come across. one thing bothers me is all those castings ,having
looked at them I think a lot of fettaling will be required. please keep up with your great build.
Regards JANET
your build before starting mine this way I can see all of the problems you have come across. one thing bothers me is all those castings ,having
looked at them I think a lot of fettaling will be required. please keep up with your great build.
Regards JANET
- Joined
- Nov 26, 2018
- Messages
- 546
- Points
- 343

Yes Janet you are correct. Many of the castings required quite a bit of adjusting.Hi Vince, I am really enjoying following your build, I have this kit which I bought second hand for £400. I shall wait until I have seen more of
your build before starting mine this way I can see all of the problems you have come across. one thing bothers me is all those castings ,having
looked at them I think a lot of fettaling will be required. please keep up with your great build.
Regards JANET
Vince
- Joined
- Nov 26, 2018
- Messages
- 546
- Points
- 343

Hi all,
I haven't posted any progress in a while, but more coming soon. Working on finishing the standing rigging of the mainmast. Rattling of the lower shrouds requires hundreds of clove hitches. The repetition drives me crazy and I have to take breaks.
Vince P.
I haven't posted any progress in a while, but more coming soon. Working on finishing the standing rigging of the mainmast. Rattling of the lower shrouds requires hundreds of clove hitches. The repetition drives me crazy and I have to take breaks.
Vince P.

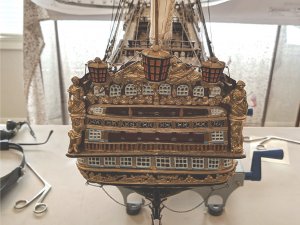
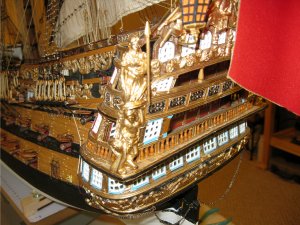
Thats a world class kit, but I wish Euromodel would upgrade their models. Those cast metal window frames are disappointing.
- Joined
- Nov 26, 2018
- Messages
- 546
- Points
- 343

Hi Vince,
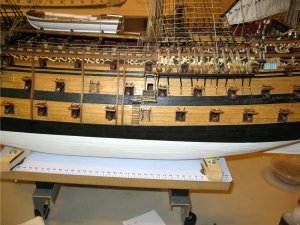
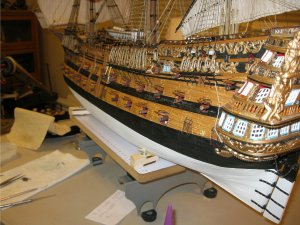
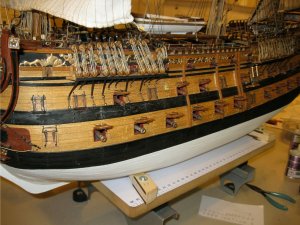
I notice there's gunport lids missing. Are you fitting them later ?
Spectacular model.
I notice there's gunport lids missing. Are you fitting them later ?
Spectacular model.
- Joined
- Nov 26, 2018
- Messages
- 546
- Points
- 343

Hi Brian,Hi Vince,
I notice there's gunport lids missing. Are you fitting them later ?
Spectacular model.
I always leave the lower deck guns and the lids for one of the last things. When I am accessing the hull for rigging, they get in the way and I wind up damaging them. As soon as I finish the mizzen standing rigging, they will be constructed and placed.
Vince
- Joined
- Nov 26, 2018
- Messages
- 546
- Points
- 343

- Joined
- Nov 26, 2018
- Messages
- 546
- Points
- 343

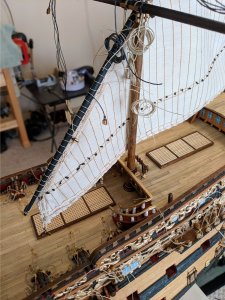
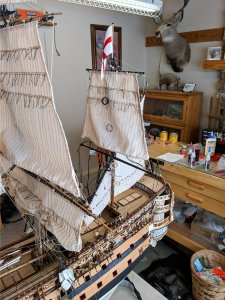
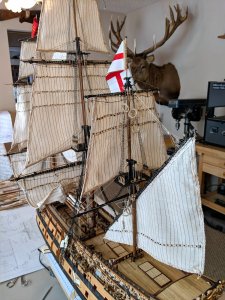
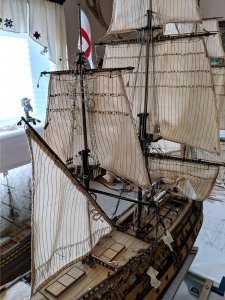
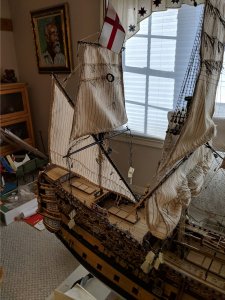
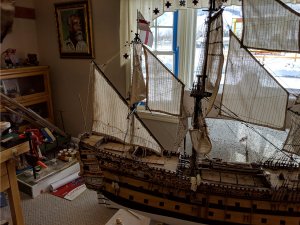
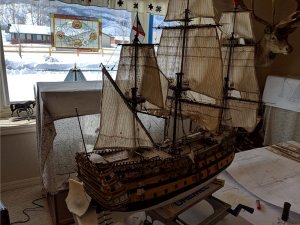
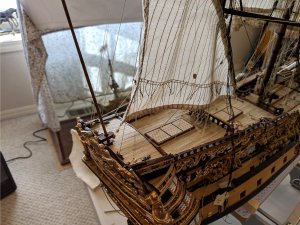
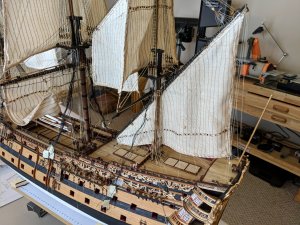
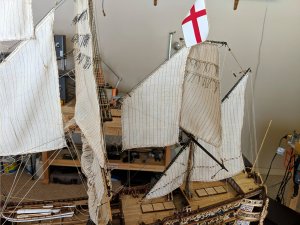
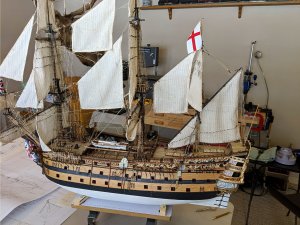
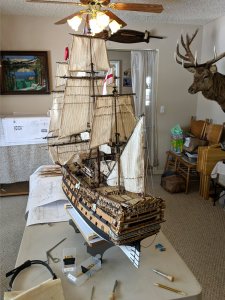
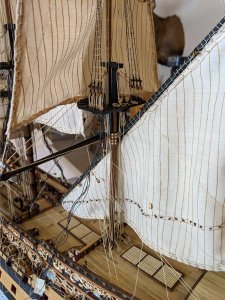
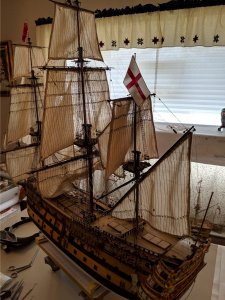
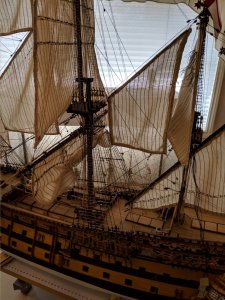
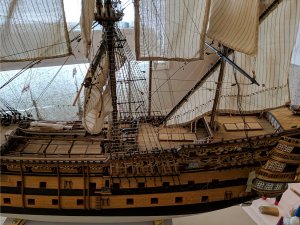
Finally finished the mizzen rigging and the poop deck flag. I have tied my last clove hitch on this baby.  Other that the lower corner lines on the fore and main course, the rigging is essentially completed. That was a major project. The amount of rigging thread used, even though I am not wasteful, was at least 4 times what was supplied. It seems most kits short you on the rigging thread.
Next up is to construct and place the open gunport lids and the guns. I can see the light at the end of the tunnel. A couple of months and she will be completed.
Vince P.
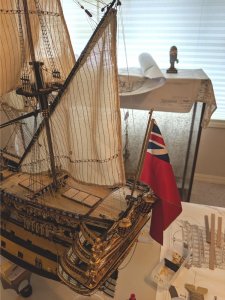
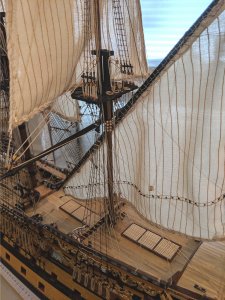
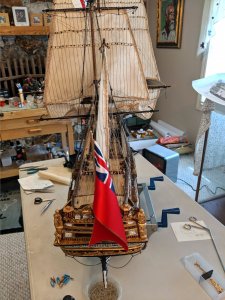
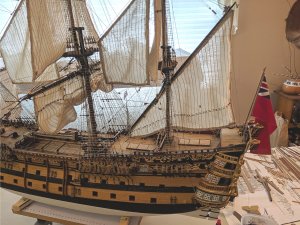
Next up is to construct and place the open gunport lids and the guns. I can see the light at the end of the tunnel. A couple of months and she will be completed.
Vince P.


CONGRATS on your accomplishment!! Great looking models with a lot of details as a showcase! 

Outstanding job Vince! Beautiful model.
G'day Vince, she is a beautiful model, very impressive, you have done a fantastic job with her,
best regards \john.
best regards \john.
- Joined
- Nov 26, 2018
- Messages
- 546
- Points
- 343

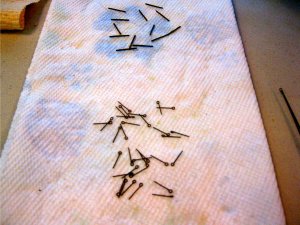
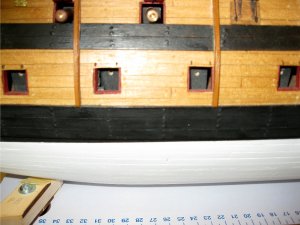
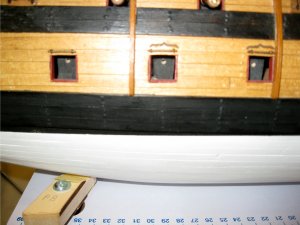
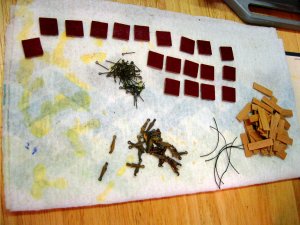
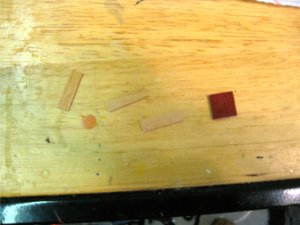
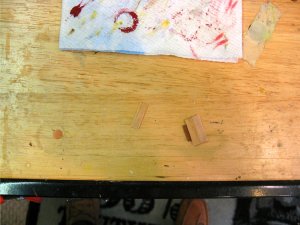
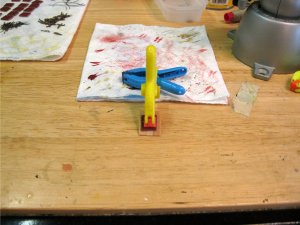
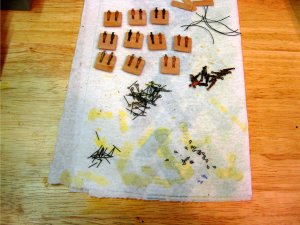
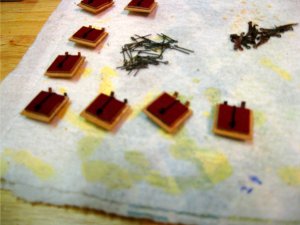
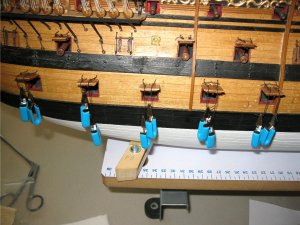
Working on constructing the gunport doors. Made from scratch of course. There are 4 gun decks and each deck has different sized gunports.
I did not use the door hinges supplied in the kit because they are chunky and only one size is provided. Different sizes are needed for the various sizes of gunports on the 4 decks.
Hull preparation
1. I used small eyebolts and pieces of 1mm brass wire which were blackened, to make the hinges on the hull above each gunport.
2. The rain gutters are placed on those ports that require them. I bought these and blackened them as well.
Door construction
I start out on each deck with measuring the opening of the gunport in the hull.
1. A piece of 2mm thick walnut plywood is cut to size and painted dark red to match the inside of the bulwarks.
2. Planking strips are placed over the plywood to match the outside of the hull and trimmed to the correct size for the ports.
3. Hinge plates are glued to the outside of the doors and cut down eye bolts are placed for the pull open ropes. Smaller ports have 1 and larger ones have 2.
4. Pull closed ropes are attached to an eyebolt on the underside of each door. ( This is a feature that is left out of most models because of either scale size or the fact that they can't be seen easily.)
Door placement
1. The pull open ropes are attached to the hull above each port.
2. The doors are hung in the open position and the pull open ropes are secured to the eyebolts on the doors.
3. Once all of the doors are placed on each deck starting from the top, the false guns and blackened and mounted in each port.
Vince P.


- Joined
- Nov 26, 2018
- Messages
- 546
- Points
- 343

Last edited:

