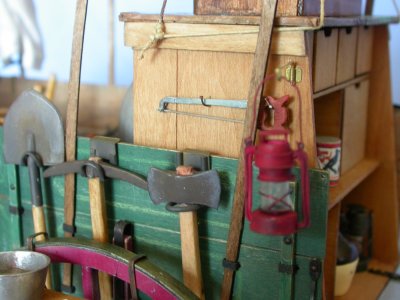
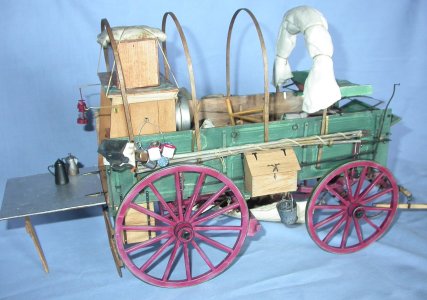
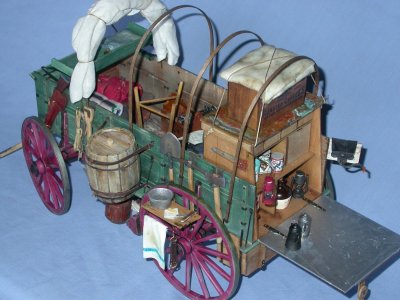
Model Trailways’ chuckwagon is a straightforward kit, less complex that their stagecoach, and with simpler décor. Minor construction flaws can be hidden with weathering or “damage” in keeping with the hard-working original vehicle. In many ways, the growing size of the project and awkwardness in handling cumbersome assemblies introduces the biggest challenge, and additions beyond the scope of the kit should be planned with care. I’ll address myself to the handful of areas I found to be somewhat tricky.
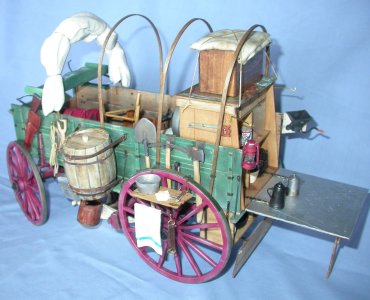
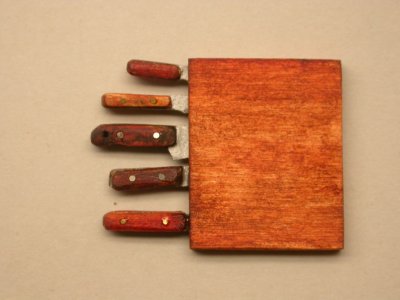
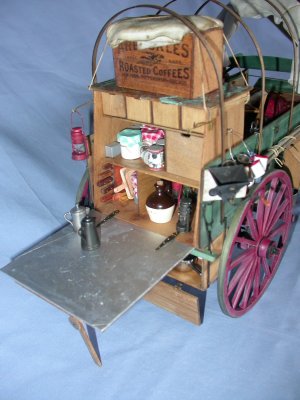
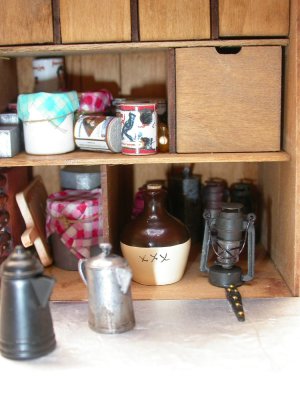
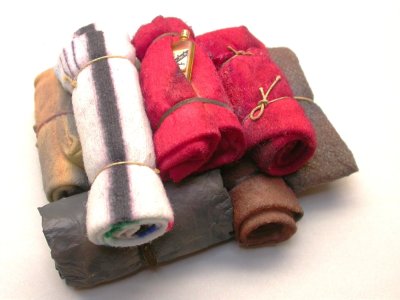
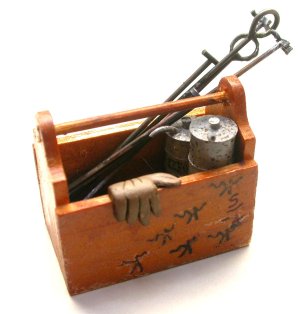
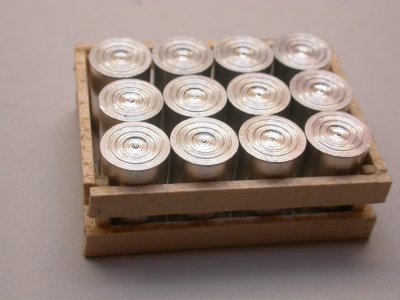
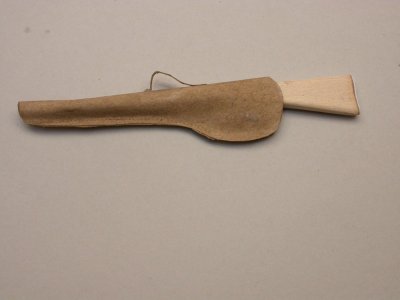
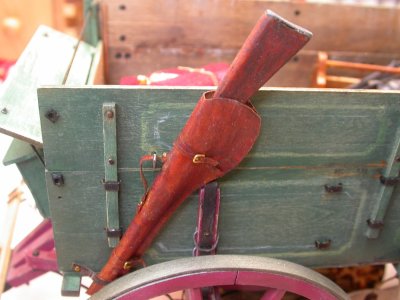
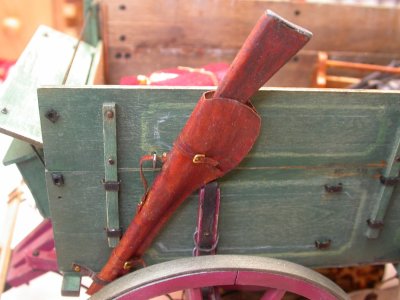
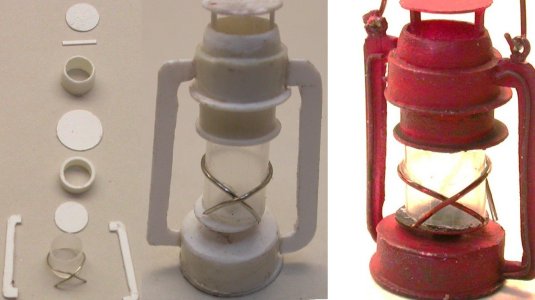
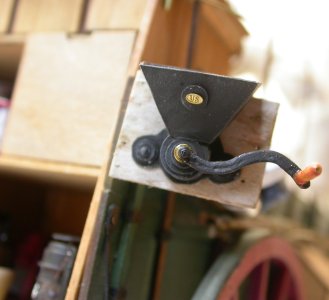
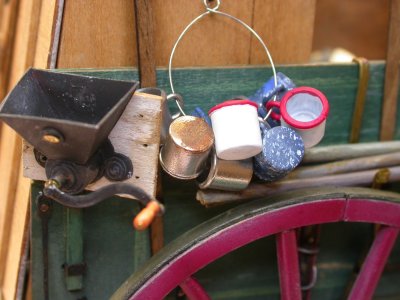
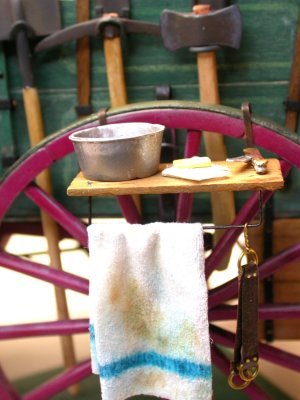
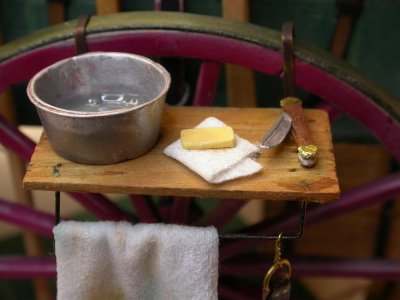
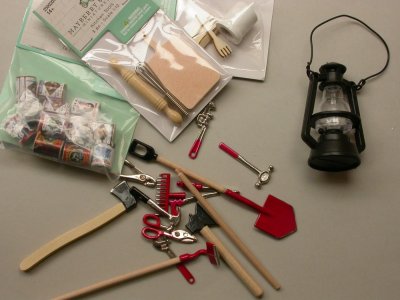
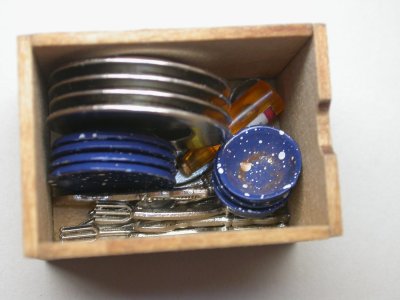
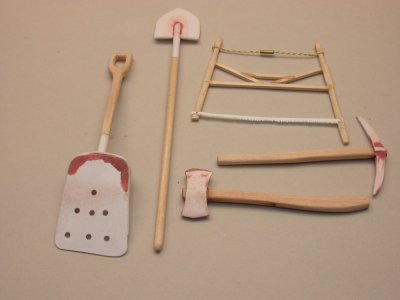
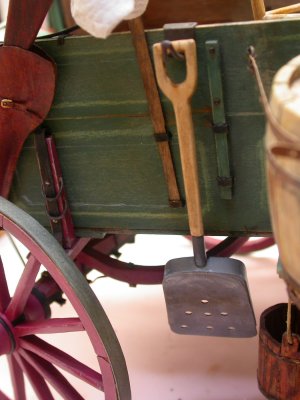
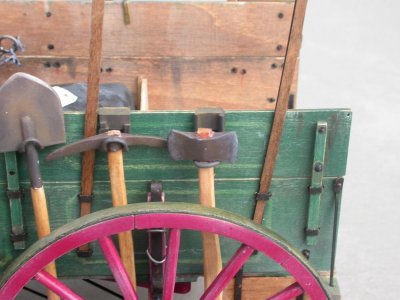
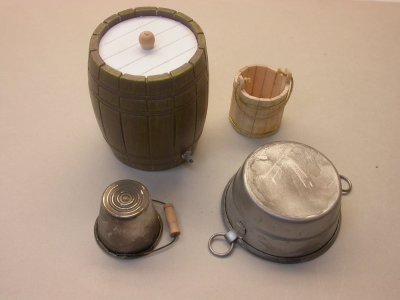
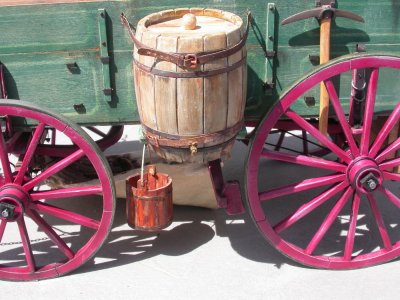
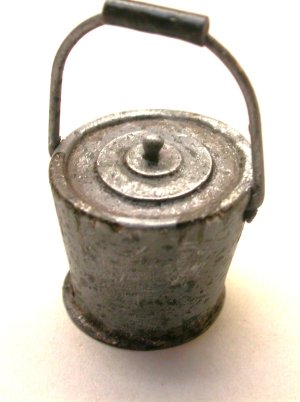
Even a cursory glance at pictures of the real vehicle and the numerous versions still at work in the hands of enthusiasts illustrate the array of accessories that can be included. The project, if taken to any length, becomes more of a still-life diorama than a model wagon. Most of this report will be devoted to the many extras I included to fully equip my version of a Montana ranch chuckwagon. I spent considerable money on doll-house miniatures, most of which needed to come from China via the proverbial slow-boat, and most of which proved unacceptable either by being too toy-like or out of scale. Some could be salvaged with judicious paintwork, modification, or tucked behind something else.
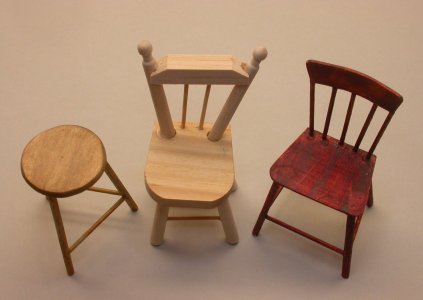
Another example is dollhouse furniture; unless one is prepared to pay for bespoke pieces, it is easier to make your own from scrap planks and dowels. Cookie wanted at least a stool to ply his trade on the trail, and I briefly considered a rocking chair before laziness intervened. Consider the middle item compared to home-made alternatives.
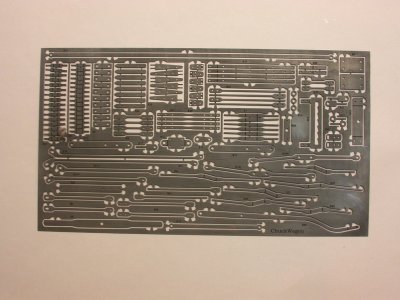
In prior projects, haphazard technique had rendered the chemical darkening of the etched brass sheet less than desirable, and I prepared the brass for the chuckwagon more carefully. Multiple baths in diluted Birchwood Brass Black, followed by thorough rinses in distilled water, left the sheet a uniform black that mimicked the look of wrought iron, and was sufficiently durable to withstand handling during construction. Removing all the components from the sheet and cleaning the sprue before blackening would have been even more effective, insofar as it would have spared me from touching up the attachment points, but I was concerned the number of pieces would overwhelm my organizational skills.
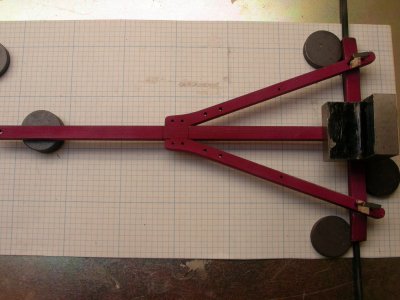
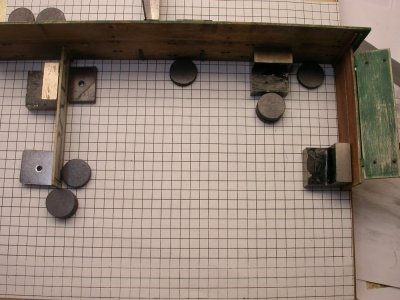
Making sure things are square is one of the most basic premises of any construction project, yet it is surprisingly often overlooked; I speak from experience. I use a number of techniques, but one of my favorites is the employment of graph paper to show deviations from straight or square. A steel building board, supplemented with magnets, will push components together while adhesives cure.
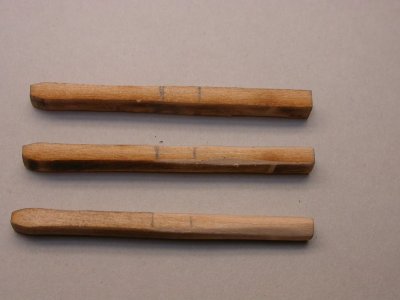
Preparing spokes is an exercise in tedium, and it is all too easy to get distracted and fail to maintain consistency. I combat this by making the process as idiot-proof as possible. Each spoke is marked where the various tapers begin and end, using a template. While sanding off the char, I use a consistent number of strokes with an abrasive stick, rotating the spoke and mentally counting for each face. The knife cuts where the profile changes from rectangular to oval need careful calibration to ensure uniformity. Finally, the oval profile is obtained, again counting the number of sanding strokes on each corner.
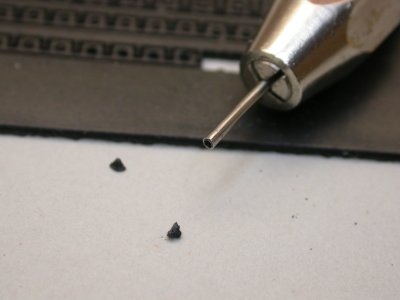
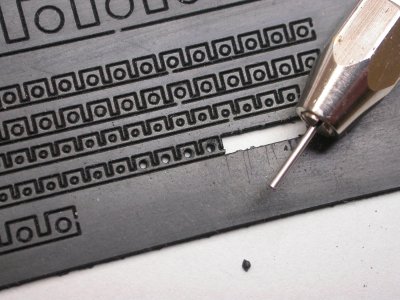
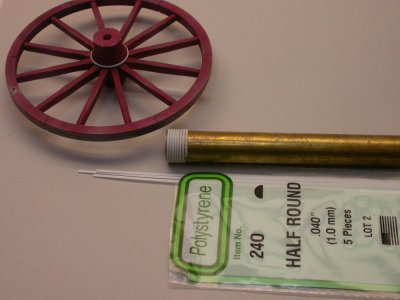
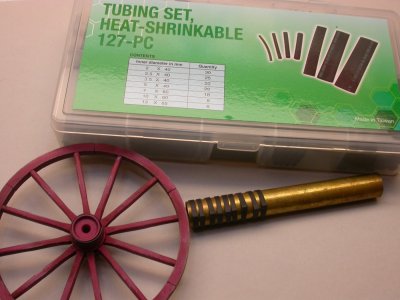
The material provided by Model Trailways to represent the nuts or bolts is an admirable compromise to real hardware, and certainly looks the part. The modeler can easily slice these from the sheet with a hobby knife, but gouging out the center hole to accept the shaft of the “bolt” is a little more troublesome. I made the process less painful by chucking a length of metal tubing into a pin vise to punch the material cleanly. Different sizes of tubing matched the various diameter of the nuts, and the whole sheet was prepared in moments.
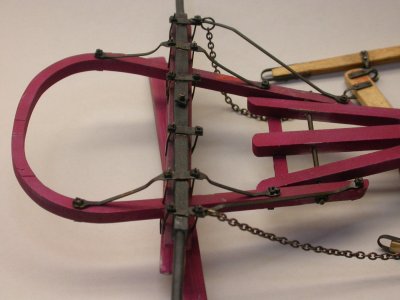
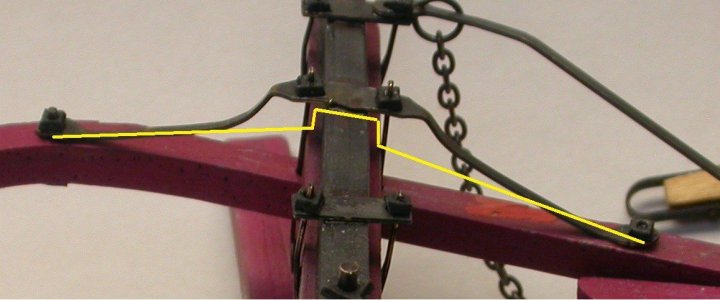
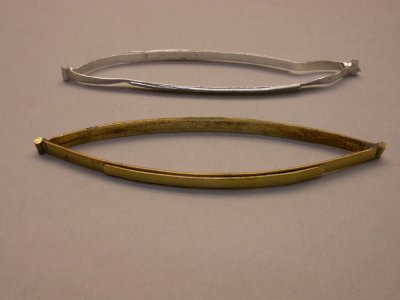
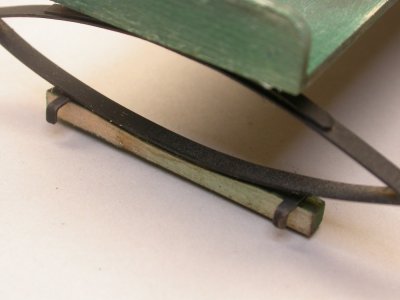
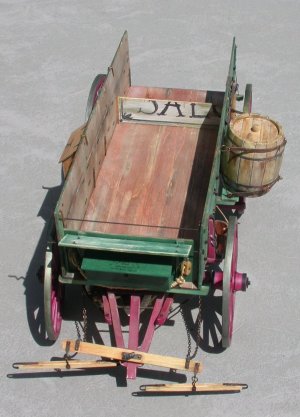
The brass shapes to represent the ironwork trusses that support the undercarriage are slightly overlong, a better problem than the alternative. I did a poor job of compensating for this, and as a result my supports are rather more curved than the ideal. Shortening the brass with cuts and re-soldering is very problematic; perhaps the best approach is illustrated here, by bending the shapes to more precisely align with the axle so that the runs to the hounds are perfectly straight.
Even a cursory glance at pictures of the real vehicle and the numerous versions still at work in the hands of enthusiasts illustrate the array of accessories that can be included. The project, if taken to any length, becomes more of a still-life diorama than a model wagon. Most of this report will be devoted to the many extras I included to fully equip my version of a Montana ranch chuckwagon. I spent considerable money on doll-house miniatures, most of which needed to come from China via the proverbial slow-boat, and most of which proved unacceptable either by being too toy-like or out of scale. Some could be salvaged with judicious paintwork, modification, or tucked behind something else.
Another example is dollhouse furniture; unless one is prepared to pay for bespoke pieces, it is easier to make your own from scrap planks and dowels. Cookie wanted at least a stool to ply his trade on the trail, and I briefly considered a rocking chair before laziness intervened. Consider the middle item compared to home-made alternatives.
In prior projects, haphazard technique had rendered the chemical darkening of the etched brass sheet less than desirable, and I prepared the brass for the chuckwagon more carefully. Multiple baths in diluted Birchwood Brass Black, followed by thorough rinses in distilled water, left the sheet a uniform black that mimicked the look of wrought iron, and was sufficiently durable to withstand handling during construction. Removing all the components from the sheet and cleaning the sprue before blackening would have been even more effective, insofar as it would have spared me from touching up the attachment points, but I was concerned the number of pieces would overwhelm my organizational skills.
Making sure things are square is one of the most basic premises of any construction project, yet it is surprisingly often overlooked; I speak from experience. I use a number of techniques, but one of my favorites is the employment of graph paper to show deviations from straight or square. A steel building board, supplemented with magnets, will push components together while adhesives cure.
Preparing spokes is an exercise in tedium, and it is all too easy to get distracted and fail to maintain consistency. I combat this by making the process as idiot-proof as possible. Each spoke is marked where the various tapers begin and end, using a template. While sanding off the char, I use a consistent number of strokes with an abrasive stick, rotating the spoke and mentally counting for each face. The knife cuts where the profile changes from rectangular to oval need careful calibration to ensure uniformity. Finally, the oval profile is obtained, again counting the number of sanding strokes on each corner.
The material provided by Model Trailways to represent the nuts or bolts is an admirable compromise to real hardware, and certainly looks the part. The modeler can easily slice these from the sheet with a hobby knife, but gouging out the center hole to accept the shaft of the “bolt” is a little more troublesome. I made the process less painful by chucking a length of metal tubing into a pin vise to punch the material cleanly. Different sizes of tubing matched the various diameter of the nuts, and the whole sheet was prepared in moments.
The brass shapes to represent the ironwork trusses that support the undercarriage are slightly overlong, a better problem than the alternative. I did a poor job of compensating for this, and as a result my supports are rather more curved than the ideal. Shortening the brass with cuts and re-soldering is very problematic; perhaps the best approach is illustrated here, by bending the shapes to more precisely align with the axle so that the runs to the hounds are perfectly straight.
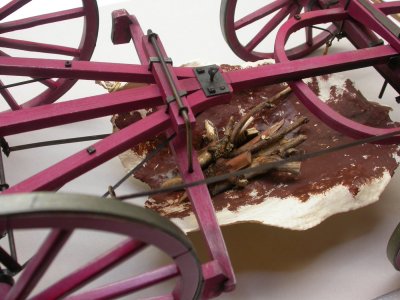
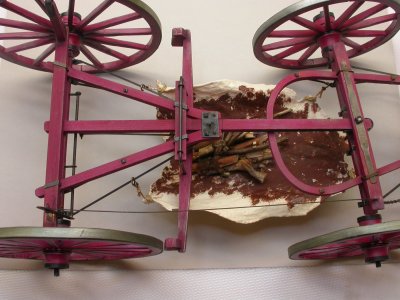
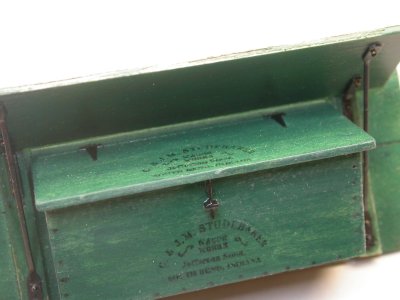
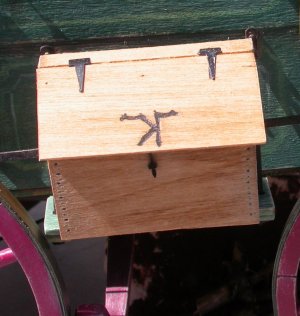
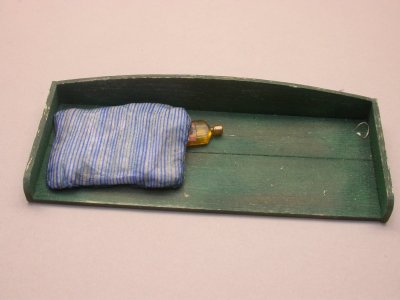


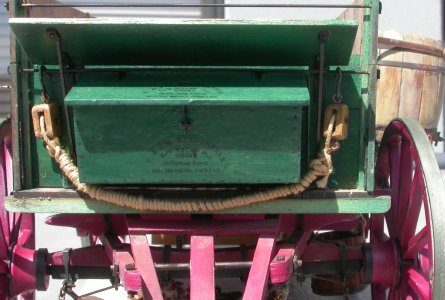
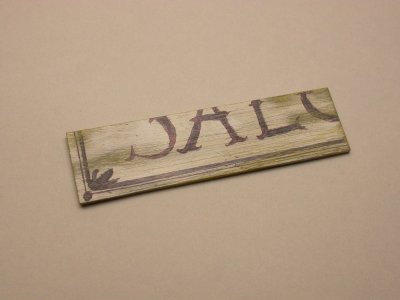
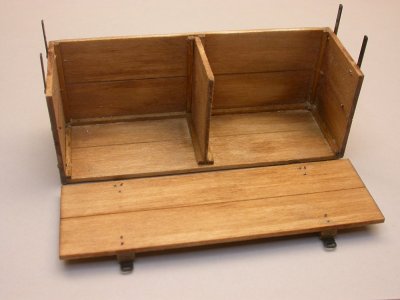
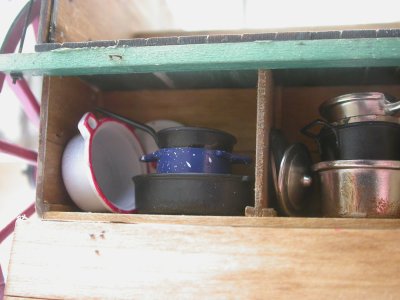
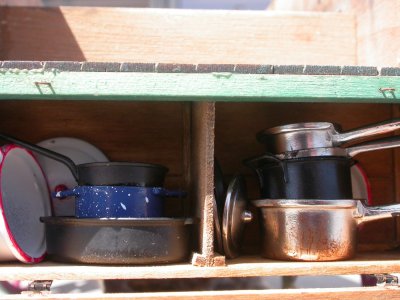
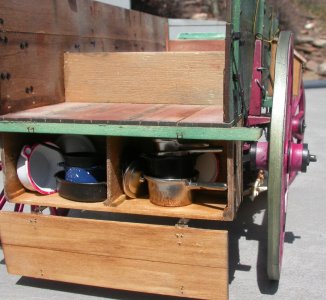
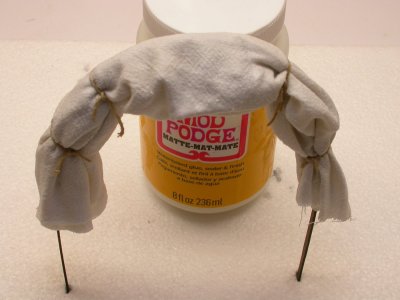
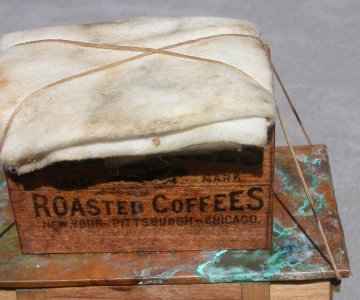
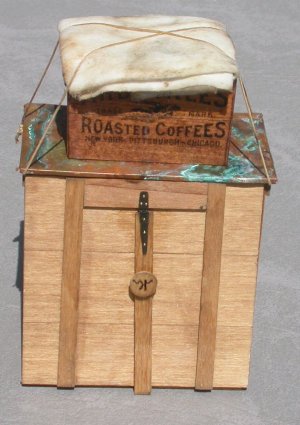
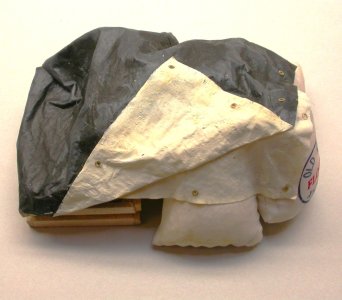
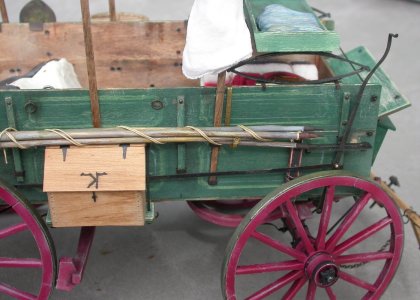
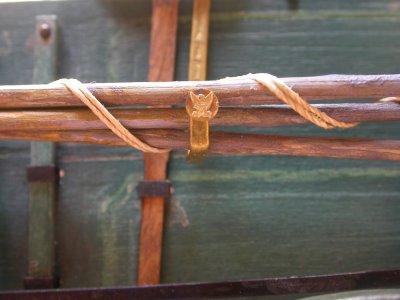
 boxes are ubiquitous additions in photos of real chuckwagons. I shrunk their label to scale size, made a decal on my home printer and affixed it to a scratchbuilt wooden box, taking care to match the finish to photos of existing items. Another common addition was a canvas tarp to stretch over the kitchen area to protect from either sun or rain; I made one from heavy paper, added brass grommets, folded it to fit on top of the coffee box, and lashed the whole affair to the chuck box.