• Win a Free Custom Engraved Brass Coin!!!
    As a way to introduce our brass coins to the community, we will raffle off a free coin during the month of August. Follow link ABOVE for instructions for entering.

1:24 Pearwood French Longboat from Unicorn Model

Joined
Jan 2, 2022
Messages
56
Points
58

A Partial Build Log of my 1:24 French Longboat in Pearwood.

1758821592922.png
This is what I'm building ... and it's my first build log - that said, let's start.

I say partial, because I'm 2 weeks into this build already.

My experience - I have 4 unfinished kits in my workshop and 4 finished models on display. I'd stop work on a kit if I found it was beyond my level. So - I've built the 1:12 Maine Peapod lobster skiff by Midwest Products. Then finished the 18th Century 1:24 Armed Longboat by Model Shipways. A couple years ago I completed the 1:32 Shallop by shipsofpavelnikitin. And I just completed the 1:64 HM Cutter Sherbourne by Vanguard Models UK.

I enjoyed them all.

HOWEVER - I prefer the larger scale models. And when I saw rtwpsom2's build log of this same boat - and saw all those exposed frames in the hull, and saw that the scale was 1:24 - all that exposed wooden construction - it just appeals to me - so I ordered the pearwood version from drydockmodelsandparts up in Canada, for $199USD and also paid a $59.70 tariff/tax, which was called a duty on the invoice.

Got it a few weeks ago - and been tearing into it since. IOW - I already have the jig built, the frames on the keel, and the flooring stained and nailed to the frames. But I have pics - and will try to recreate the build.

The instructions are in Chinese - so I converted em into a bunch of English pics, 3 English pics per page of Chinese instructions, using Google Translate. And zoly99sask put those pics into a pdf - nice.

Some links ...
My earliest build pic ...
1759420806699.png
And here it is, with the keel, ready for some fitting and gluing
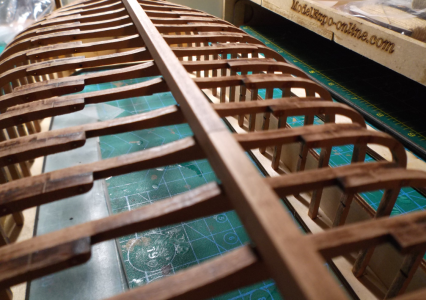
1759421325000.png
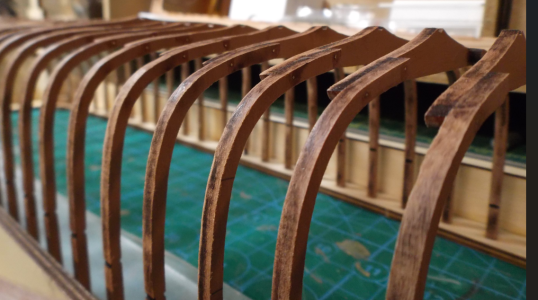
A note about building the frames.
  • They can be assembled out of the jig
  • Simply by pinning them together and gluing them.
  • The laser cutting of the pinning holes is so accurate - that this works. Besides which, the frames have some flex to em, when inserted into the jig.
BTW - all of the laser cutting on this model is very well done - the kerf is 90 degrees even on the 6mm material. The pieces fall out readily. And the wood is good quality.
 
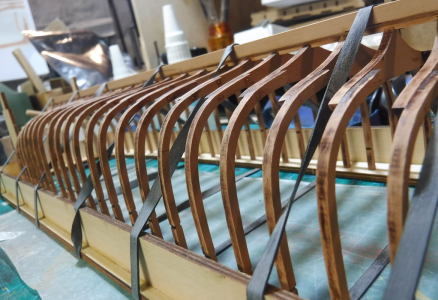
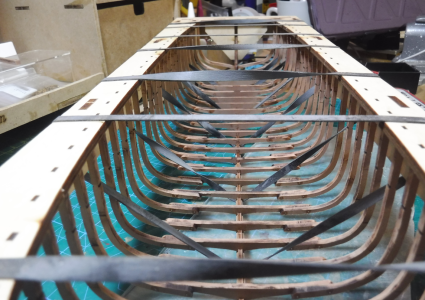
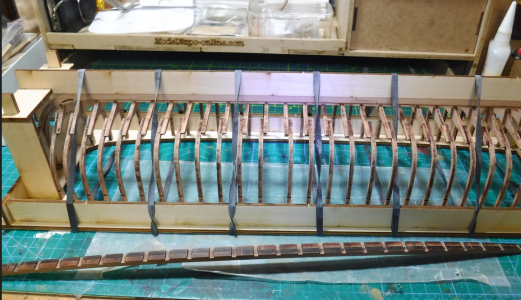
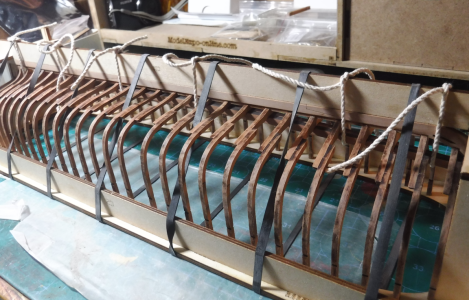
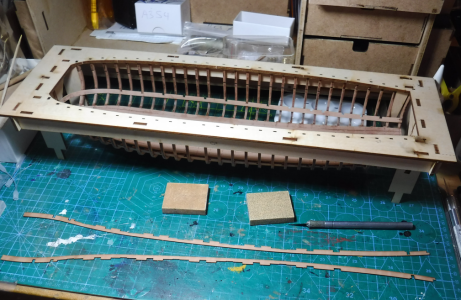
Here's a recap of how I managed to get all those frames into the keel. I used rubber bands, and some string - where the instructions show only string.
1759425135763.png
1759425199276.png
And getting ready for the inner keel ...
1759425263115.png
Fitting the inner keel - I had to widen some of the slots, ever so slightly
1759425312339.png
And now the string - keeping inner keel and keel locked together, and still with the rubber bands holding it all together.
1759425425899.png
At this point - it was ready for gluing. I used lots of CA- with a thin tip applicator (I use a glue looper for more precise applications).
Interestingly, the frames were glued to the jig - because - the top parts of frames 1-27 get removed anyway. So - it's all very snug.
 
Last edited:
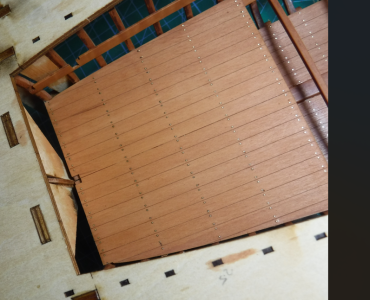
The Flooring ...

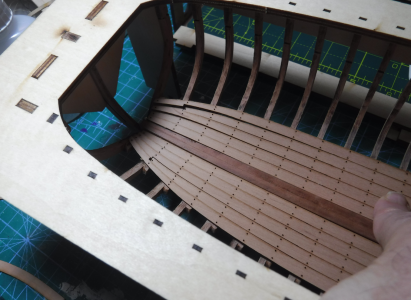
First the test fitting

1759426748138.png

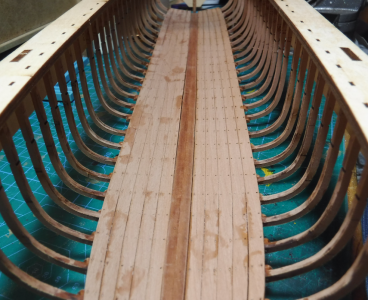
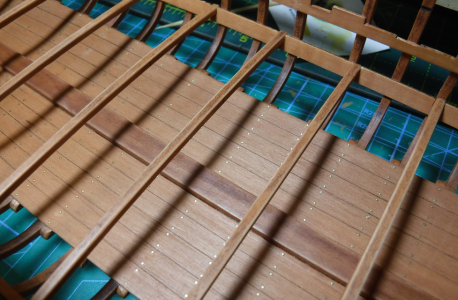
And after gluing it down
1759426823513.png

close up
1759426864357.png

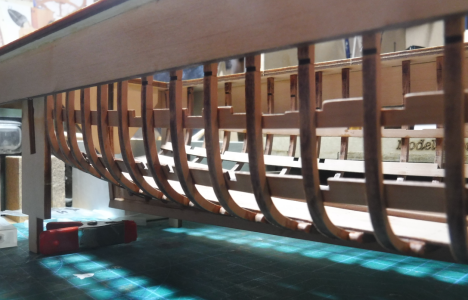
What's hidden from view
1759426918990.png

Installing the horizontal seat holders (risers?)
1759427059746.png
1759427093596.png

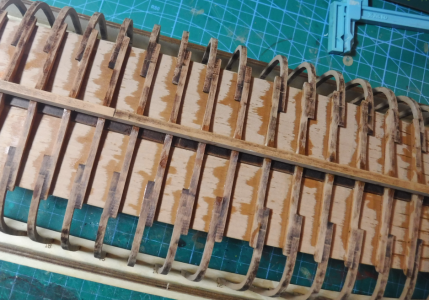
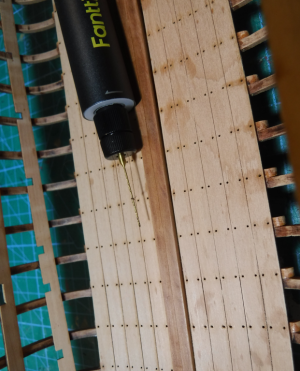
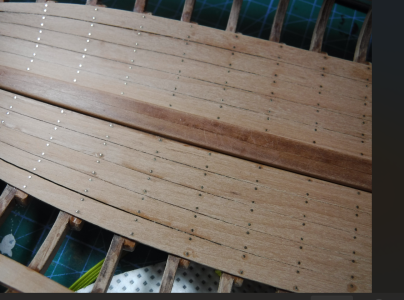
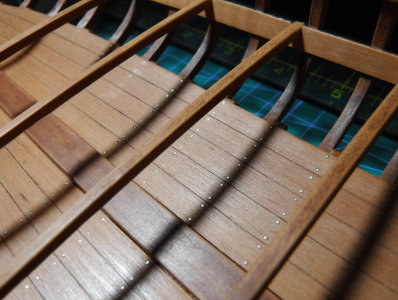
And, ready to drill out all of those nail holes. It gets bits of 0.6mm (was really 0.5mm) brass bits inserted into each hole, for "nailing" the flooring.

I used a 0.55mm HSS drill bit with a normal sized cutting part and a 2.3mm shank (fits the Fanttik) - harder to break - and indeed, it never broke - was dull when I was done - but it didn't break.
1759427134372.png

Try not to drill through the frames while drilling out the nail holes - it's harder to finish the nails if the hole goes all the way through.
 
Last edited:
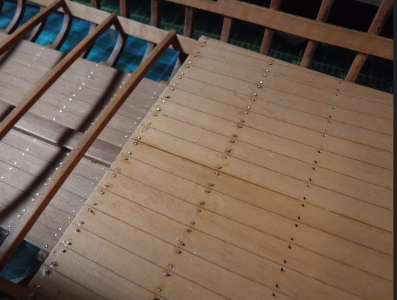
Nailing the floorboards ...

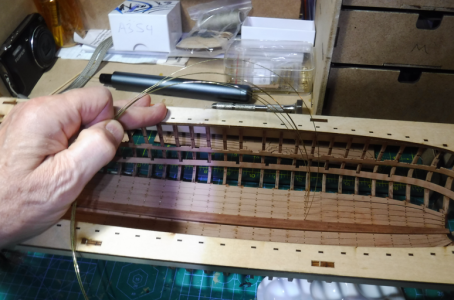
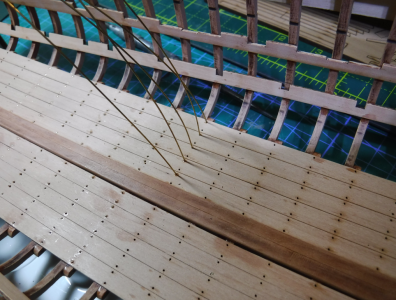
I don't remember how the instructions said to do this - but here's how I did it. There were a lot of holes, so I wanted to automate it as much as possible - to that end, since there were 5 floorboards on each side of the keel, I held 5 of the brass wires in my hand until I'd complete the nailing. I'd take a brass wire, dip it into CA (that's medium CA, with CA-, CA and CA+ being thin, med, and thick CAs), then insert it into the first hole. Same with the second wire, but I'd skip a hole. After all 5 wires were in every other hole on one side of the keel, I'd flush cut em to the floorboards. Then I'd take that 5 wire bundle in my left hand, and start inserting it into the remaining holes on that side of the keel. After that, I'd take those five wires to the other side of the keel - working my way down the keel towards the bow.

The reason I alternated holes was so that my flush cutters could get as close to the planking as possible before I snipped. With wires in adjacent holes, that wasn't always possible.

Holding 5 wires in my left hand after gluing, prior to cutting.
1759430906588.png

Ready to flush cut em off of the floorboards
1759430969123.png

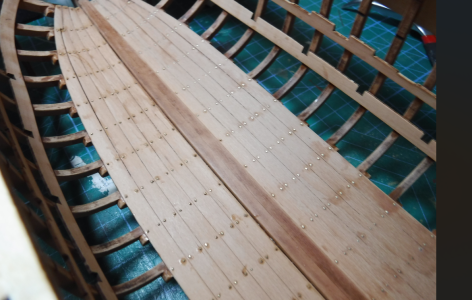
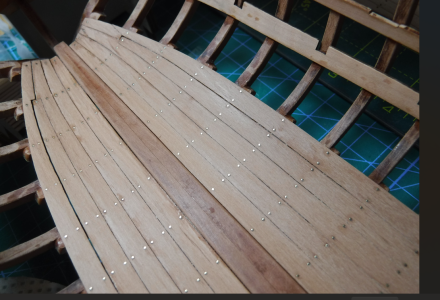
All done with the nailing and flush cutting - but - the heads need some sanding now
1759431040741.png

I primarily used #100 grit sandpaper, plus a couple rifflers, to take the heads down to the decking.
1759431097969.png
1759431170721.png
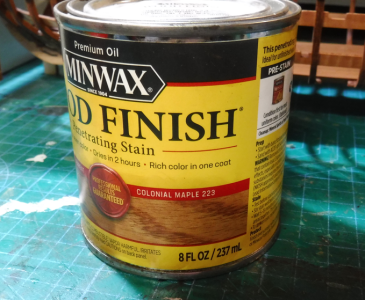
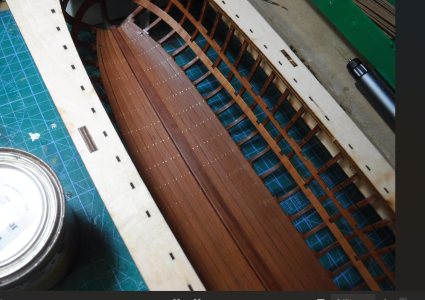
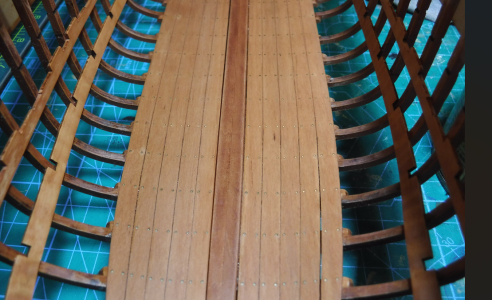
And then I stained it with Colonial Maple - I tried darker stains, but didn't like em on this pearwood - and that brings me up to date, as I stained it only yesterday
1759431198865.png
1759431226835.png
I also stained the frames and risers
1759431281476.png

And, I'm about ready to glue the footrests in, as they've been sanded, stained and dry fit ...
1759431323093.png
 
Last edited:
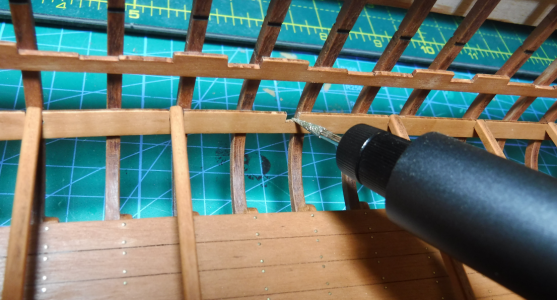
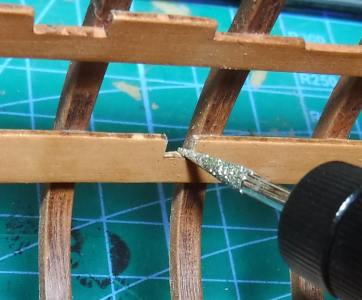
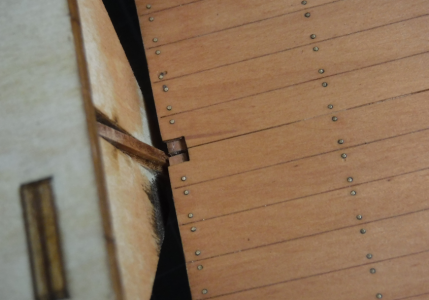
Before I glue in the footrests - I had to clean out the openings they glue into. Something I forgot to do before assy. So, earlier today - I grabbed my new Fanttik - and attached this tiny pointed bit - and carefully decharred all of those tiny square holes.

Fortunately, I didn't neglect to dechar the seatrests before assy.

The Fanttik in action ...
1759432094535.png

And a close up ...
1759432114995.png
 
Last edited:
Installed all footrests (wonder what they're really called???) and the stern deck support beams except for the split one at the stern post.
  • Used white glue on the footrests, and CA on the deck supports.
  • Either way worked well enough, regarding strength and cleanup - but the CA was quicker.
  • 1759446461482.png
  • 1759446479661.png
  • For the split deck support - I may install the decking 1st and use that to fix the split deck supports in correct position - otherwise, I have to mess around a bit more than I'd like, as the one end of the support doesn't fix to anything - it clears the stem IOW.
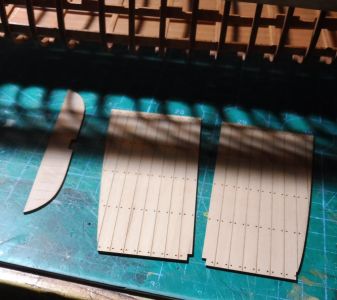
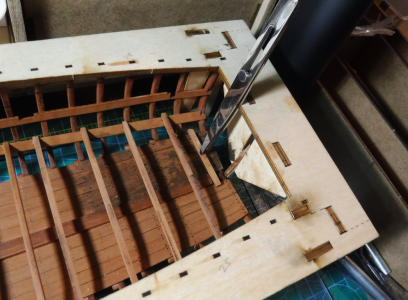
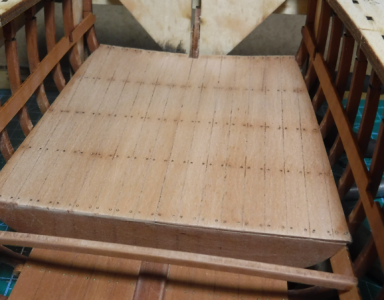
  • The 3 rear decking pieces are sanded and fit.
  • 1759446620710.png
  • They needed trimming, especially nearer the stern, before they'd drop down between the frames onto the deck supports. The wall part of the stern deck (shown on left in above pic) also needed trimming before it would drop down flush with the first deck support beam.
  • Still needs to be stained. Then I can assemble the decking and the split deck supports. And add some nails, eh?????
 
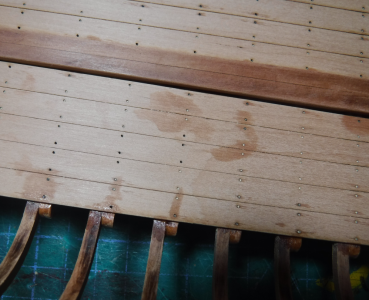
I realize that everyone has their own preferred method of construction. I was going to mention something yesterday about the liberal use of CA here, especially the thin stuff, but thought I'd wait to see how it turned out. Prior to sanding, the spots where the CA- soaked in are clearly evident. While it may seem to disappear after sanding, the glue is still embedded in the fibers and is clearly evident once the stain is applied. My recommendation is to only use thin CA on jigs or areas that will never, ever be visible, and thicker versions very sparingly. I might use a "dot" of medium CA to act as a "clamp" on a part that I'm gluing with PVA, but I'm usually not in that big of a hurry that I can't wait for PVA to set up. It usually grabs within 10-15 minutes and there is always something else you can be doing on the model while the glue sets.
 
I realize that everyone has their own preferred method of construction. I was going to mention something yesterday about the liberal use of CA here, especially the thin stuff, but thought I'd wait to see how it turned out. Prior to sanding, the spots where the CA- soaked in are clearly evident. While it may seem to disappear after sanding, the glue is still embedded in the fibers and is clearly evident once the stain is applied. My recommendation is to only use thin CA on jigs or areas that will never, ever be visible, and thicker versions very sparingly. I might use a "dot" of medium CA to act as a "clamp" on a part that I'm gluing with PVA, but I'm usually not in that big of a hurry that I can't wait for PVA to set up. It usually grabs within 10-15 minutes and there is always something else you can be doing on the model while the glue sets.
Yup. That’s one of the reasons I chose this stain. It reacted the least to CA in the wood. The darker stains I tried were really reactive … too much history there. I like this pearwood look so much, I’m making this model cleaner than I usually do. I sometimes add blemishes, to give my boats some history. Like this …
 
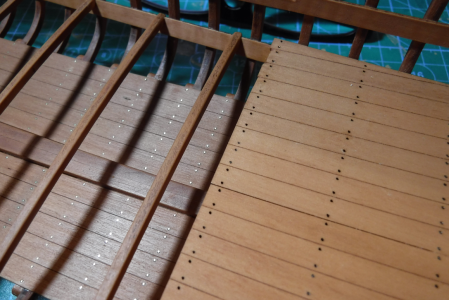
I applied the rear decking last night. Only issue was the split supports in the rear - they almost meet in the center - I'll resolve that when I get to that part of the work - and I'll widen the gap accordingly at that time.

This pic shows two things ...
  • First thing is the dark stain I applied under the rear deck as a test, where no one will see it in case I didn't like it - and I didn't like what the dark stain did. So I went with the lighter Colonial Maple stain.
  • Second thing it shows is the split cross support held in the tweezers clamp - showing why I decided to add those after I'd applied the decking. They would have been hanging in the air.1759503480665.png
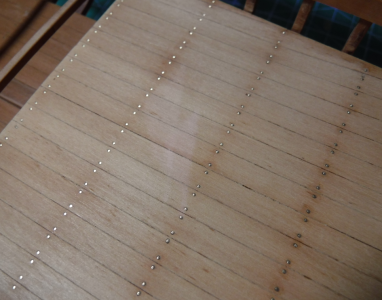
Anyway, I'm applying the nails to the decking now - here's before nails ...
1759503579947.png
And after putting in two rows of nails in this morning ...
1759503648660.png
 
So, today's update. The rear deck is finished for now. Stained with Colonial Maple. In the before staining pics, the rows of nails stand out - I'd like to duplicate that in the stained version. Not sure how yet. Maybe I'll never get around to it.

A couple of the pics after sanding - with the rows of nails standing out (I've seen rows of nails like this on old structures - sometimes - as the nails stain the surrounding material over time).
1759610299109.png
1759610321892.png

But it didn't look right, unstained - so I stained it ...
1759610431356.png

And a closeup of the deck, also showing the ends of the split deck support beams - not attached to the stern post - don't know why that is yet, but from looking ahead in the instructions - it will come out in the wash when I complete the stern.
1759610565383.png

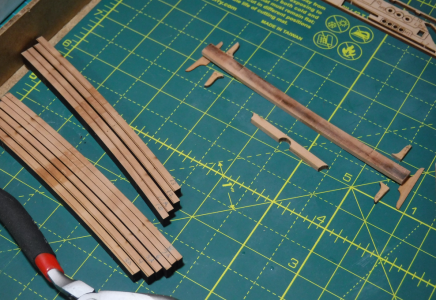
Started on the seats today - a lotta char to remove. The instructions mention chamfering the seats and show a bit of one being chamfered - anyway, I guess I'll break the seat edges with a slight chamfer - I normally round off seat edges in general, and even more where I think the rowers would sit.
1759610625372.png
1759610672236.png

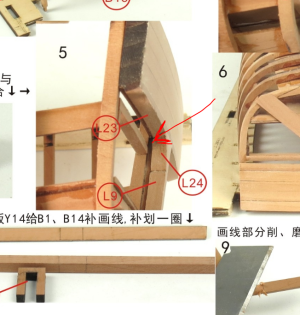
And, the suggested chamfering instructions - note that these are taken from our translated version - if you buy this kit, they'll be in Chinese.
1759611265065.png

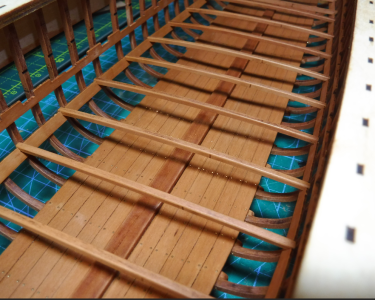
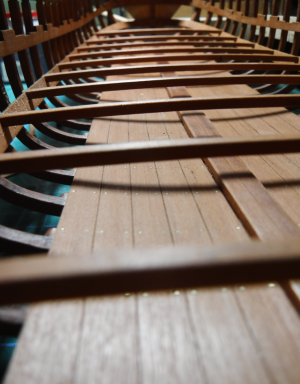
And finally, just a pic of the rest of the flooring ...
1759610747006.png
In the above pic, you can see that I lightly sanded the topmost 2 edges of each of these beams - because that's where they'd wear the most.
 
Last edited:
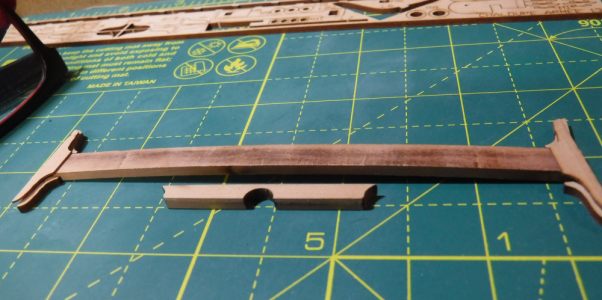
Tim, I think you might actually be missing L8 from page 2 step 32. B15 is glued to the sides of the keel L8. I should have mentioned this in my build but I forgot, the B15s are laser cut waaaay too long and had to be shortened to fit properly (I accidentally made one too short). I suppose you could cut L8 short and glue it to the top of the two B15s. Actually, strike that, leave it as long as you can make it and cut it down once you know how long it needs to be.

1759612602673.png
 
Last edited:
Tim, I think you might actually be missing L8 from page 2 step 32. B15 is glued to the sides of the keel L8. I should have mentioned this in my build but I forgot, the B15s are laser cut waaaay too long and had to be shortened to fit properly (I accidentally made one too short). I suppose you could cut L8 short and glue it to the top of the two B15s. Actually, strike that, leave it as long as you can make it and cut it down once you know how long it needs to be.

View attachment 548352
Thx Rob. I remember setting that aside, but I never got back to it. (An hour later … and I found that I still have it)
 
Last edited:
Back
Top