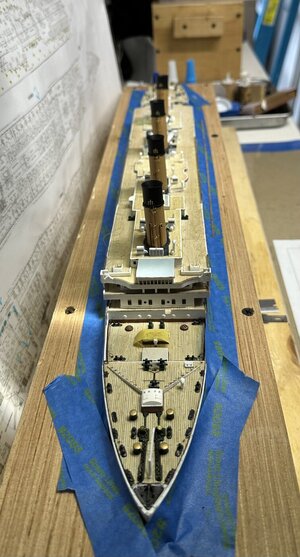
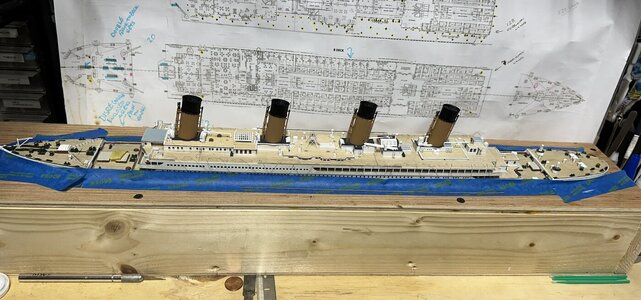
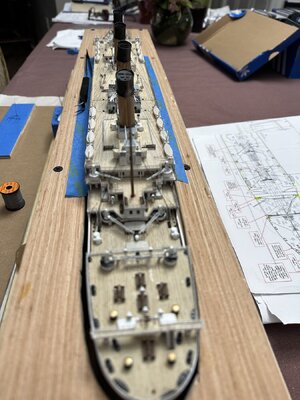
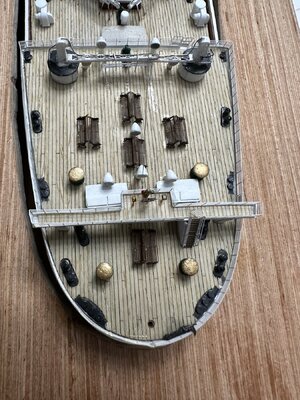
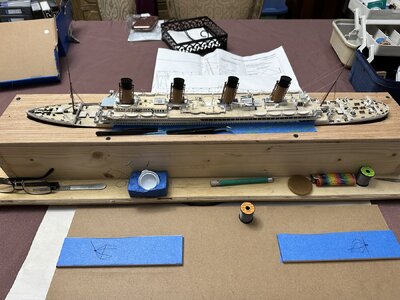
1/400 Academy Titanic build

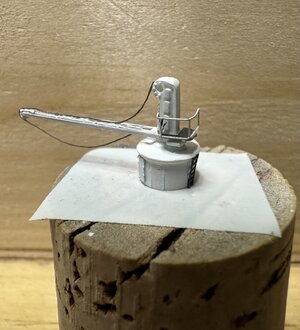
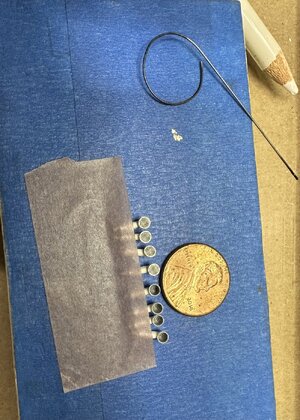
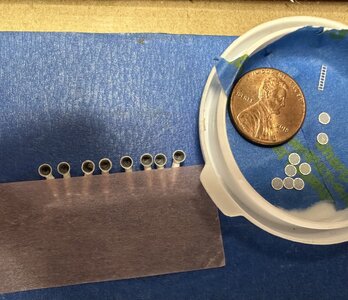
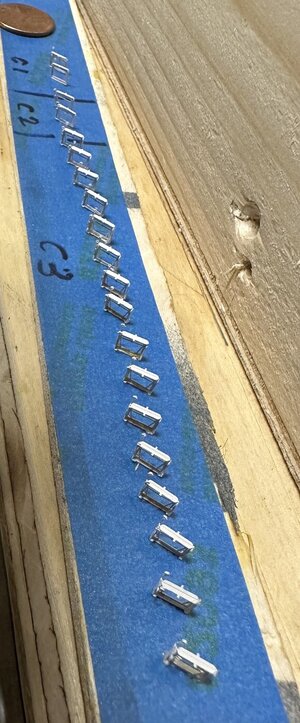
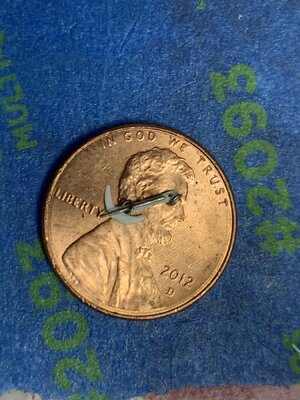
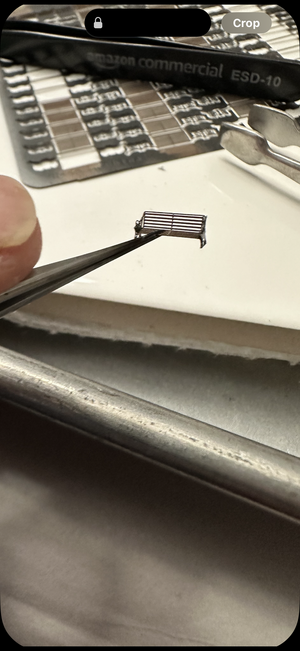
Just a picture of the project in its graving dock. Also, a picture of progress on the funnels. I made wire eyelets for the stays. Probably out of scale, but looks better to me than the kit molded holes. The third pic was my answer to proper looking doors. I created decals, and placed them on very thin styrene sheet. Initially, I tried using just the decals, but it did not work as well. I now know that all of the doors were not all panel doors. Another lesson learned. My next titanic, which I will be doing at some point will be far more correct, detailed and clean.
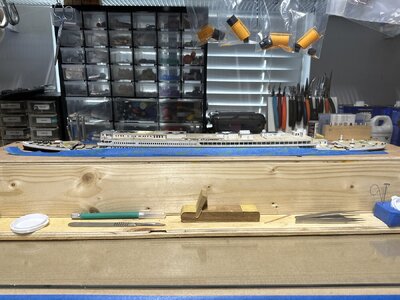
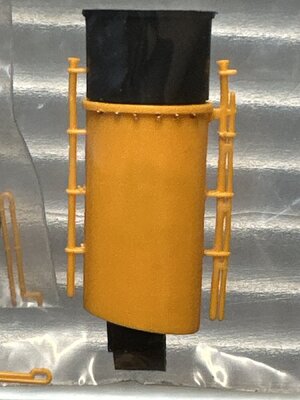
image.jpg

image.jpg
 
I attached pe screens to all vent ducts prior to installation. The Flyhawk upgrade kit I’m using has quite a lot of detail parts; from turned brass bollards and photoetch, to printed resin parts and wood veneer decks. Perfect for adding realism to the Academy or Airfix kits.

IMG_9069.jpeg

IMG_9068.jpeg
 
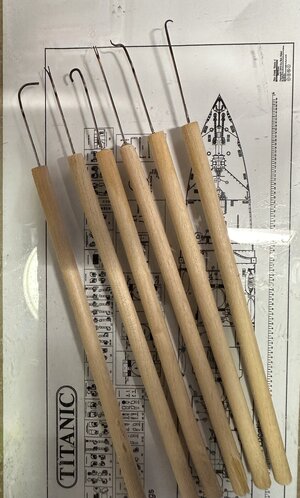
The holiday season has slowed my progress. I’m hoping to complete and install the cargo cranes and prep for railings that need to go on before rigging the funnels. So, today I created a set of rigging tools out of sewing needles and wooden dowels. Any advice on rigging or rigging tools, I would appreciate your advice.

IMG_9165.jpeg
 
hi AER3393
great build so far could you please show more and how you did your wiring / lighting please
gary r
 
A great resource for understanding the type of lighting and sidelight sizes, is this : http://www.titanicmodel.net/
Actually, it is a great site for understanding much about detailing Titanic.
I assume you may be new to working with small wiring and soldering, etc. When soldering it’s best to use lower heat on your solder iron as not to weaken the wires also, using electrical solder is Very important as well. A lot of people use fiber optics throughout to light portholes etc. On my Titanic, I used strips of LED to light the hull sidelights and general lighting of the windows . For Smaller lights, such as the deck lamps that I drilled out on the boat deck, running lights, mast light, and lights on the deck cargo cranes I used fiber optics. These were bundled together with shrink tubing attached to individual LED bulbs. To light the ceilings on B deck, I used pico lights, which are much smaller than a pin head. Very important that you use warm white bulbs for that yellowish glow as Titanic used Edison bulbs and had a very low light profile. Also, to bring a more balanced light throughout the windows of the ship I diffuse the light in the strip with a translucent film I obtained from a company called Stage Lighting. Again, the information source I gave you early in this post has great information for product sourcing as well, albeit they were acquired many years ago they are still good for the most part. A good source for lighting is Evans designs. They have great customer service department that will help you with any questions you have about their products and how to apply them. One more thing, plan ahead before you lay out your lighting and label your bundles for reference, as invariably a short will occur. I suggest you use a central “hub” to plug your bundles into before running them to the power source.
I hope I have answered your questions. If you need any more information I’ll be glad to help you Gary.
Happy modeling and Happy New Year!!!
 
Finished assembling the Wellin Davit bases and bending the Davit arms tonight. Not sure if I should attach the arms before placing them on the ship. Guess I will have to do some test fitting to make sure that the lifeboats are going to lineup to the davits correctly.

IMG_9251.jpeg

IMG_9252.jpeg
 
Latest update. I’ve completed application of the deck benches, railings, lifeboats and davits( but not the falls yet, there were issues I need to work out), brass masts and rigging. I have the Marconi array to finish and a few more bits to complete, like the falls, applying the scratch built Trotman anchors and decals. I made deck chairs and have some passengers to add, perhaps.

IMG_7465.jpeg

IMG_9398.jpeg

IMG_9397.jpeg

IMG_9291.png

IMG_9374.jpeg

IMG_9393.jpeg
 
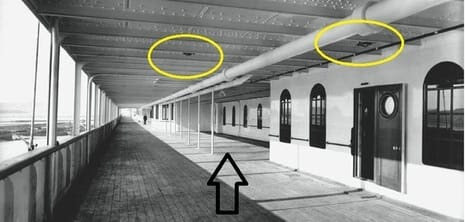
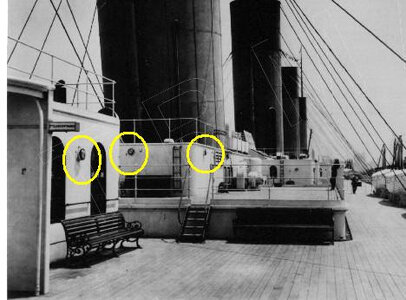
Great build so far!!! Absolultely! I`m gonna build the same model with Flyhawk kit too. :) Can you tell me, what kind of lights you using for the open spaces (Pic1)? I`ll try with 0402 Micro leds from Aliexpress. And what are the sizes of the side lights on the boat deck in your opinion (Pic2)? Are they the same size as the skid lights? I can`t find info about this nowhere...
Thank you!

unnamed.jpg

unnamed (1).jpg
 
Last edited:
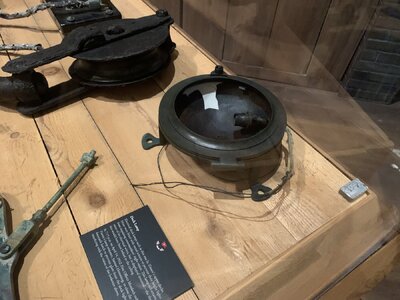
Thank you. I was really new to lighting and made my share of mistakes. Some of the lighting was too bright. As for the boat deck lights, from what I’ve seen at the titanic exhibit are the same as the overhead lights circled on A deck. I’ve attached a picture of one of those lights taken from the Titanic site. (The website 36ft-dream.com has lighting diagrams listed for each deck.) For the lights on the boat deck, I used fiber optic line. On the overhead lighting, I used pico lights. You could use fiber optics, if you can get the lights to bend in such a way that they will point straight down. Regardless, I would definitely go with warm white and perhaps lower the voltage on those lights throughout the ship to get the correct luminescence.

IMG_8344.jpeg
 
Hi, thank you for your reply!

My plan is the same too - micro leds, like pico ones, but they are little bigger - 1x0.5x0.4mm. I just can't effort pico lights they are little expensive for me. Fiber optics too, that's why I asked the size of side lights on the boat deck, to know what size of fiber optics to use. I'm wondering between 0.25 and 0.5mm. On the site you gave me, I'm not sure, I think I saw that the size of these sidelights is 6” Am I right?

About the brightness yeah, I'll try to reduce it with some kind of round plastic on the micro led light. I'm not sure that it will work, but I'll try
 
Back
Top