- Joined
- Feb 9, 2026
- Messages
- 10
- Points
- 48

Hi there,
I initially came here looking for a build log of this boat only to find there are none of this particular one.
So I figured I'd get one started.
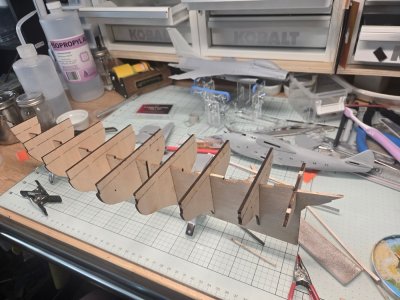
Started out with assembling the false keel and frames, minor sanding of the slots was necessary to get the frames to line up properly, at least I think they're proper, the directions aren't always exactly clear on what the final outcome should be... more on that later.
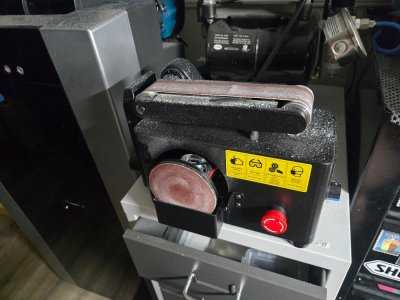
The directions tell you to bevel the frames so that the planks eventually will sit nicely on them, but they tell you to do this before you glue the frames. I had a hard time not accidentally messing up the shape of the frame this way and elected to glue the frames and then sand them, carefully, to the correct angles.
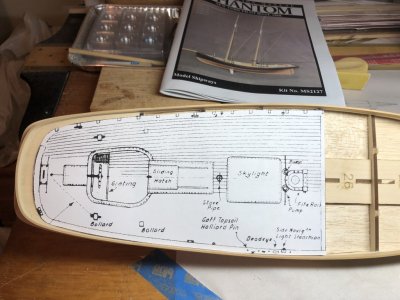
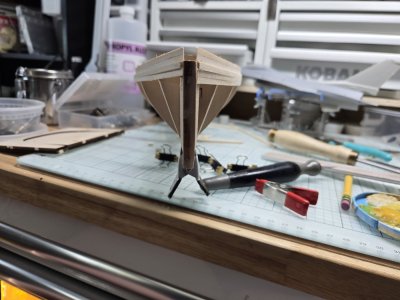
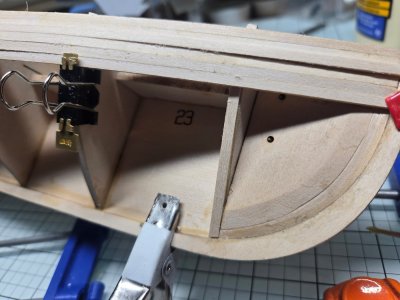
Next I glued the aft false deck and the transom on taking care to shape the supporting frames and clamp it so that I got the correct curve of it. FYI the slot in the deck does not line up correctly with the tab on the false keel, so I shaved the tab down until it fit correctly. It's off by about 3/8 of an inch.
The directions then say to sand the deck even with the sides of the transom and provides a photo that is not very helpful at all, as a result I mistakenly sanded the deck even with all of the frames, which was incorrect. I was able to fix this mistake by gluing sections of plank onto the sides of the deck and reshape them again, no harm done! sadly I was not great about getting pictures of this part.
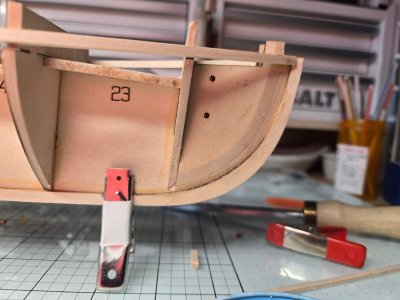
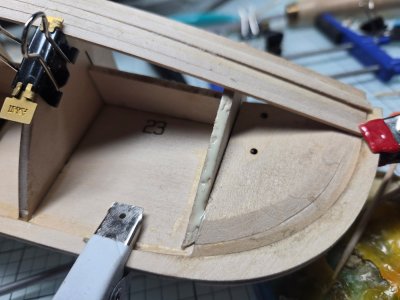
Next comes attaching the reinforcing blocks to the bow and beveling them which went very smoothly thanks to the toothpick holes provided for alignment
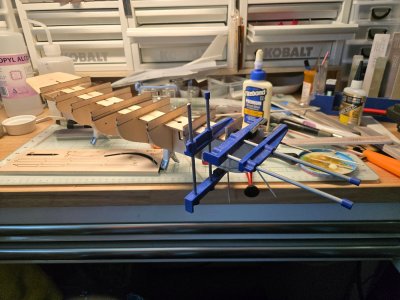
The bow end of the keel went on next, I took very careful care to match the curve of the false keel to the curve of the keel itself, requiring a little sanding here and there to get a nice fit.
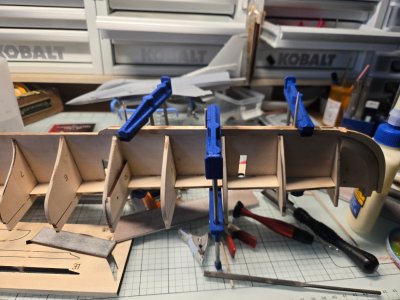
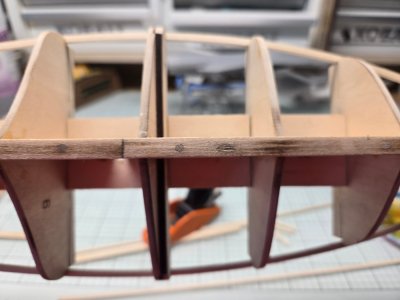
The instructions would have you just glue the keel to the false keel but I was afraid this would be a little bit too flimsy so I carefully drilled toothpick sized holes in the centerline of the keel and matching holes in the false keel to reinforce it and it worked great!... for what its worth the parts on this model fit together very well so far with not much modification needed.
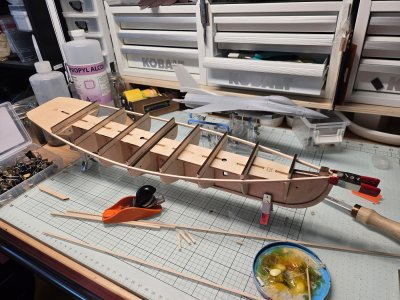
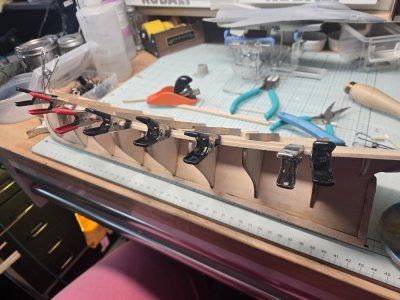
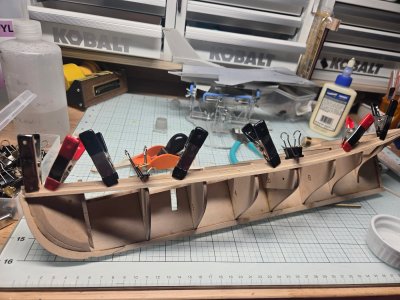
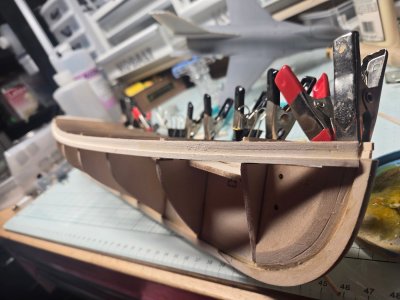
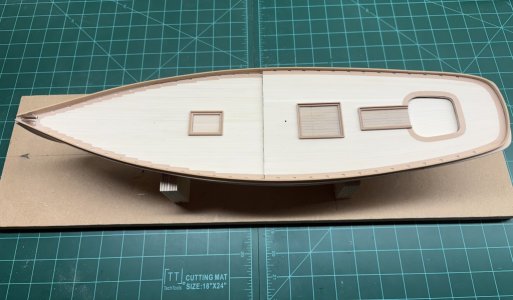
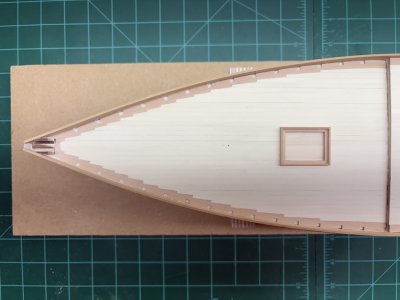
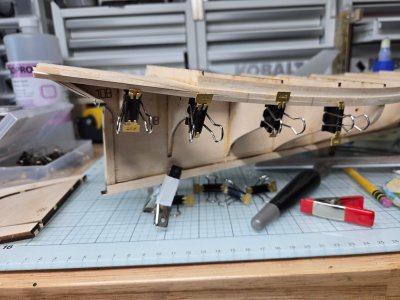
Then the directions have you glue these bits of planking to the corners cut out of the frames and level with the false deck edges. Best way I could to do it was to go from back to front and clamp and glue one or two frames at a time, this gave a nice curve to them.
That brings us up to now! Hopefully I can keep up with this build log. Thoroughly enjoying myself so far!
Thanks for looking!
I initially came here looking for a build log of this boat only to find there are none of this particular one.
So I figured I'd get one started.
Started out with assembling the false keel and frames, minor sanding of the slots was necessary to get the frames to line up properly, at least I think they're proper, the directions aren't always exactly clear on what the final outcome should be... more on that later.
The directions tell you to bevel the frames so that the planks eventually will sit nicely on them, but they tell you to do this before you glue the frames. I had a hard time not accidentally messing up the shape of the frame this way and elected to glue the frames and then sand them, carefully, to the correct angles.
Next I glued the aft false deck and the transom on taking care to shape the supporting frames and clamp it so that I got the correct curve of it. FYI the slot in the deck does not line up correctly with the tab on the false keel, so I shaved the tab down until it fit correctly. It's off by about 3/8 of an inch.
The directions then say to sand the deck even with the sides of the transom and provides a photo that is not very helpful at all, as a result I mistakenly sanded the deck even with all of the frames, which was incorrect. I was able to fix this mistake by gluing sections of plank onto the sides of the deck and reshape them again, no harm done!
sadly I was not great about getting pictures of this part.Next comes attaching the reinforcing blocks to the bow and beveling them which went very smoothly thanks to the toothpick holes provided for alignment
The bow end of the keel went on next, I took very careful care to match the curve of the false keel to the curve of the keel itself, requiring a little sanding here and there to get a nice fit.
The instructions would have you just glue the keel to the false keel but I was afraid this would be a little bit too flimsy so I carefully drilled toothpick sized holes in the centerline of the keel and matching holes in the false keel to reinforce it and it worked great!... for what its worth the parts on this model fit together very well so far with not much modification needed.
Then the directions have you glue these bits of planking to the corners cut out of the frames and level with the false deck edges. Best way I could to do it was to go from back to front and clamp and glue one or two frames at a time, this gave a nice curve to them.
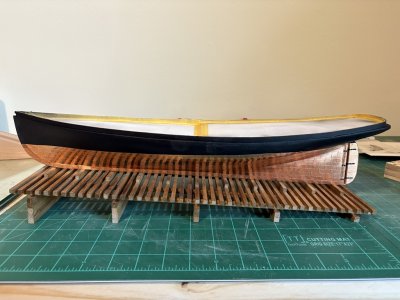
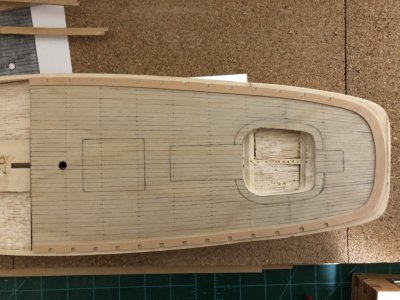
That brings us up to now! Hopefully I can keep up with this build log. Thoroughly enjoying myself so far!
Thanks for looking!