• LUCZORAMA SHIPWRECK SCAVENGER HUNT GIVEAWAY. 4 Weeks of Fun • 1 Legendary Prize ((OcCre’s Fram Ship)) • Global Crew Welcome!
    **VIEW THREAD HERE**

1:65 Grimsby English Frigate by Constructo -Build log

Joined
Nov 24, 2024
Messages
10
Points
48

Hello everyone .

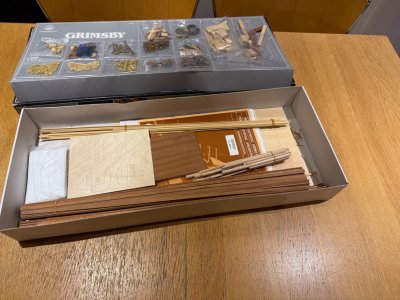
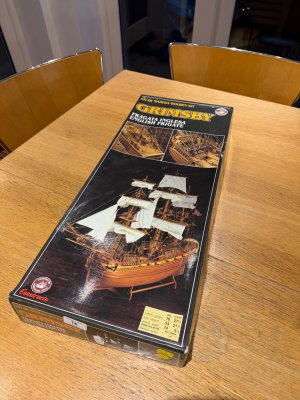
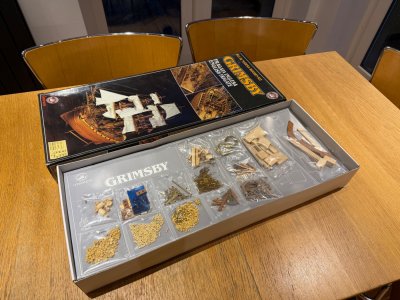
I thought I’d create a build log to document my progress on this Constructo kit. This is a first time build for me; I obtained it for pennies in a house clearance auction and it’s sat in a cupboard for a few years since then.

I’ve no idea how old the kit is but it looks like whoever bought it never got started - box contents are pretty much untouched and all parts are present!

Hoping to benefit from the collective knowledge and expert guidance of the Ships of Scale community over coming months…
IMG_3878.jpeg

IMG_3880.jpeg

IMG_3881.jpeg
 
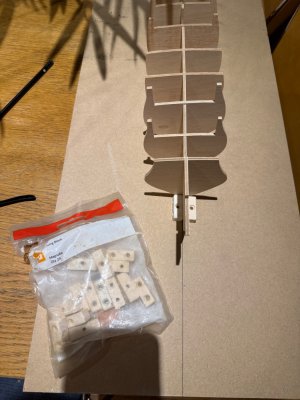
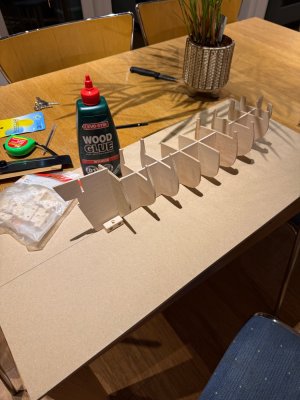
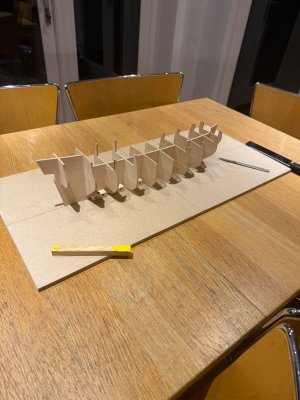
I’ve started by putting together a building board and a simple jig using an MDF board and some fixing blocks that were left over from a DIY project. I’ve never built a model ship before but I do have some tools from miniature modelling and one balsa bi-plane build so I’m hoping I won’t need to buy too many tools and equipment. For now, I’ve bought some wood glue and a craft saw.

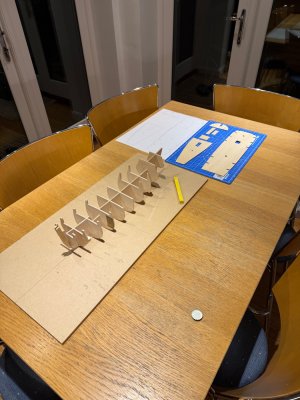
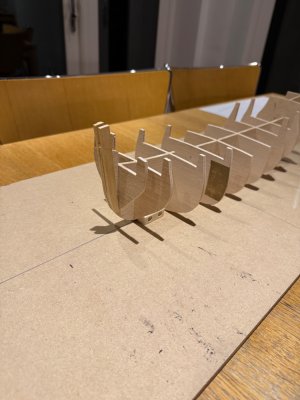
Here’s the ribs in a loose fit on the assembled building board.

IMG_3832.jpeg

IMG_3834.jpeg

IMG_3917.jpeg
 
Welcome to the forum! This should be a fun build. I'm sure many will follow along. There is a tremendous wealth of knowledge here, so please don't be a afraid to ask for help. Everyone started their first model once.
 
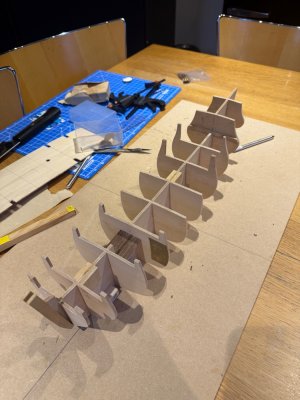
I’ve followed the instructions for mounting the false keel.

“To the STEM-HEAD.of the false keel n. O glue the two STRIPS n. OB and trim off the remainder. Glue the RIBS n.° 1 to 10 as shown in the drawing, keeping in mind that they should be at the same level of the false keel. They should be at a perfect right angle to the keel, i.e. 90°, and perfectly glued in place. Go over the upper part with sandpaper so that the false deck can be positioned securely.”

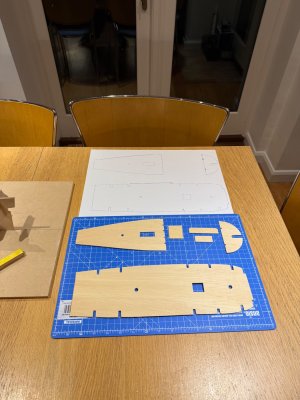
I’ve also cut out the deck pieces and traced templates for planning fitting the deck planking.

IMG_3984.jpeg

IMG_3983.jpeg

IMG_3985.jpeg
 
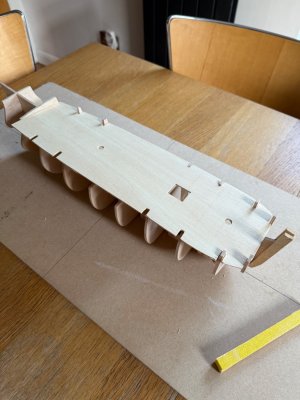
Completed the false deck as per the following step in the instructions:

FALSE DECK N. 14

As a reference, draw a line down the middle running from bows to stern. Check and if necessary touch up the side grooves which must fit the uprights of the ribs.

We fasten the false deck with glue, first at the centre part, (false keel), tacking it with pins; then we glue the ribs and fasten them with pins. Go over the glued parts and sandpaper the deck; above all, make sure that the keel and deck are properly aligned
.”

It needed quite a bit of trimming to get a good fit. IMG_4058.jpeg

IMG_4233.jpegIMG_4234.jpeg

IMG_4250.jpegIMG_4251.jpeg
 
Last edited:
This was my first 25 years ago! I've never stopped and my latest completion is Mantua San Felipe while my current build is Corel Wappen Von Hamburg. Enjoy the journey and remember... it's a hobby. Step back when frustrated.
 
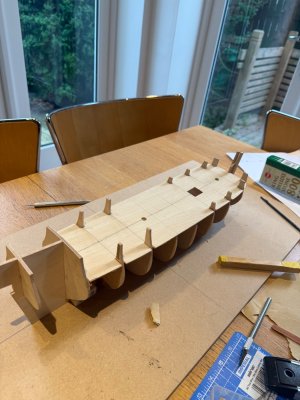
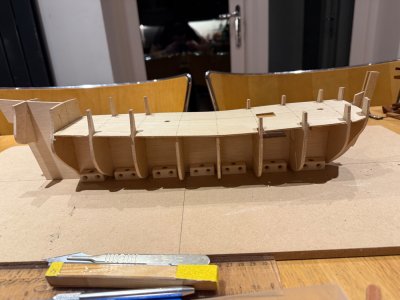
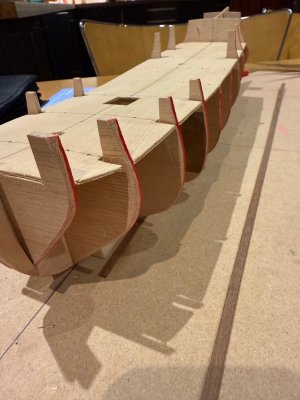
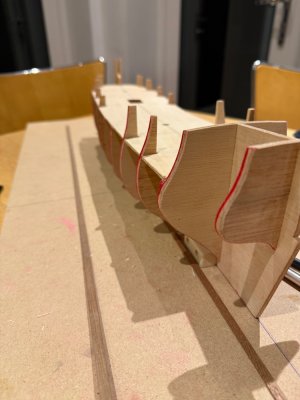
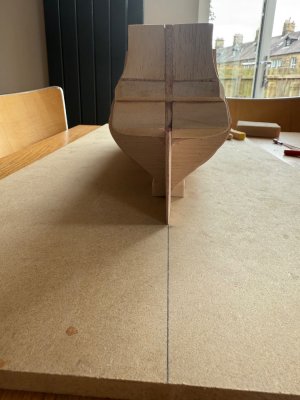
I’ve completed this step, but may need to adjust further as I test with sheathing planks:

SHAPING THE HULL FIGS. 2-3

To obtain a good sheathing to the hull it is essential to bevel the ribs, and the false keel, and touch up the false deck so that the sheathing planks fit properly - see drawings 2-3 and 6. It is advisable to paint the edges of the ribs and false keel with a felt-tipped pen.

We will have to eliminate most of the painted edge, though leave about 1 which is the rib or real keel. A file of medium thickness can be used, or a wood block wrapped in sandpaper (see drawing n. 12) which can be used for several different functions.

The bevelling at the bows should be slight at the top, increasing progressively further down, as the position of the sheathing planks will require.


IMG_4448.jpeg

IMG_4449.jpeg
 
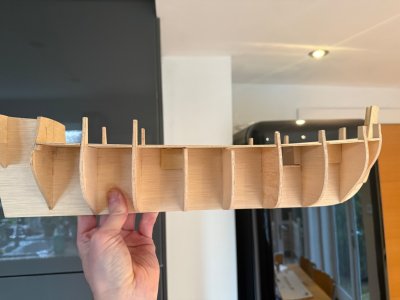
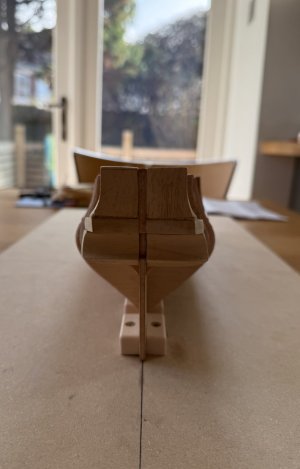
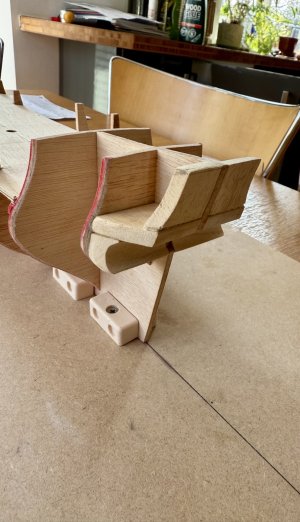
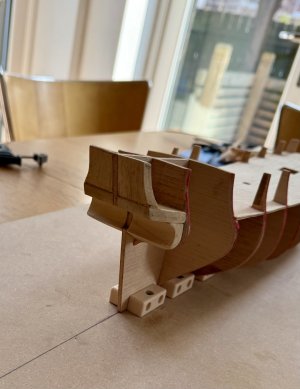
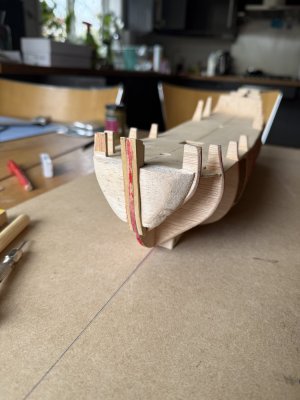
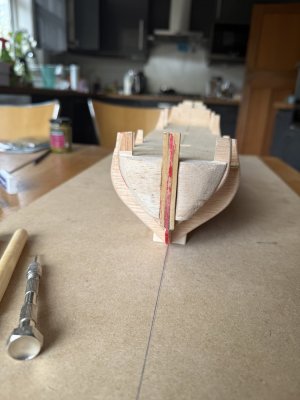
I’ve now built the transom as per the instructions:

FIG. 4

Glue the base pieces n. 12 on a level with the lower part of the false keel, then the stern bulkhead n° 13 on a l with the false keel, and lastly the base pieces n. 12. All these parts should be trimmed so as to follow the line of the other ribs, until a perfect line has been obtained. This can be checked by testing a sheathing plank against them.
IMG_4624.jpegIMG_4625.jpegIMG_4623.jpeg
 
I’ve also tidied up the transom and filed down the false keel and bearding line as per the instructions:

“IMPORTANT - FIG. 5

After pieces n. 11 the false keel should be taken down on both sides until it is only 1 mm. in thickness; this so that with the thickness of the sheathing planks the total should not exceed 4 mm., which is the thickness of the sternpost.”


IMG_4993.jpeg
 
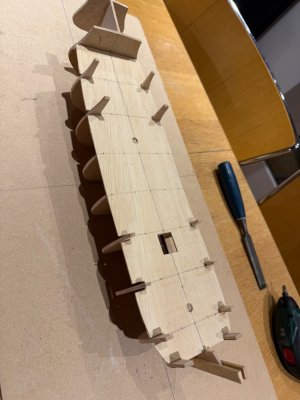
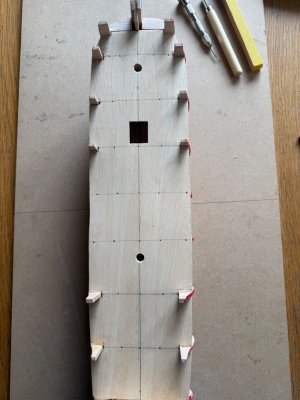
I also took some time to infill some gaps in the false deck and drill the mast holes as per:

MAST HOLES

On the deck, mark and then pierce the holes for the 2 masts as shown in the General Plan, making sure they are properly aligned. Do not glue them, they are to be used


IMG_4994.jpeg
 
Finally, I made some balsa infill for support on the planking. On to the deck plan!

IMG_4995.jpeg
IMG_4996.jpeg
 
Back
Top