• Win a Free Custom Engraved Brass Coin!!!
    As a way to introduce our brass coins to the community, we will raffle off a free coin during the month of August. Follow link ABOVE for instructions for entering.

18th Century Longboat - First Build

Allan, thanks for all the great information. I have watched the 5 videos and read through the article you mentioned. I am using the heat gun because I already had one and it works great. In one of Chuck’s videos he mentioned using CA glue for planking, so I ordered some. I feel confident that my first attempt at planking will go well, armed with the knowledge you have provided.
You'll find Alan to be a.resident guru on ship building history.
He has guided me on more than one occasion
 
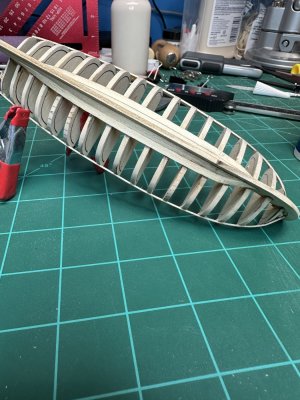
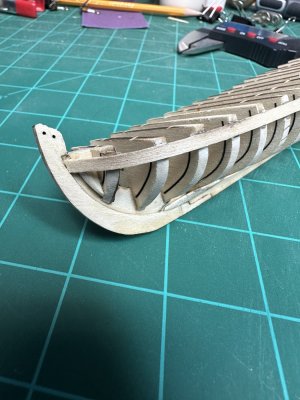
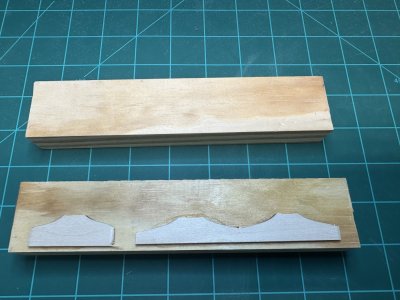
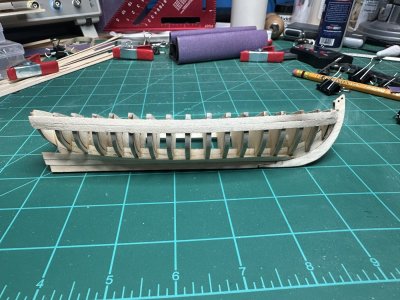
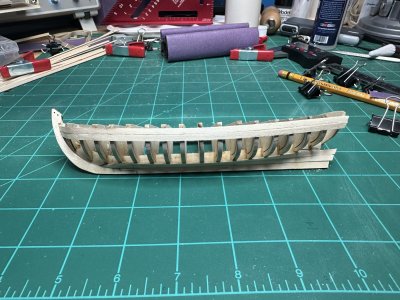
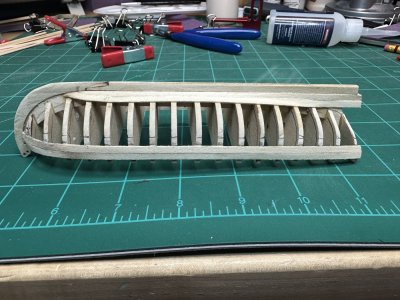
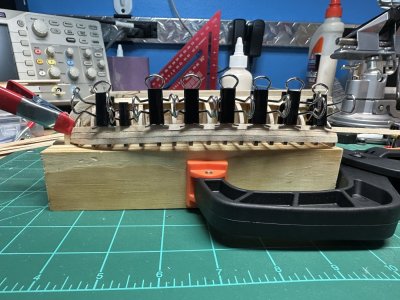
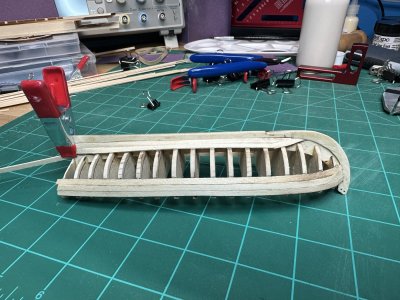
This morning I built a plank bending jig. Several planks bend edgewise at the bow.

View attachment 548362

View attachment 548363

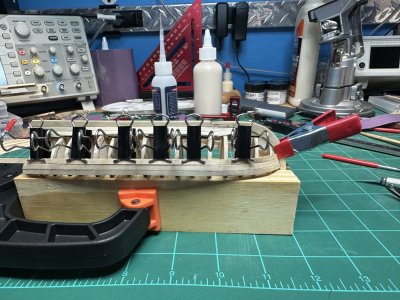
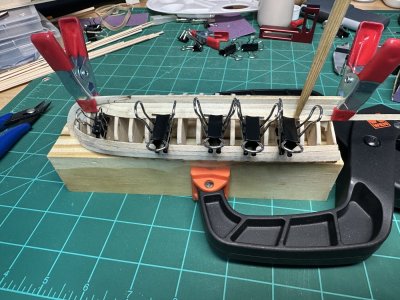
I cut out some scrap pieces and glued them to a piece of plywood. I used spare planks to hold the plank from twisting when bending. It got me close but I finished bending the planks while clamped in place.

View attachment 548364

View attachment 548365

View attachment 548366

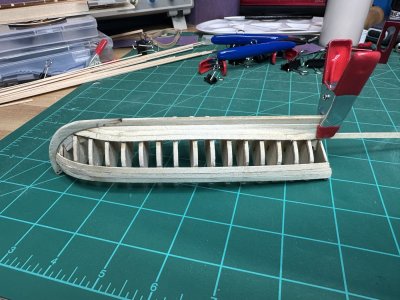
Once I was happy with the fit I glued it in place.

View attachment 548367

View attachment 548368
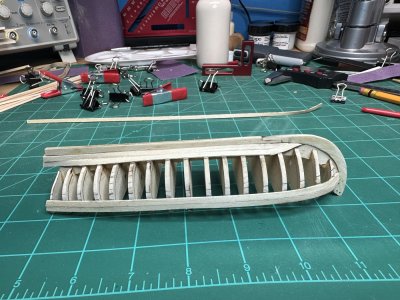
I have the port side about ready to glue.

View attachment 548369

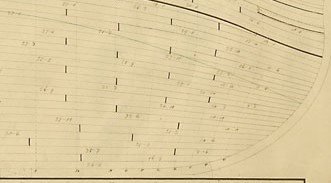
I also started mapping the taper of the planks. Marking the bulkheads at such a small scale got messy fast. Time for a break
Good morning John. You are off to a fine start with your first wooden ship model. Welcome to SOS and enjoy. Cheers Grant
 
An excellent set of tools and techniques.
I don't know what you've been building prior to this kit but you surely come equipped with know how. I'll be following this build.
Happy modeling
Thanks Ted. I built plastic model cars when I was younger. I have studied lots of builds on this forum, watched a bunch of videos and read everything I can find. I’m still learning and having fun.
 
Last edited:
Thanks Ted. I built plastic model cars when I was younger. I have studied lots of builds on this forum, watched a bunch of videos and read everything I can find. I’m still learning and having fun.
Enjoyment is the main point. Their are many site members who produce astounding models and are humble enough to guide and encourage beginners.
On my first build log I was encouraged to completely disassemble my model and start over, twice. It was the correct answer and resulted in my learning more than I would have from five builds.
Once again, welcome aboard
Thanks Ted! I have made many mistakes, I have just corrected them before posting my progress. I have a mistake that I need to fix, I will post pictures and show how I will fix it. I won't have time to work on it again until tomorrow evening. I just found the instructions online and it helps because I can enlarge the pictures on my computer to look at the build detail. The instructions and plans do not show the layout of the planks, there is a sheer line and that is what I did wrong. The sheer line needs to be lower at the bow, the gunwale fills in the gap at the stem. More to come tomorrow.

18th Century Longboat Instructions
 
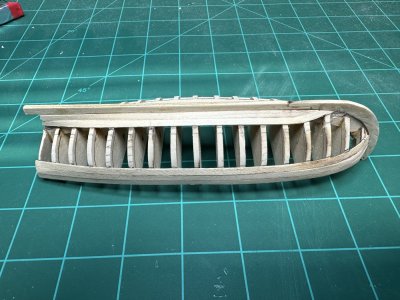
This evening I glued the port side second plank from the garboard strake in place.

IMG_9613.jpeg

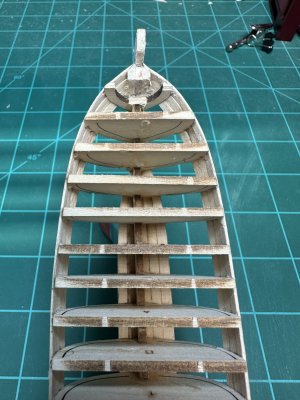
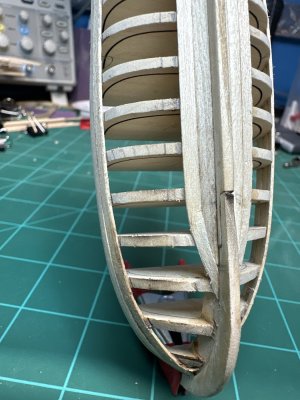
Next I worked on fixing a mistake, I didn’t support the stem when gluing the sheer planks so the stem was not straight. I also placed the starboard plank too high at the stem, the gunwale fills the gap at the stem. I cut both sides apart and reattached them with the stem straight.

IMG_9611.jpeg
Before fixing, you can see the starboard side is higher and the first bulkhead is not level.

IMG_9612.jpeg
After with the proper gap for the gunwale.

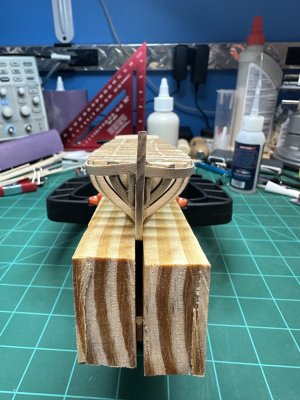
Another mistake I made was not using a keel clamp when I first started. I had to fix the port side sheer plank, it was not straight because of the wobbly keel.

IMG_9610.jpeg
I used 1x2 boards cut to length, then I glued some scrap pieces at the bottom so it would clamp the keel evenly.

IMG_9614.jpeg

IMG_9615.jpeg

Next I added the second planks under the sheer plank.

I am happy with my progress so far, and I have learned a lot already with the help and encouragement I have received.
 
Nice work! Looking forward to building one of these myself, will be joining you on the journey here in about a week or so and your posts are giving me some ideas for how to proceed later.
 
Nice work! Looking forward to building one of these myself, will be joining you on the journey here in about a week or so and your posts are giving me some ideas for how to proceed later.
Thanks!! I am trying to post as much about my build as I can, including mistakes, so other people can learn from it. I took a break for 4 days to clear my head and it helped. I now have a clear path forward. Look forward to seeing your build.
 
I added 3 more planks to the hull this evening. During my 4 day break from building I realized a planking fan will not work with the planking layout of this hull because all the planks don’t run from stem to stern. Since the garboard strake starts ⅛ inch in front of the scarf joint in the keel, there are less planks at the top of the stem. If my measurements are correct, I will need very little tapering of the planks. I may just taper the last plank on each side as needed.

IMG_9716.jpeg
I started with the 3rd plank down on the port side. I bent and beveled the end to fit the bow, then clamped it in place to make sure I had a good fit. I used my heat gun, once the plank was clamped, to help the plank hold its shape. Once cooled I glued it in place.

IMG_9717.jpeg
I marked the bulkheads so I know where to apply glue.

IMG_9718.jpeg

IMG_9719.jpeg
Then I repeated the process on the starboard side.

IMG_9720.jpeg
Next, the same process on the 3rd plank up from the keel on the starboard side.

IMG_9721.jpeg

IMG_9722.jpeg
The 3 planks glued in place.

I’m happy with my progress.
 
Back
Top