1901 Cutter 'Wendy'

Joined
Mar 27, 2020
Messages
93
Points
113

This project is nearly finished, however there are still some bits that I have to nut out. Wendy was the first model that I built from just a plan and in a way was the most challenging. Challenging I think that this is what this activity is all about, trying to achieve something that one doesn't think one can.
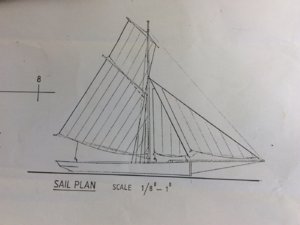
The plan that I was working from was actually from a model boat plan from 1901 that had been redrawn more recently by Adrian at Floataboat and I just liked the look of
it.
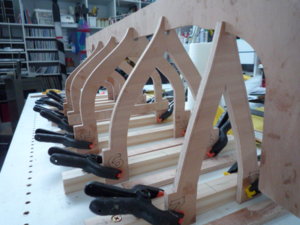
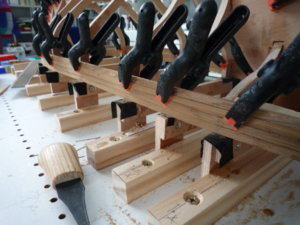
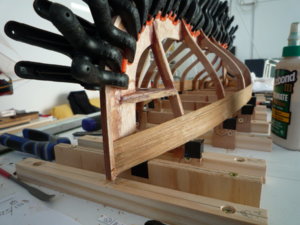
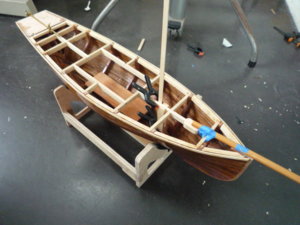
So to start, I cut out the frames from 7mm marine ply that were assembled in a jig, when I had done this, I thought that they all looked a bit fat and as they were going to stay in the hull I decided to thin them down a bit.

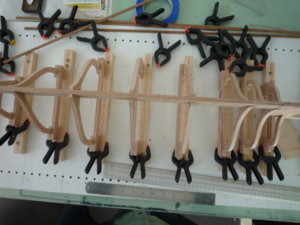
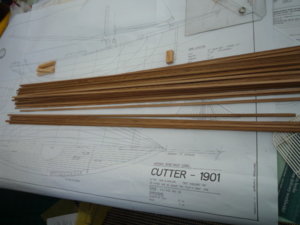
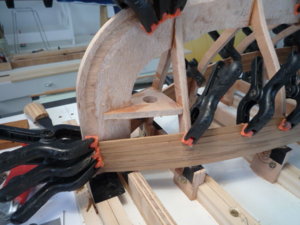
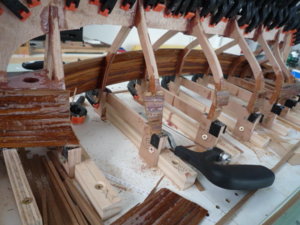
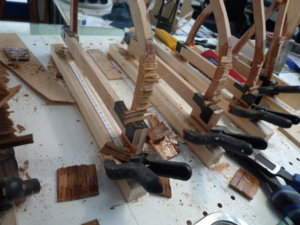
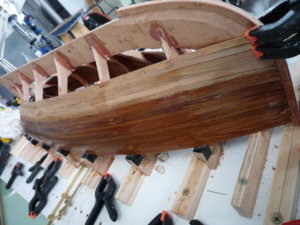
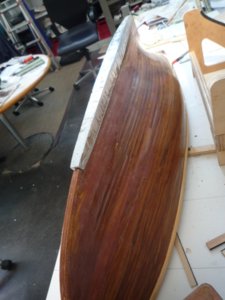
I cut some cedar planks with my lovely Byrnes model saw and started applying them gluing and clamping, working on both sides of the hull. It was when I started getting to a substantial change of angle at the stern that I realised that they were just too thick and wide, so the painful decision was to remove them and start again. Unfortunately I had already applied epoxy in the interior so the removal was not an easy task.

I made a pattern for the lead weight to be attached to bottom of the hull, hoping that I could find someone to cast it for me not wanting to mess around with molten lead. This didn't work out as I hoped and I ended up having to make a simple mould and cast it myself, the side benefit of this was that I cast myself a number of lead weights in one of those metal kitchen cake moulds.

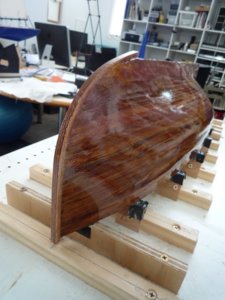
I coated both inside and out of the hull with epoxy prior to fitting my newly cast lead weight which needed quite a bit of fairing to the hull.

More Later
IMG_1040.jpgP1050579.JPGP1050581.JPGP1050584.JPGP1050593.JPGP1050594.JPGP1050595.JPGP1050596.JPGP1050599.JPGP1050600.JPGP1050601.JPGP1050605.JPGP1050606.JPGP1050608.JPGP1050610.JPGP1050611.JPGP1050615.JPGP1050617.jpgP1050620.jpgP1050621.jpg m
 

Attachments

  • P1050586.JPG
    P1050586.JPG
    101.7 KB · Views: 15
Looking very good - so I am looking forward to see much more of your project
 
Thank you Uwek,
I find that I am learning so much from looking at what others who are far more skilled than I have done, I hadn’t realised that there was such an international world of model ship building enthusiasts who are so keen on sharing their work. In this awful time that the world is going through with Covid19 it is great to have this hobby/ passion/obsession that one can turn to, guilt free whilst socially isolating.
 
So a bit more on the 1901 Cutter ‘Wendy’ I haven't quite got my head around arranging photos so if I have duplicated some I apologise.

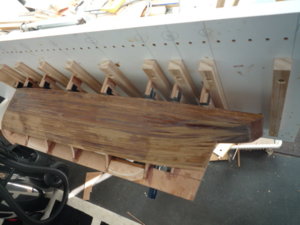
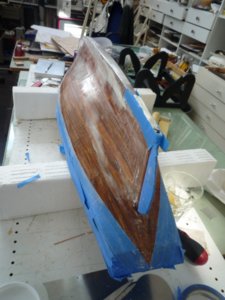
I finally removed the epoxied hull off the building jig and cut off the frame extensions and added some fibreglass matt set in epoxy to the inside of the hull, if my planking wasn’t that good I wanted to make sure that there were no leaks.

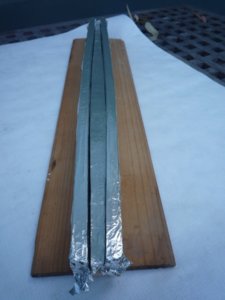
I cast the lead keel weight forgetting to level the timber mould that I lined with foil which just meant a bit more fettling to clean up the casting, which I then bolted and epoxied to the timber hull. My planking below the waterline was not very pretty so I decided after all of the fairing with thickened epoxy I would end up painting below the waterline.

I added some out-whales and in-whales, using up just about all of my plastic spring clamps

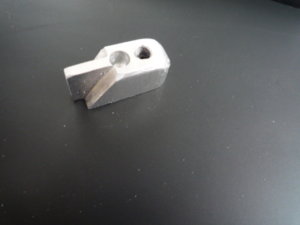
I had to make a small aluminium fitting to take the bottom end of the rudder pintle ( I don’t know what this bit is called ) but I don't have a milling machine so it be came a hacksaw and file sort of job.

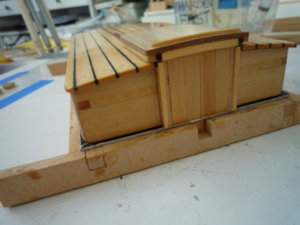
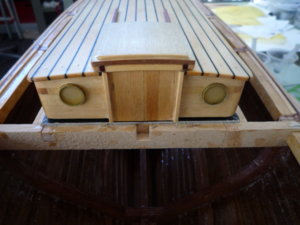
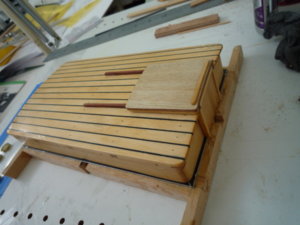
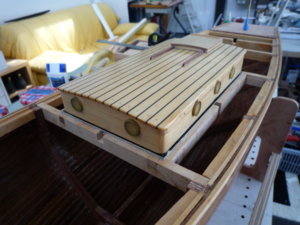
There were no instructions on the plan about setting the Cutter up for R/C so I had to make decisions about a hatch and some sort of cover to seal off the electrics ( servos, receiver and batteries ) which turned out to be a sort of cabin ( probably completely inappropriate for the vintage of the craft ) it was framed with jelutong and plywood and planked with Huon Pine planks. which I had planned to use for the finished deck when I got to it. The portholes were just bits of brass tubing with clear epoxy poured into them, I did mention that I was making it up as I went along.

I then started making the spars using some Jelutong that I machined to a square section and then ‘turned’ using a portable electric drill, course sandpaper and a very thick work glove as the paper heats up surprisingly quickly.
Finally added some brass ferrules and coated the spars with clear epoxy then rubbing them down with fine sandpaper and wire wool.

The bath served as a test tank for possible leaks and an aid to finding the waterline

P1050622.JPGP1050627.jpgP1050626.JPGP1050630.JPGP1050678.JPGP1050676.jpgP1050674.JPGP1050671.jpgP1050657.JPGP1050656.JPGP1050662.JPGP1050664.JPGP1050651.JPGP1050650.jpgP1050667.JPGP1050679.JPGP1050657.JPGP1050662.JPGP1050663.JPGP1050664.JPGP1050666.JPGP1050667.JPGP1050651.JPGP1050650.jpgP1050847.JPGP1050637.JPG
This will continue.
 

Attachments

  • P1050677.JPG
    P1050677.JPG
    68.7 KB · Views: 8
To continue with the build of 'Wendy'

Having built some under deck framing and arranged for an aluminium angle upstaged to build the cabin/hatch cover I was keen to see how the spars would look especially the bowsprit with extends the boat size considerably, I wanted this to easily swivel up to help in transport so eventually I could go sailing.
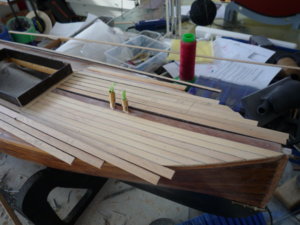
My preferred method of decking which is 'a bit belt and braces' is to lay a 1.5mm ply sub-deck and then plank on to that coating all of the internal surfaces with a light covering of epoxy including the underside of the sub-deck ply.
I had faired in the lead keel weight and added the formed element to receive the bottom of the rudder post and spay painted the hull bottom to the approx waterline.
I wanted to see how the Mast, Boom and Bowsprit would all work together allowing me to cut some light cardboard 'sails' trying to be a bit more careful as I had previously experienced cutting and sewing at least three sets of sails for Thames Barge 'Sage' before being satisfied.
I needed to establish the sheeting runs before closing the deck as I usually run the sheets through some small diameter from brass tubing to try to eliminate below deck snarls
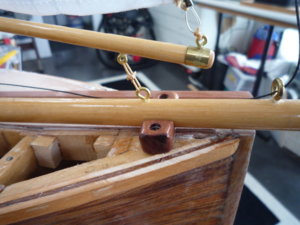
I looked again at the gaff jaws that I thought were bit clumsy and fined them down and found some small wooden beads for the Parrell ?and a bit of fine leather for the inside of the jaws.
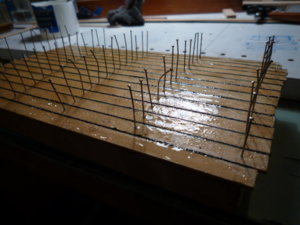
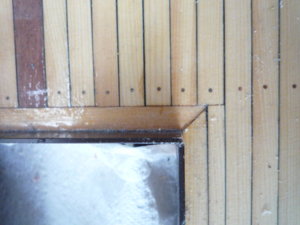
Then came the Huon pine planks for the decking with some light black card between them, I love that timber, fine grain and honey coloured which goes a bit orange as the epoxy that I coat it with yellows with sun exposure.P1050850.jpgP1050851.jpgP1050903.JPGP1050905.JPGP1050909.JPGP1050909.JPGP1050905.JPGP1050924.JPGP1050928.jpgP1050933.jpgP1050947.JPGP1050950.JPGP1050951.jpgP1050958.JPGP1050921.JPGP1050918.JPGP1050909.JPGP1050911.jpg
 
Back
Top